April 20, 2008: This past week, I saw a video posted on a random forum of a modeler building Air Man from the RockMan video games (Mega Man in the US). The builder used an MG Z'Gok, a battery holder kit form Tamiya, some wiring, a switch, polyester putty, and a snall ducted fan used in RC Jet Aircraft. The Z'Gok I'm using was built several years ago and at the time, took me four days to complete. Click here to see the kit. I used the backpack for a customized Kampfer I built last year, so since then, it has been sitting on my desk waiting for the other parts to get used in other projects.
Wandering around at my local hobby shops, I found all the parts necessary to make my own version; so using the video as a guide, I will be building my own Air Man. There are several processes that the video glosses over, so hopefully, this progress page will throw some light on the actual build process.
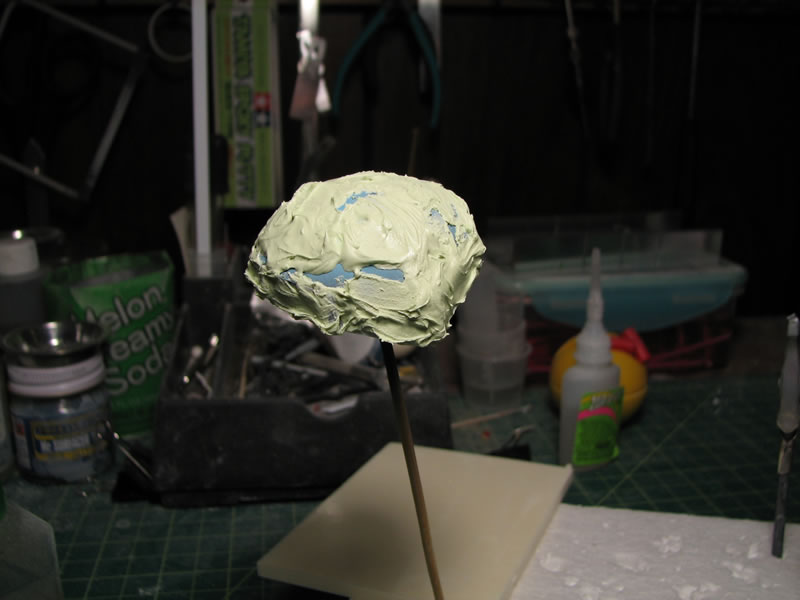
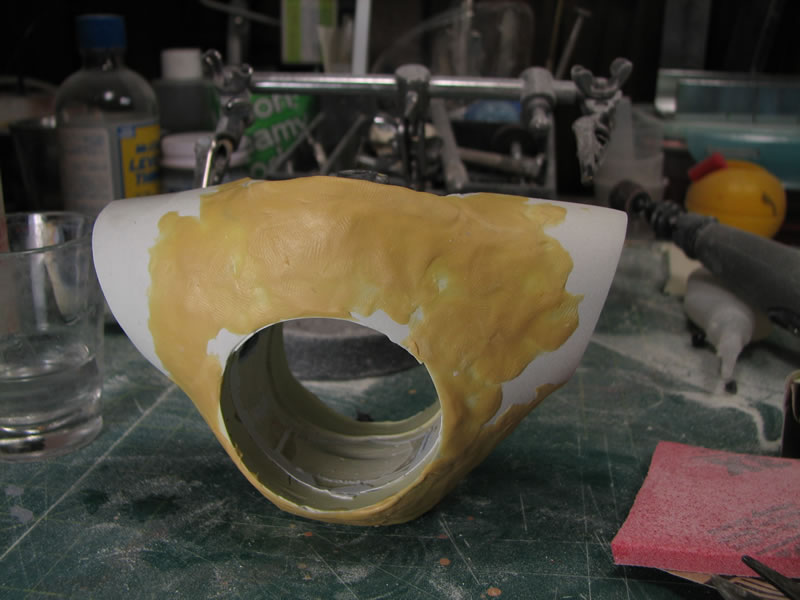
The first step is to pop out the arm sockets and place them against the sides of the Z'Gok, this adds some girth to the shoulders. Then the polyester putty was mixed and the first of many putty sessions begins.

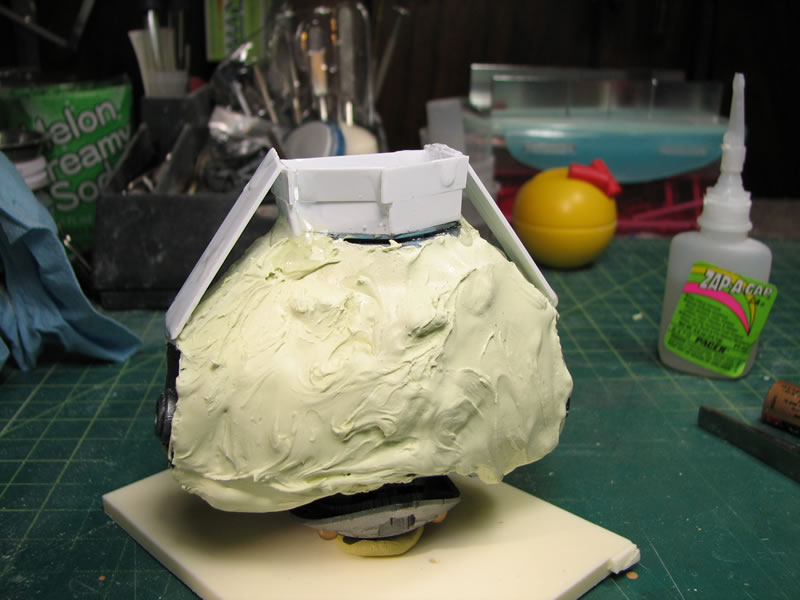
As I start building up the putty layers and filling in the holes of the Z'Gok, I need to add some strips of styrene to form a frame for which the putty can stick. To properly adjust the size of the Z'Gok to fit the ducted fan I pickedup, I need to do a couple of sessions to build up the body.
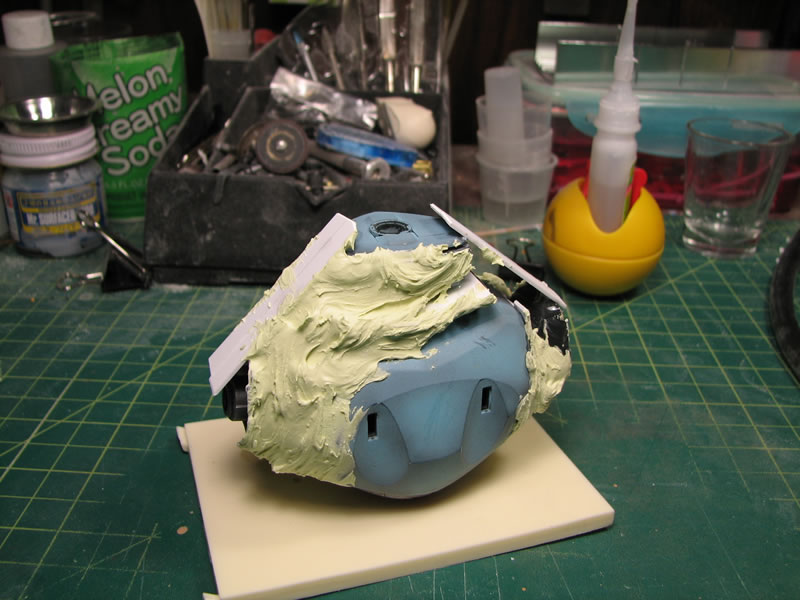
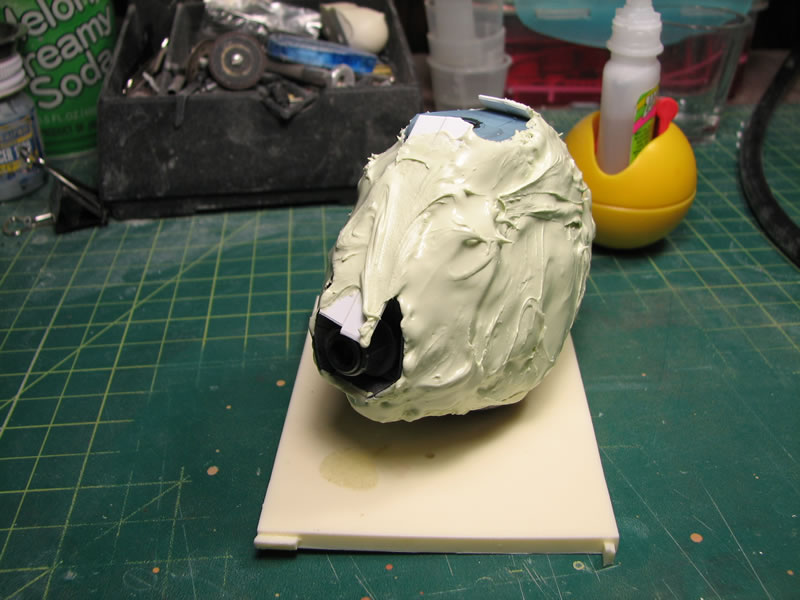
Another styrene frame was build on top of the putty layer. A couple of more putty sessions and I should be ready for the sanding and shaping phase.

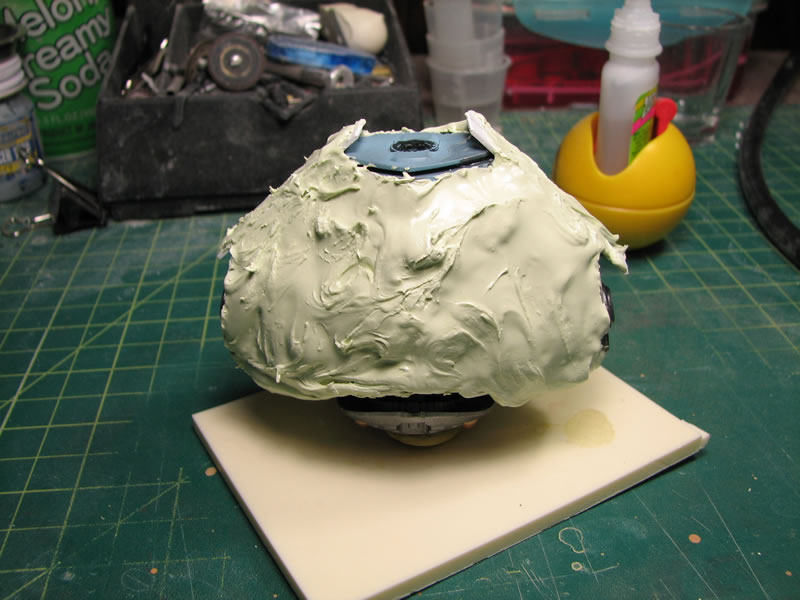
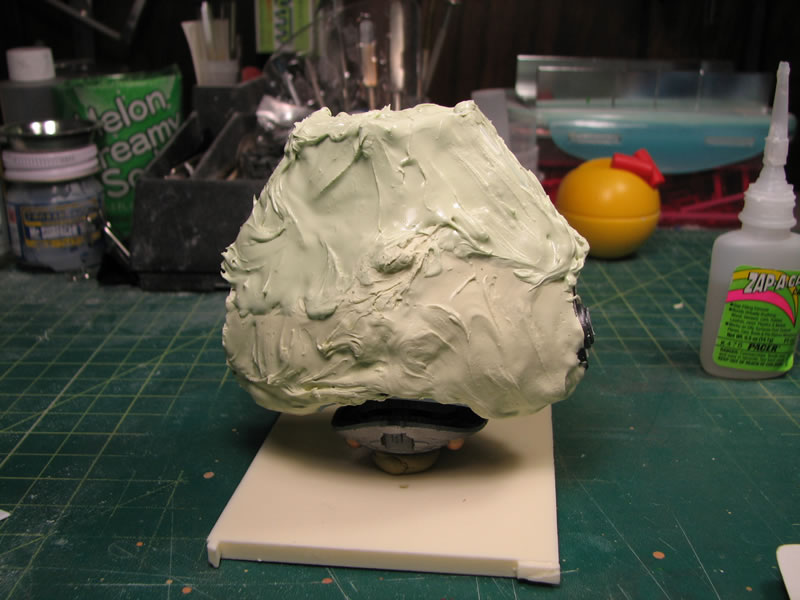
April 22, 2008: This first set of pictures continues from the above, where I continue to build up the body.

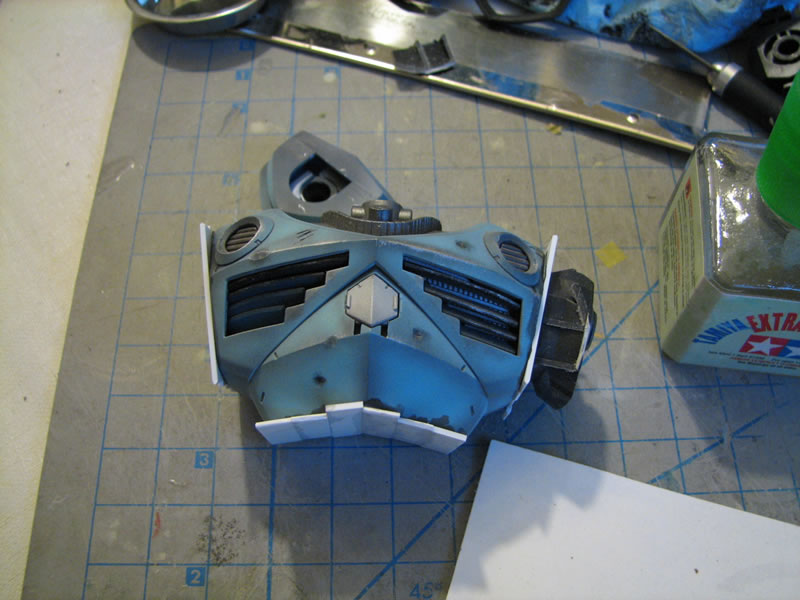
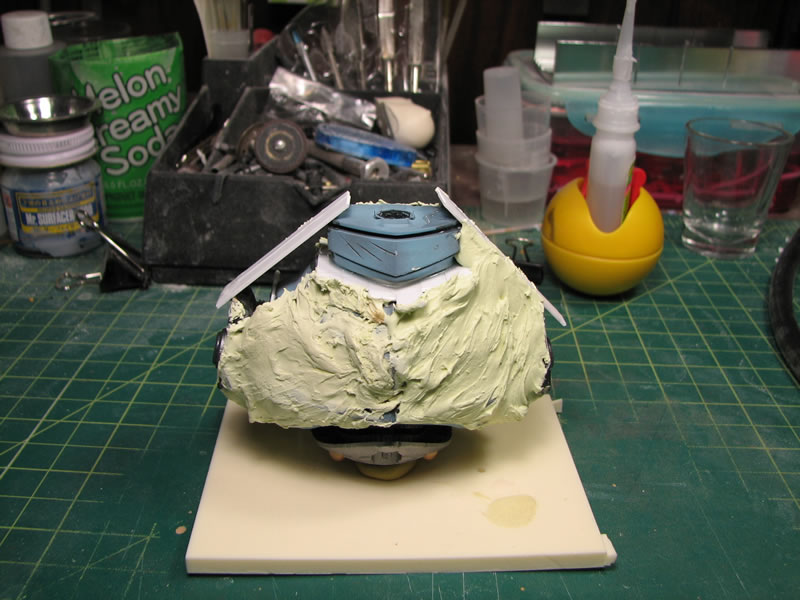
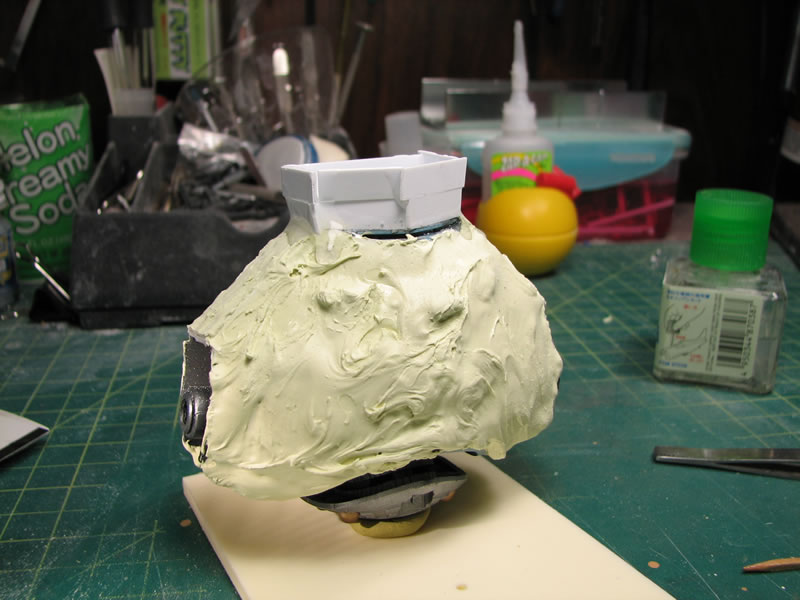
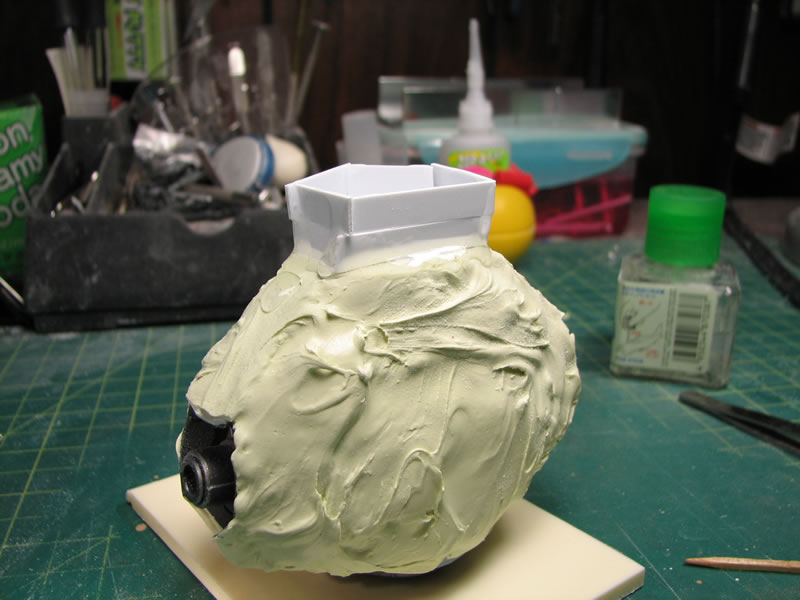
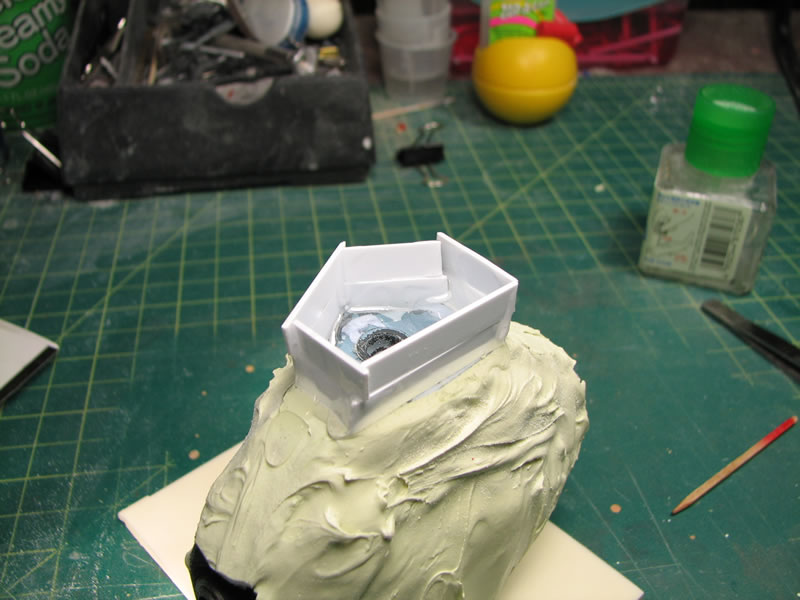
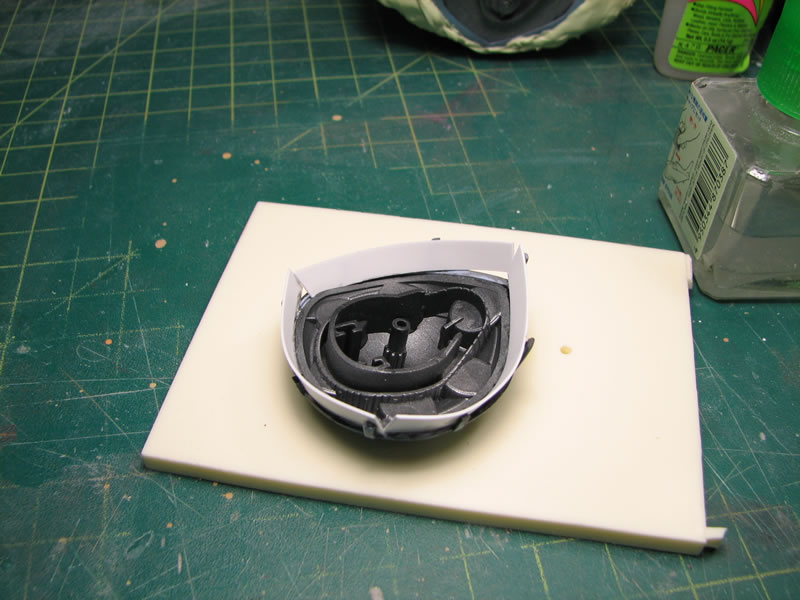
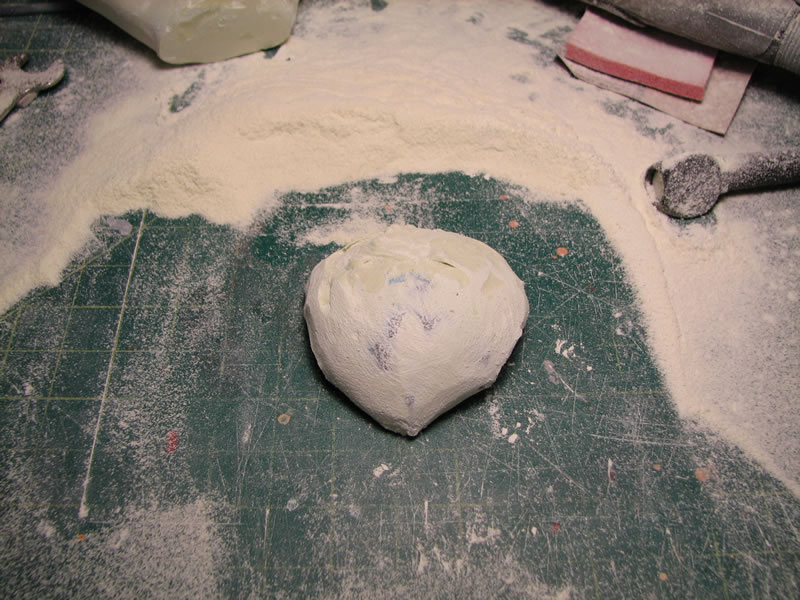
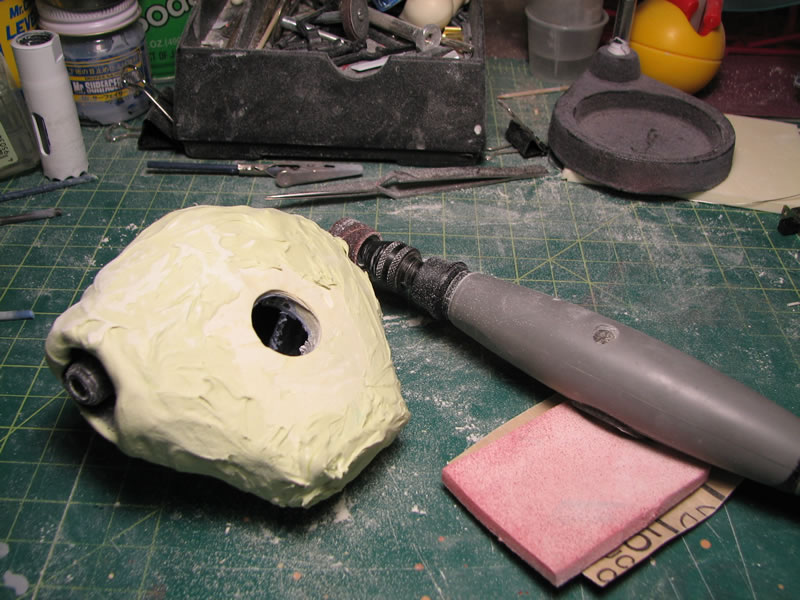
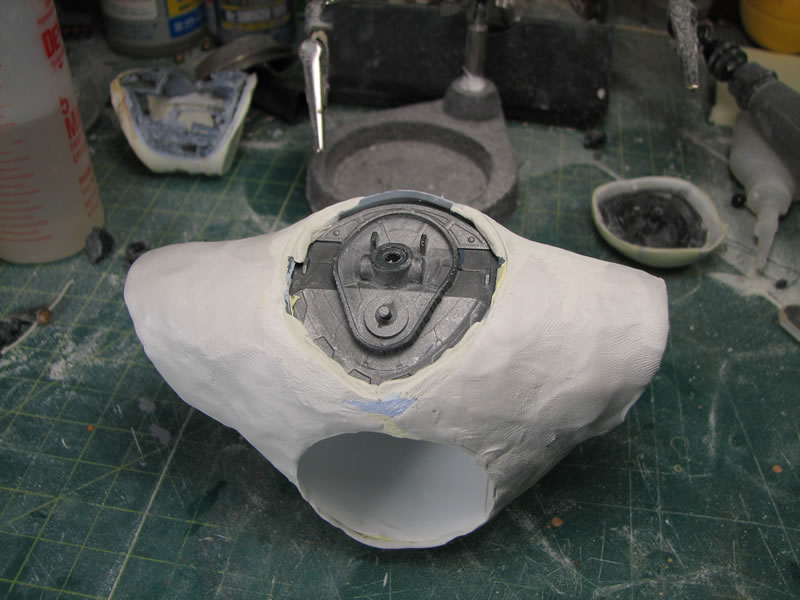
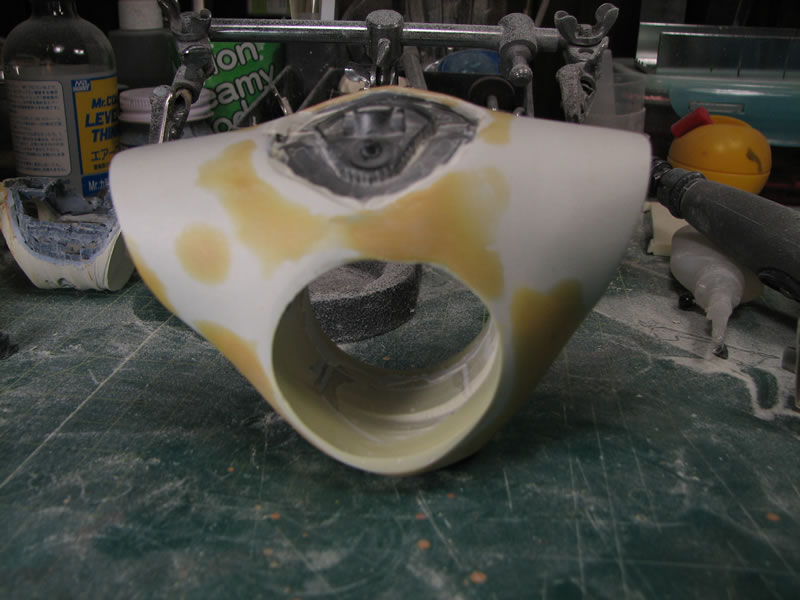
Following this, I started to fill in the head piece. Strips of styrene were glued to the head as a frame for the putty. Then putty was slopped on. Once cured, I could sand down the excess and shape the top of the head.
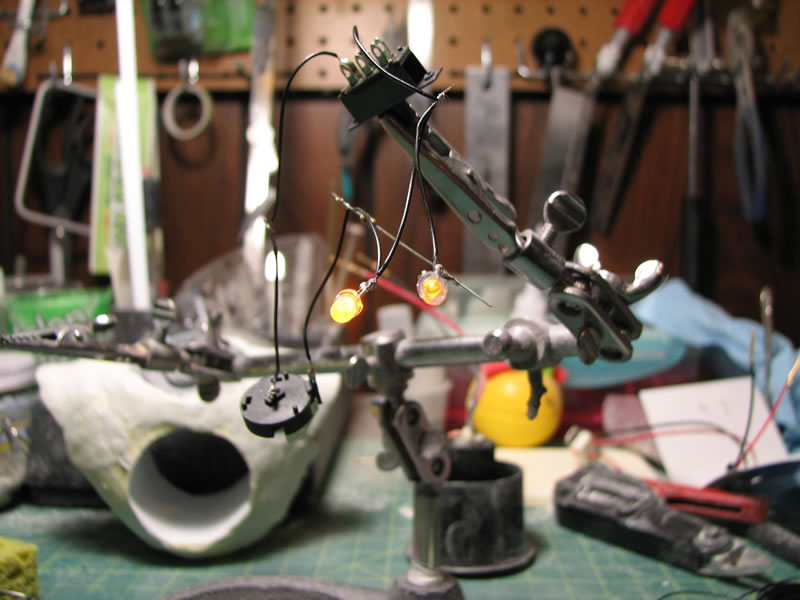
I picked up some of the necessary electonics and testing out a two power source system, I used a DPDT switch to control the LEDs that I plan on using as light up eyes and the ducted fan for Air Man's chest fan.
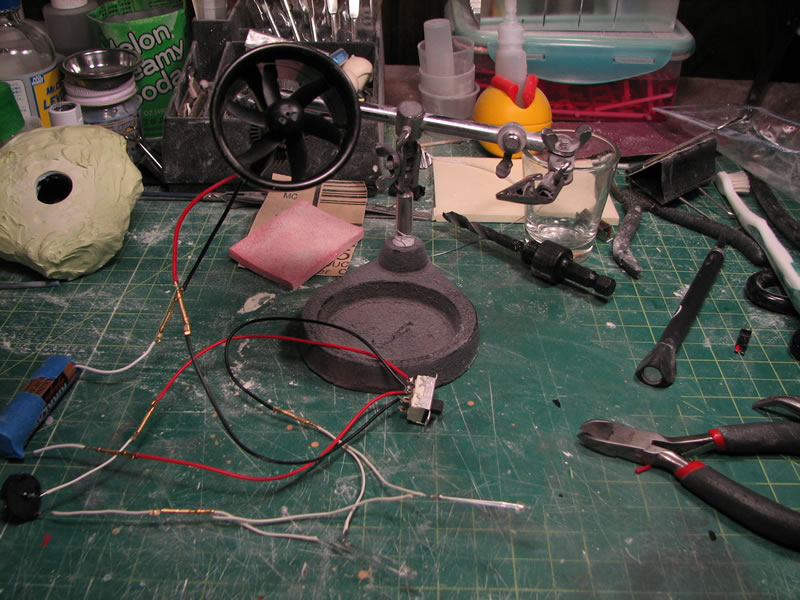
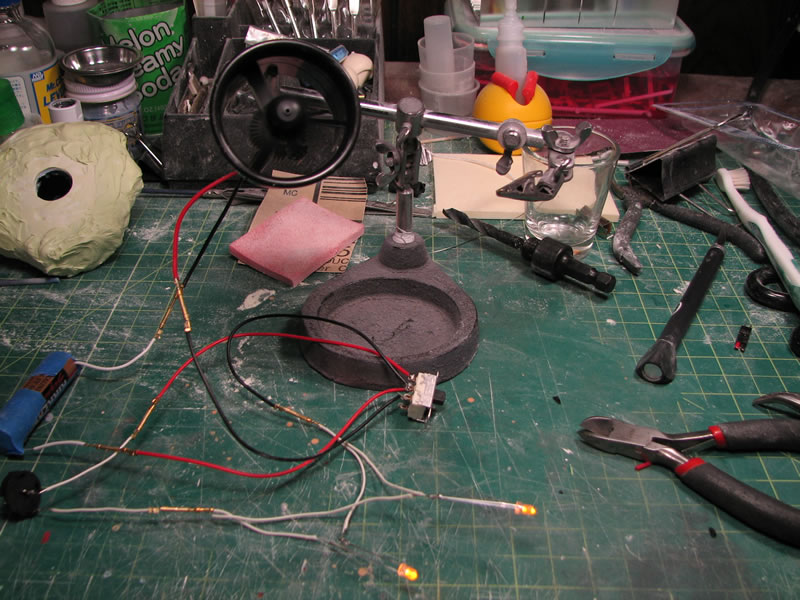
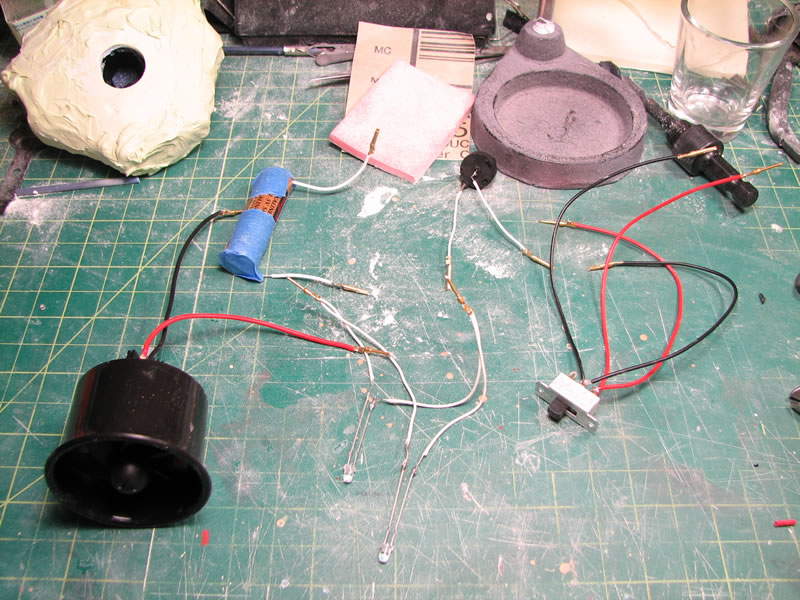
The following is a short video clip of the electonics test. Fun stuff.....
Get the Flash Player to see this player.
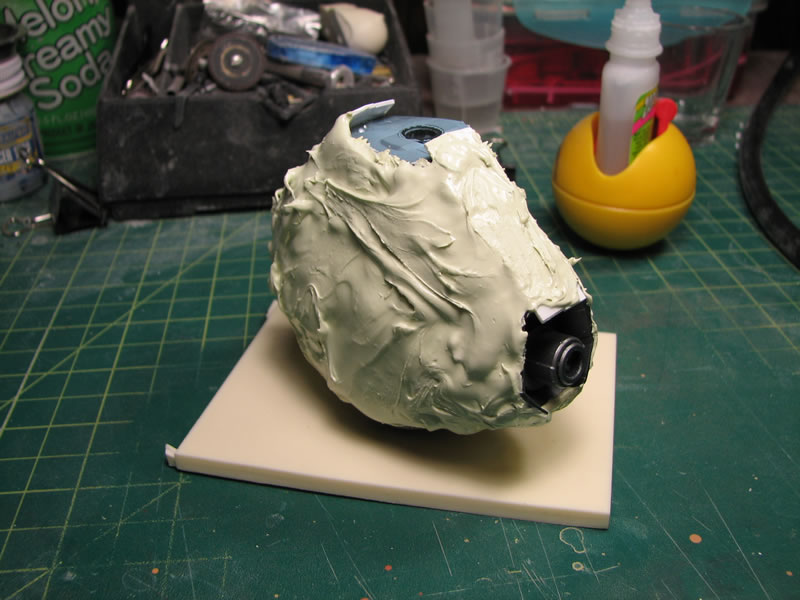
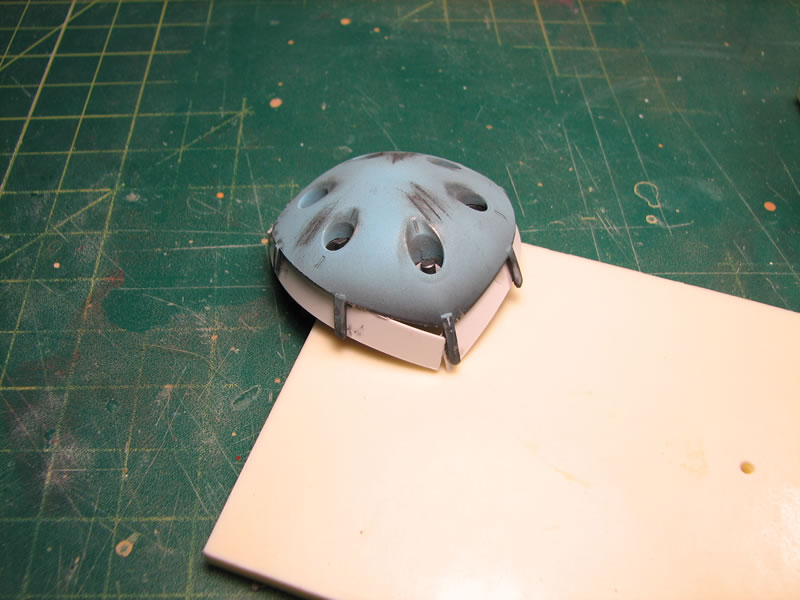
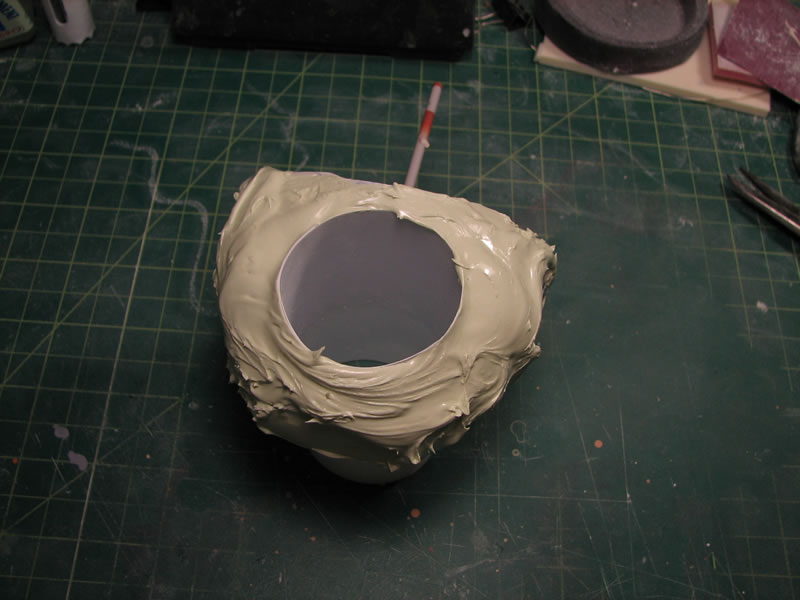
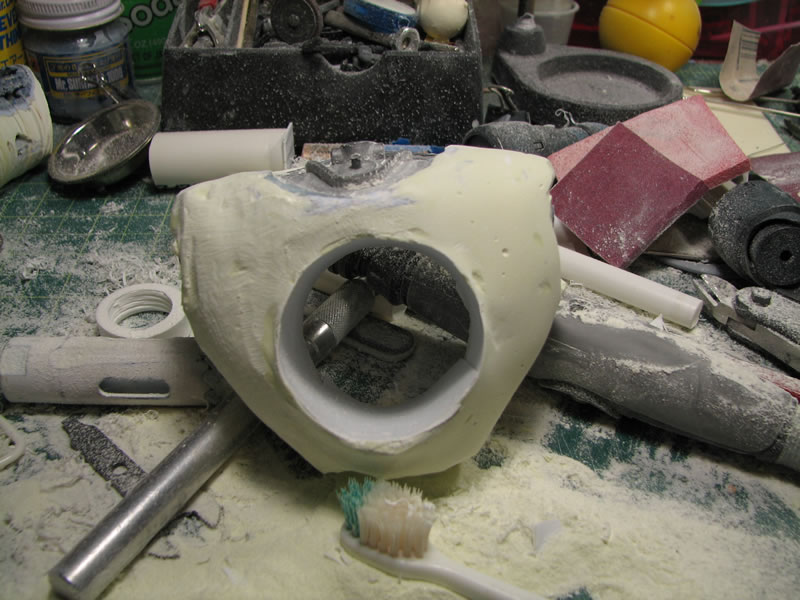
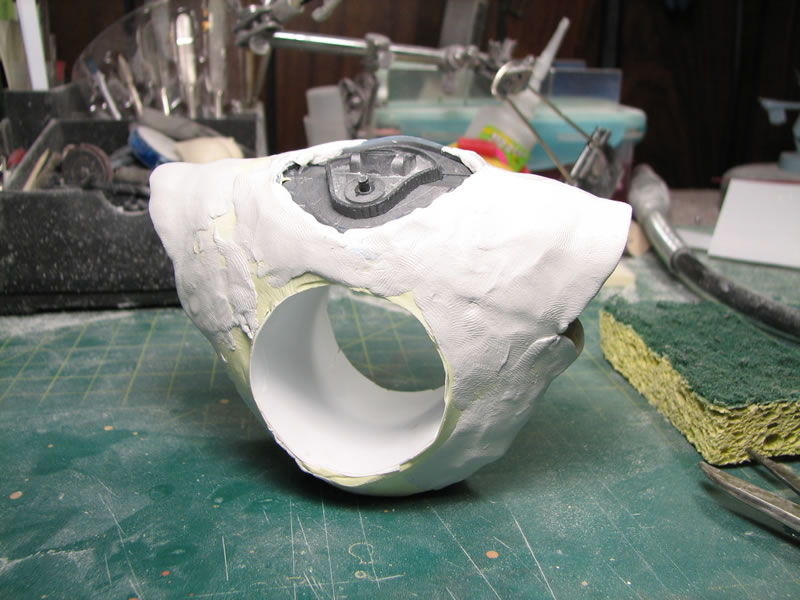
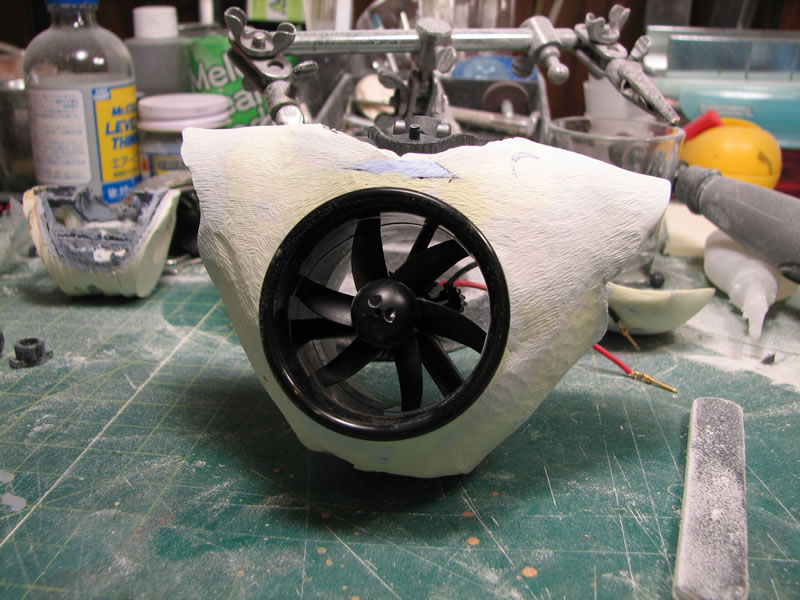
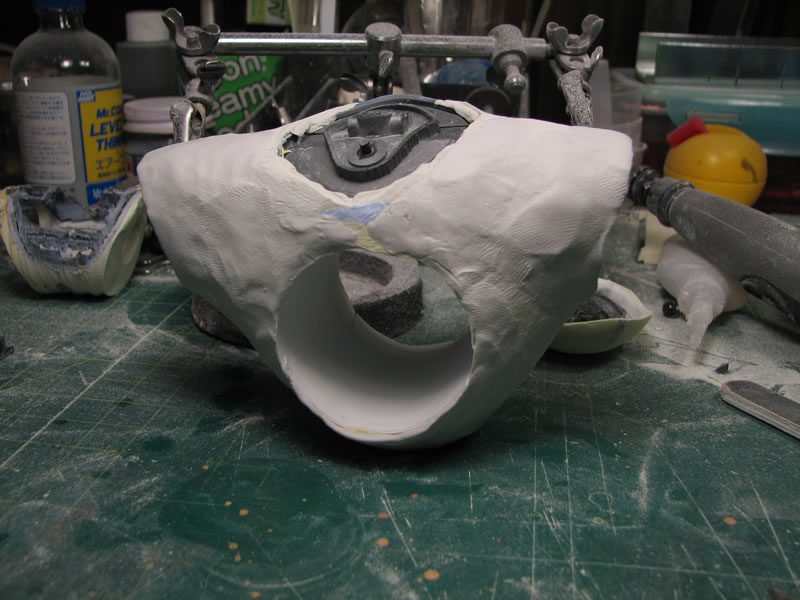
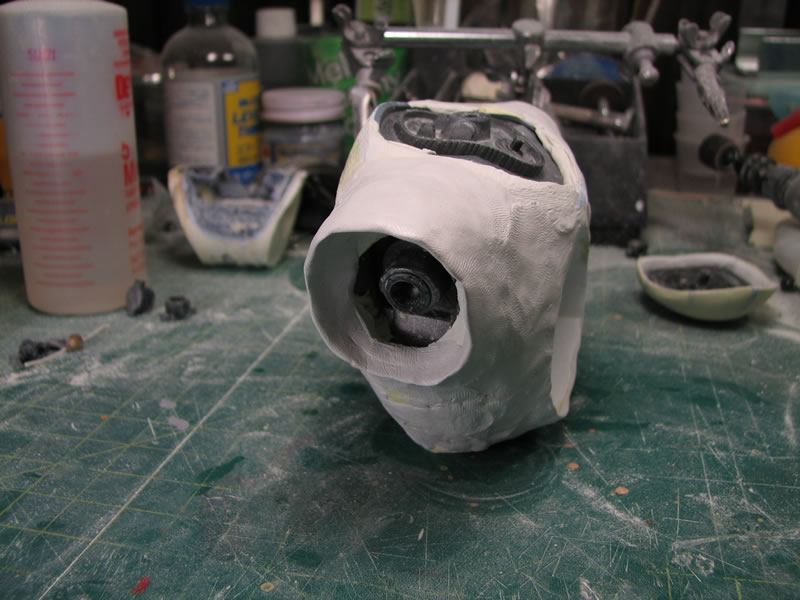
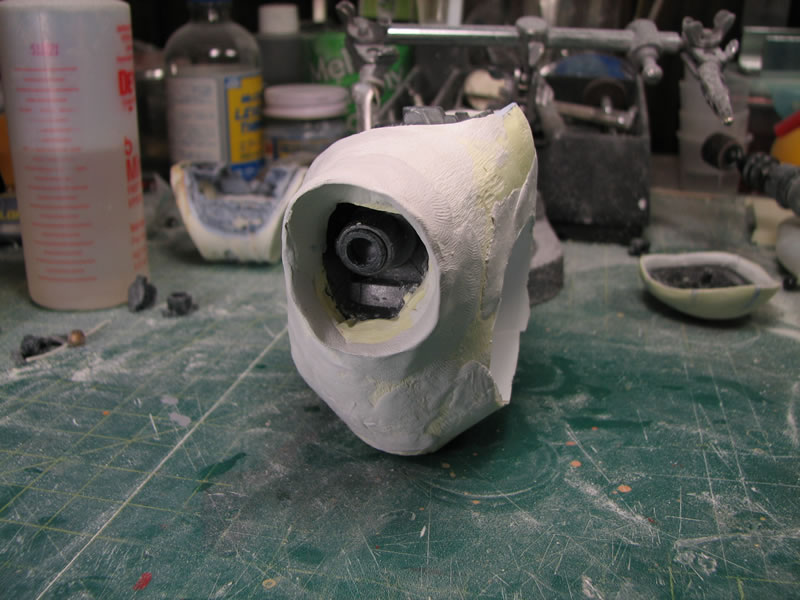
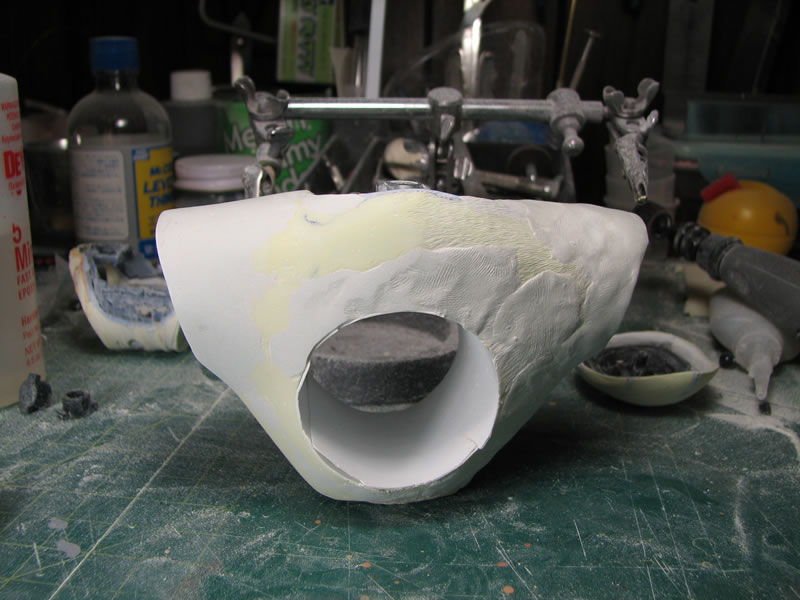
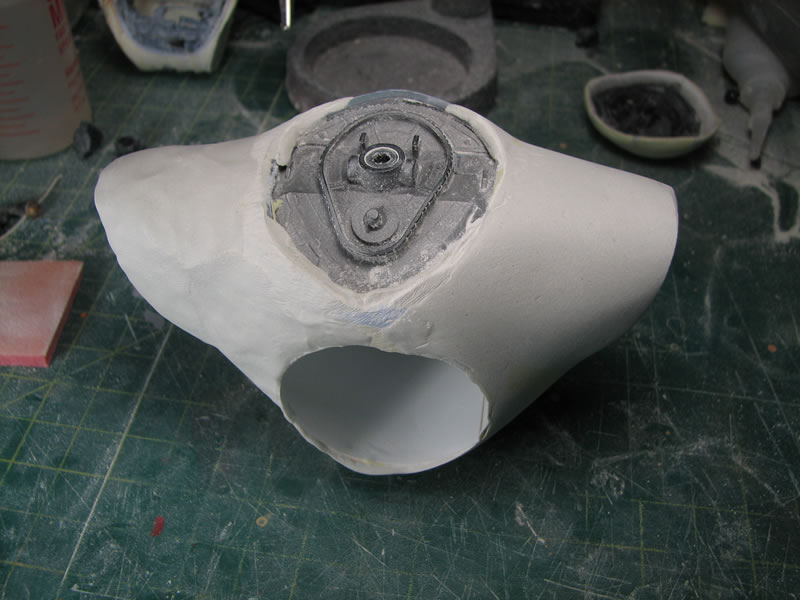
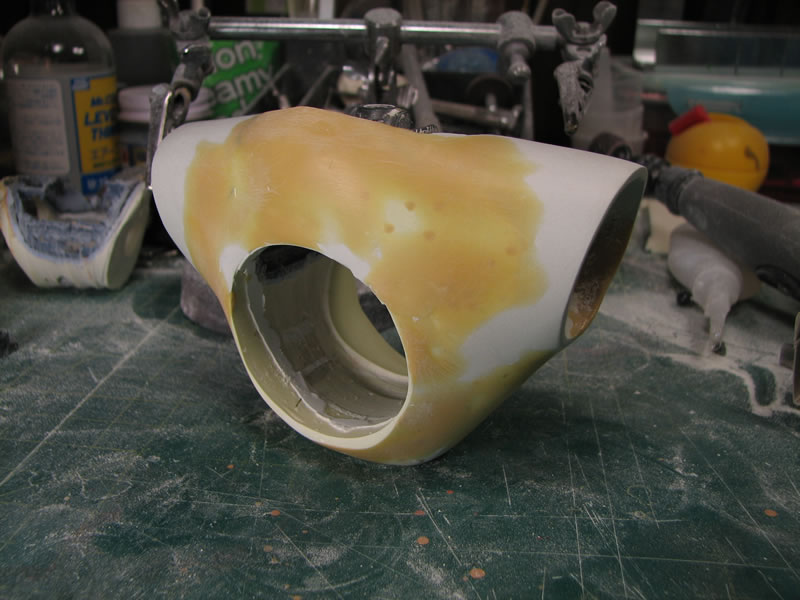
I used a 19 mm hole saw to test out the strength of the polyester putty against the cutter, and it passed with flying colors.... I then sanded the rest of the kit and got ready to cut out the main body hole. Using a 1 3/4" hole saw, I prepared to cut out the fan hole.
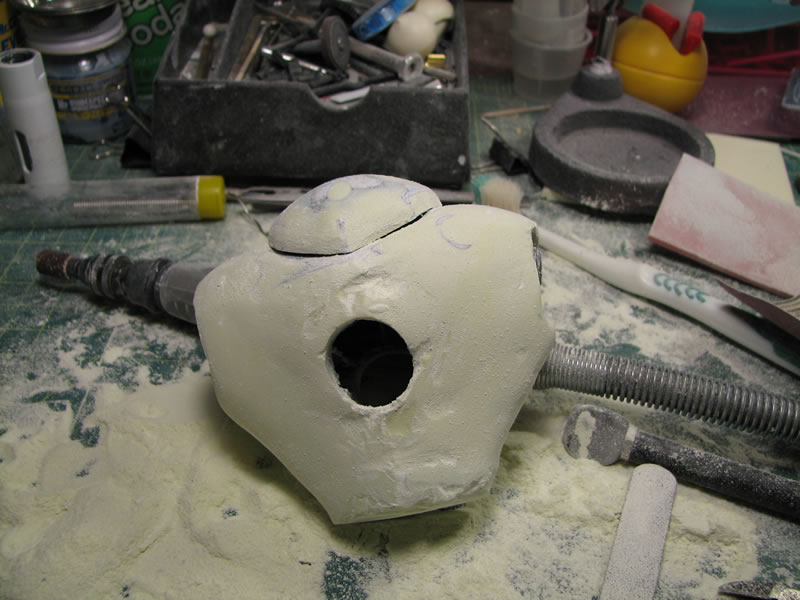
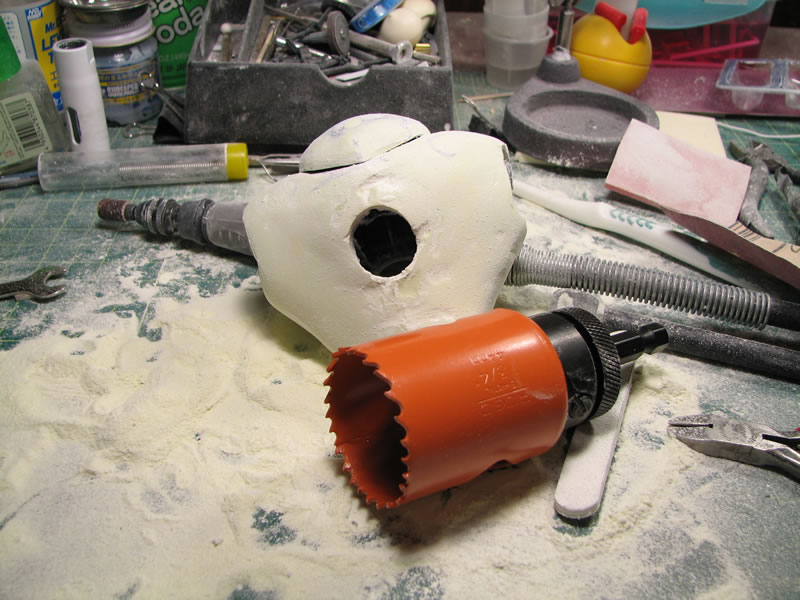
In hindsight, I should have tested the 19 mm hole cutter on a separate test piece and just waited until I finished building up the body before cutting out the main hole. The hole saws have a drill bit as a guide that helps keep the saw from slipping while cutting. Again, hindsight is 20/20. The hole was cut, but slightly off center, so a few adjustments were needed.
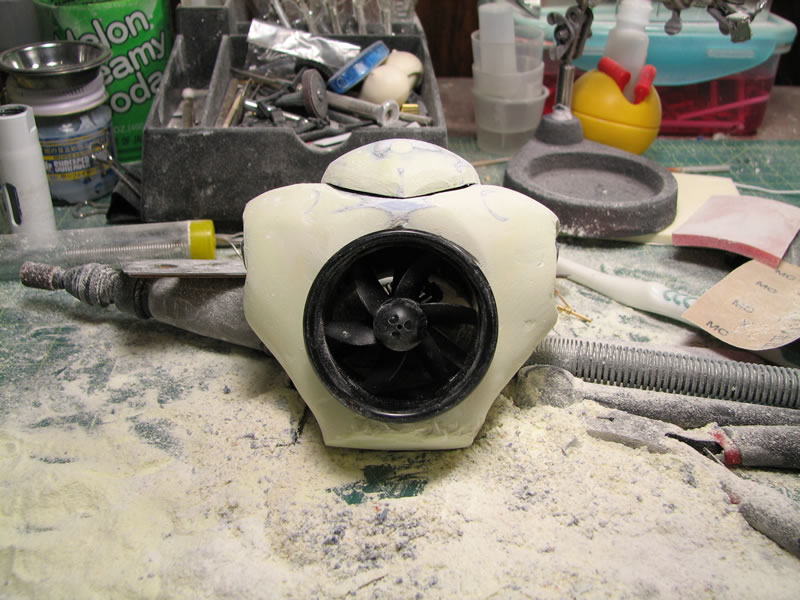

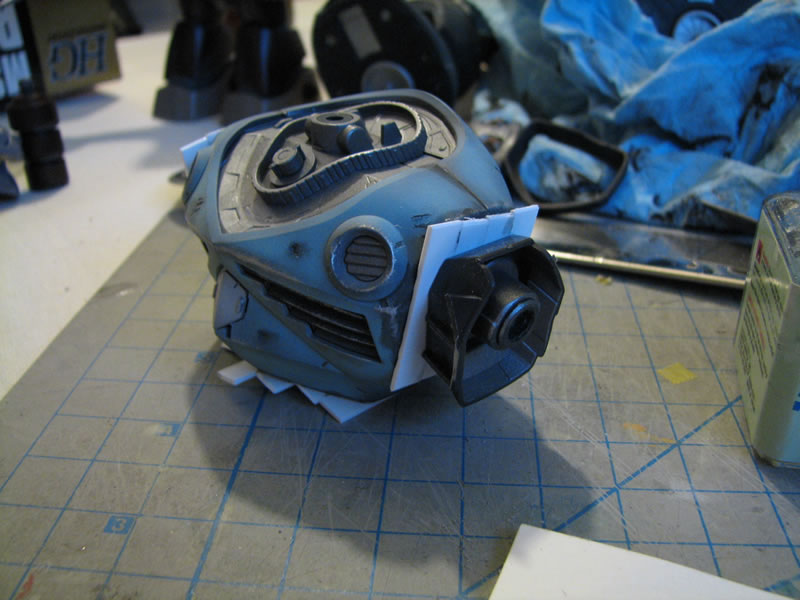
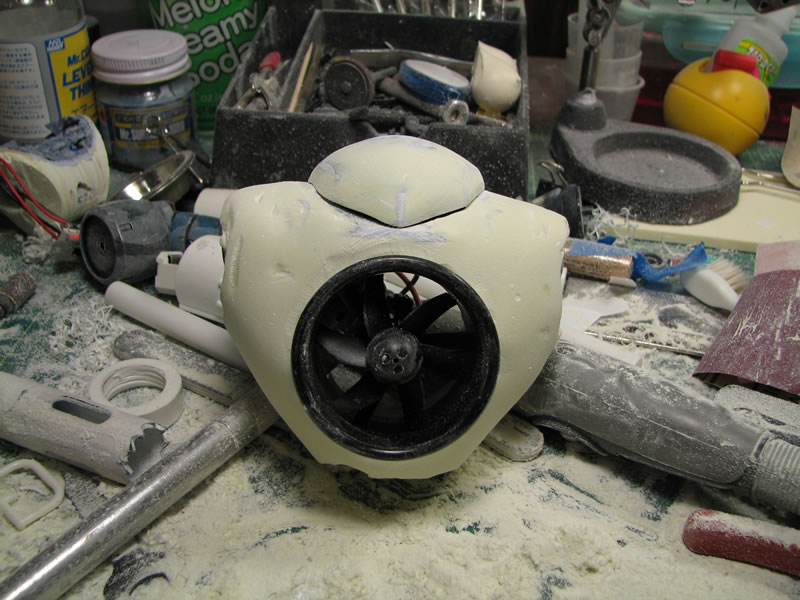
So adjustments were made. The lower body was too thin so I rolled up some thin styrene sheet and created a cowl for the fan. The fan I'm using isn't long enough to pass through so the styrene cowl is necessary. The cowl also works as a guide for adding more polyester putty to the body, and hopefully the last time I will need to add bulk to the body
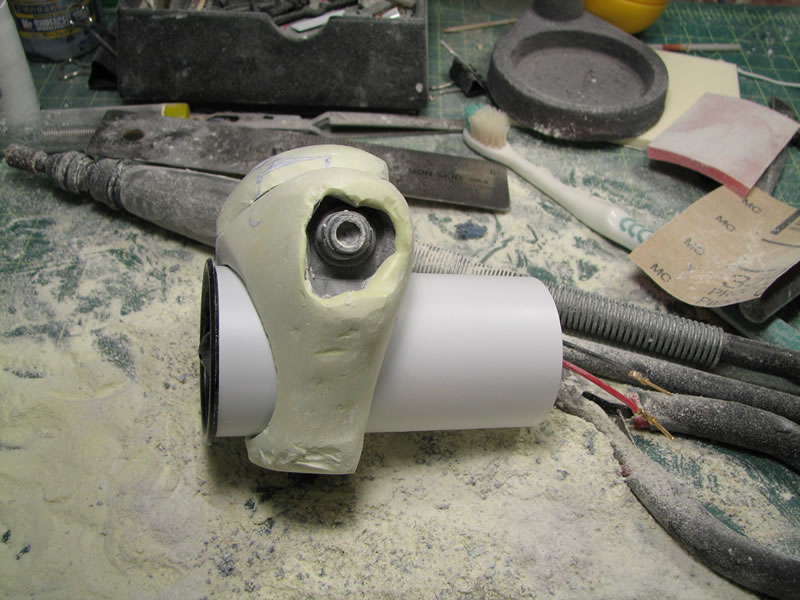
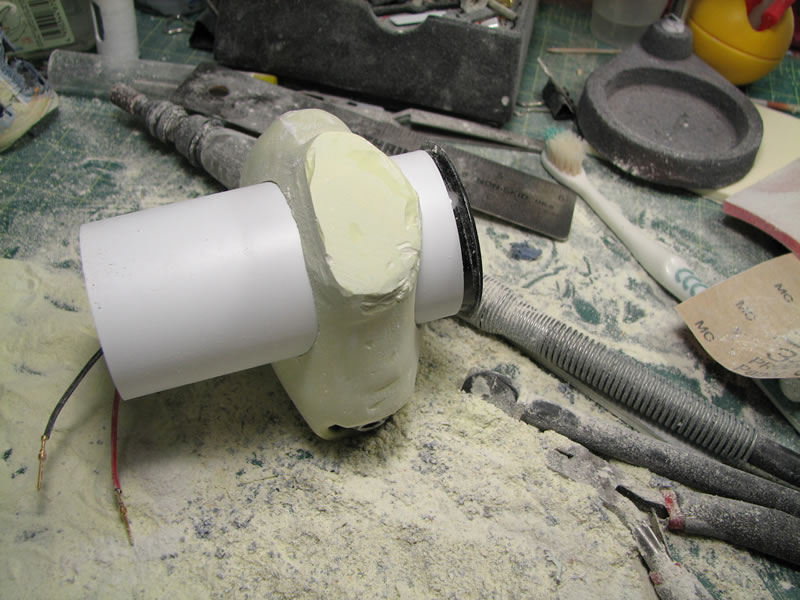
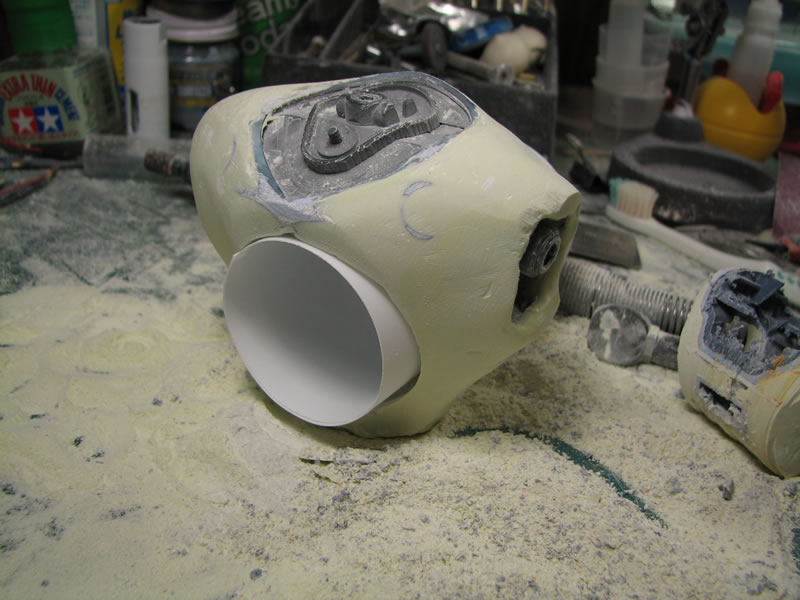
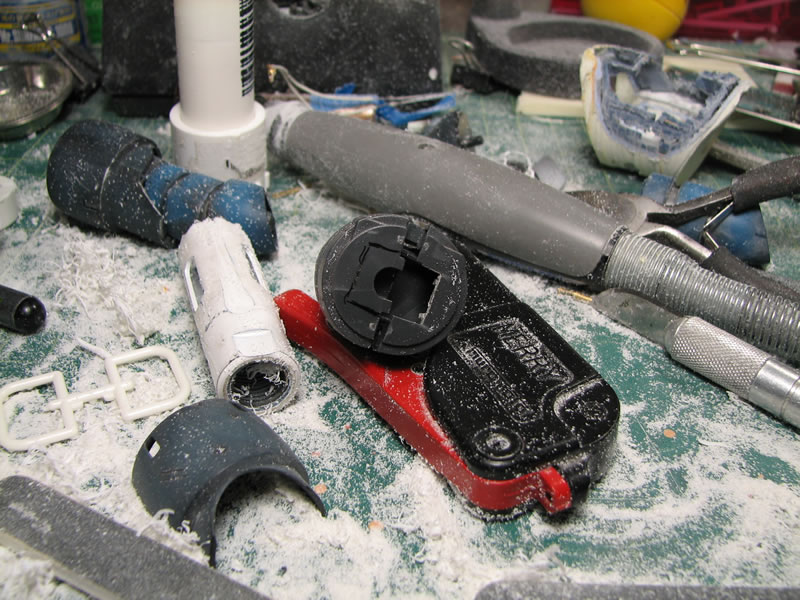
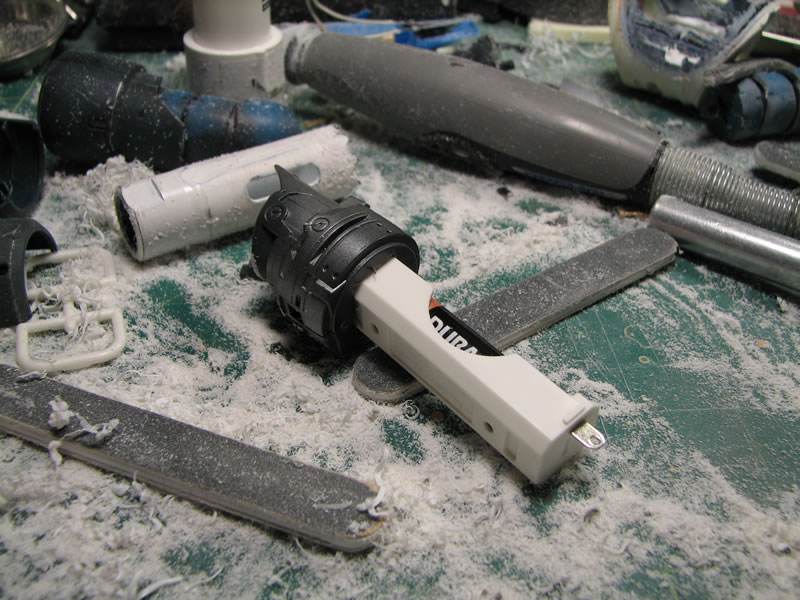
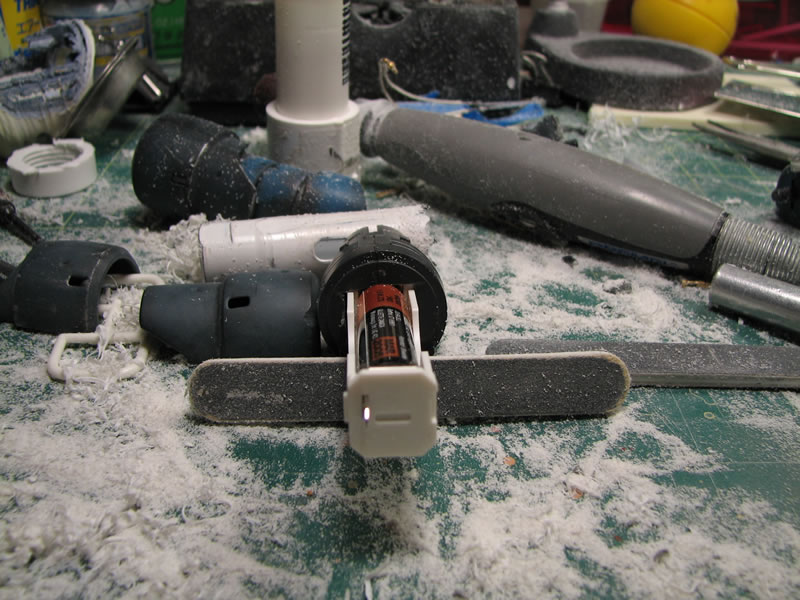
April 25, 2008: Pre weekend update... From the last update, I started working on the arm/battery pod setup. I cut into the Z'Gok's main forarm piece to fit the battery pod. Using some PVC pipe, I hollowed out the inside a bit more so that it would fit over the battery pod.
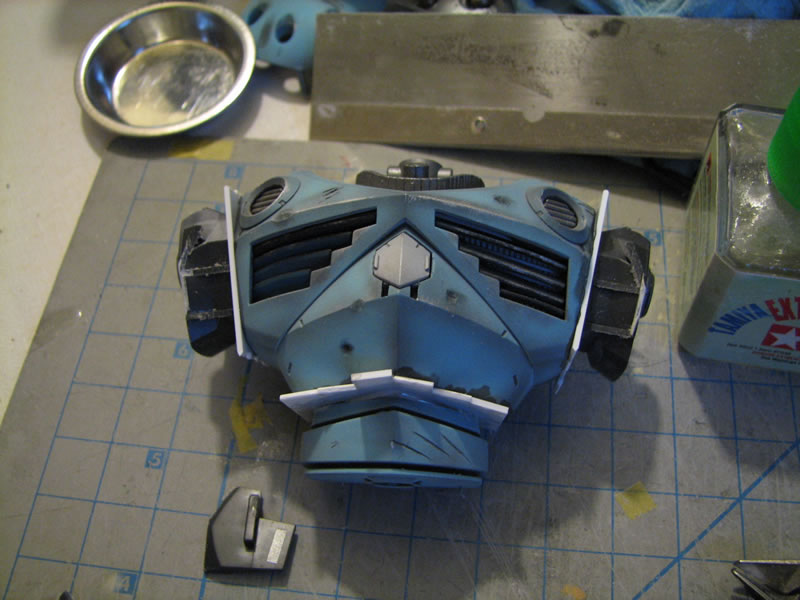
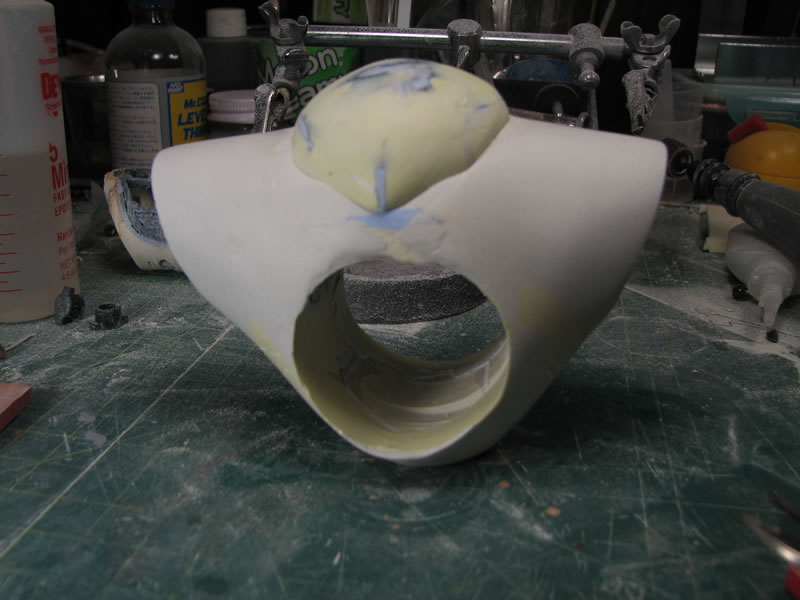
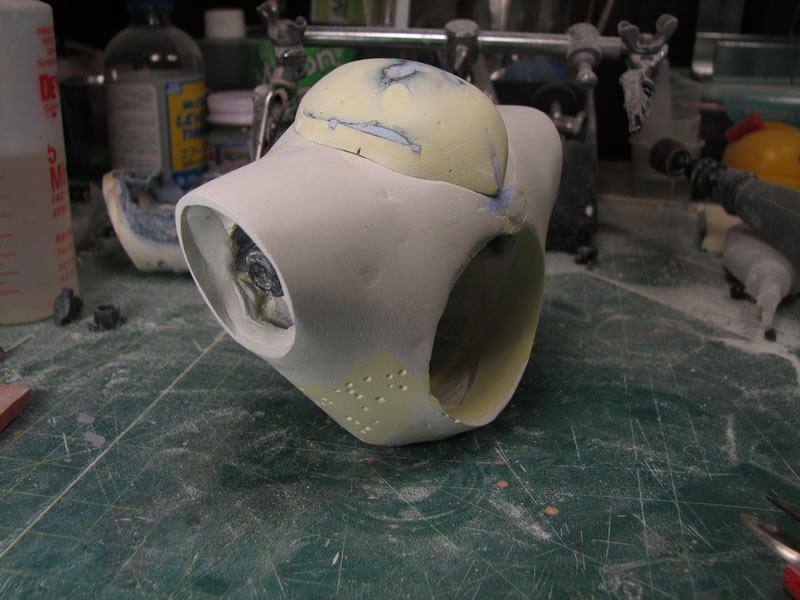
More body work as the rough sanding and shaping of the body continues. Sand, putty, sand, repeat...
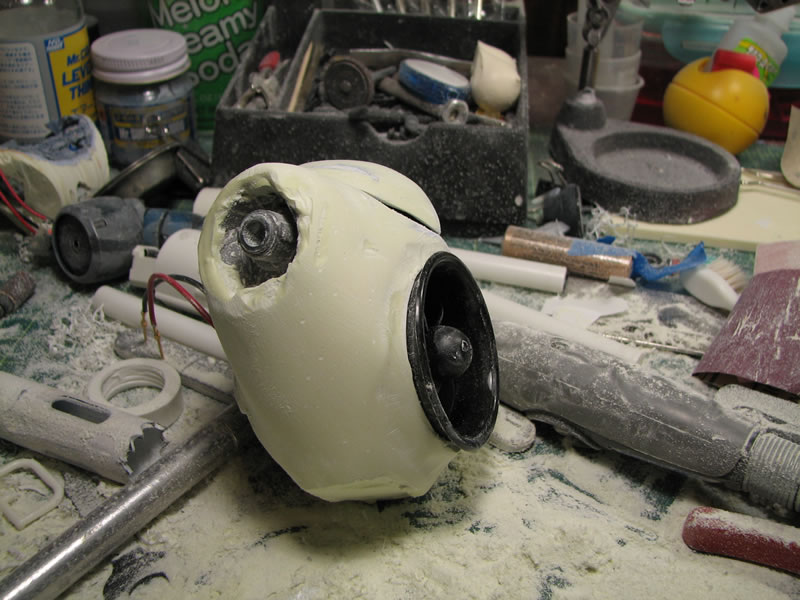
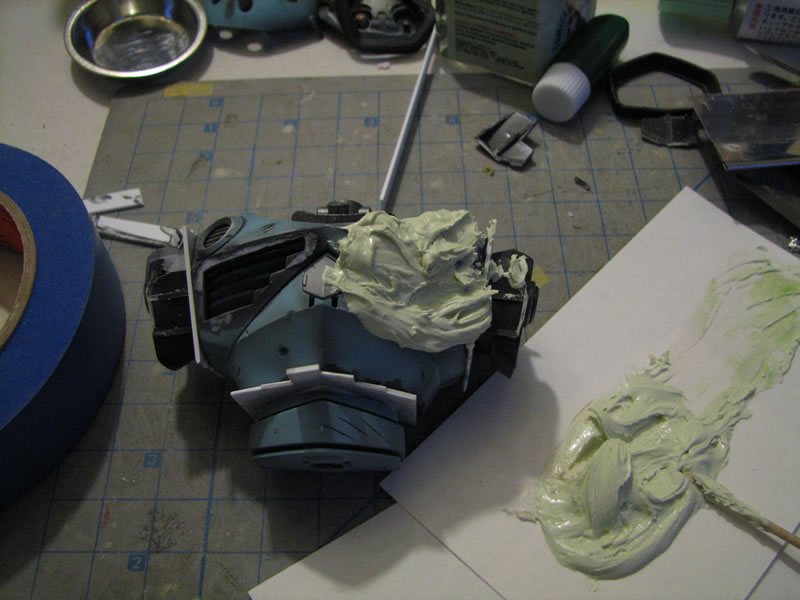
For finer detailing, I used aquamend epoxy putty over the cured polyester putty. I'll probably add more of the aquamend to finalize the sculpt. Also, I added a resistor to one of the two LEDs as a test for the intensity. I like the lowered intensity, so I'll be incorporating the resistor in the wiring scheme.
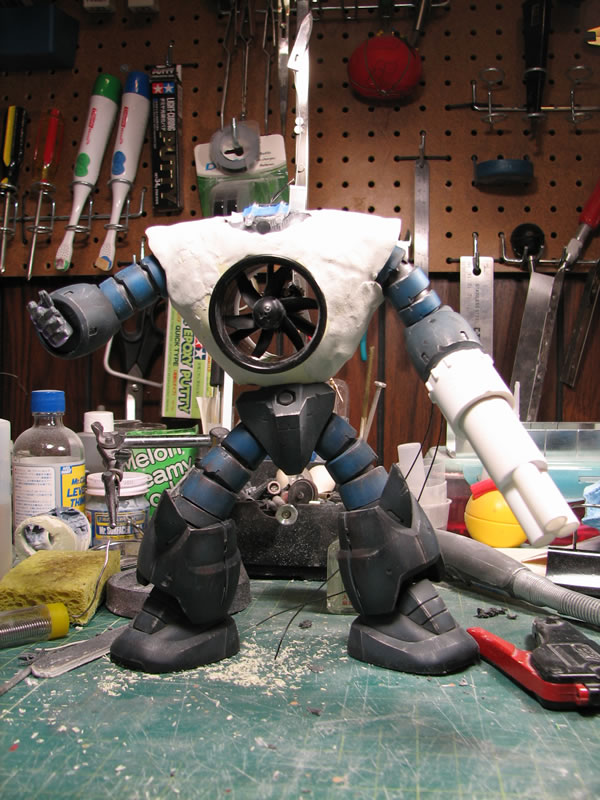
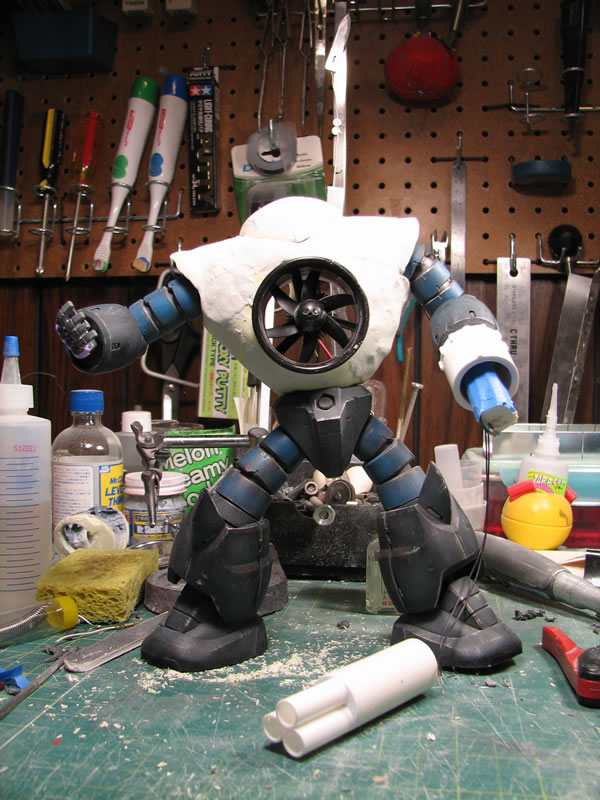
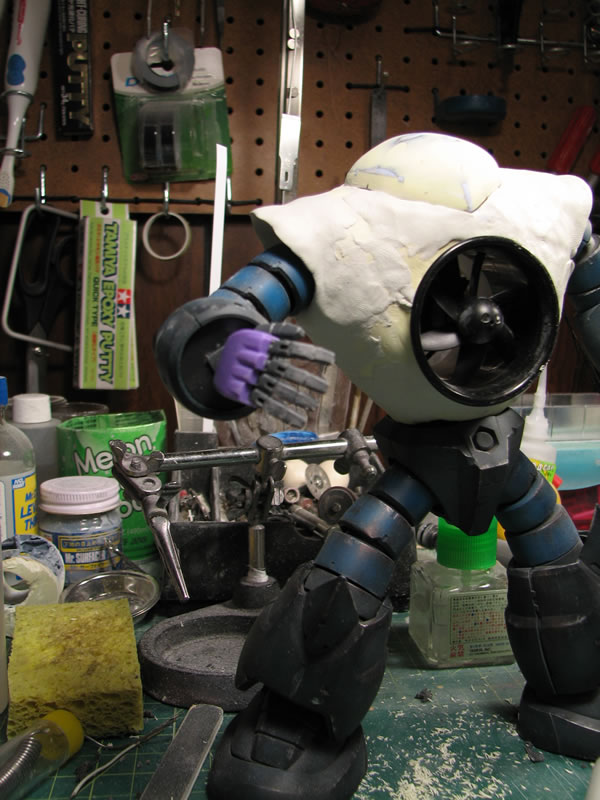
This is a test mockup of what the thing looks like now. Rather than scratch build my own hands, I used MG Dom hands which look to be about a good size for the project. The LEDs were test mounted, I will be configuing them so that they point out and not down. And I added a little detailing to Air Man's "Gun Pod" arm, with three barrels. Looking at the current setup, I think I'll trim the barrels down a bit to drop the overall length of the gunpod arm. There are many other changes that I want to do after taking a look at the mock up. Hopefully, I'll get some good work time in over the weekend on the project.

April 27, 2008: Weekend update. Really boring work, sand, putty, sand putty, repeat... I start off with the dremel to do some quick rough sanding.
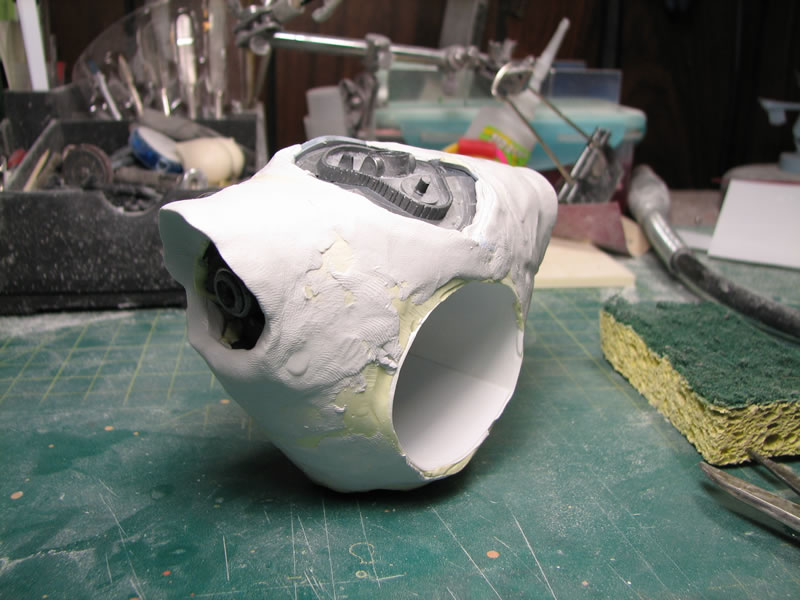
More aquamend was used to finalize the sculpt of the kit.
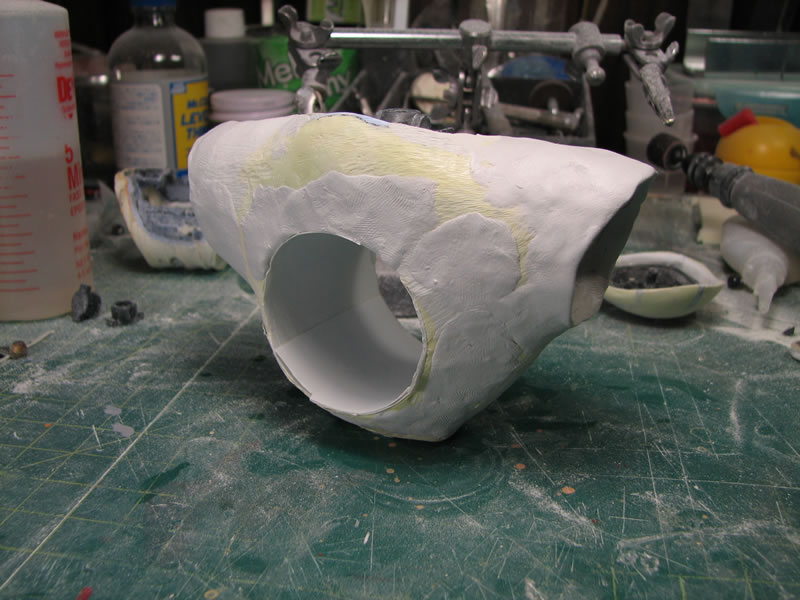
THe cured aquamend was sanded down getting closer to the final shape.
Once everything was sanded down and I had the final shape, I cut open the bubbles in the cured polyester putty and then filled those using tamiya epoxy putty quick type.

I finished the weekend's work with some Mr Surfacer 500 to fill small gaps and areas.

April 20, 2008: Inspired by a video I saw, I'm going to use the video as a guide and build my own version.