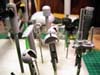
June 17, 2006: The one thing I love about going
to IPMS shows is that I always leave with inspration to work on another
diorama. Today, I saw some really well done tanks, and some really well
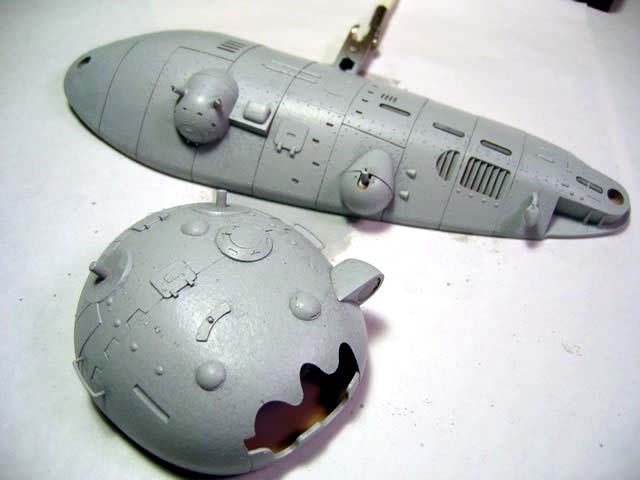
done dioramas. Since I picked this kit up, I've always had an image sitting
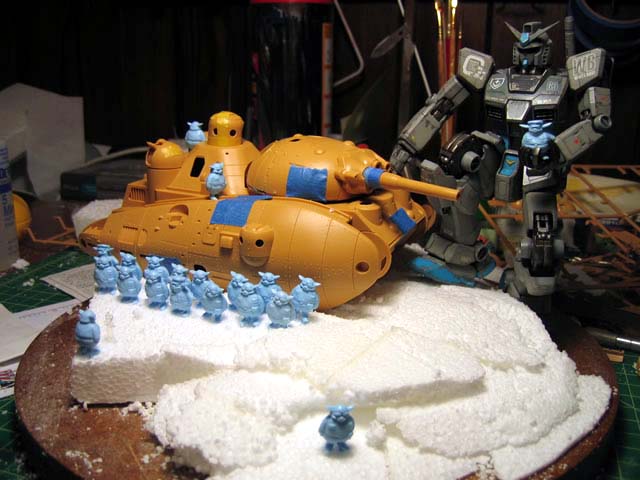
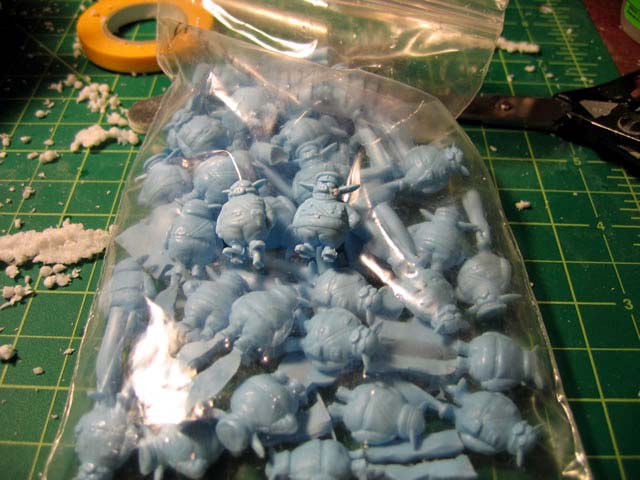
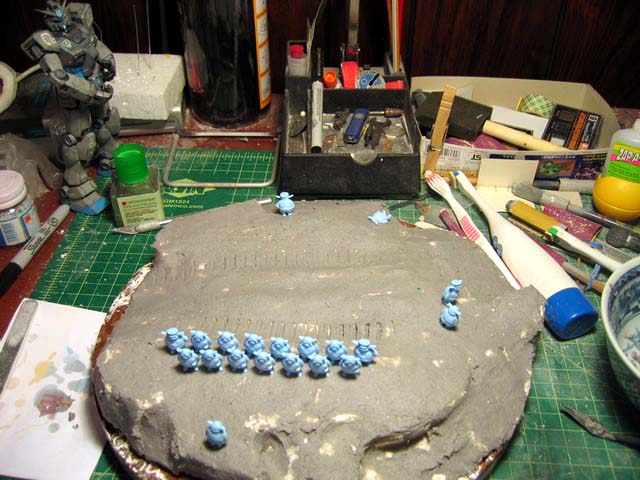
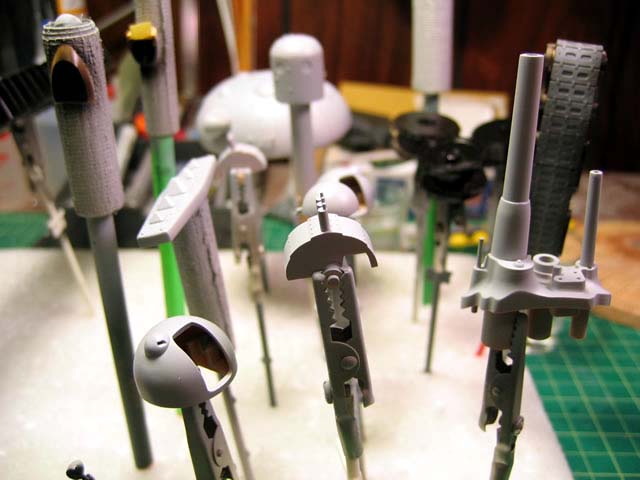
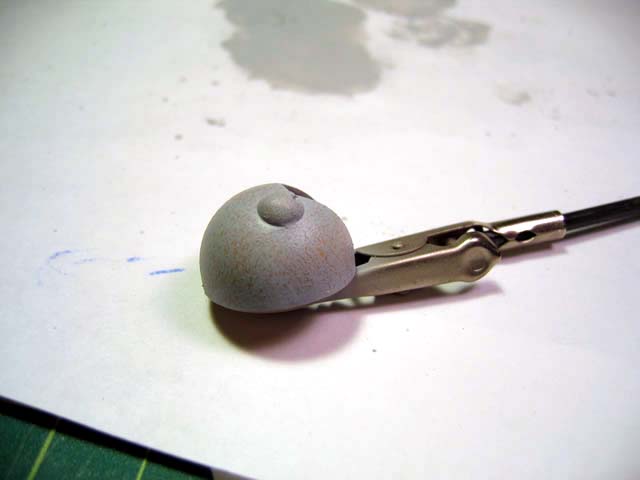
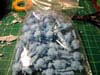
in the back of my mind for what I wanted to do with this kit. I even sent
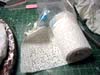
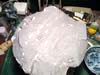
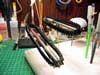
out the three little piggies that came with the kit out to a friend to
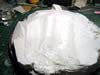
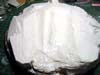
have recasted. As you can see in the last picture, I have a full bag of
little piggies. BeGO just released another version of this kit with the
full crew, 20 piggies. Too bad I would only be interested in the 20 crew
members. There are 5 different characters, oh well, guess I'll just have
to do some cosmetic modifications to the piggies I have.
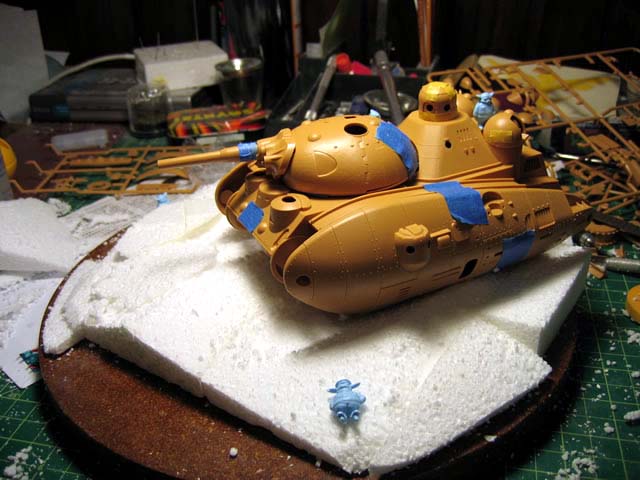
The general idea is to do a snow dio (yes, another snow dio... because
I have tons of the stuff - and I also want to do a slighly different WWII
germanic theme than the one Miyazaki drew. Going with a grey german scheme
in the snow. The over theme of the thing will be a photograph session
with a couple of piggies off doing their "own" thing. I have
built 1 tank in my life, and that was about 20 or so years ago. Challenges
are fun so long as I don't fall flat on my face.
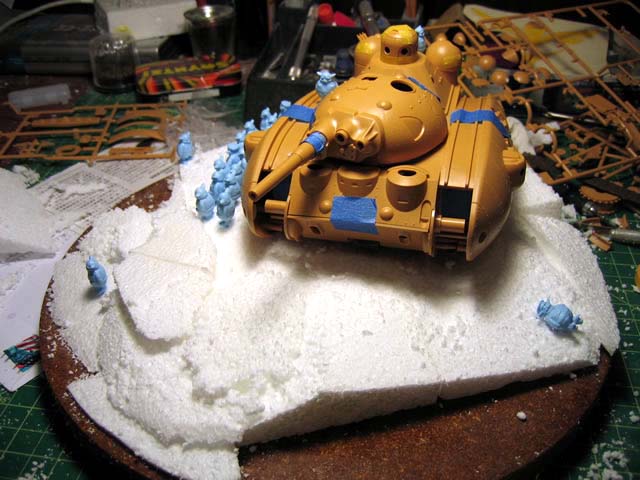
July 16, 2006: Little update. Been slow in getting back
to working on the kits. I think AX kinda burnt me out, with the workshop
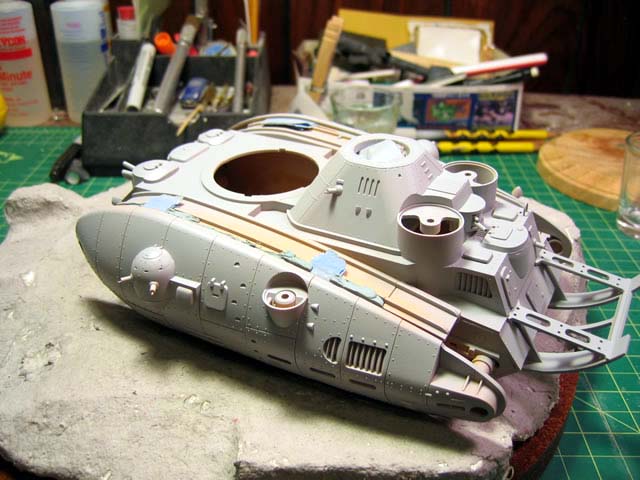
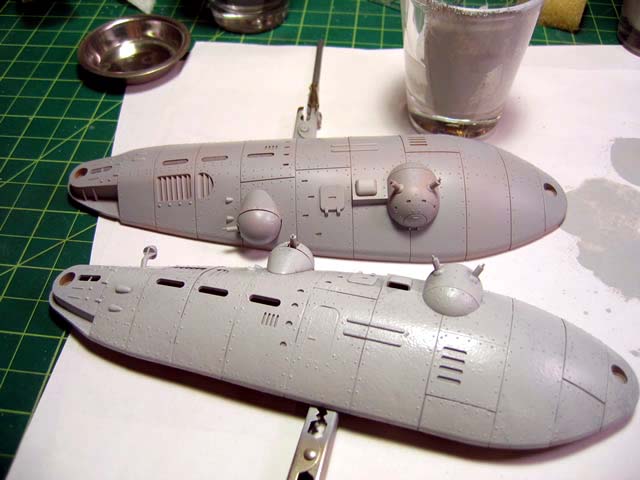
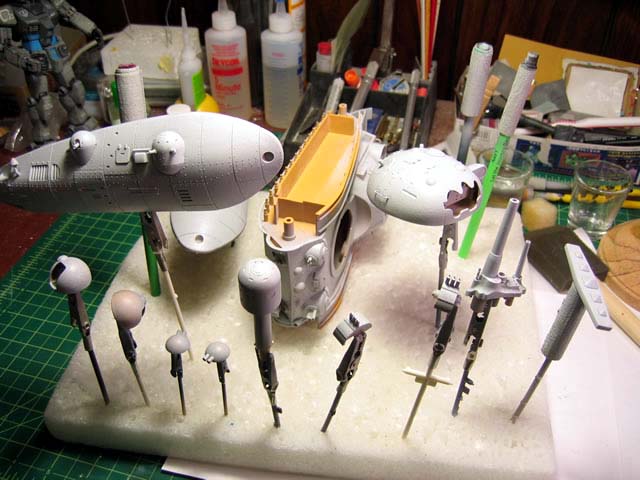
and everything. But along side of this kit, I also started working on
a 1/6 Sonsaku kit. Most of the parts for
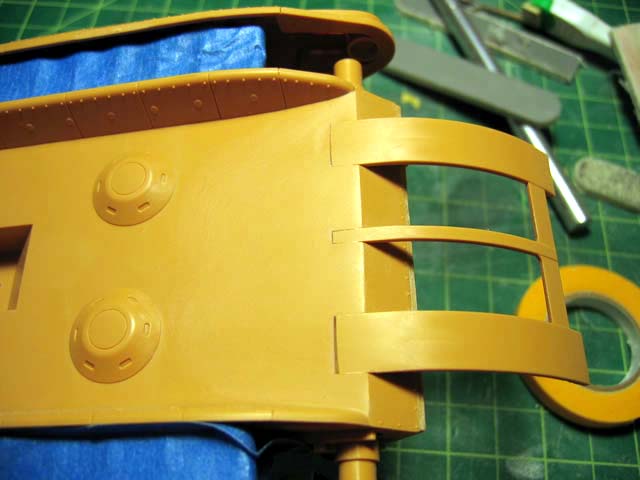
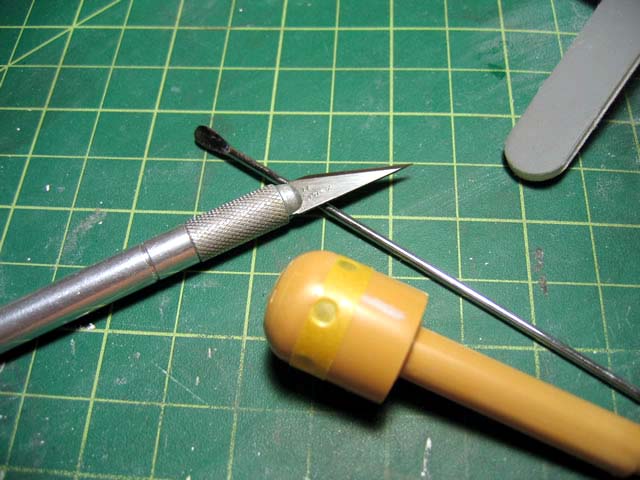
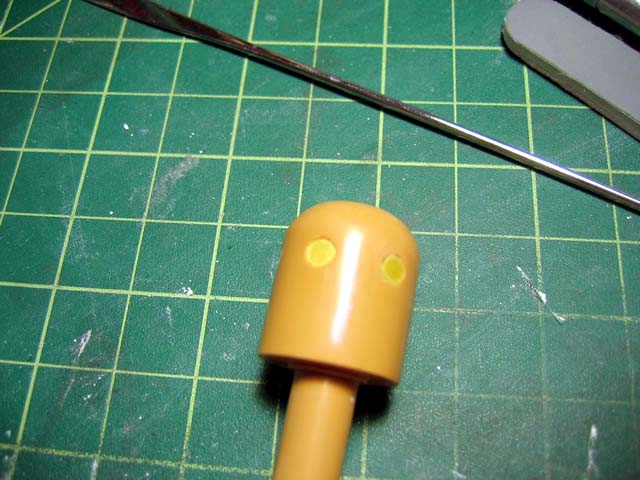
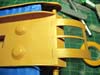
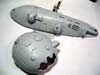
the tank have been glued together and sanded. I also masked off the windows
for the little con tower thingy.
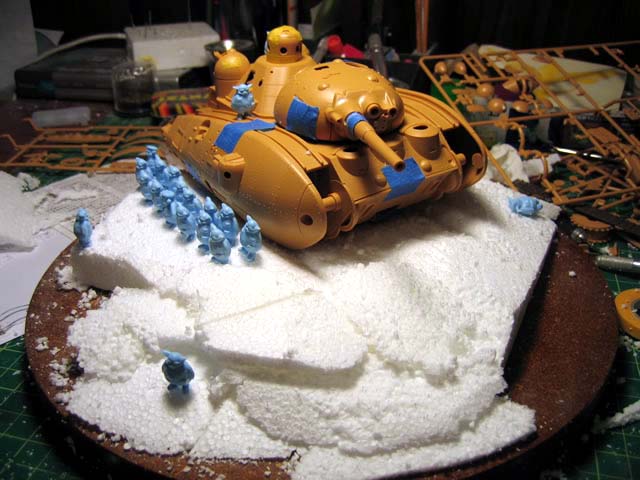
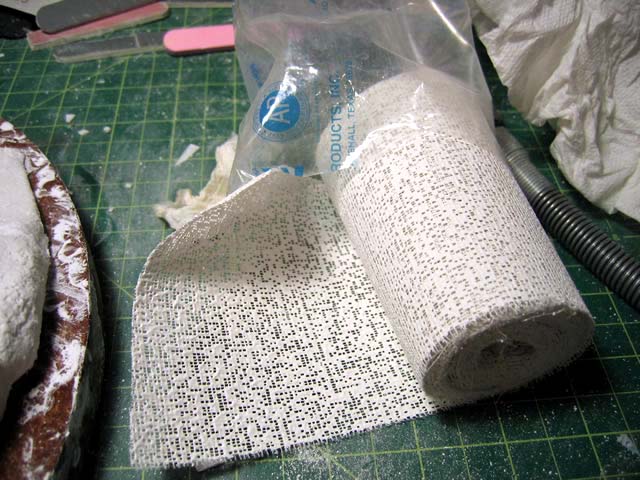
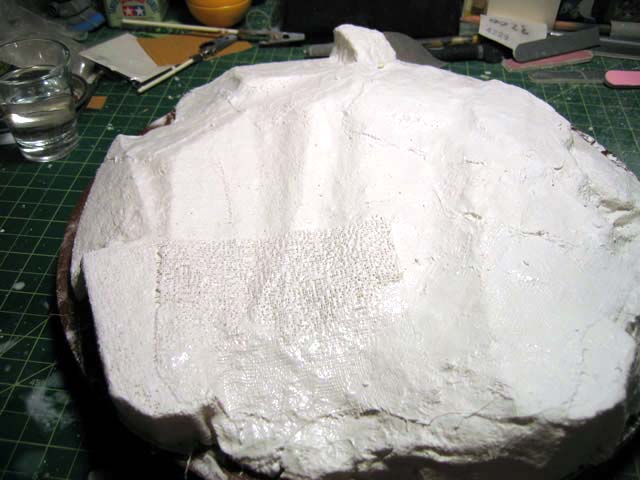
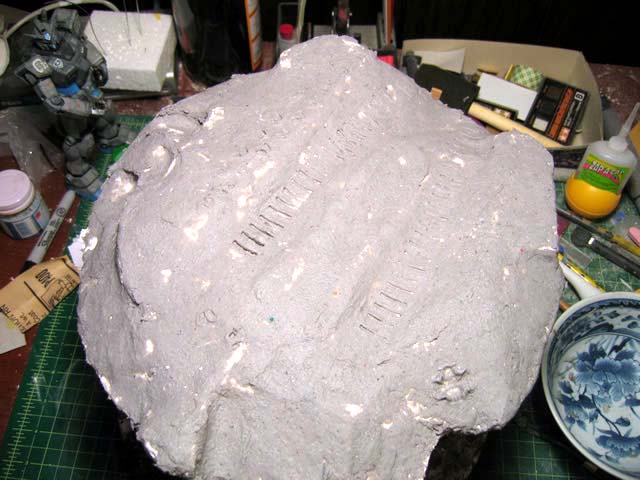
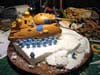
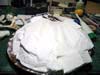
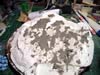
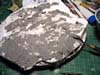
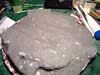
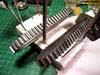
Most noticable work done was for the base. The base started
with my usual cut up styrofoam landscaping. Following this, I used plaster
cloth and layed the stuff down over the styrofoam base. The cloth is dipped
in water, then laid over the various parts of the styrofoam to create
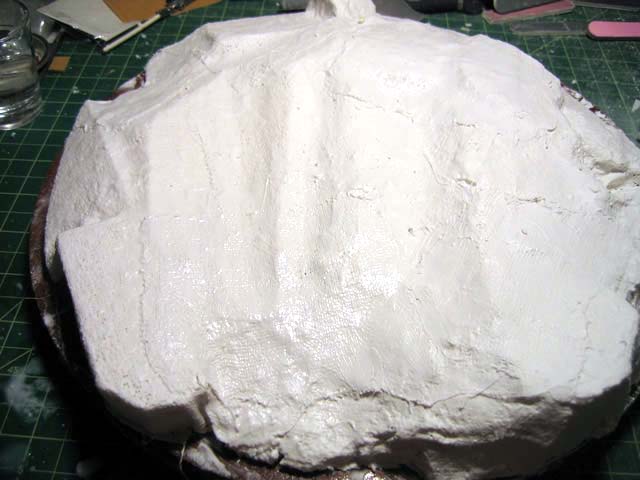
a uniform surface to apply celluclay. Once the plaster cloth is completely
dried, (24 hours), the base is solid and ready for the next layer.
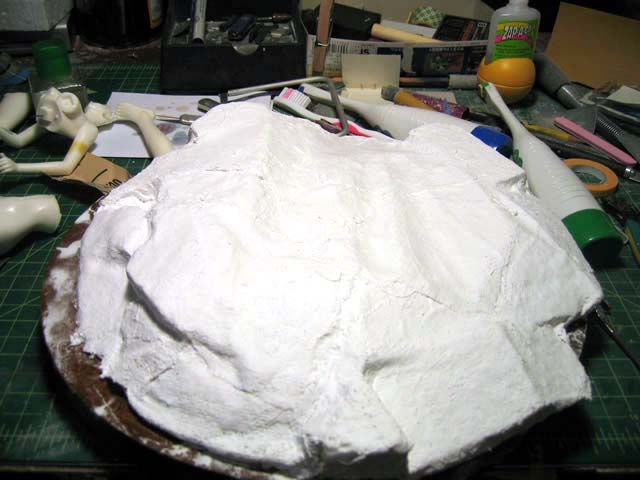
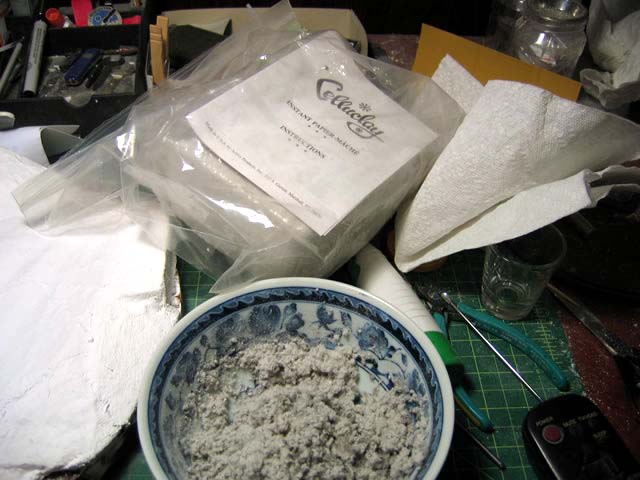
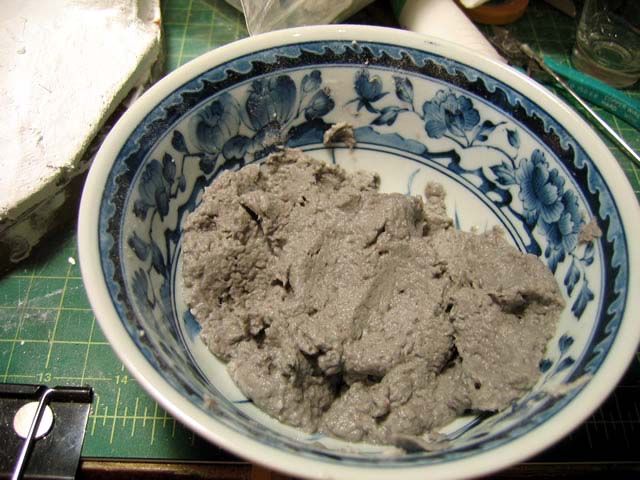
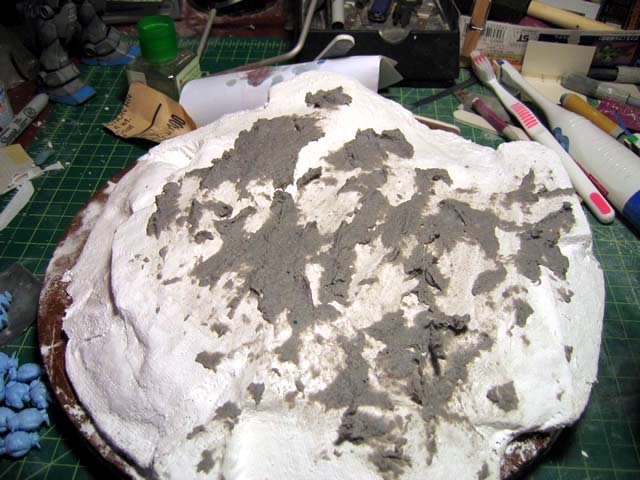
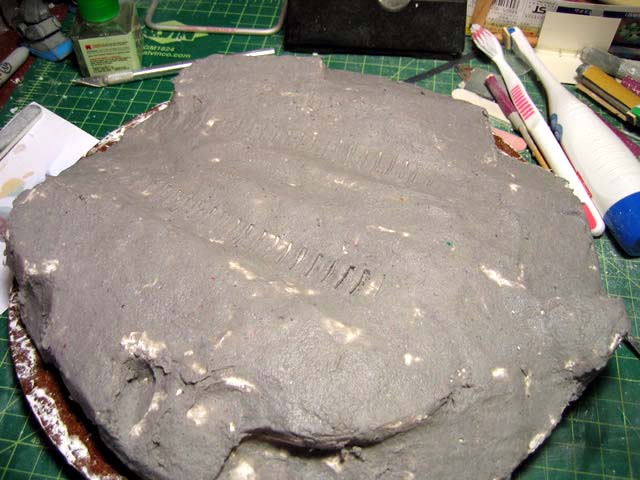
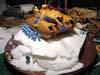
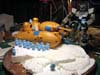
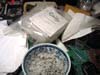
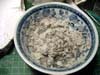
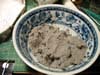
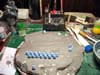
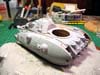
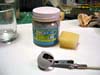
Celluclay is a paper mache mix that dries rock solid. The
stuff is mixed with warm water, then using a putty knife, I applied the
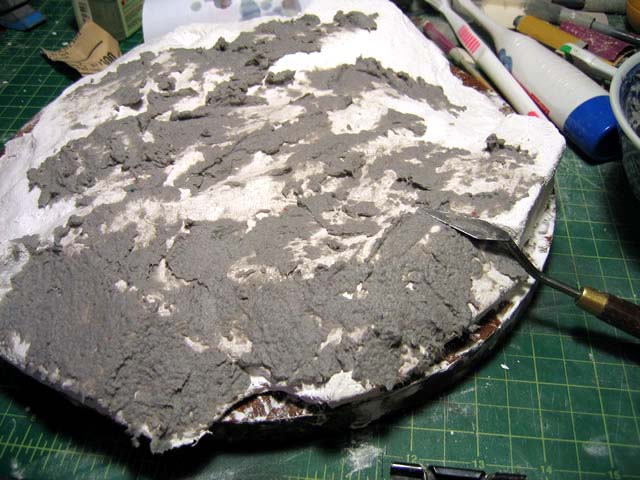
stuff over the dried plaster cloth base. Once it has been applied, I smoothed
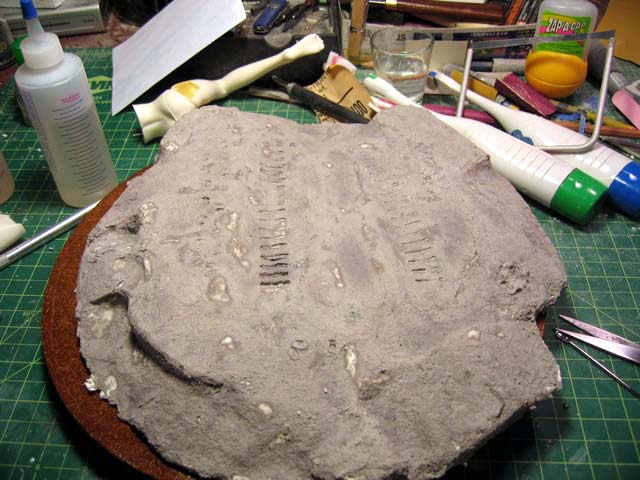
everything out with my wet hand. I then laid on marks for where the little
piggies will be standing and put down some track marks. The final picture
was taken after about 6 hours of dry time. The celluclay dried completely
after about a full 24 hours. (This is dependant on the relative humidity
- it's summer in LA... dry.. best conditions for quick drying) An additional
note is that celluclay should be applied in thin layers because this stuff
does shrink and will warp the styrofoam/plaster cloth base.

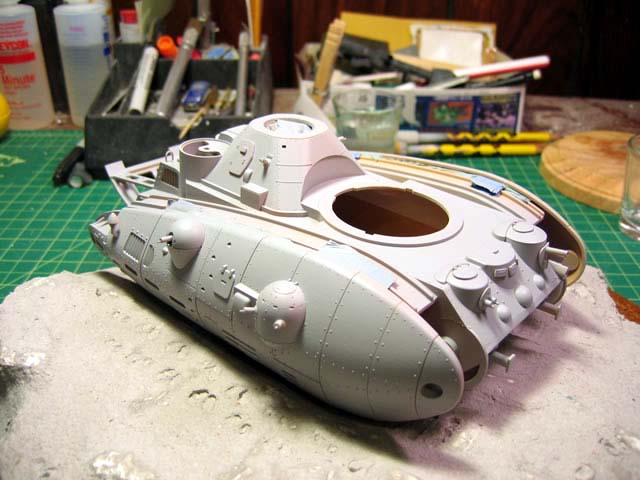
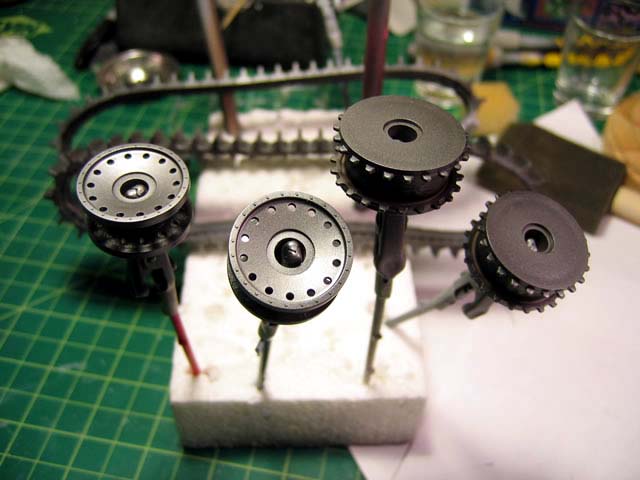
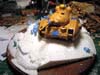
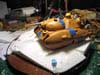
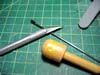
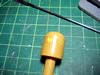
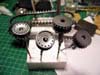
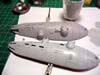
July 19, 2006: The tank was primed yesterday evening. The
track and wheels were painted to prepare for the alclad II paint.
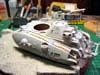
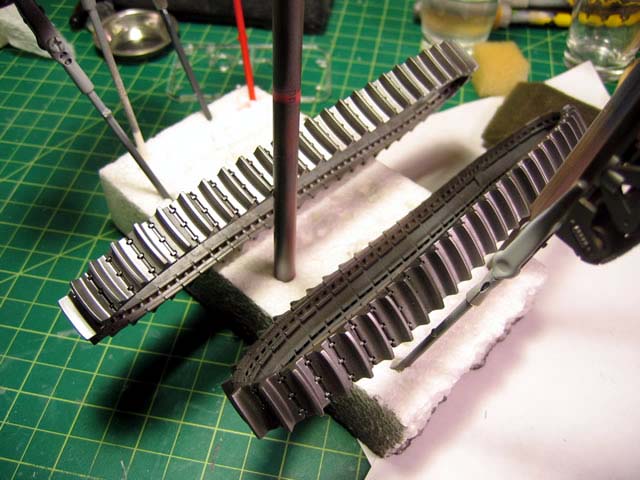
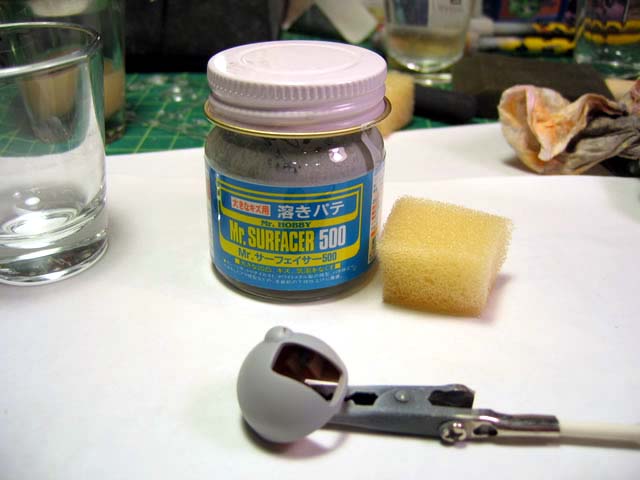
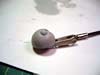
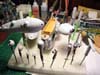
Today I painted the metallics onto the tracks and wheel
parts. Next up was the cast iron effect using Mr Surfacer 500 and a sponge.
After this cures, I'll do a light wet sanding and then I can get onto
the painting process.
Update Information:
Project is currently on hold while I finish up other stuff. I kinda lost
interest for a bit, but it's ready to be painted and stuff. I just need
to get off my ass and get to it.