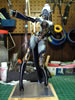
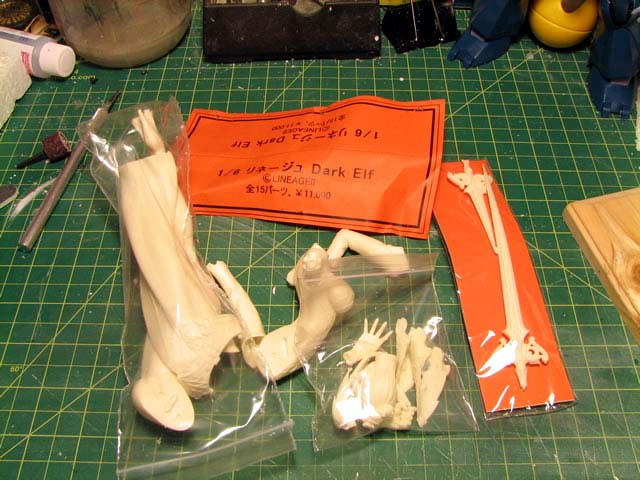
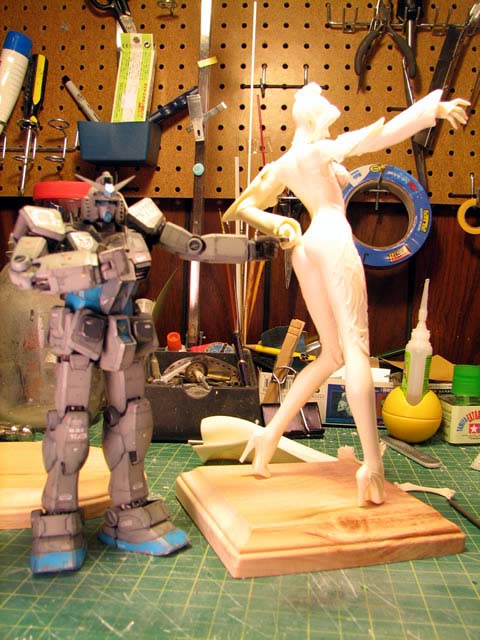
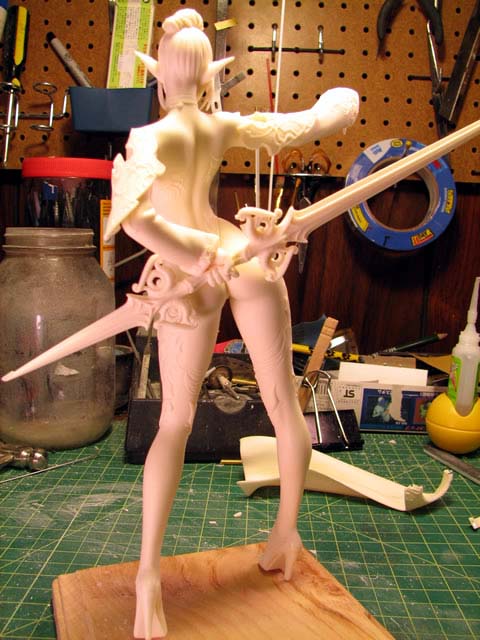
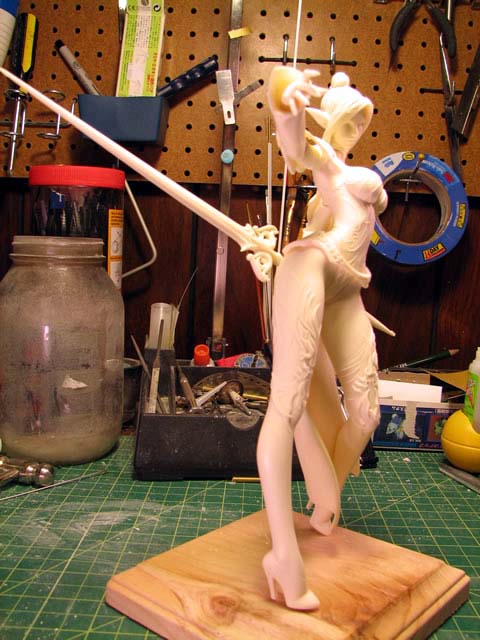
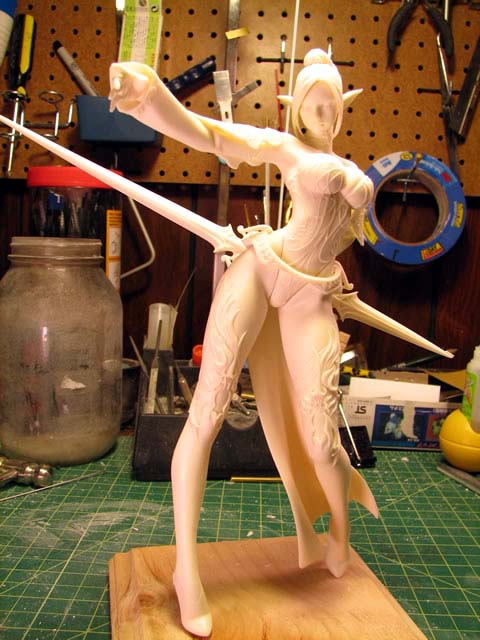
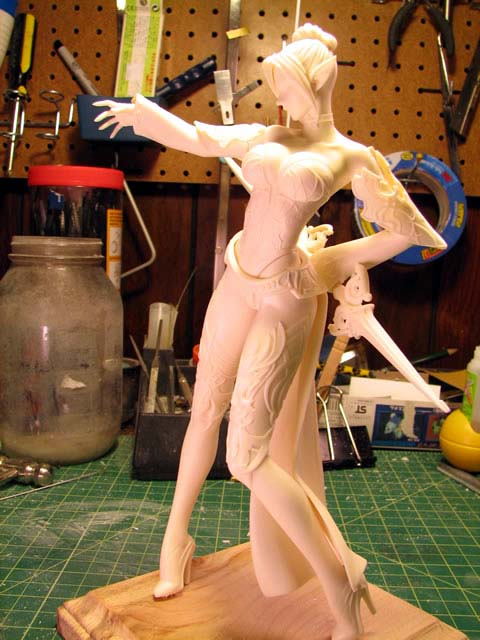
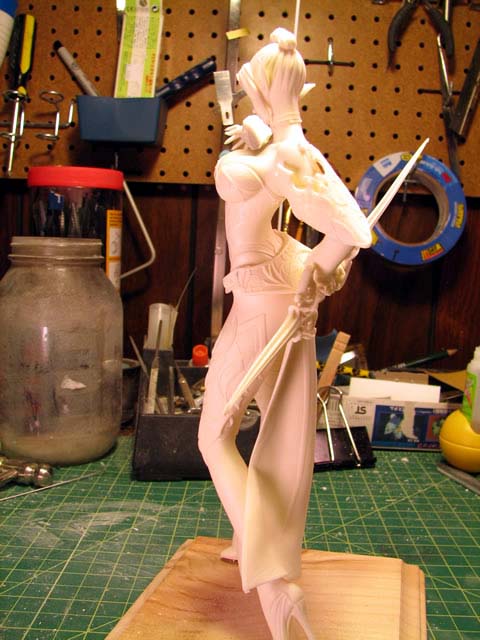
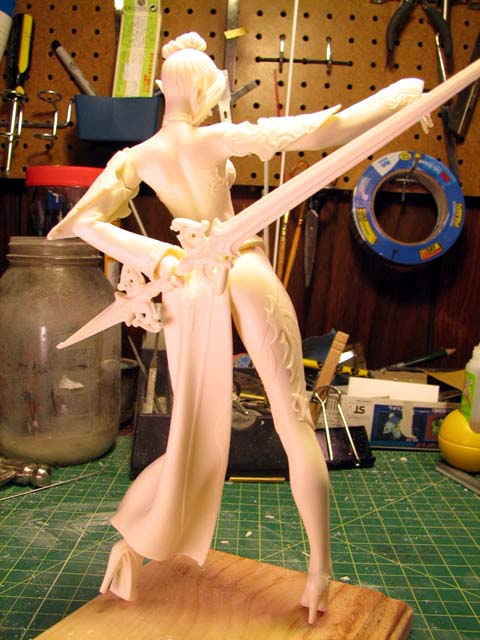
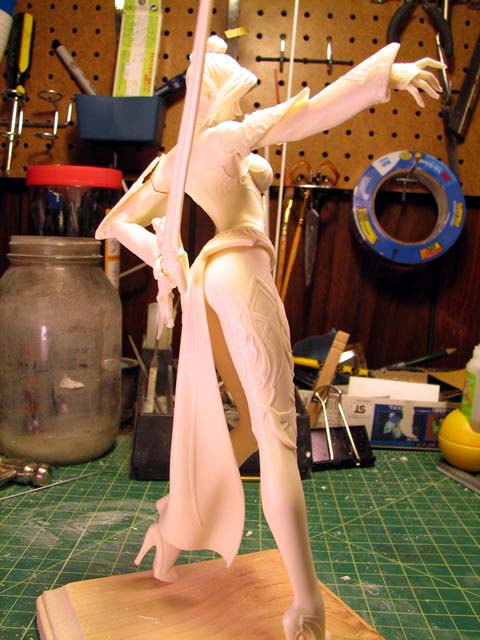
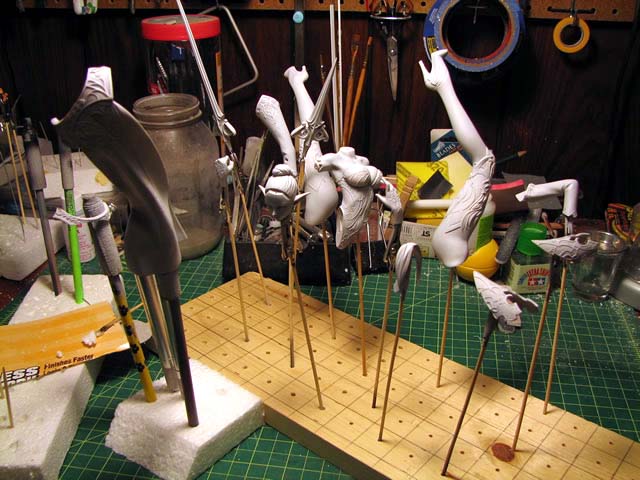
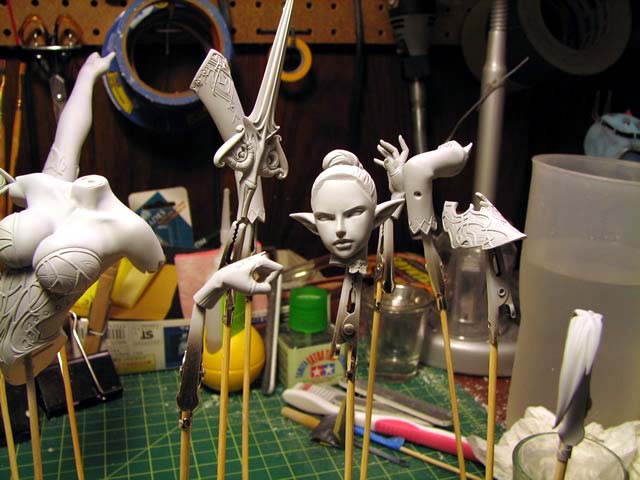
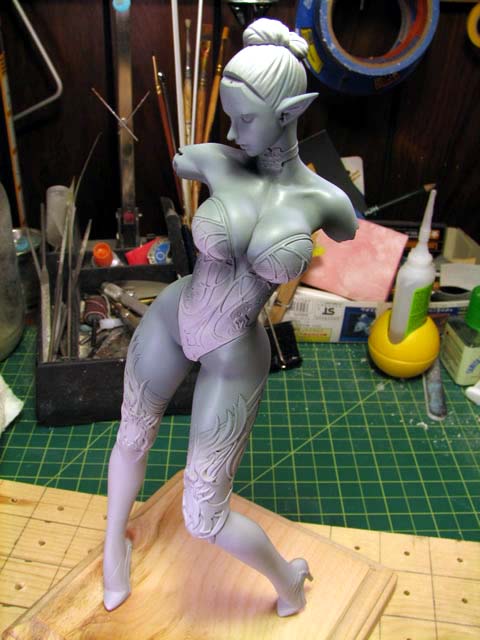
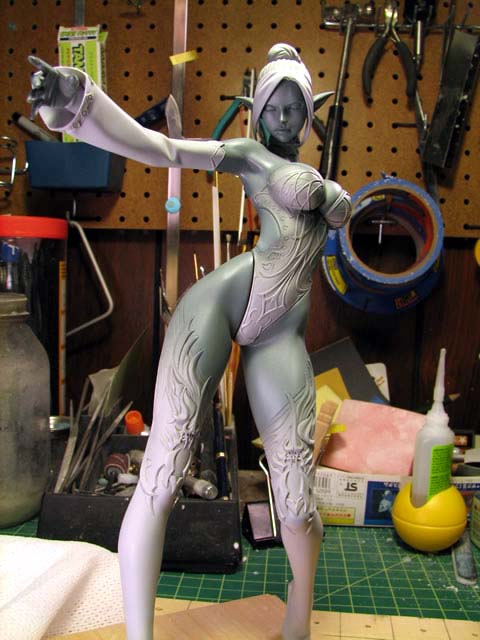
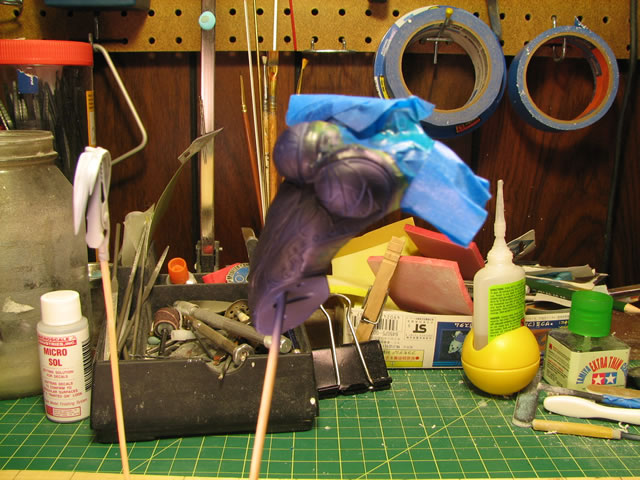
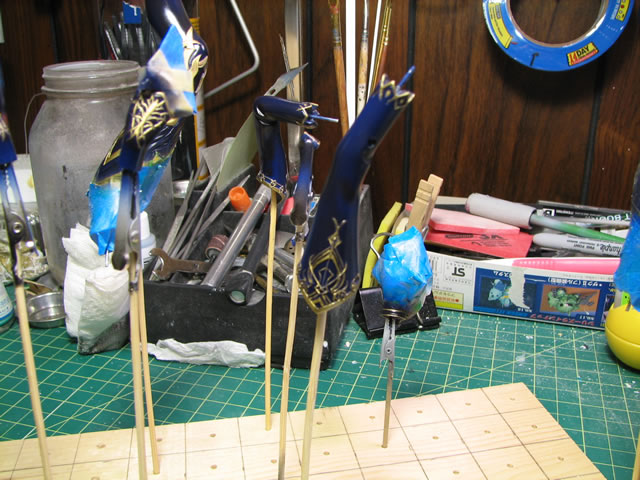
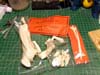
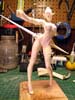
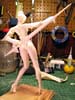
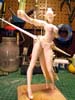
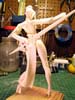
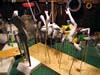
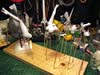
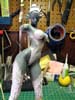
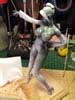
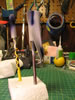
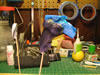
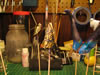
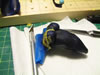
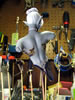
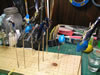
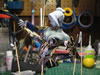
September 13, 2006: The Cerberus Project Dark Elf
that I won off Yahoo Japan came in today, so I just had to break her out
of the neatly organized packaging and pin her. Excellent casting quality,
and perfect fitting. Simply amazing. This is my first Cerberus Project
original. The Saber Ataraxia ver 2 also from Cerberus Project came today
as well. Looking forward to completing her too sometime in the future.
But on to the Dark Elf.
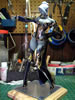
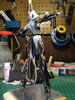
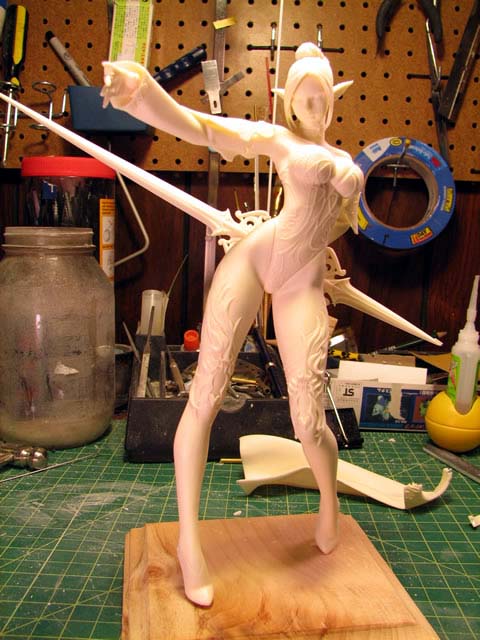
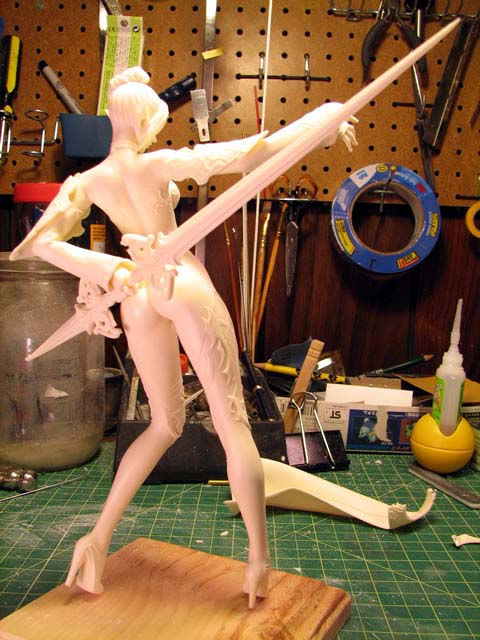
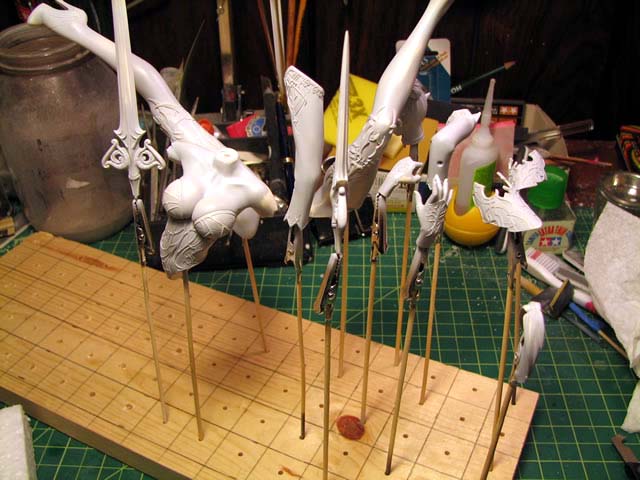
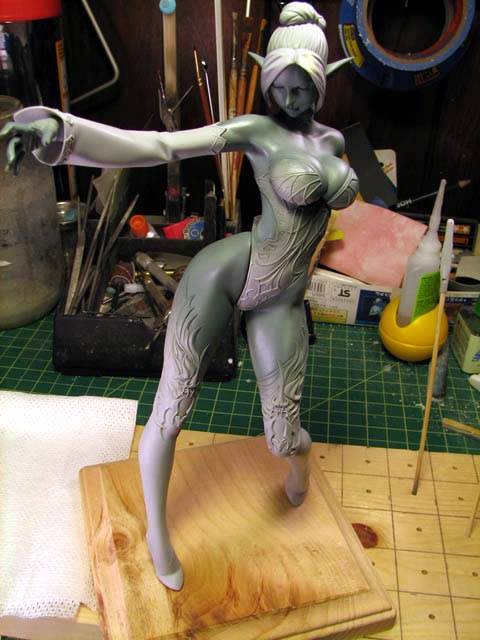
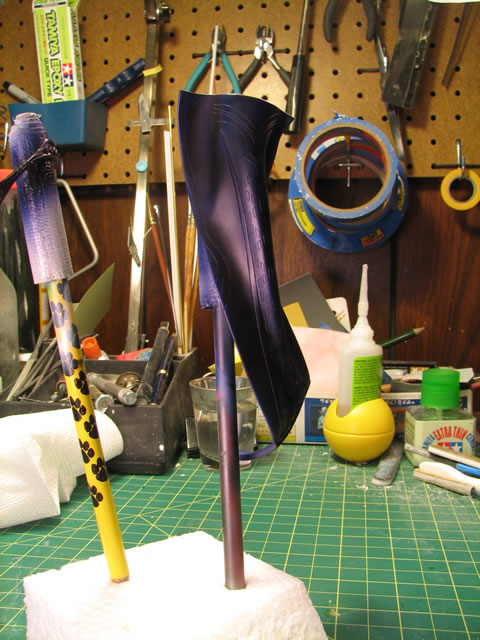
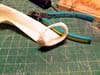
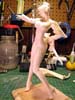
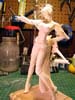
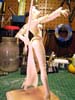
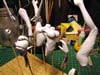
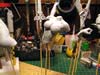
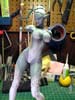
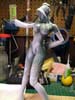
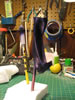
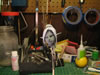
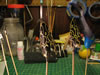
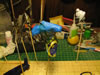
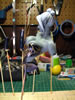
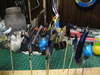
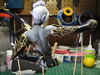
For the cape, I decided to use some very small NiB magnets
such that the cape can be removed and reattached easily. I drilled out
a hole the size of the magnets, used some epoxy glue, and placed the magnets
into place.
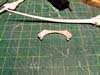
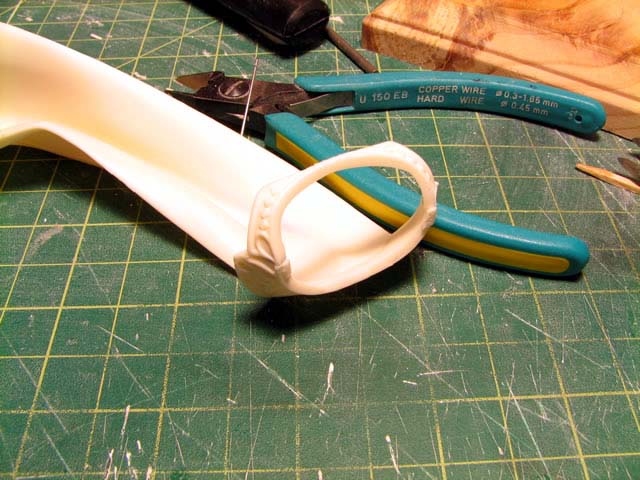
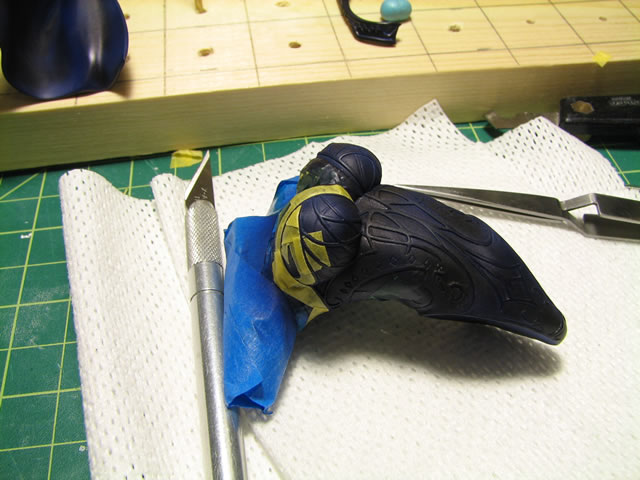
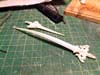
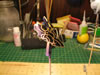
The sword/spear thingy was a little warped - so a little
softening in some very hot water and playing around with it a bit straightened
things out.
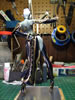
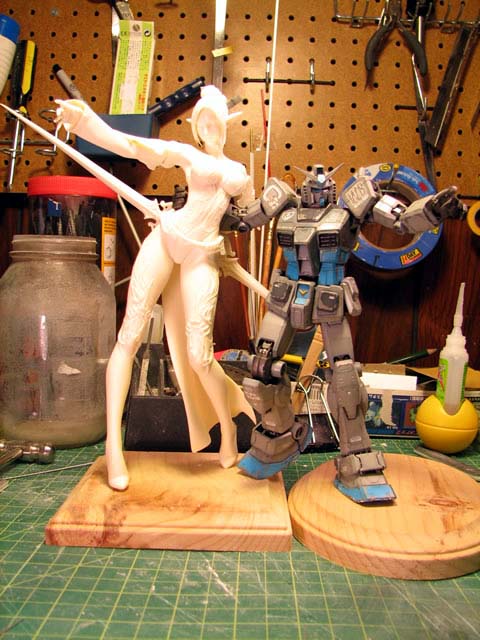
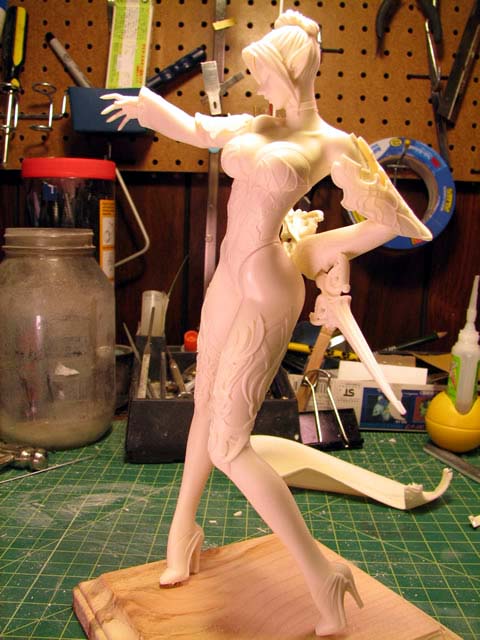
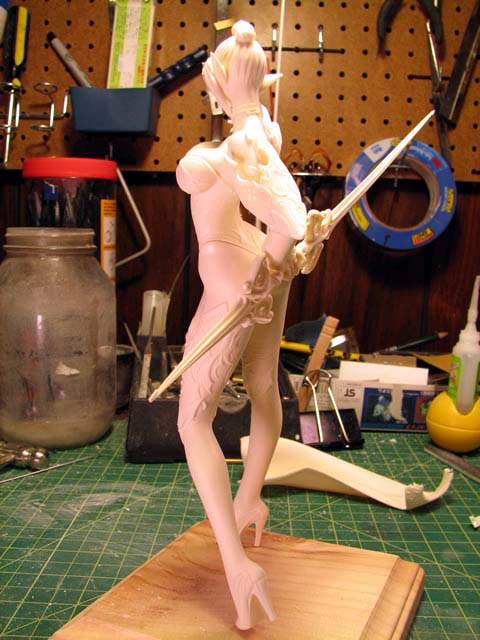
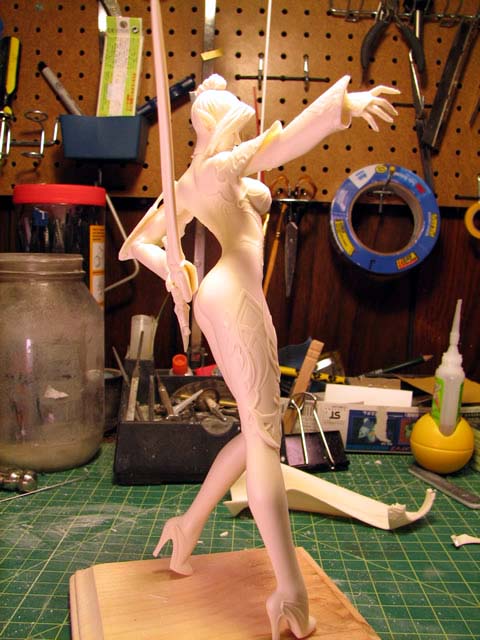
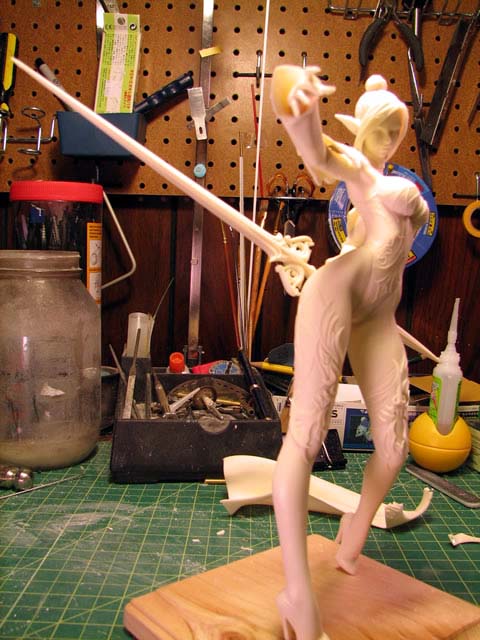
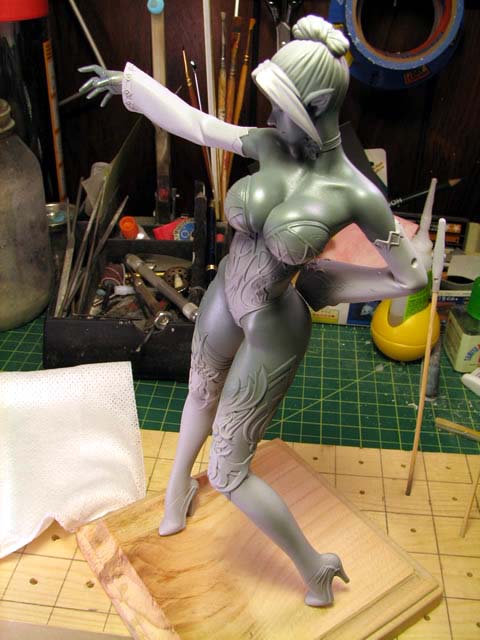
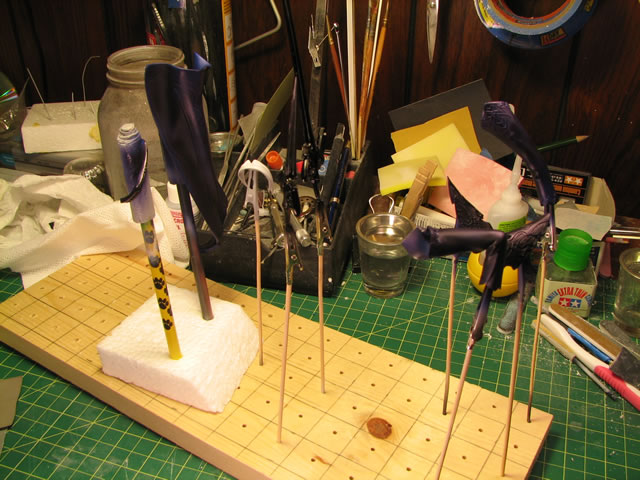
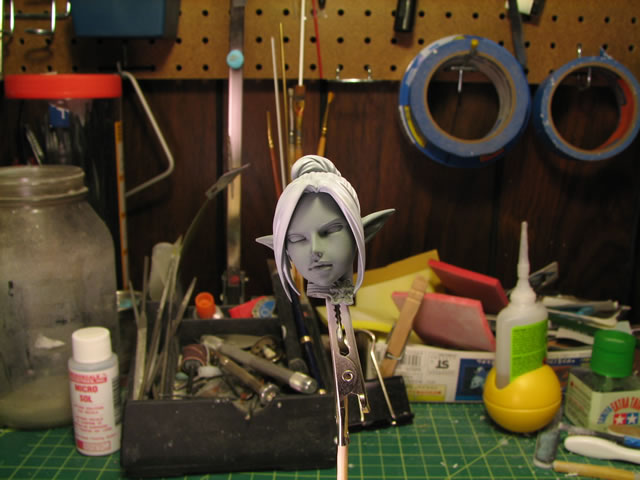
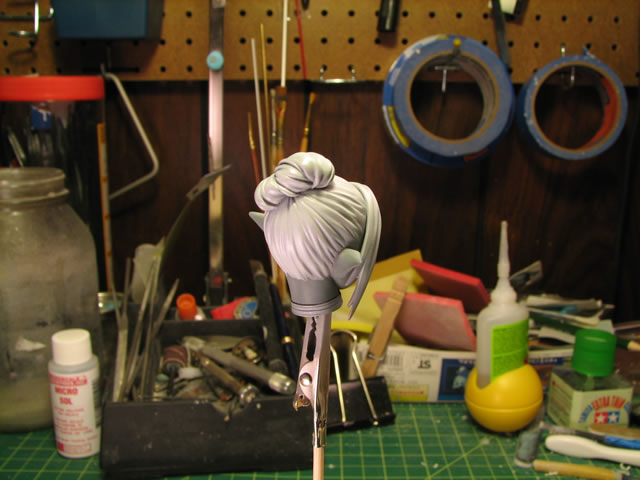
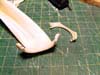
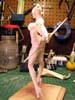
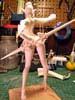
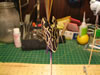
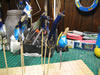
And in no time, she was pinned. Tomorrow night I will get
down to sanding down the few seams and general clean up. Mr G3 is a happy
guy to pose next to well endowed women once again.
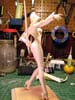
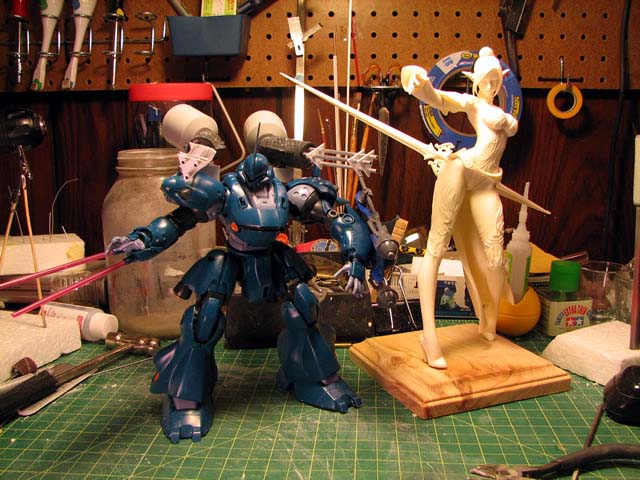
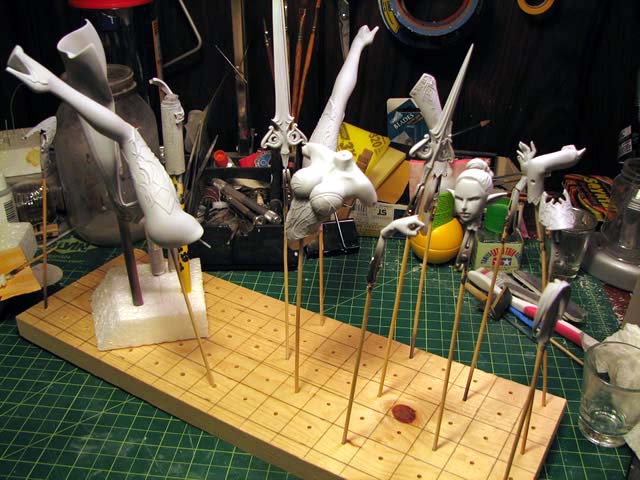
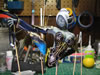
The unfortunate casuality is that the Kampfer I started
working on Sunday will now have to sit in the wings while I work on the
Drow...
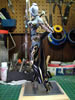
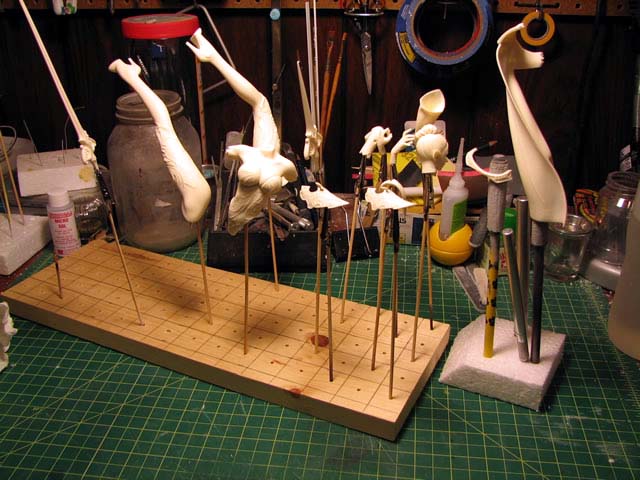
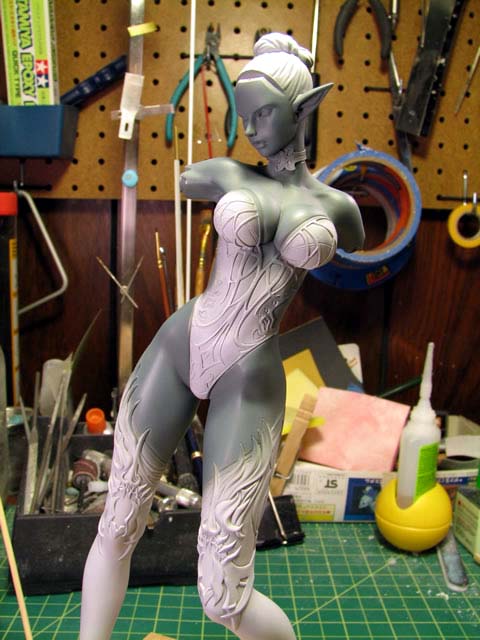
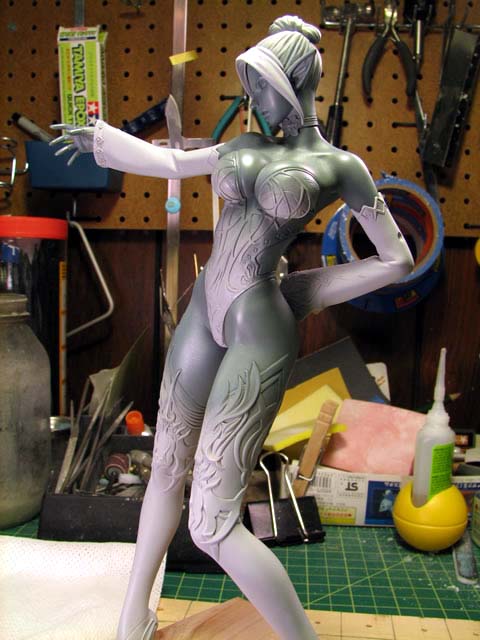
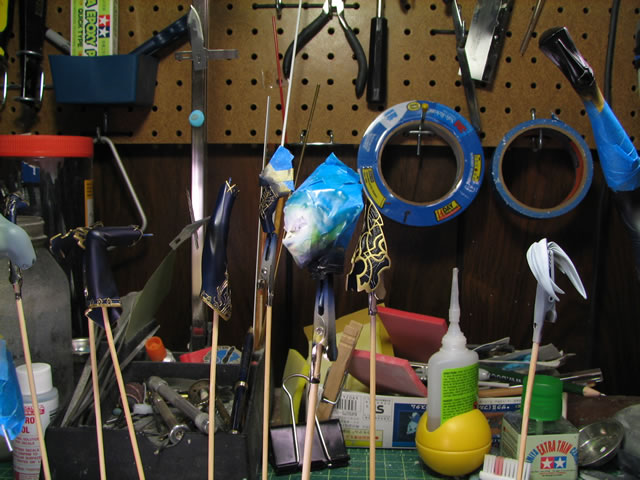
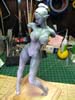
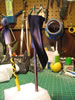
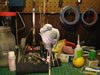
September 17, 2006: Late Saturday/early Sunday update. Over
the past couple of day, I did the initial priming with Mr Resin primer.
Then went over and fixed all the little seams, tiny holes, and sanding
mistakes that always shows up on the first priming session. Then reprimed
using Mr Surfacer 1200. After this I went over the surface quickly with
a light wet sanding session using 6000 grit sand paper to smooth out any
rough spots from the last prime session.
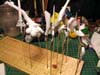
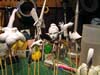
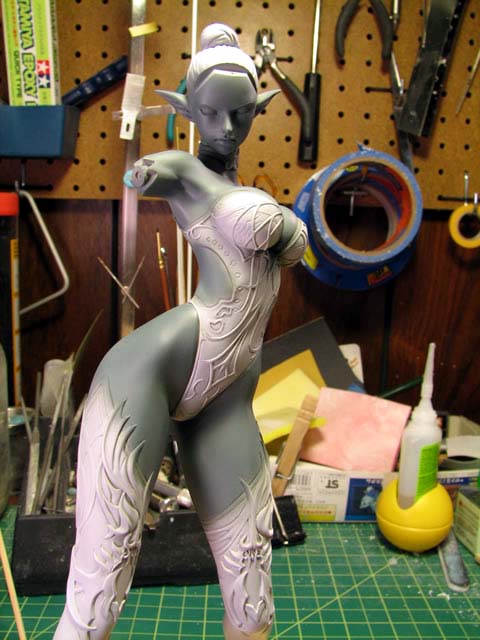
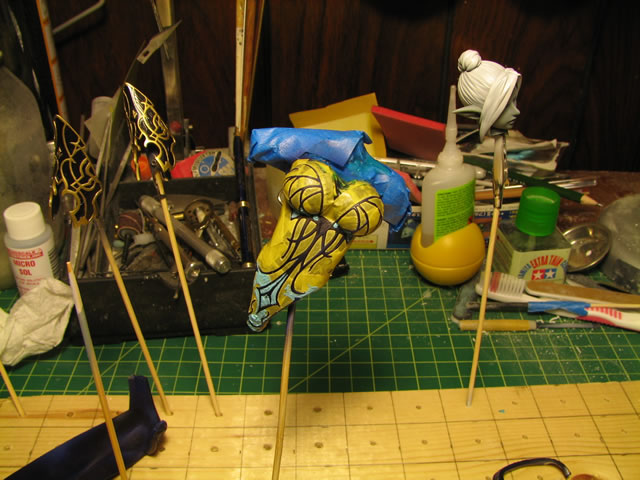
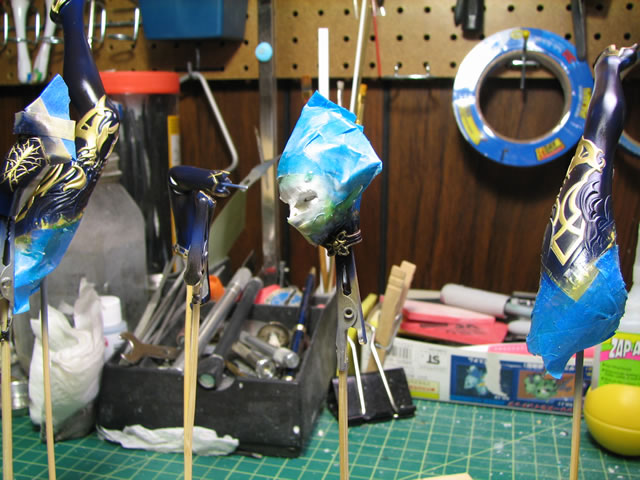
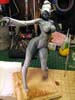
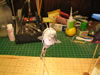
Base layer of paint, using the darkest color mixture.
Next up I sprayed on a lighter tone followed by an even
lighter highlight tone. Then blended everything together.
I applied a little tattoo, and then sprayed on a mixture
of future floor polish with some pearl powders to create a silvery sheen.
This sheen will be greatly diminished when I spray on a flat coat - which
will be a week from now since I need to let the future cure before spraying
on the lacquer based flat coat. Don't want a goopy mess with uncured future
being eaten away by the lacquer flat coat.

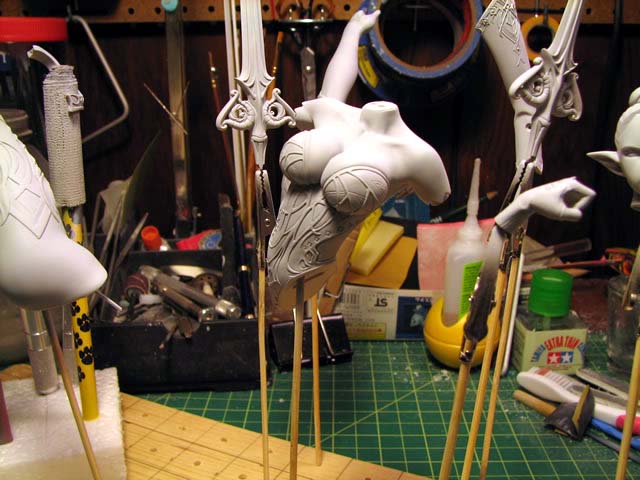
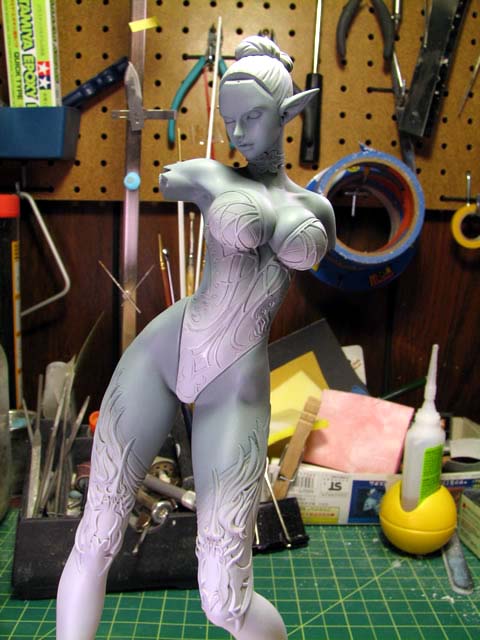
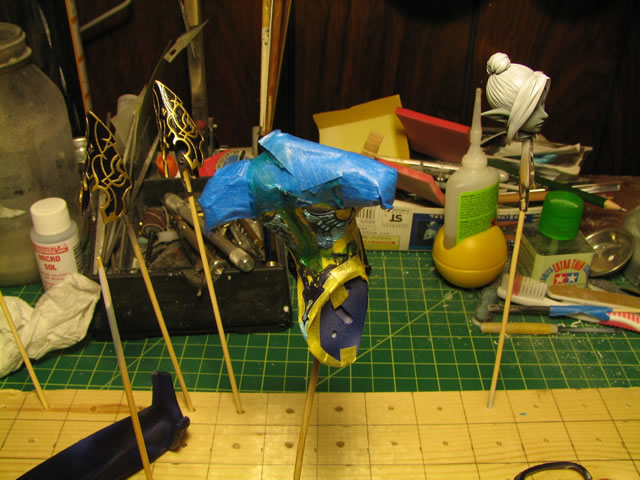
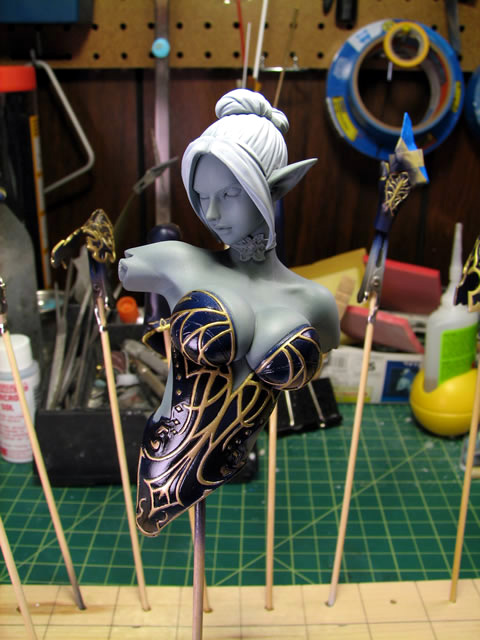
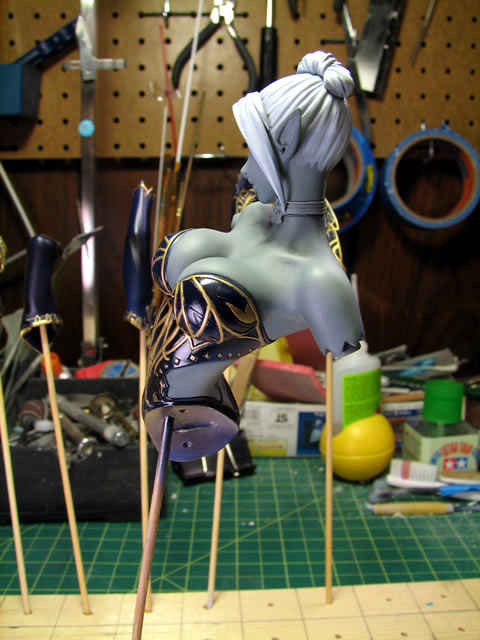
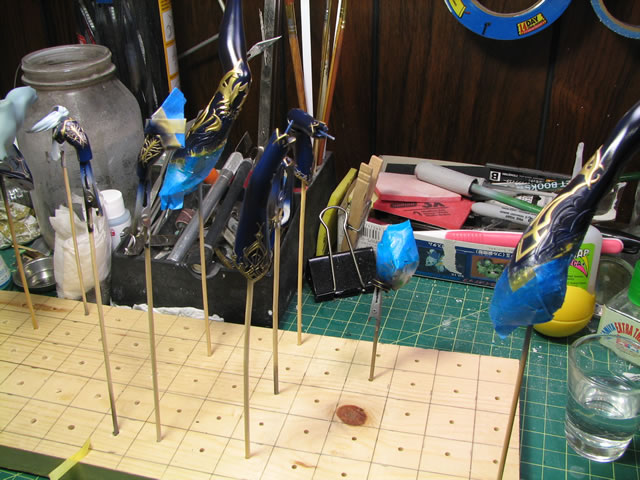
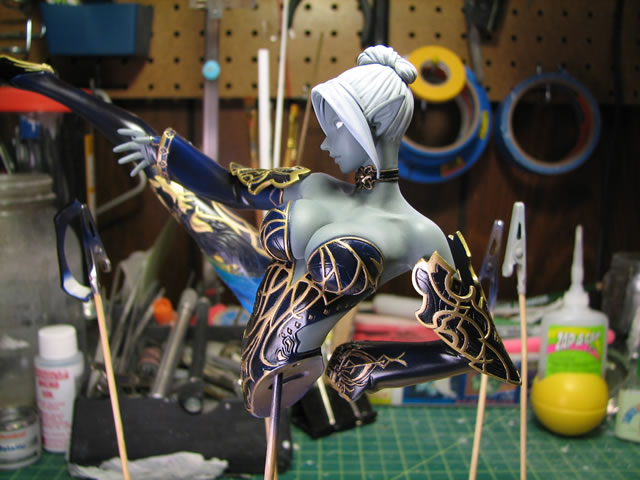
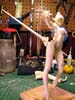
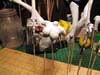
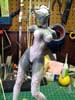
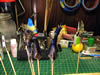
September 18, 2006: Daily update, sorta. Yesterday I painted
on the main clothing colors. Mixing a dark purple, I used a shading method
of laying down the paint darker first in areas where a natural shadow
would form, then using the same color paint, I sprayed light layers blending
in the darker tones with lighter tones.

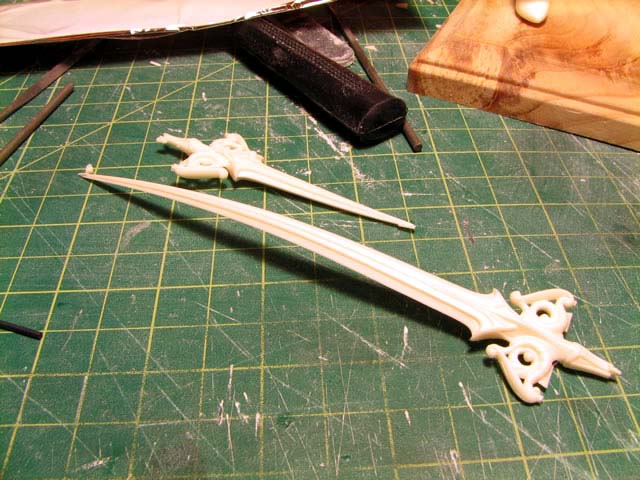
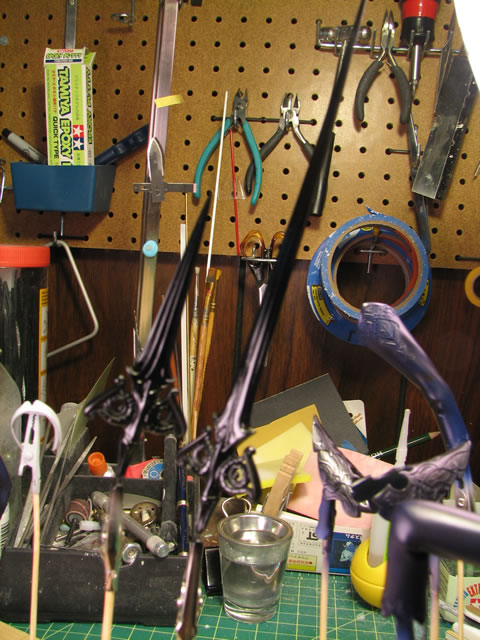
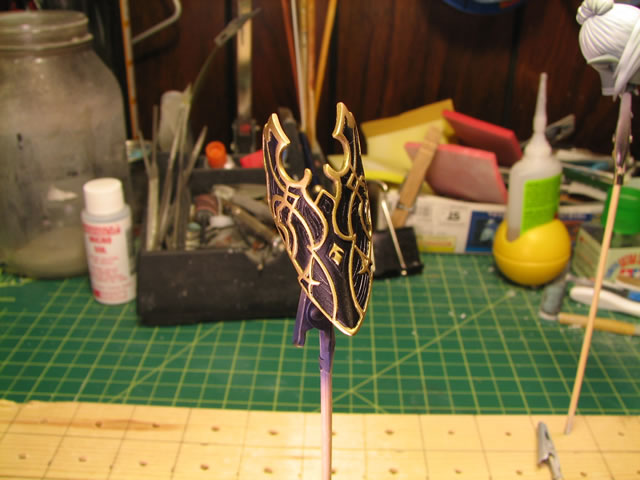
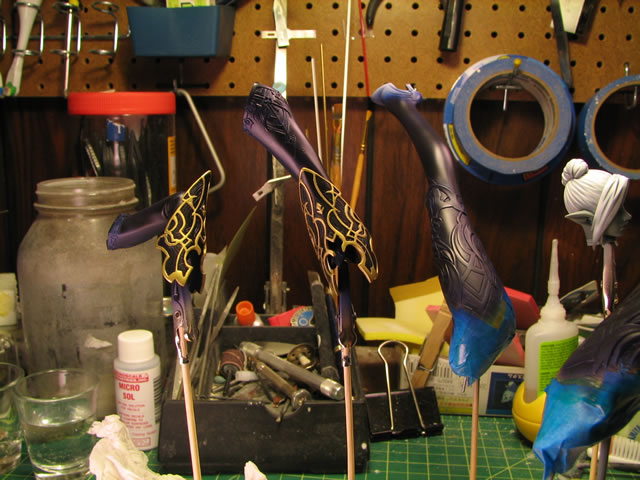
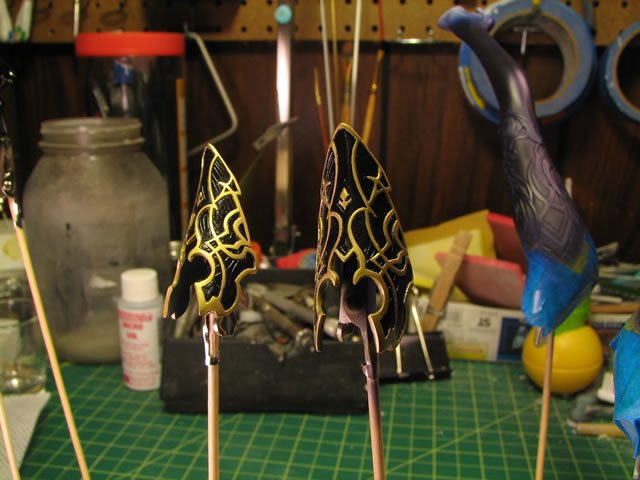
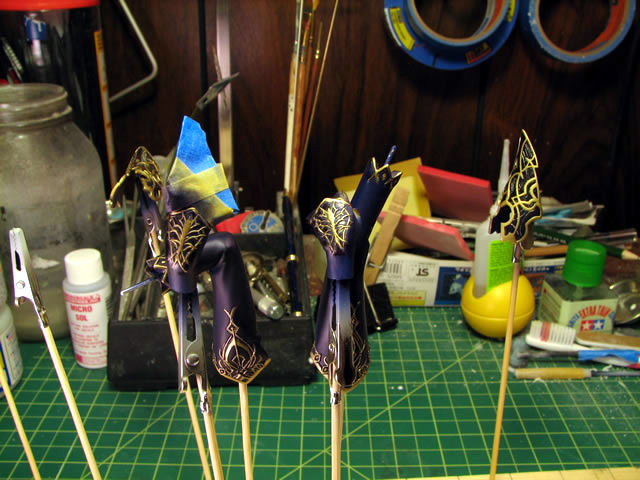
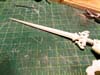
Base coat for the swords was painted with finisher's pure
black. I'll be masking this and painting on some highlight metallics.
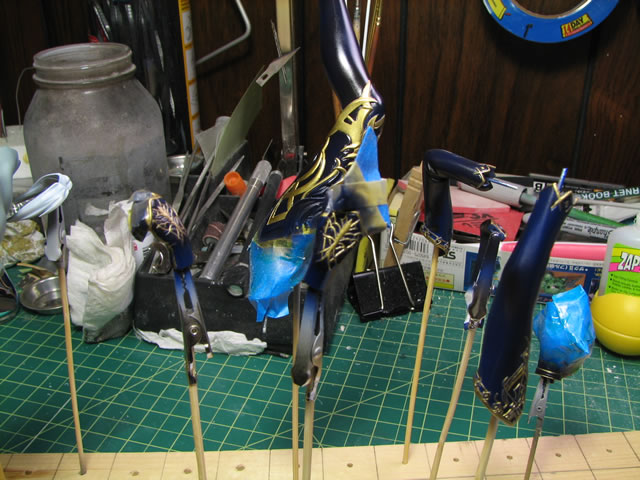
I couldn't resist the temptation to spray on some lacquer flat coat over
the skin. So this will serve as a nice lesson if the previous future layer
cracks.... I really hope it doesn't, but having pictorial proof for future
tutorials will support my inane ramblings for allowing future to properly
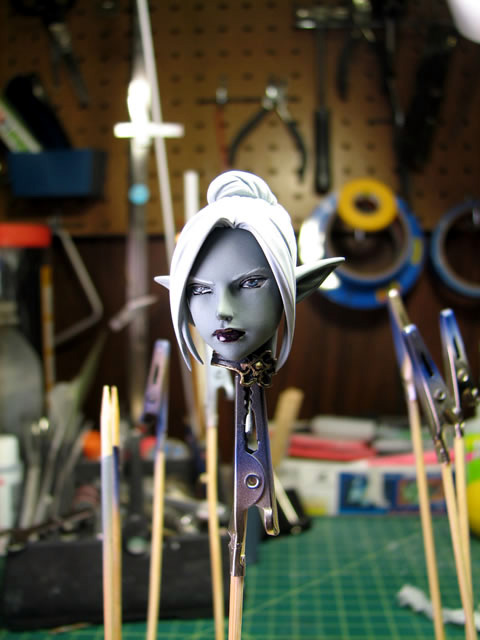
cure before spraying other stuff on top. The hair was painted using a
gray base, then finisher's pure white. After blending, I sprayed on a
light mist of silver pearl powders.
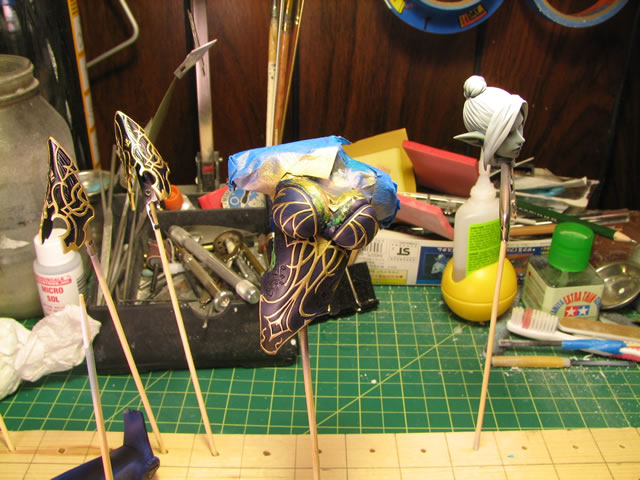
Tonight I spent most of the evening masking one of the bracer/arm
guard pieces. After masking, I sprayed on a light coat of Finisher's warm
gold. I still have some touching up for this part. I'm also planning on
clear coating this and then applying a silver wash to accent the detail
lines.
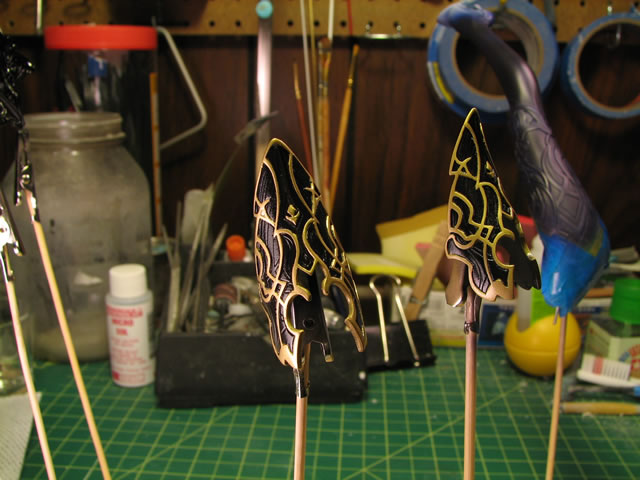
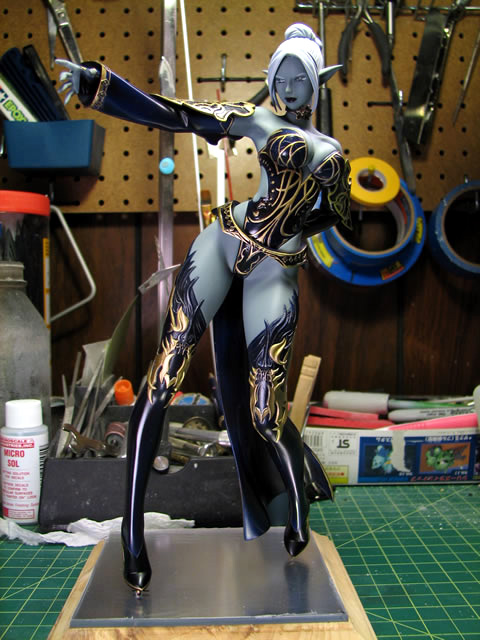
September 19, 2006: Continuing with the mask and paint one
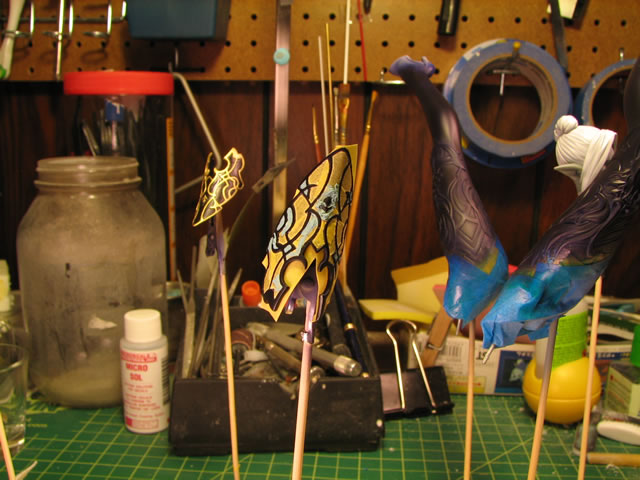
piece per evening, I masked off the other bracer/arm guard, painted the
part, then clear coated the two parts. These should be clearer pictures.


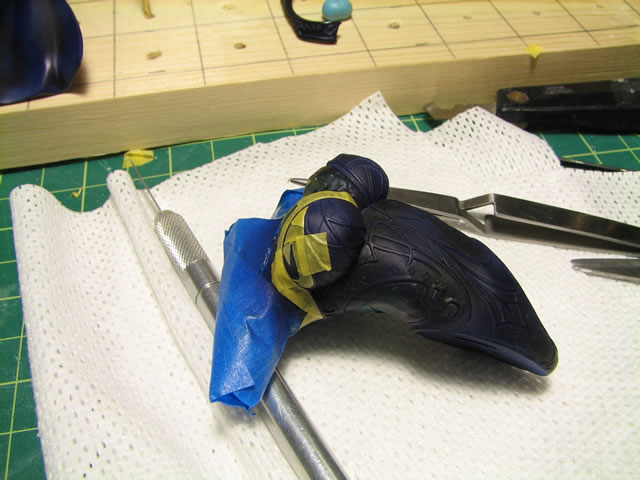
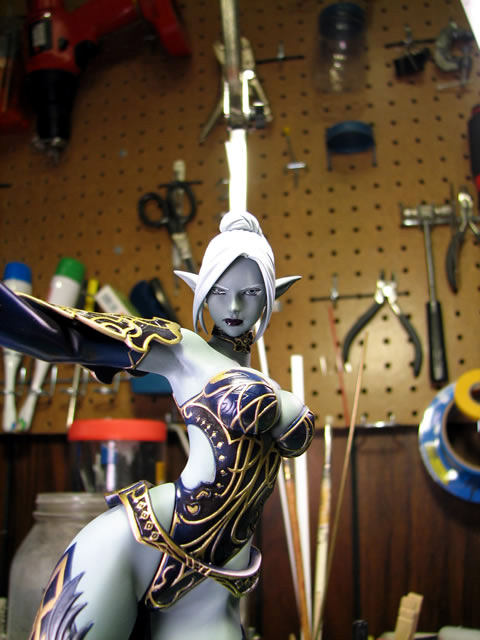
September 20, 2006: Holy hell masking the main body too
ALL NIGHT. Physically and mentally exhausting. I have a bit of touching
up that needs to be done. But at least I got another piece done...


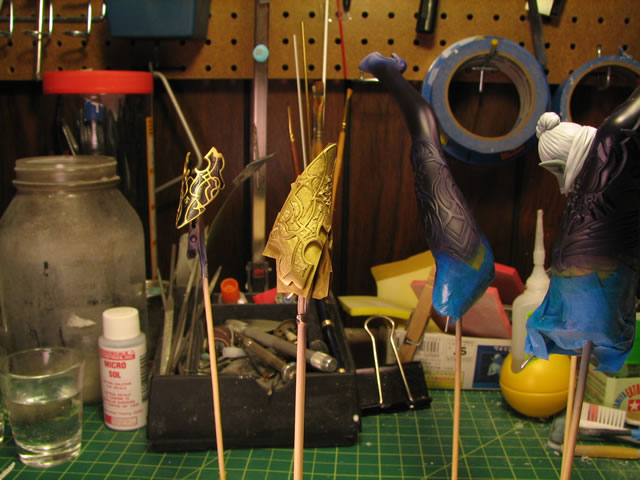
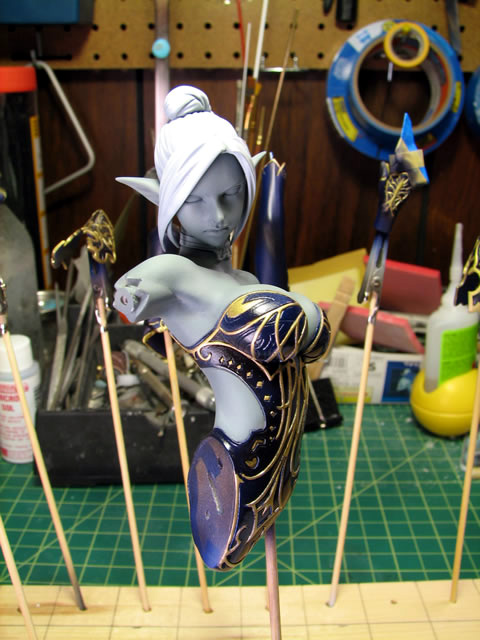
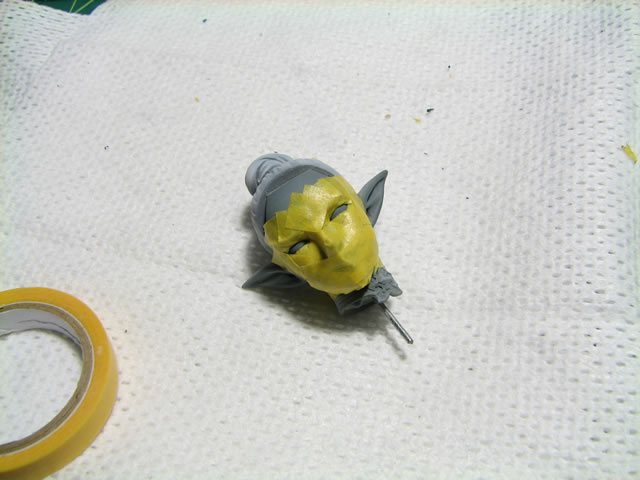
September 21, 2006: Ok time for the daily update. The arm
and hand details were entirely too small for me to mask and not go insane.
So, I went and just hand painted them using the finisher's lacquer. The
stuff hand paints quite well, so long as I keep reconstituting the paint
in the paint tin with lacquer thinner. A clear coat should even out everything.
I clear coated the main torso and then removed the mask. As luck would
have it, no skin tone got peeled off.

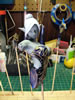
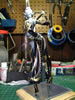
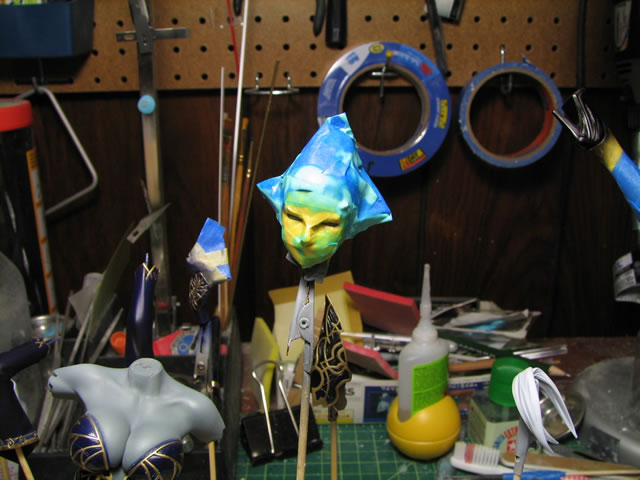
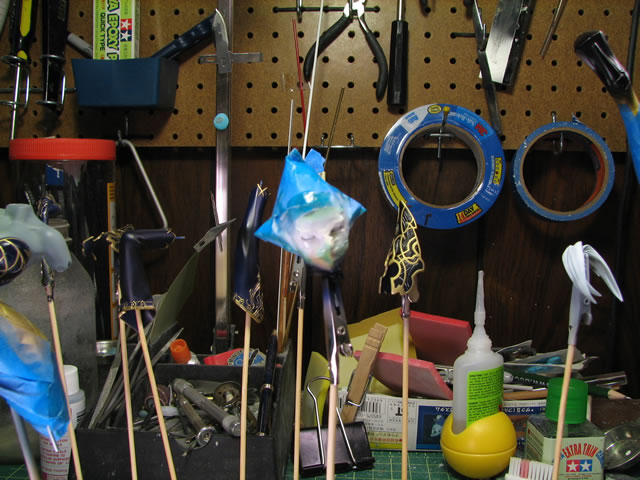
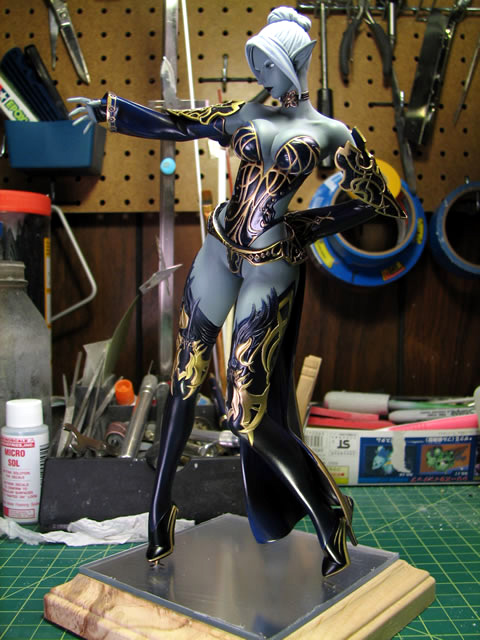
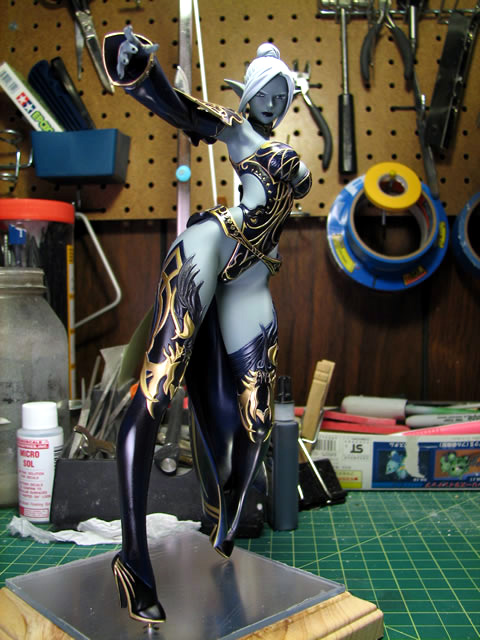
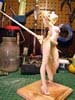
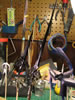
September 24, 2006: Weekend update. Didn't get as much done
as I thought I would. Busy weekend. But the eyes were masked around to
paint the white. The choker was painted.
The gold detailing was painted on the legs. I'm still debating
on if I should dry brush some silver on some of the armor pieces. Legs,
arms, and hands were clear coated.
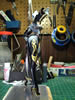
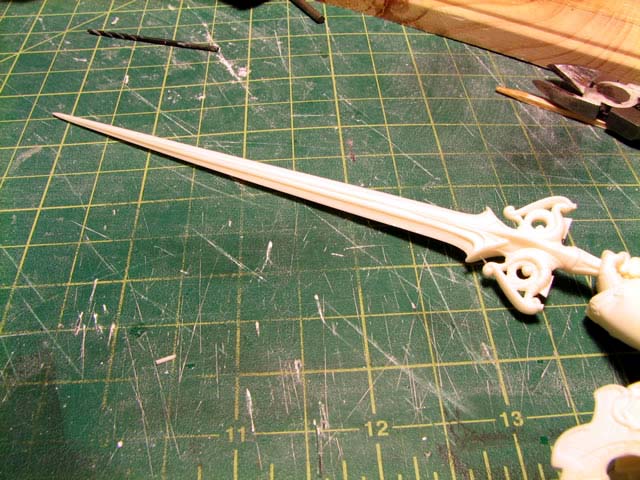
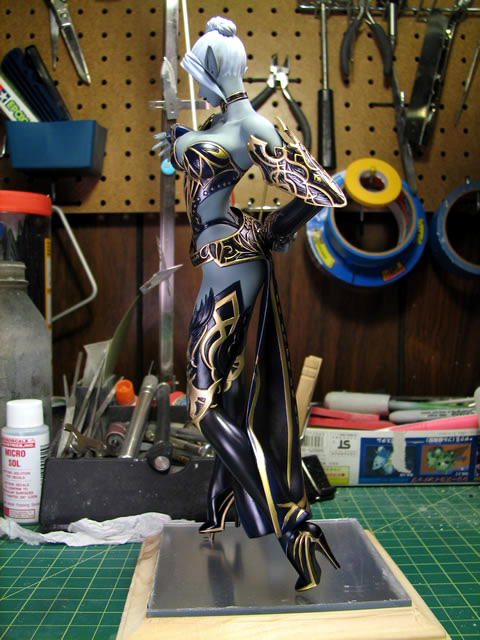
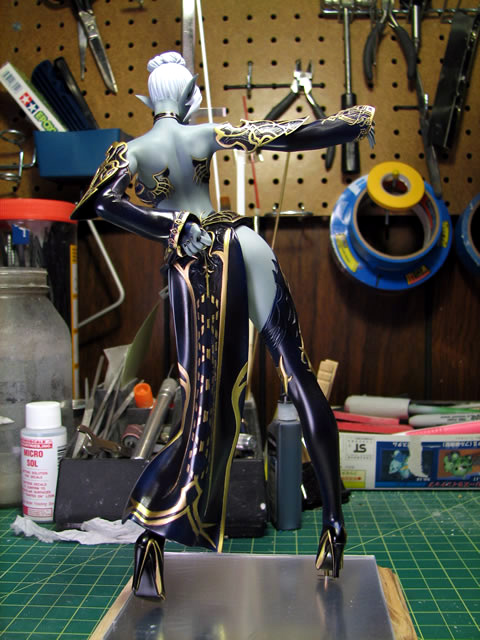
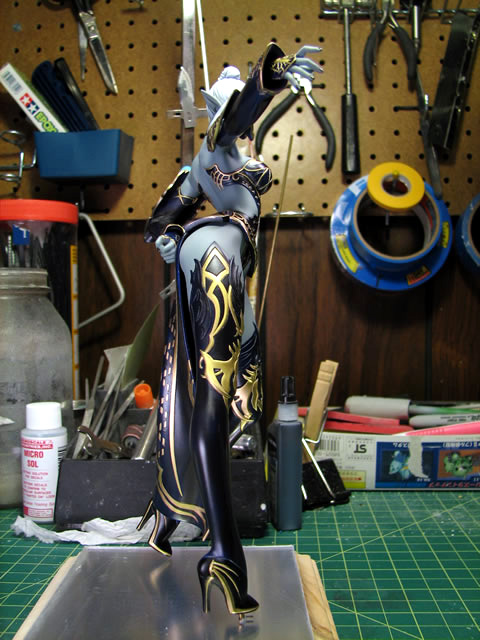
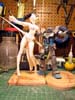
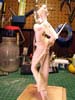
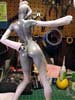
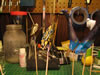
Still got the cape to finish, the sword and the eyes. But
here's what she looks like so far.
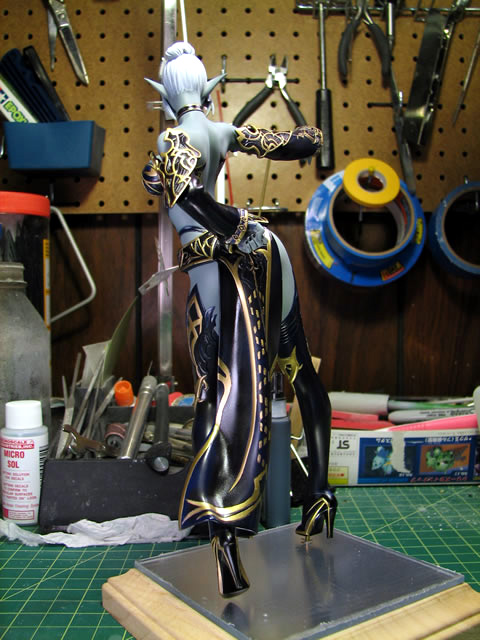
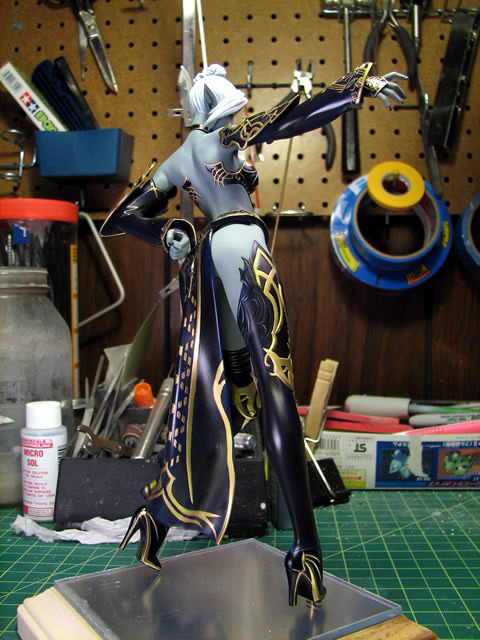
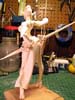
September 25, 2006: Pretty productive evening tonight. Finished
touching up and clear coating the cape, finished drybrushing the leg details,
and finished painting the face details. Still need to let the eyes cure
and then I can apply a gloss clear coat to get some depth. Sword and base
are next on the to do list.