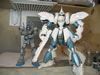
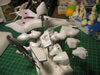
Feburary 24, 2006: Ok back to working on mecha.
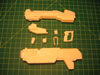
This is the conversion kit from Core Works. For the time being, I lost
interest in building the CW Blue Destiny. I have some ideas for what I
want to do with this kit, so I brought it out of the purple liquid bath
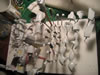
it's been in since mid December when I got the kit. Tonight I scrubbed
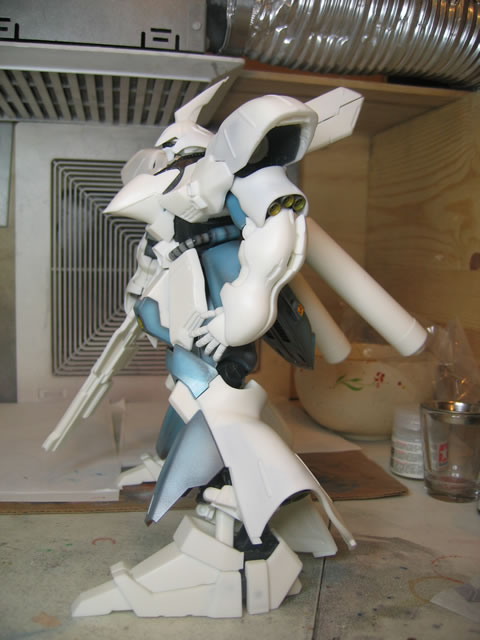
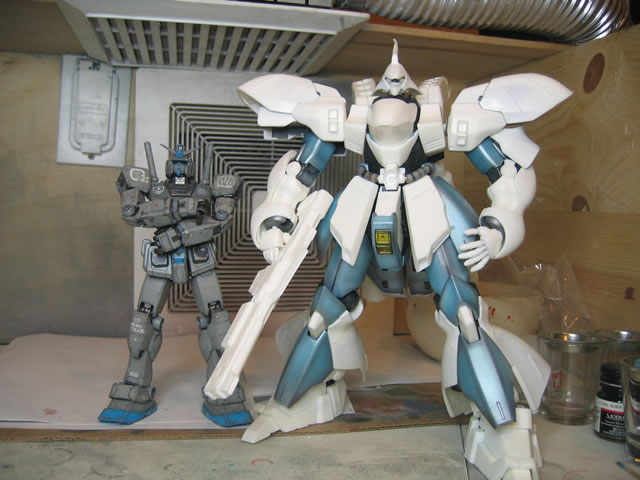
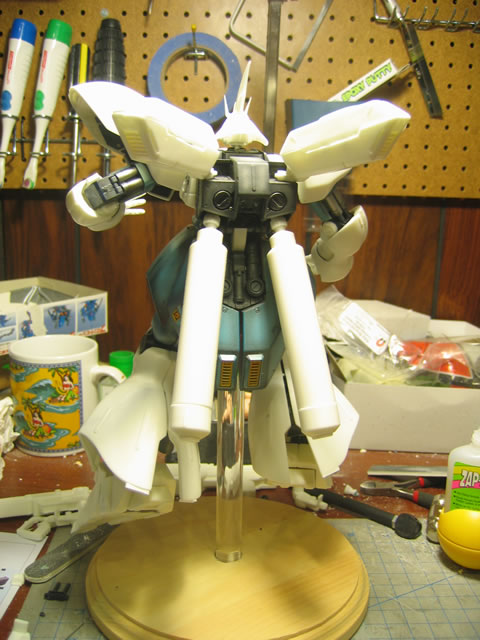
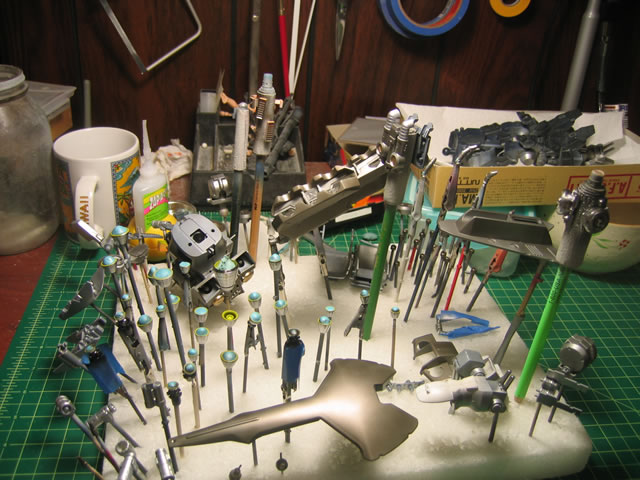
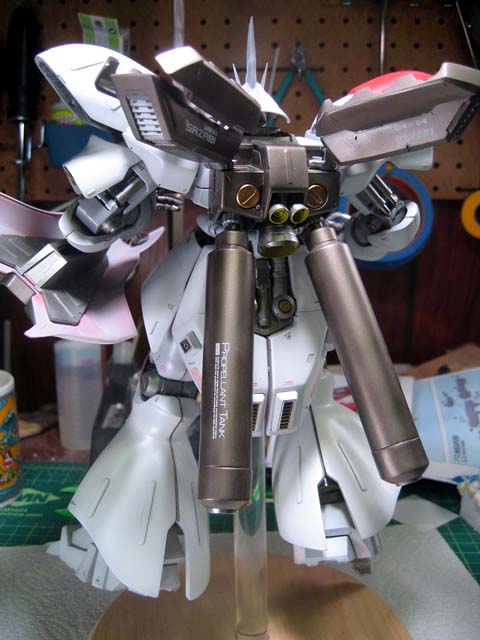
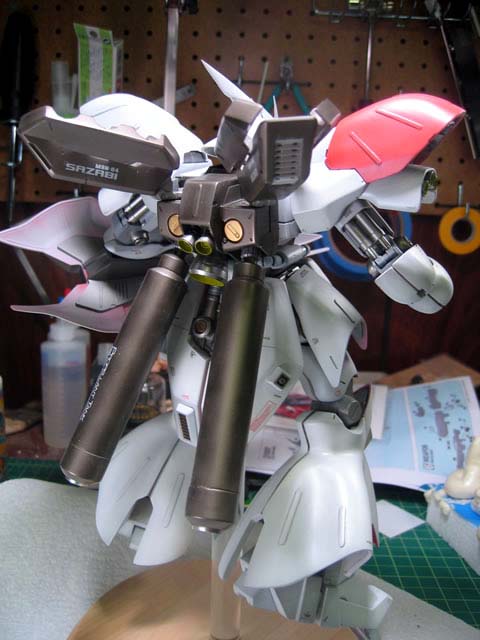
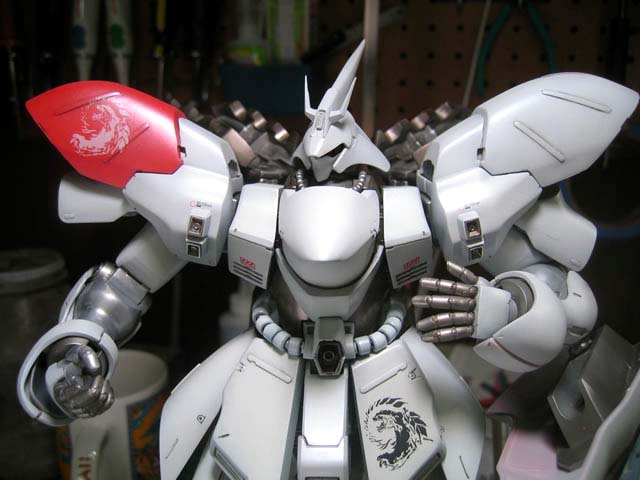
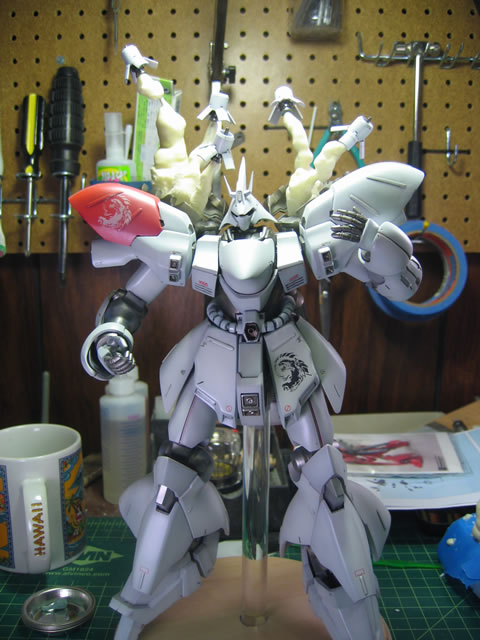
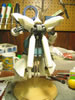
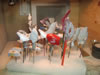
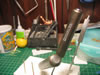
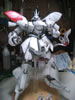
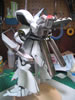
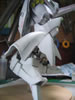
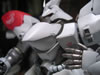
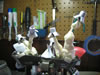
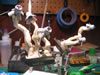
it down and then dried all the parts. Took a quick picture of my current
MG Sazabi - already the second time he's been stripped and rebuilt - third
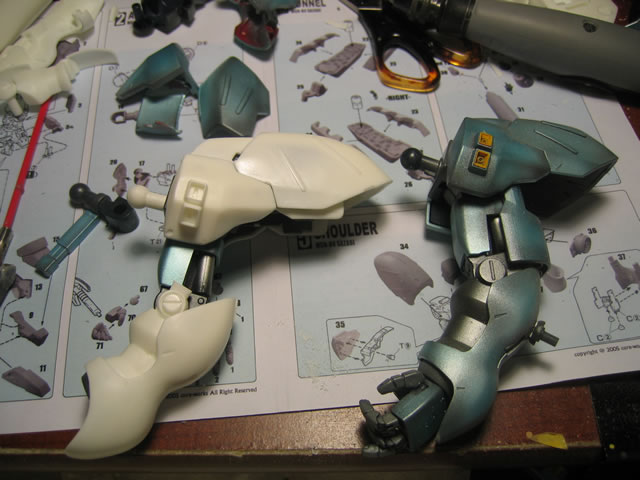
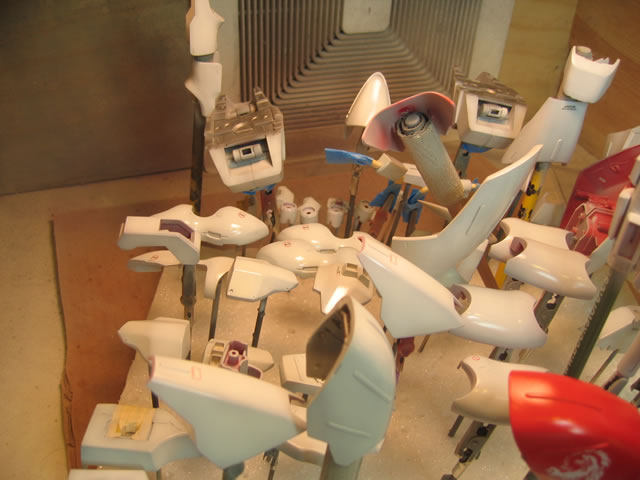
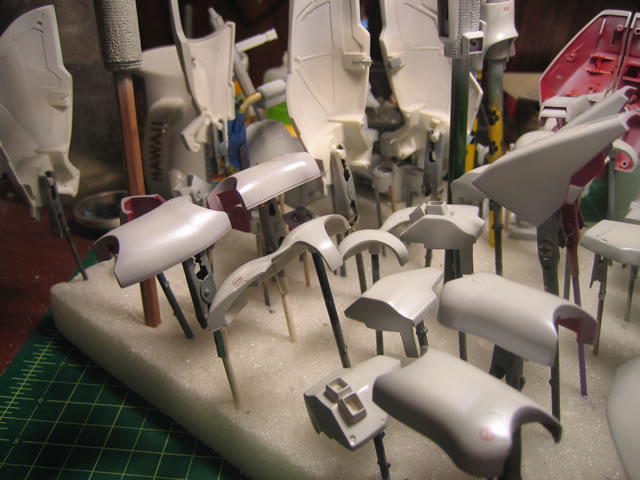
times the charm? I pinned most of the parts and just did a rough test
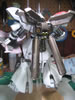
fit tonight to see what areas I need to work on. So far, there are some
loose joint areas. I will be adding an internal wire frame skeleton to
add support for the guy. The Sazabi is fairly back heavy with the increased
resin fuel tanks and funnel system pods. Core works did a fairly good
job creating this kit. I'll note more issues and what not as I progress
further in building the sucker.


March 7, 2006: A little bit of an update so far. I've been
working on this kit for the past week or so, but have been a bit too busy
to update the progress page. Here's a short list of what's been done.
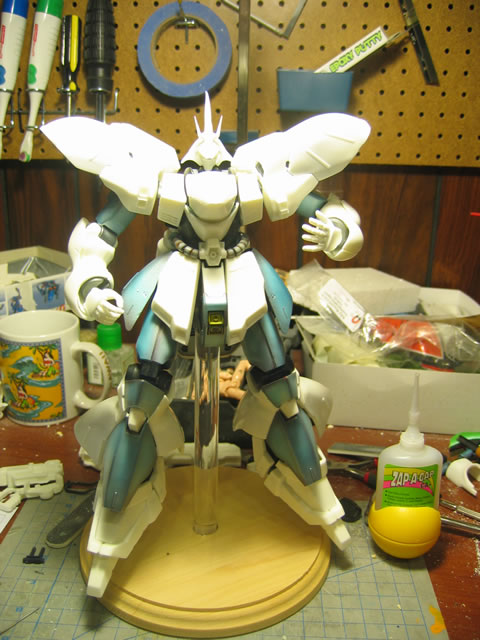
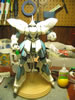
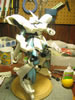
Additional pose shots with proposed base:
Paint removal: The second build for this kit used acrylics,
and were airbrushed onto the kit. Prior to that, I believe I spray painted
Tamyia TS Red before snapping the kit together on the first build. (2nd
MG and 2nd model built after about a 10 year hiatus from gunpla/model
building) Well, for the second build, I just sanded here and there and
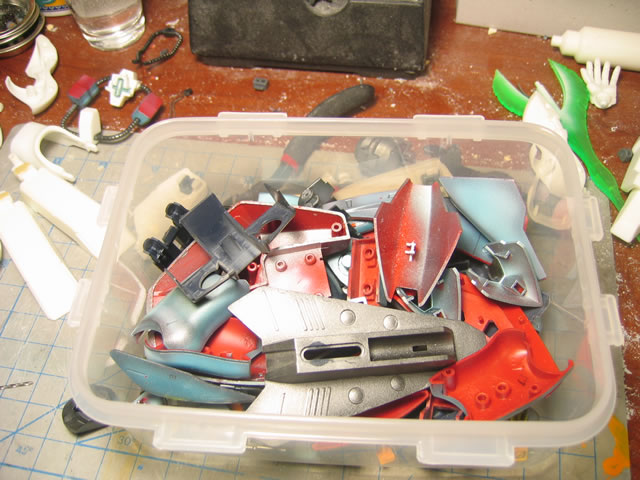
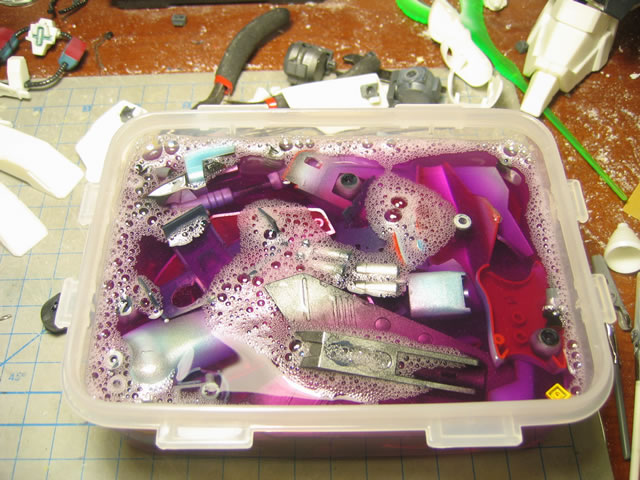
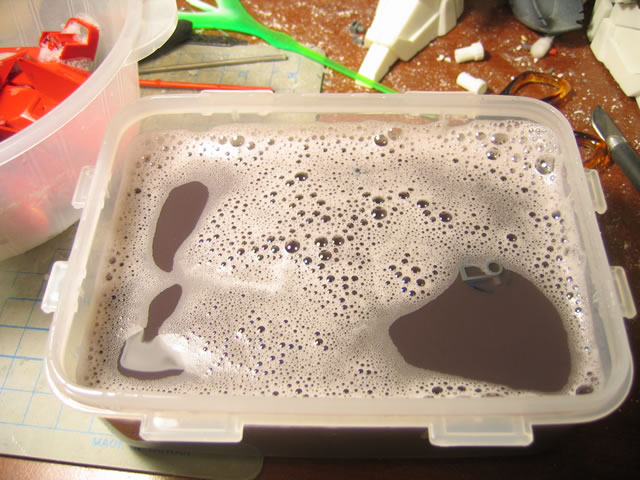
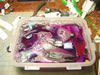
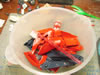
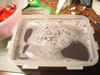
then airbrushed the acrylics on. This go around, I decide to employ the
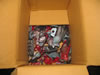
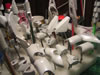
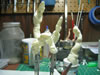
purple soup (industrial strength cleaner/degreaser). Here are some pictures
of the process. Soaking the parts for about 1-2 hours resulted in all
the previous layers of paint removed. I'm not sure how much of the original
tamyia TS paint was still on the kit/removed, but the cleaner did a very
fine job and the plastic left the soup unscathed and sans paint. I left
some other parts soaking in the soup for well over 20 hours and there
were no adverse affects to the plastic.

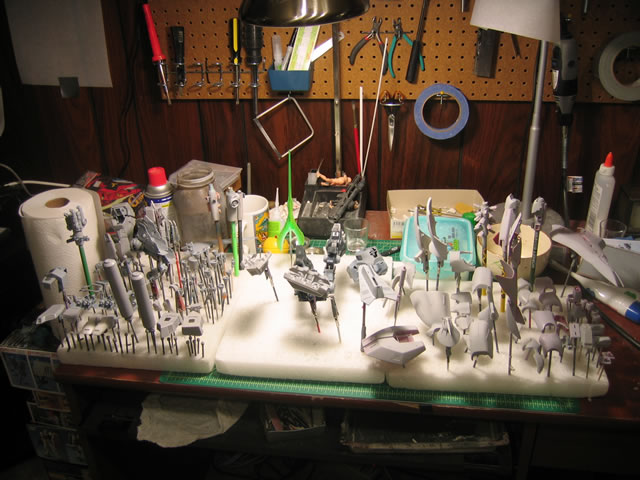
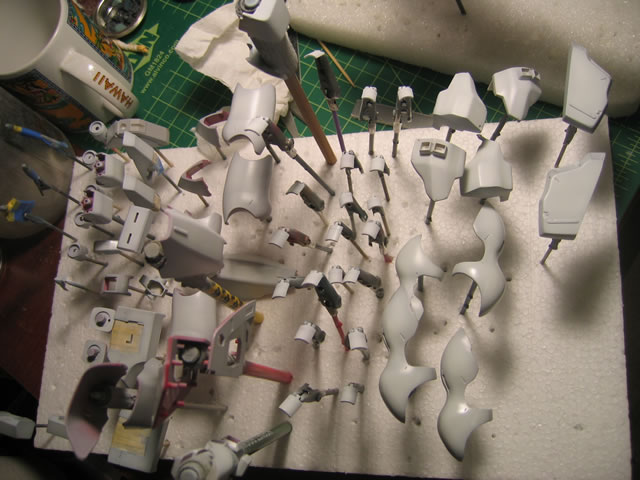
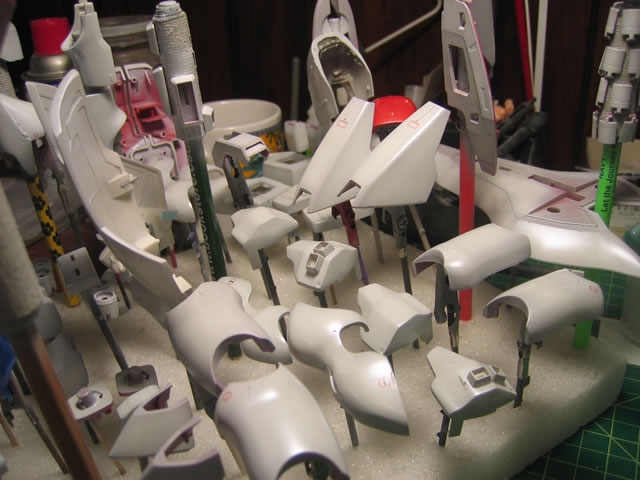
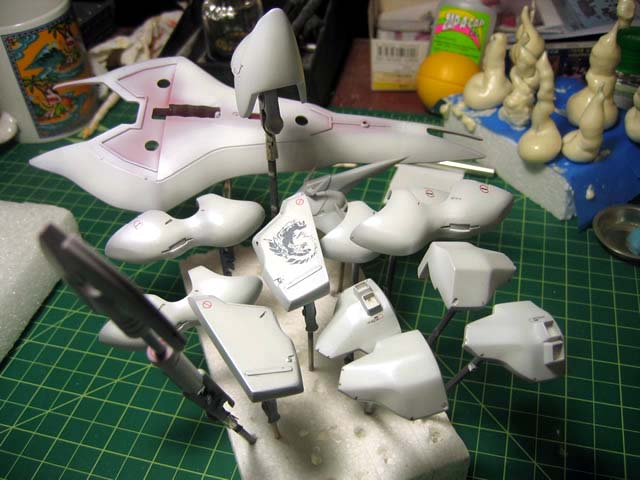
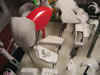
Priming. This process reminded me how parts intensive this kit was; and
I'm rebuilding this thing for a third time? Hopefully this is the last
time.

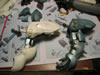
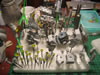
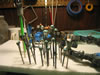
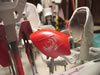
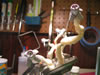
Below is a picture of the super gun. I will be sending this
out to a guy from a model building message board for casting since he
asked, and I currently do not have any plans for it. Next picture are
the spare parts from the original kit.
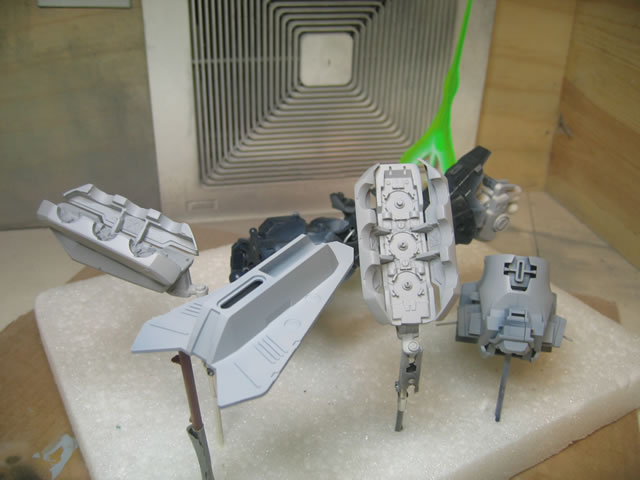
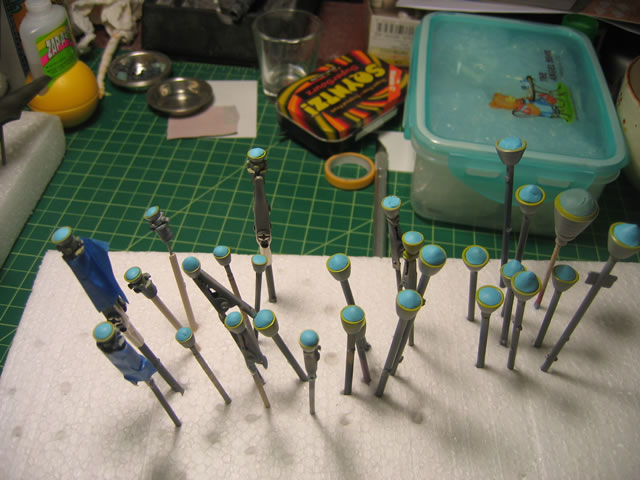
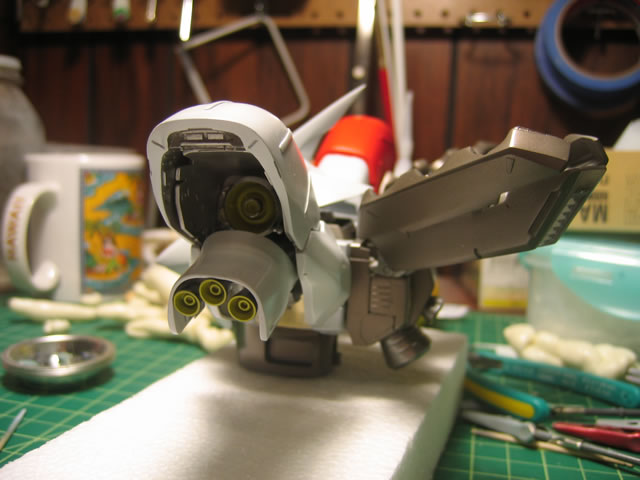
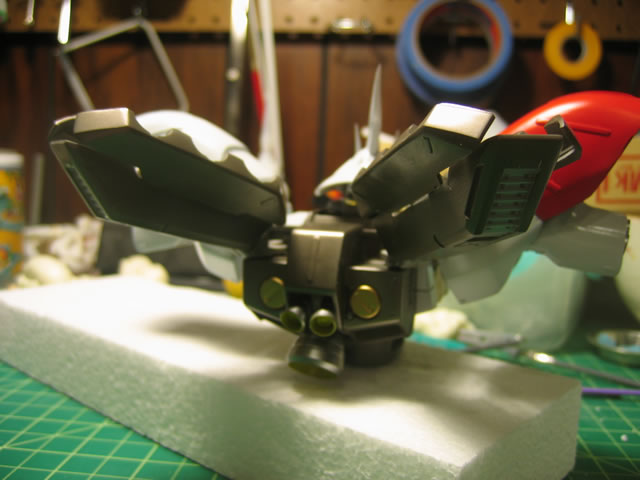
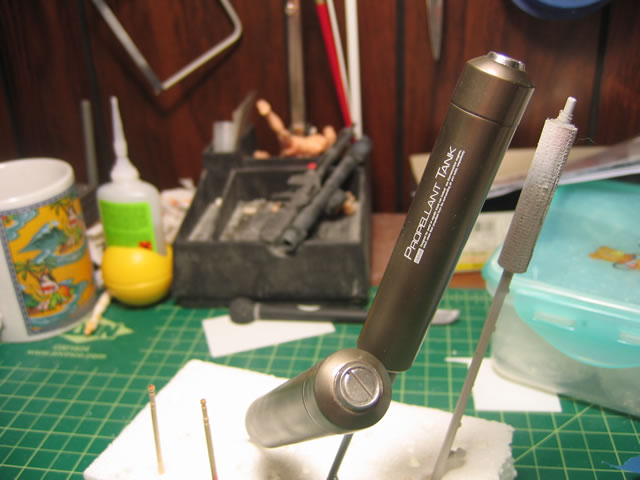
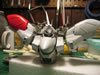
On to the painting process. Alclad metallics were employed again. Internals
are done in steel and stainless steel. Thruster nozzels were done in chrome.
Backpack, funnel system, fuel tanks, upper torso and body veniers were
done with jet exhaust.
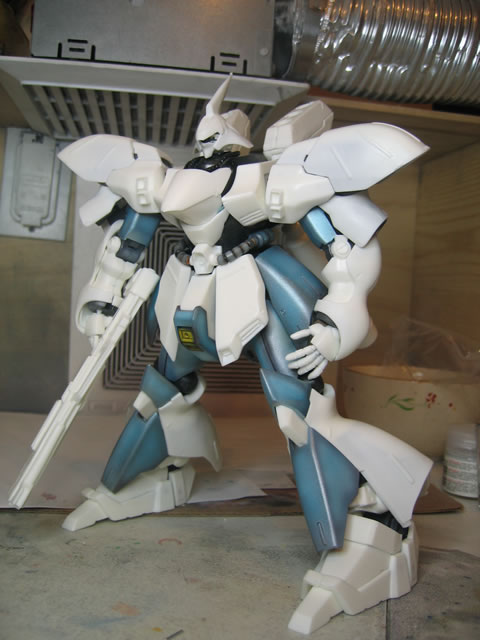
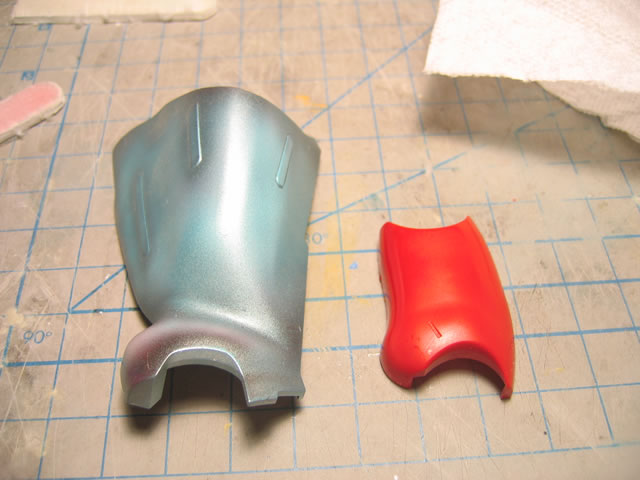
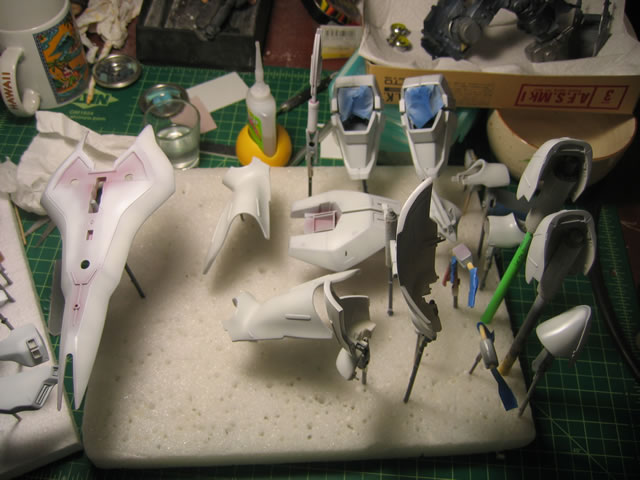
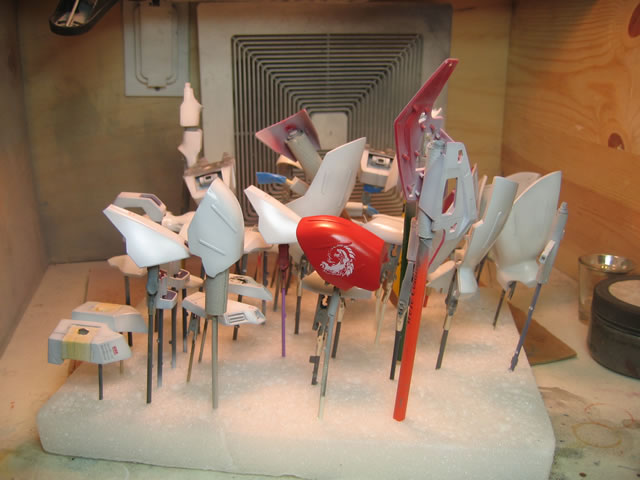
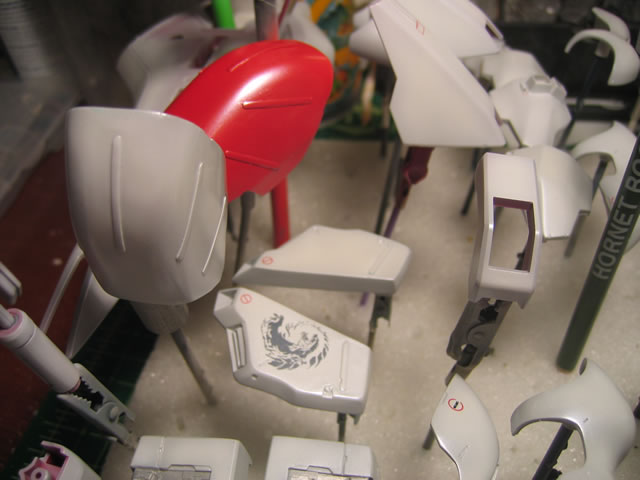
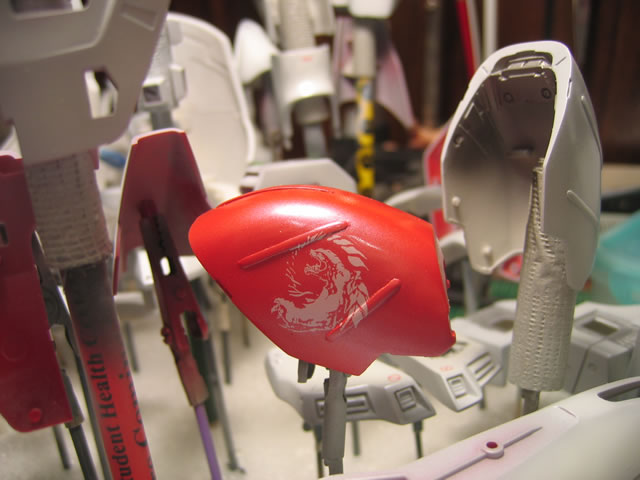
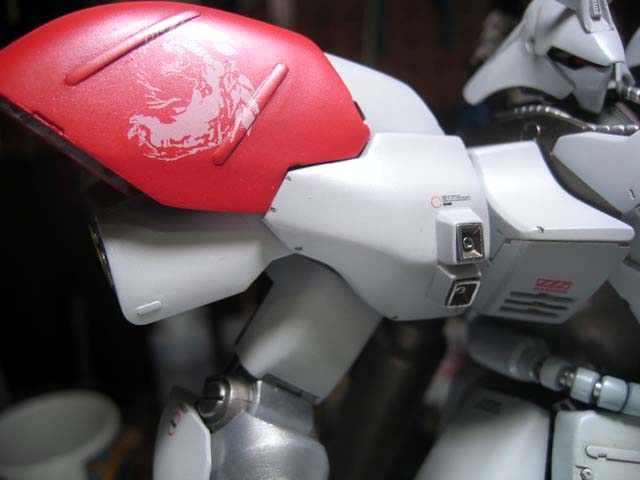
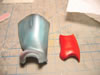
The body armor pieces are painted in Mr Color Super White. Gonig with
a white motif for this kit. The preshade color is just Mr Surfacer 1000/1200
(I ended up running out of 1000, and used 1200)
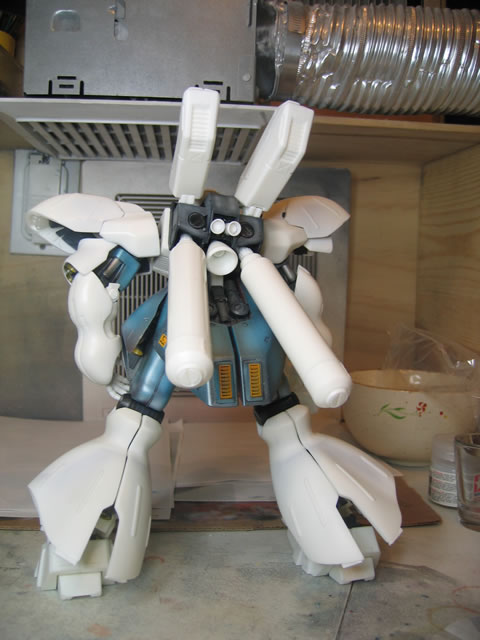
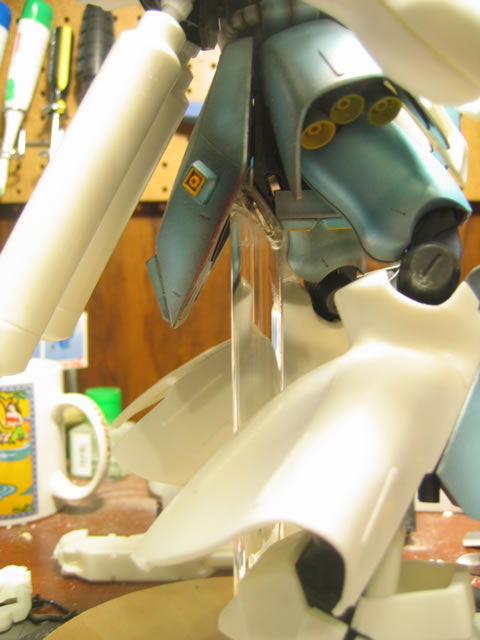
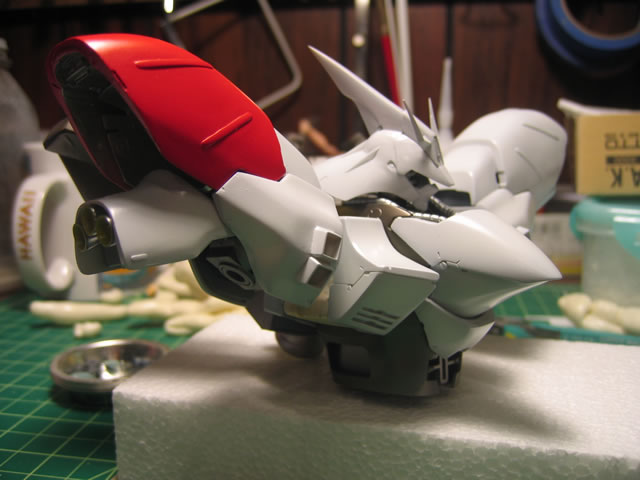
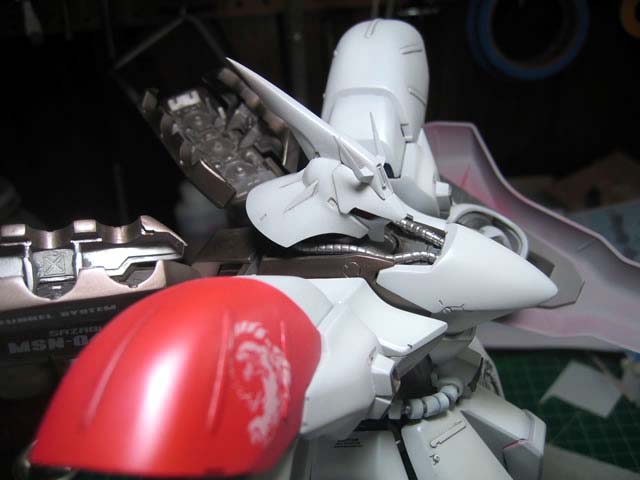
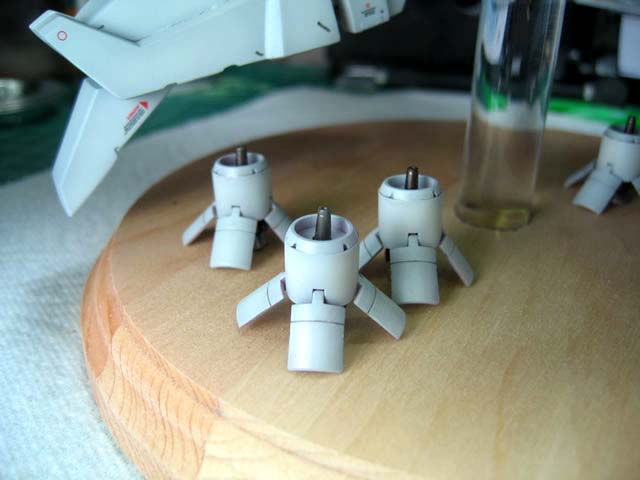
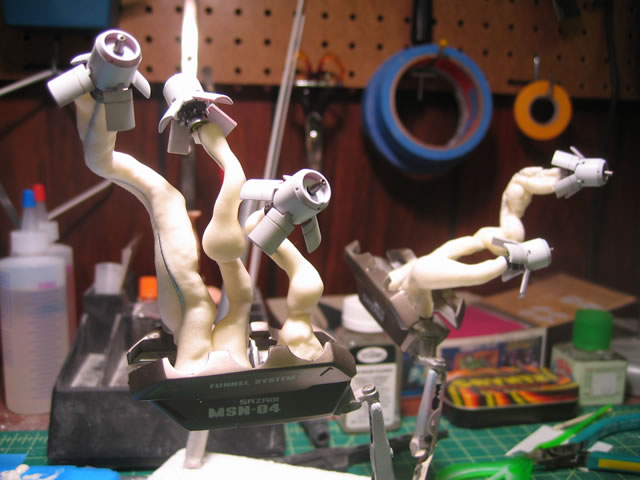
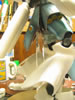
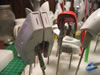
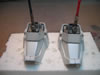
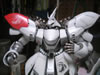
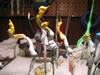
I modified the funnel system for an opened view. There's some nice detail
work for the internal here, so why waste it with a closed up funnel pod.
For this, I drilled holes into the attaching areas of the funnel pod doors
and inserted the pinning wire. Drilling corresponding holes into the funnel
pod, I cut the length of the wire and bent it enough to display the system
with doors open. Another reason for opening the doors is resultant from
my first build of this kit. When building the bits for the funnel system,
I lost the internal (read integral) part for one of the bits. So I only
completed 5 of the 6 bits for the system. My second build had three bits
flying, and two bits sitting in the closed funnel system pod. With this
third build, I plan to have the all five bits in various stages of launch
from the opened pods. This leads to the following section.
Creating rocket exhaust trails between the bits and the funnel system
pod. I've been toying with which method to use for creating this effect.
Once upon a time, I created something similar with my 0080 diorama with
the launching of the Hygog's palm missle. The cotton was a pain in the
rear to work with and didn't look too great. Doing a little research,
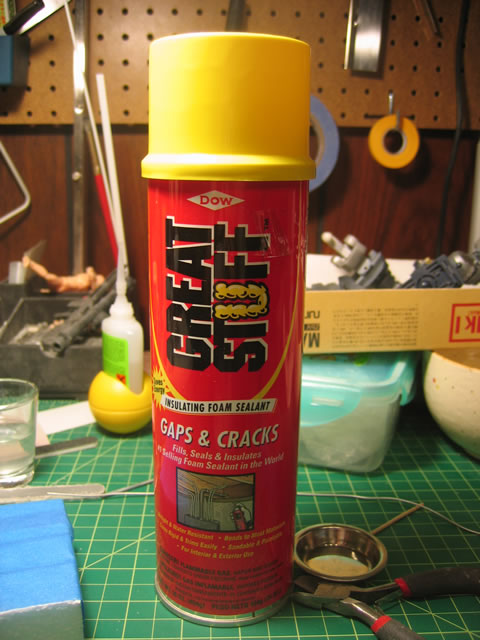
I found this stuff:
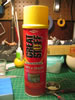
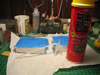
Spray insulation foam. And below are the results of my initial tests.
The stuff expands a bit more after initially spraying it out. Lacquer
thinner will clean the stuff up before it cures. In about an hour the
stuff is cured and is a foamy solid. I tried sanding it and cutting it
and that worked out decently. A bit of work and these things should make
some decent exhaust trails.
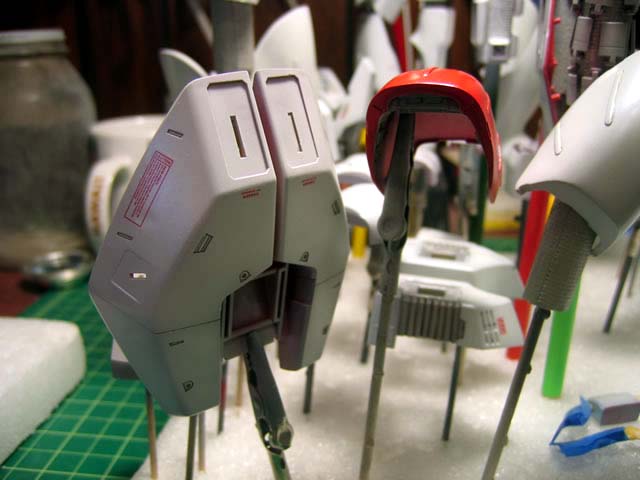
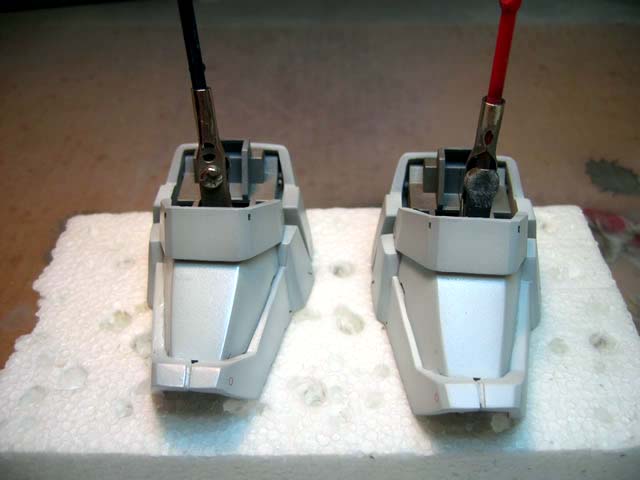
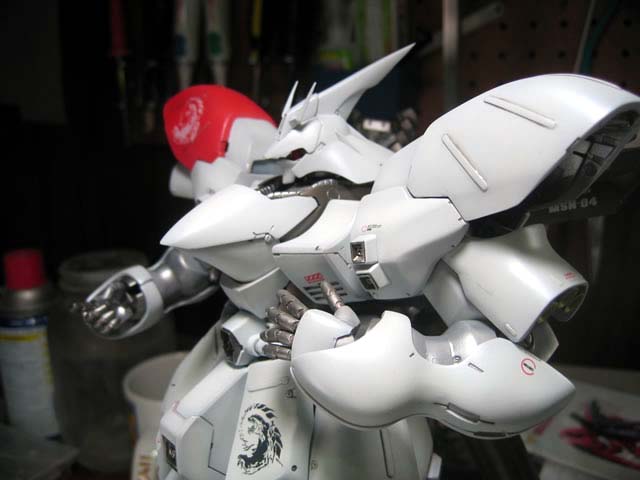
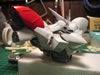
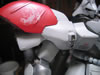
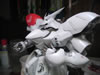
Here is the upper torso test fitted after clear coating
the painted parts. Next up are the decals, followed up by another clear
coat, the wash, and pearl coating. Then some more detail painting and
the rest of the kit. Progressing along decently I guess.

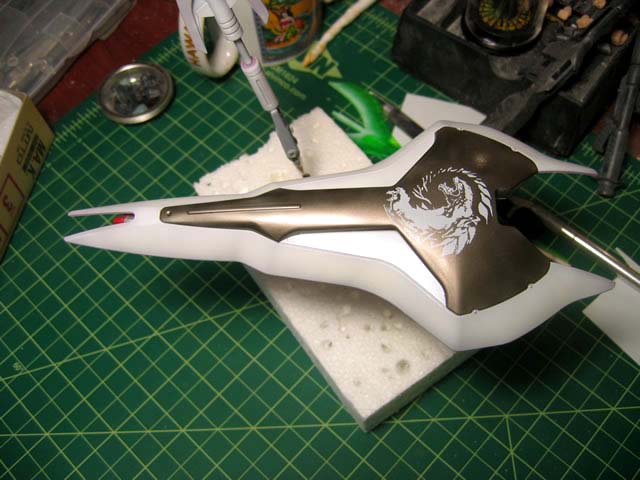
March 9, 2006: Finshing up the last bits of painting on
the main pieces. I still have detail painting, but won't be getting to
that until I'm completely done with the main pieces. The first two pictures
are the parts after decaling. The following pictures are after the pearl
coat. I'm debating on finishing this with a satin or a super gloss. Leaning
more towards a satin/matt finish.


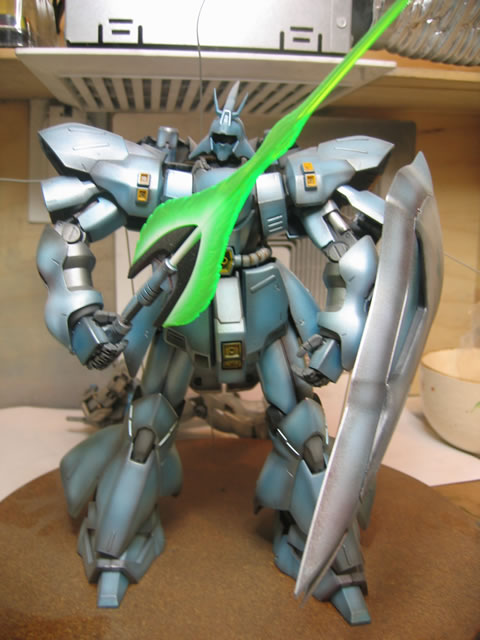
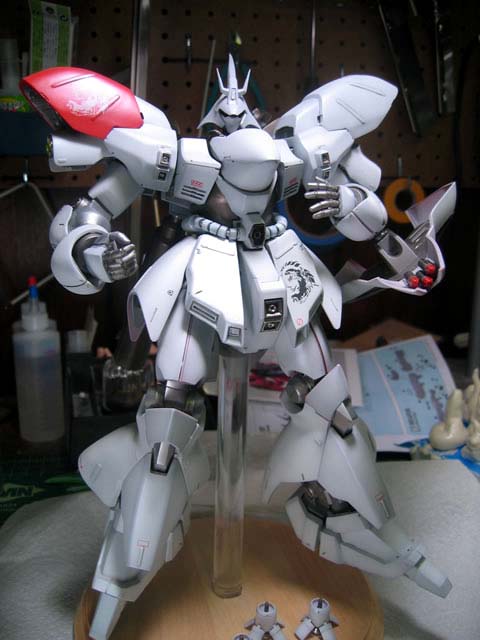
March 10, 2006: Finished the panel lining using the wash
method. A satin finish was coated to drop the gloss down.
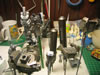
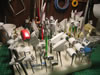
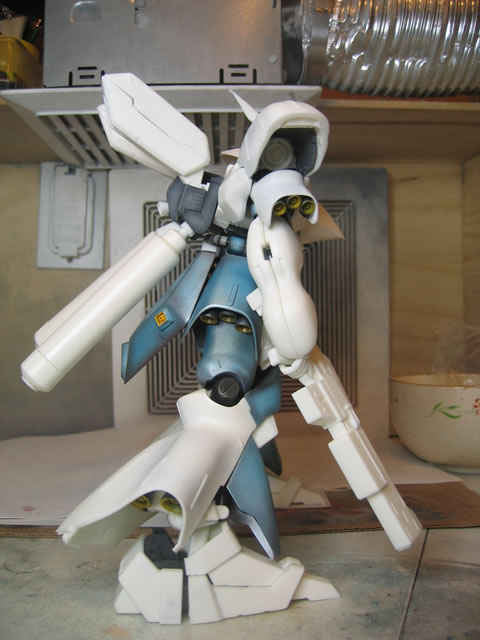
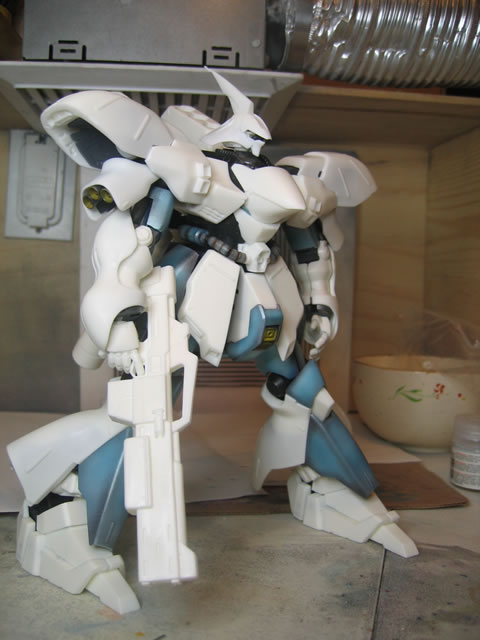
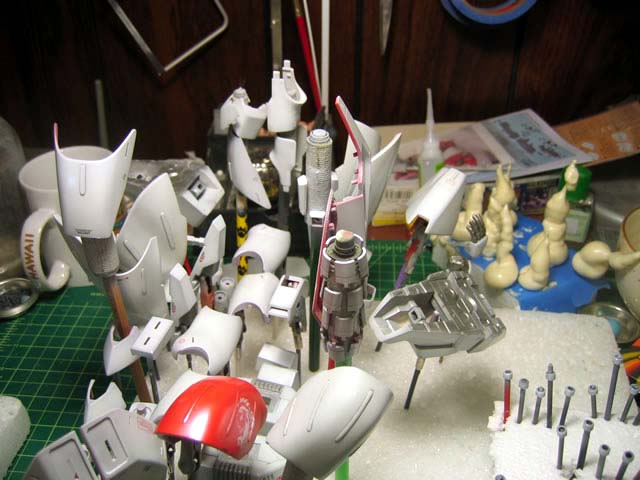
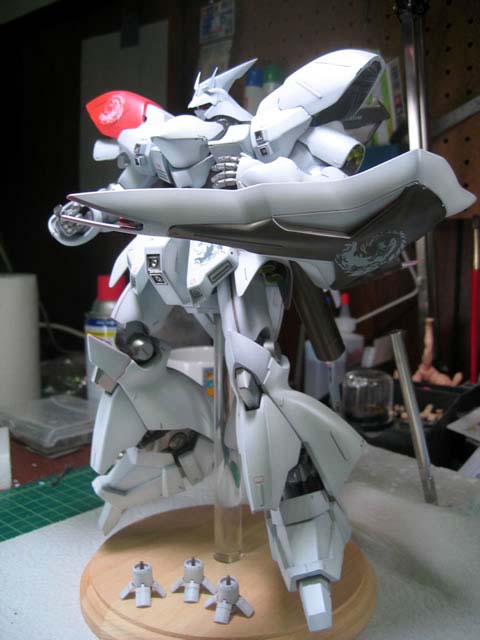
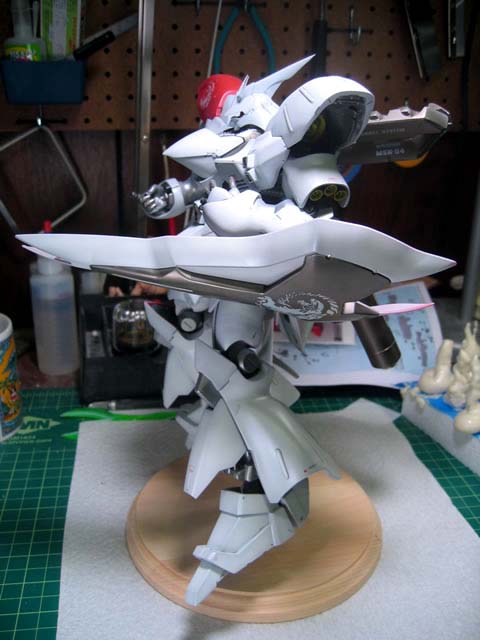
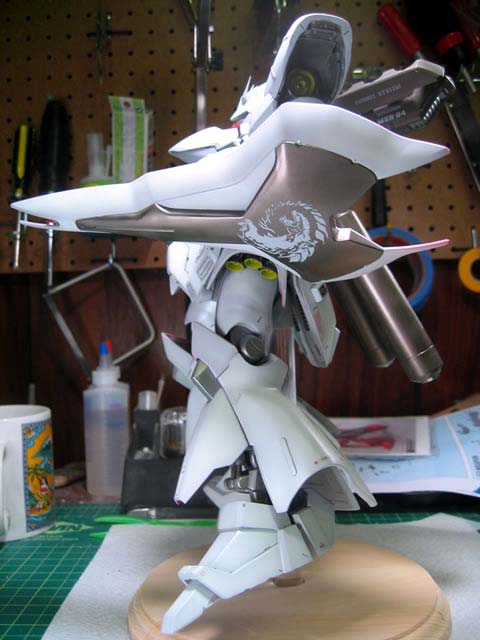
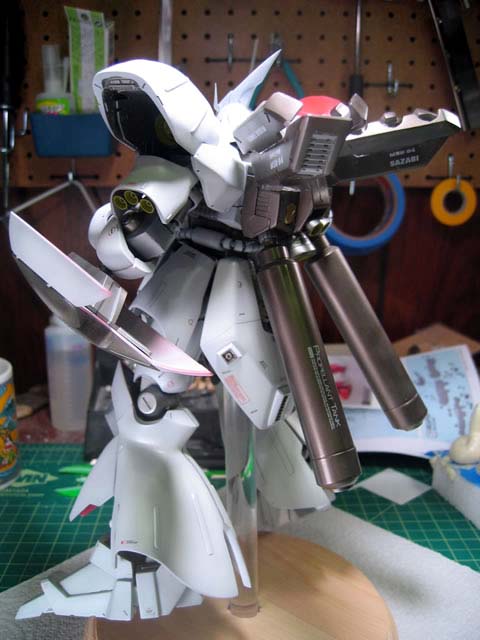
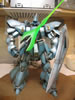
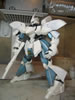
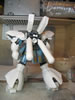
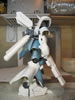
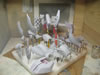
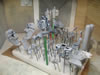
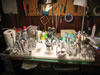
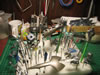
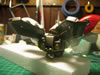
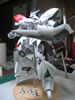
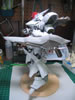
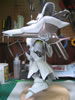
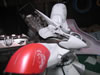
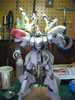
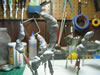
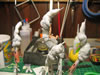
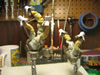
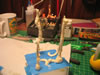
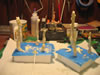
Next are some pictures of the kit put together. I still
have to finish the base, sword, and exhaust trails; but here are some
quick shots of this guy so far.
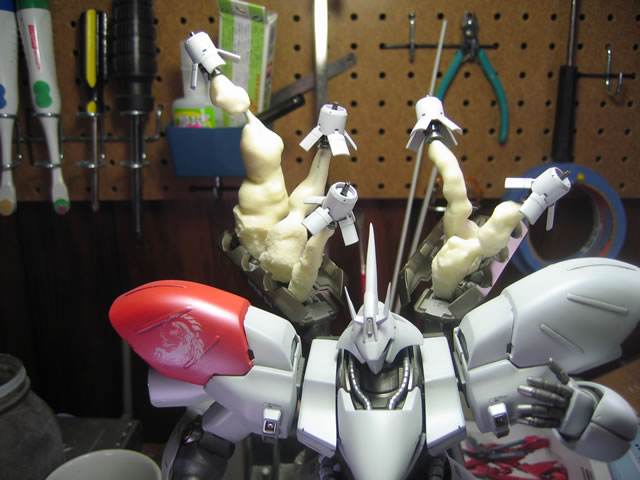
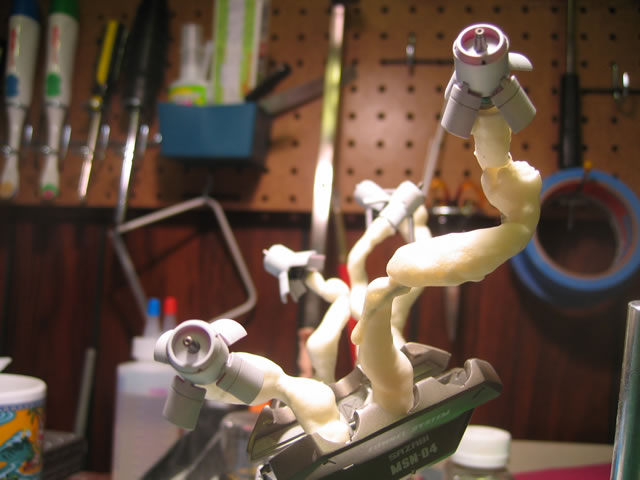
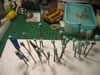
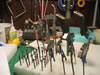
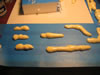
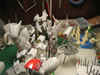
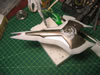
March 11, 2006 Resumed work on the exhaust trails. I previously made
a couple of foam spires using an internal wire frame for support and to
have a solid connection between the bits and funnel system. I roughly
cut the foam spires to resemble exhaust trails. This stuff is great. It's
easily cut and sandable. Below are a few pictures of the entrails in it's
cut but still raw form. Next I'll finish sanding the exhaust trails and
move on to painting. I'll be testing out different paint types. My guess
is that acrylics would be best. Solvent based paints may eat the foam.

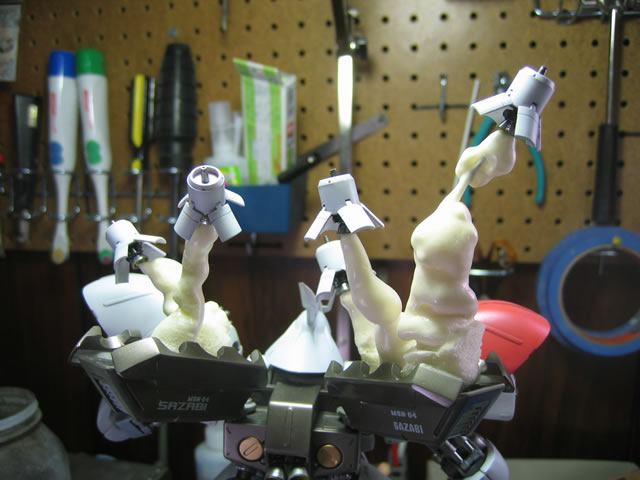
March 12, 2006 Continued work on the exhaust trails. Below are pictures
of two sets of exhaust trails. After cutting and sanding the first set
of trails; I primed and painted them. A couple of tests using lacquer
thinner placed in both the shiny and spongy side of the cured foam. No
effects. So I sprayed on lacquer based primer and paint.
After painting, the exposed spongy sides just did not look right to me.
See the below pictures. I decided to create a new set of exhaust trails.
And while doing this, I took some more indepth progress shots for the
build process.
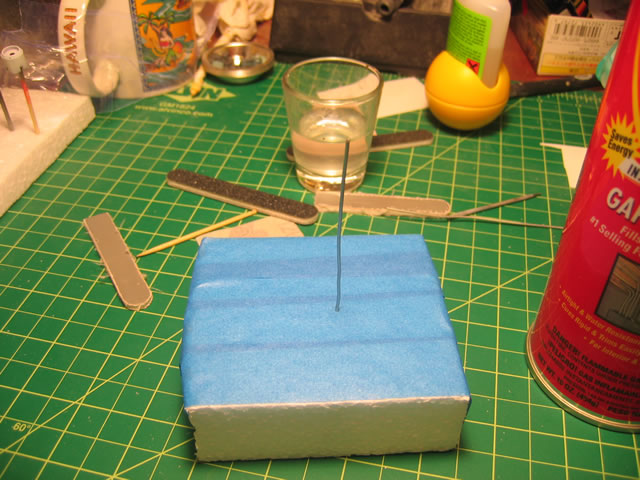
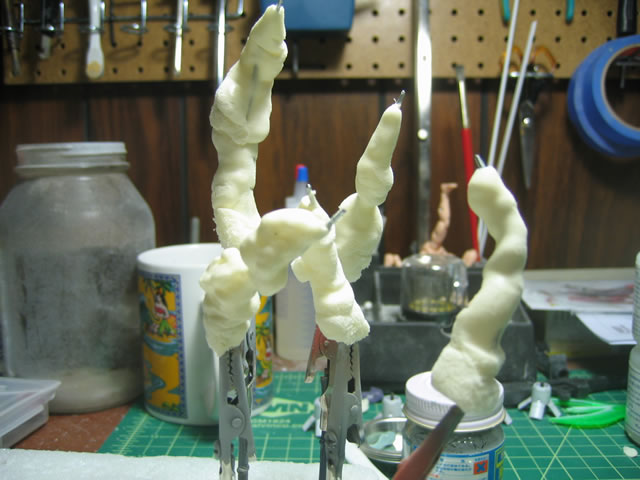
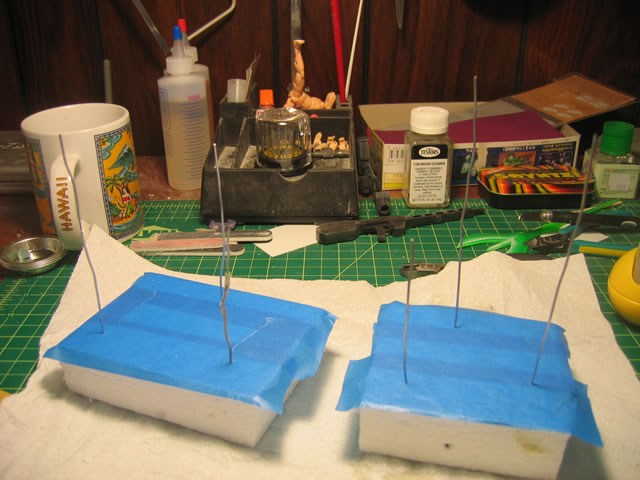
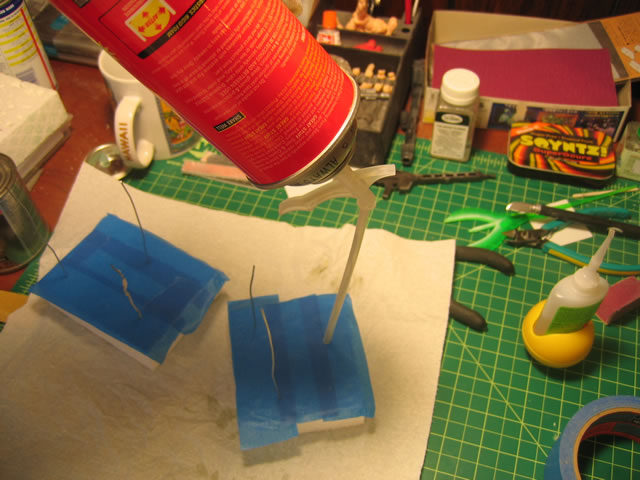
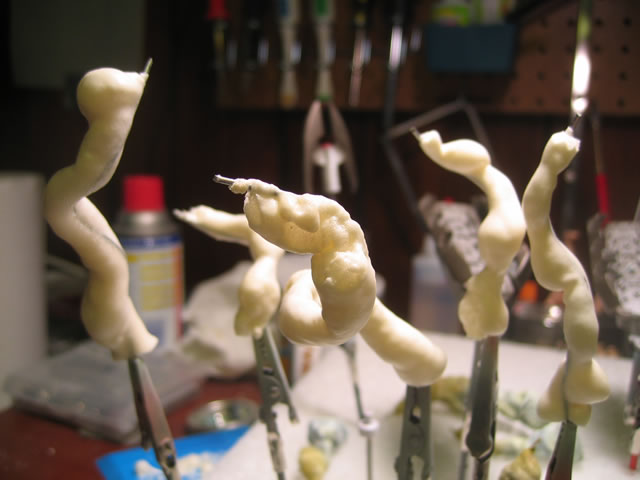
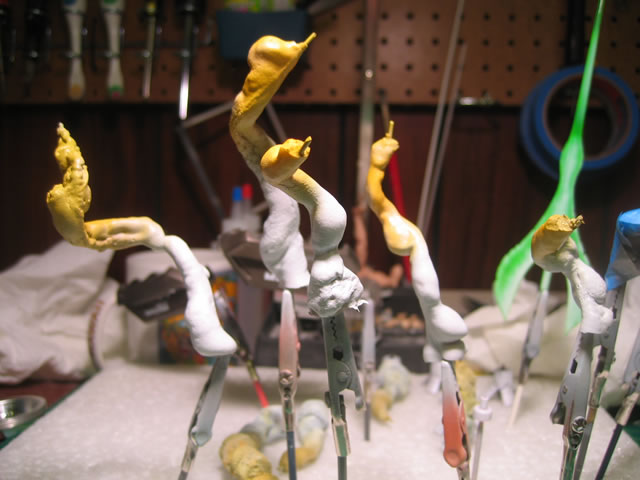
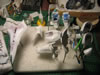
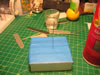
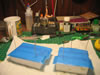
Beginning with styrofoam blocks and 3M blue tape. I placed wires up from
the styrofoam blocks. I placed the straw attachment over the wires and
slowly sprayed out the foam. Before the foam fully cures, lacquer thinner
can be used to shape and dissolve the foam.


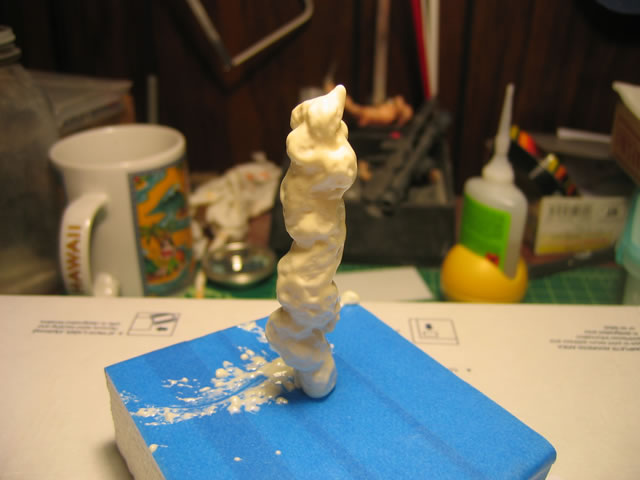
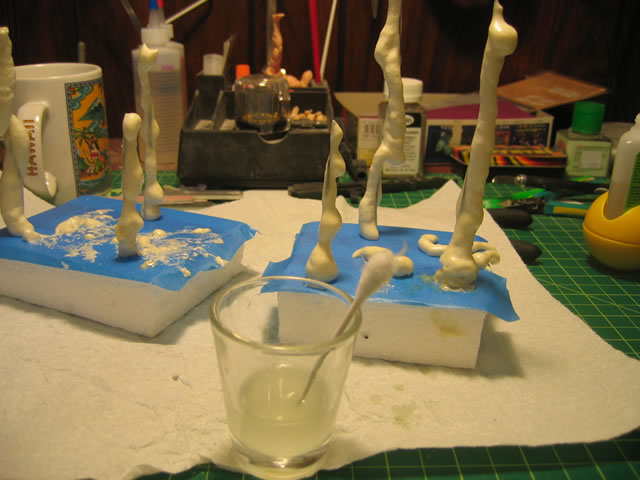
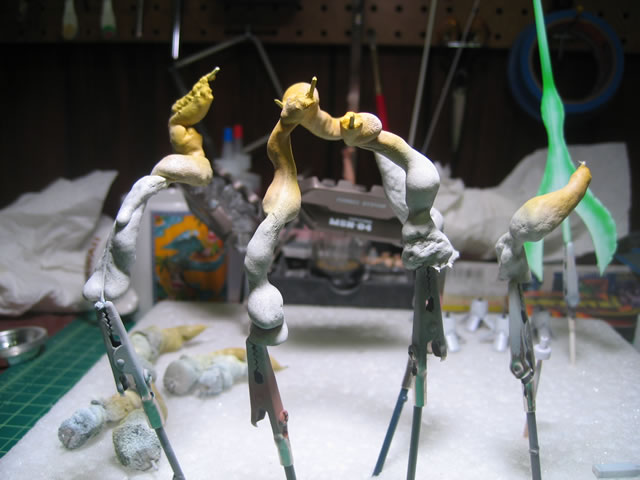
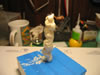
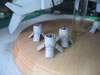
After about 2 hours of cure time, the foam sticks can be
handled and I twisted them into shape.

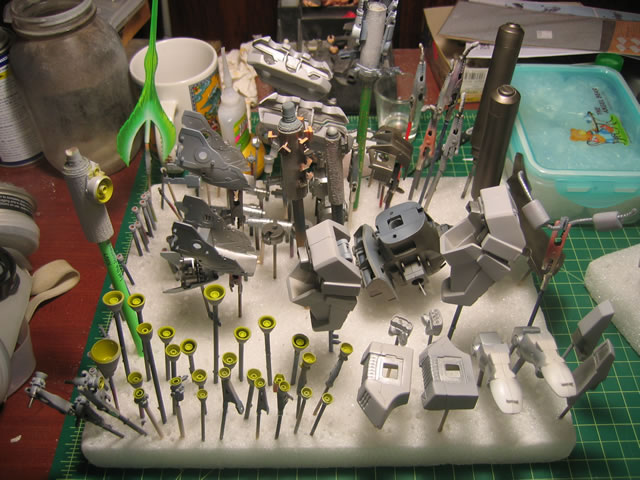
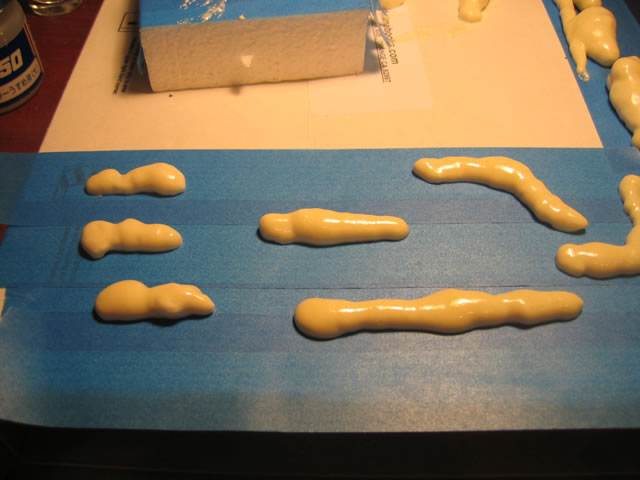
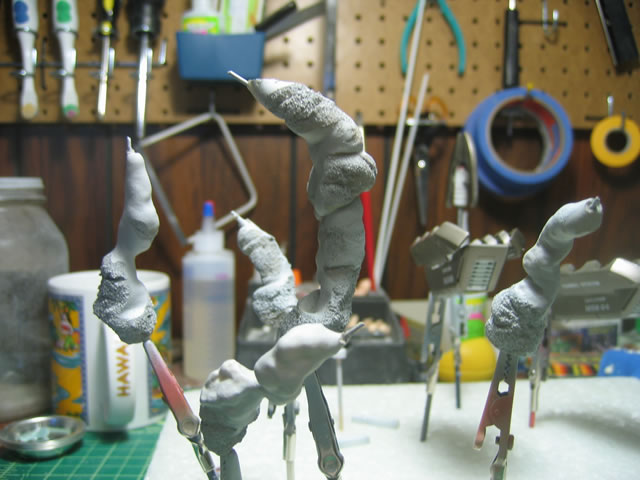
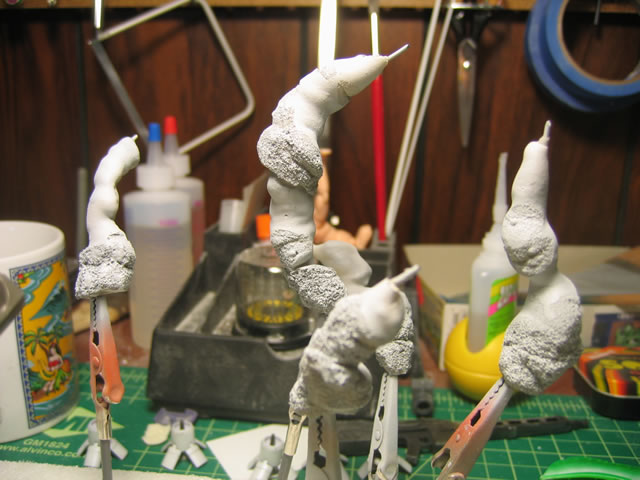
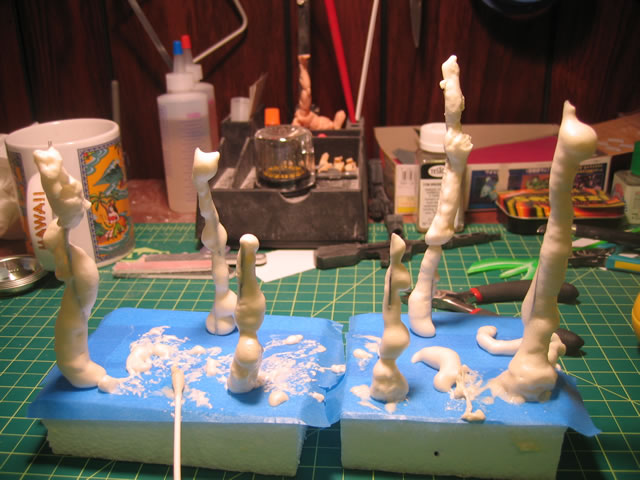
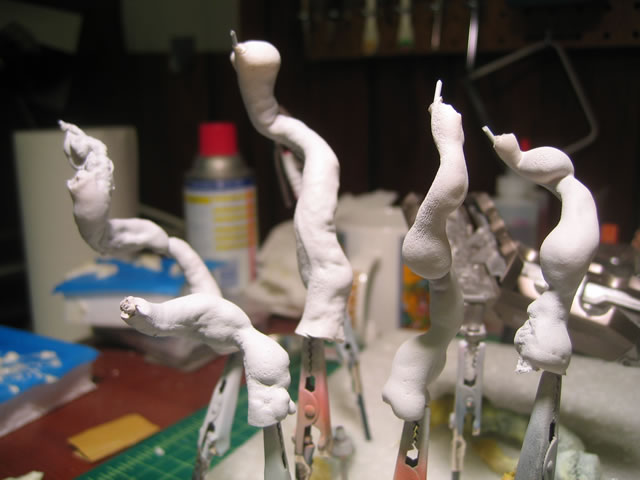
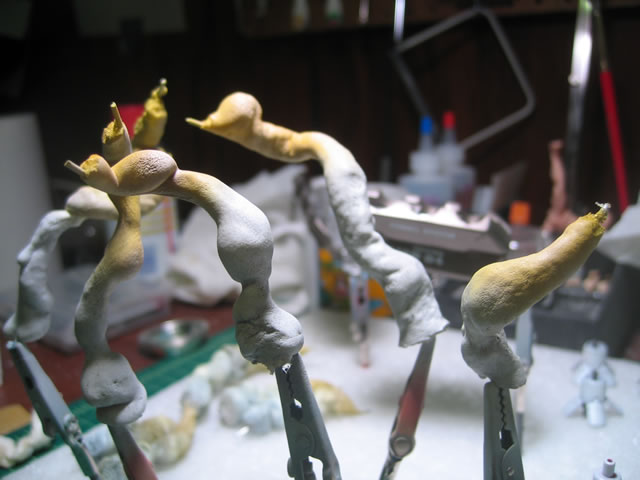
Mr Surfacer 500 was sprayed onto the foam sticks to prime
it. Then I painted orange yellow, and white over the sticks. I sprayed
on a layer of future which is currently curing. I still need to add a
wash/filter to the exhaust trails, another layer of flattend future, and
possibly some pastels to weather the foam sticks to complete them.


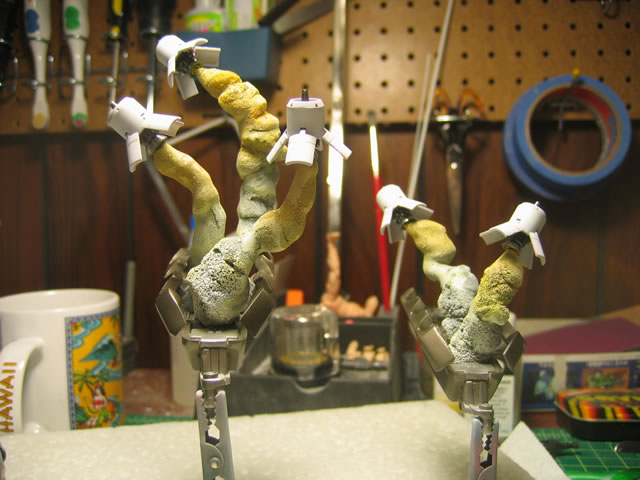
Below are the final two pictures of the progress page. I did a navy grey
filter, flat coat of future floor polish + flat base, and did a quick
dusting of soot pigments to highlight a few areas.