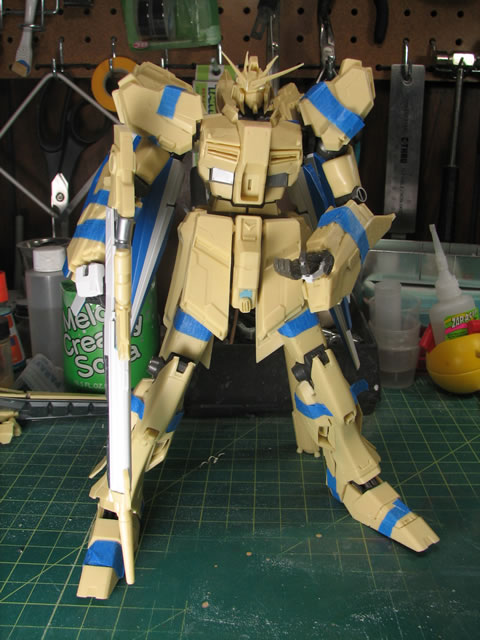
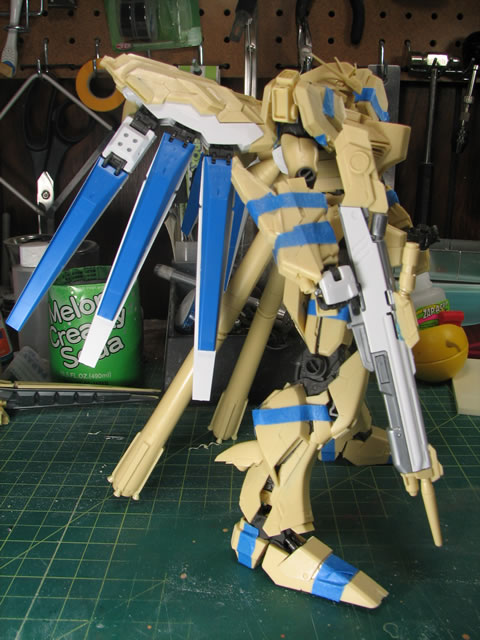
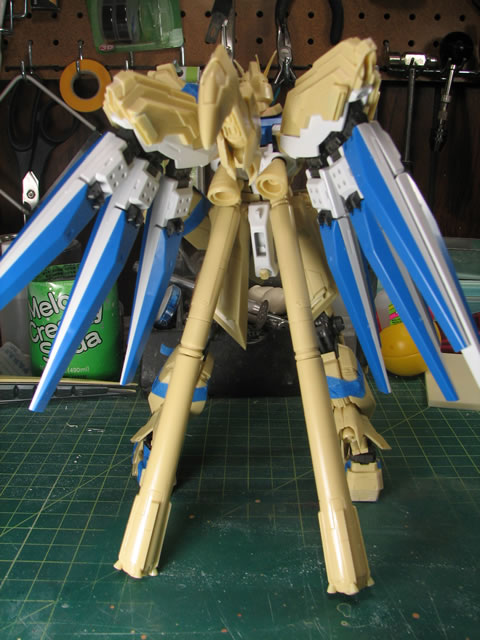
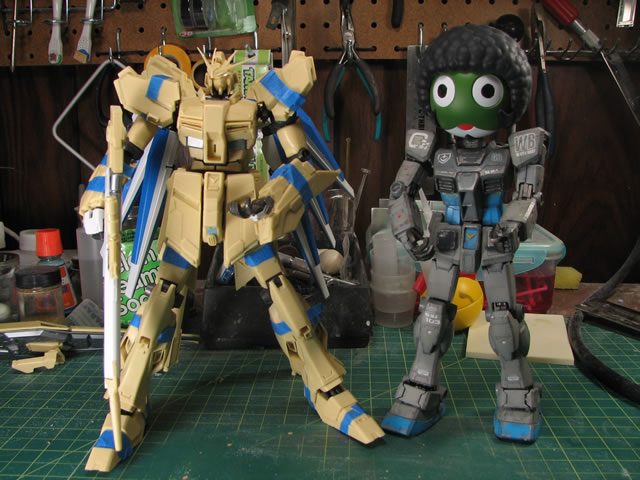
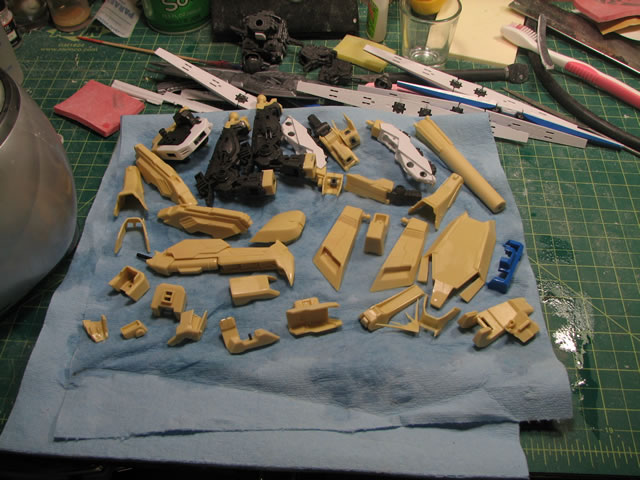
March 10, 2008: I started this kit earlier this year, but put it aside to work on some resin figures. Now that I have some of the figures out of my system, time for some gunpla. This is a conversion kit from Vicious Project for the Master Grade Hi Nu Gundam. So far I just have it snapped together with the resin parts to get a better idea on what I need to do with the kit. From the initial sanding process, I haven't seen many issues with the casting, so hopefully I can get through the sanding process fairly quickly.
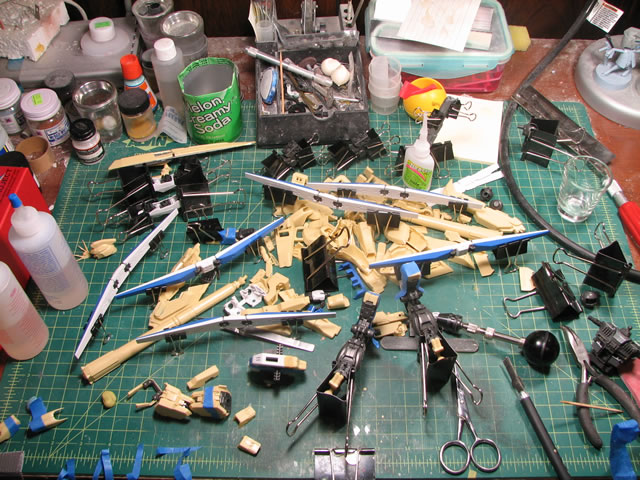
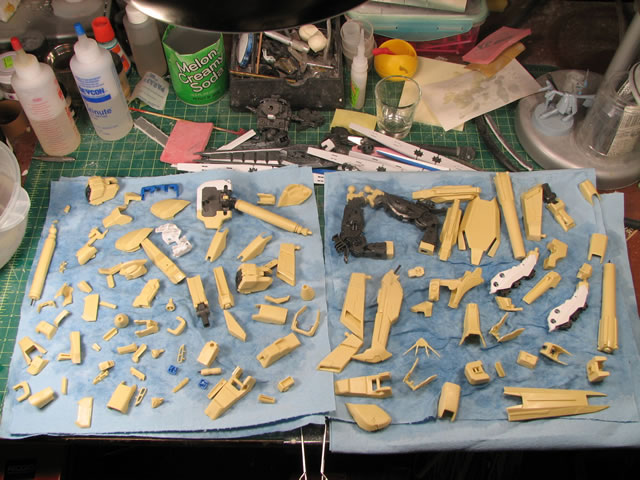
March 18, 2008: The following process happened over the past week or so. After the test fit, the parts were taken down and some of the smaller parts were glued together. All the parts were then sanded to remove the pouring gates or any defects I could see. The sanding process went from low grit(60) to high grit(400). Once all the sanding was done, all the resin parts and some plastic parts were thrown into the purple industrial strength bath (Purple Power from Walmart) This is absolutely necessary when working with resin as it removes any left over mold release agents that may still be on the surface of the resin. If this residue is not removed, paint, primer, etc will not stick to the surface of the parts.
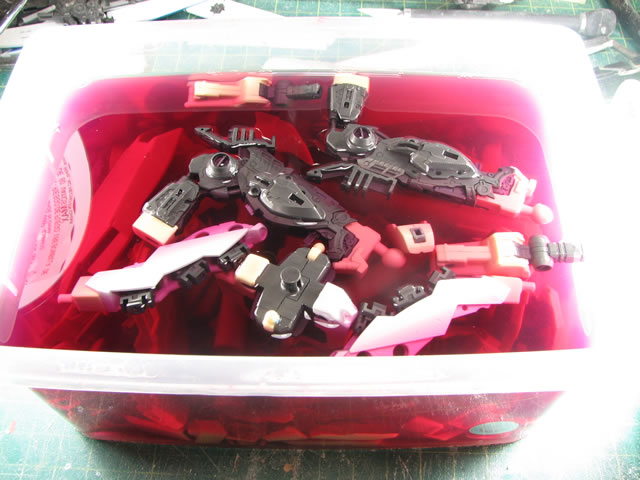
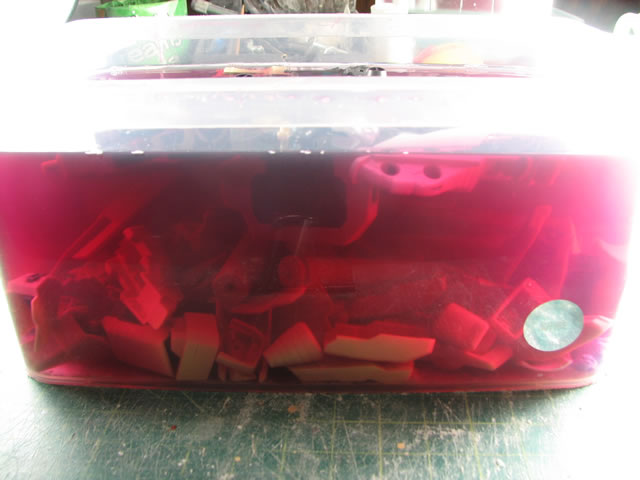
The parts sit in the purple bath for a full day. Afterwards, I remove the parts with a glove and place them into an ultrasonic cleaner. I'm lazy and the ultrasonic cleaner takes care of the scrubbing session on the parts to really clean off any residue mold release and cleanse the part of the industrial strength cleaner. The solution in the ultrasonic cleaner is water with a small drop of dish soap. If the parts still feel a little oily, I rinse them again through the ultrasonic cleaner with water only. The parts are then taken out and dried.
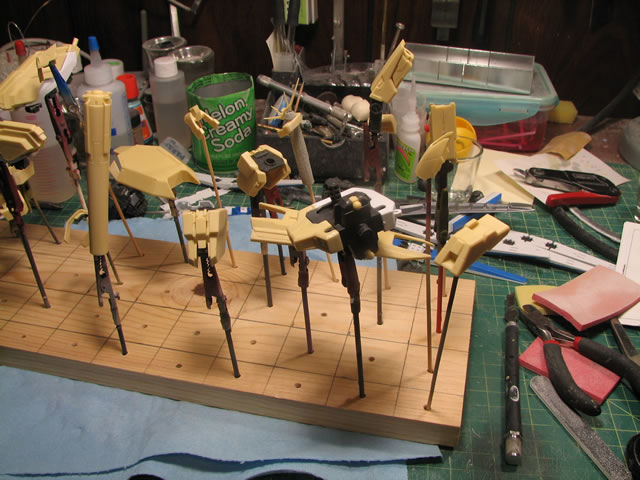
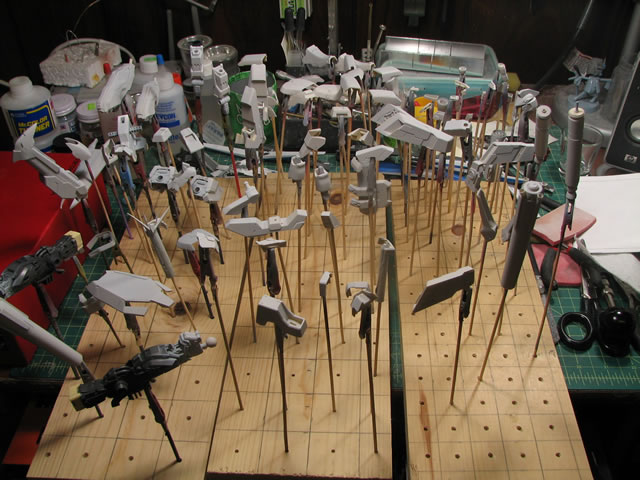
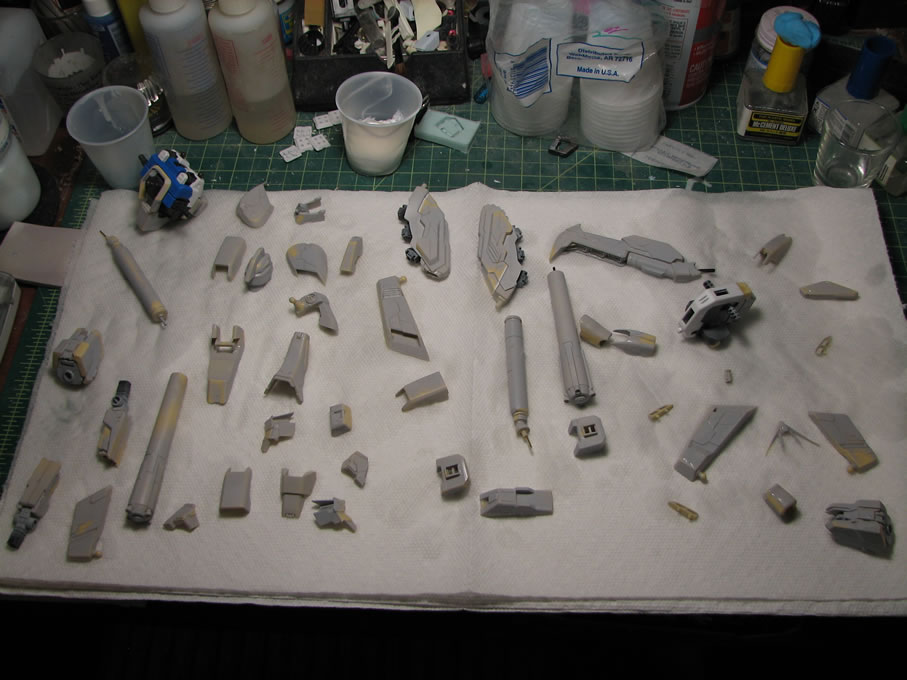
Placing the parts on holders of every sort, clips, skewers, or sticky surfaces, they are ready for the initial priming session. This will show all the sanding mistakes and areas that need to be corrected with putty. Lots of parts were primed tonight.
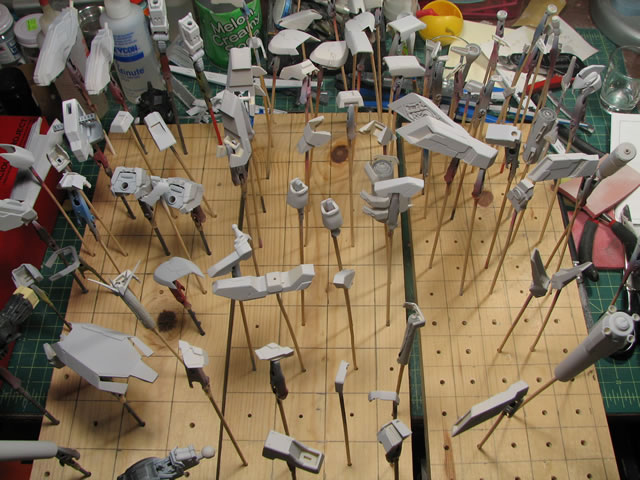
November 9, 2010: Project resurrection after a year and a half from the last time this project was updated. The project stopped because I just ran out of steam on it and didn't have a paint scheme in mind. A few days ago, I cleaned up the workshop and looked upon the kit and got some inspiration. So the kit was pulled off the shelves and checked for missing parts. The only thing I couldn't find was the manual. This isn't too big a deal as I've already done the test fit and most of the initial building and sanding was already done.
On to the paint scheme. Not wanting to do the typical blue on white scheme, I went with a varation. Cobalt blue over a medium gray. Additionally, to break up the dual tones, I will be adding either a white strip or a red strip; see the two rough line art schemes below.
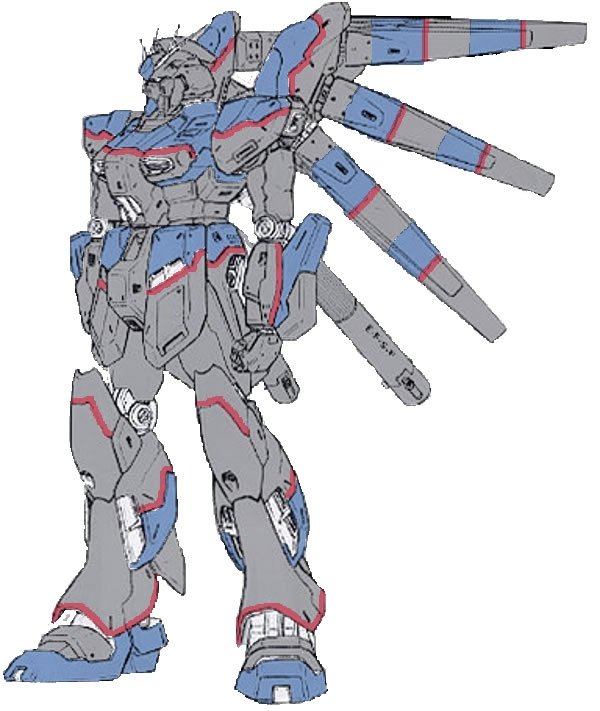
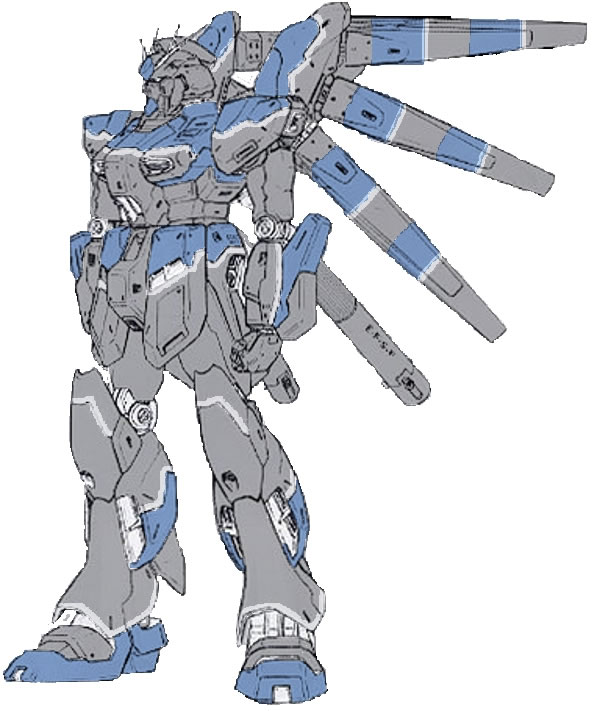
As stated above, the parts were checked and with everything there, the return to where I last left off on the project.
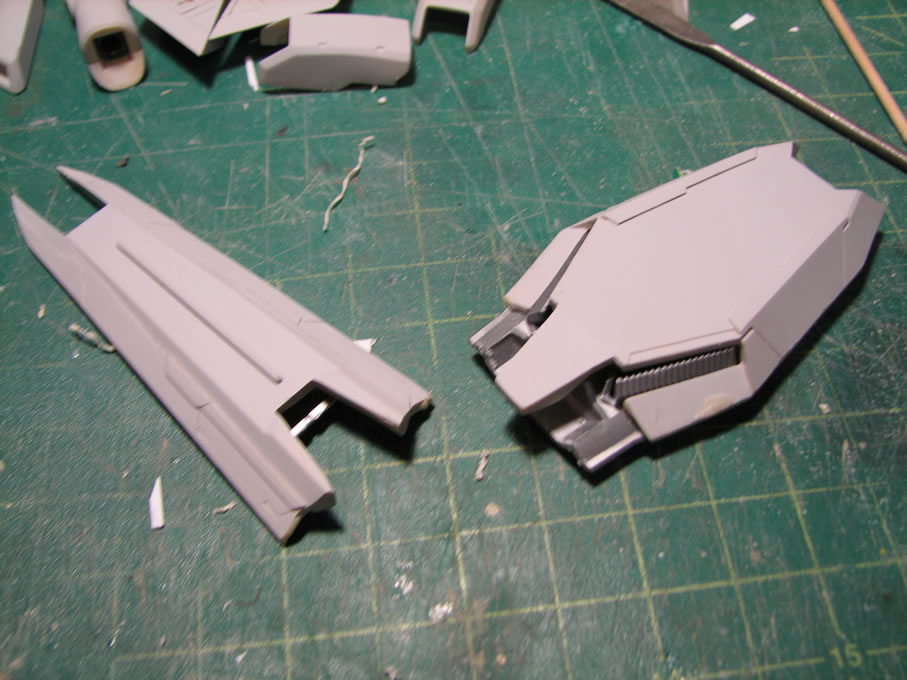
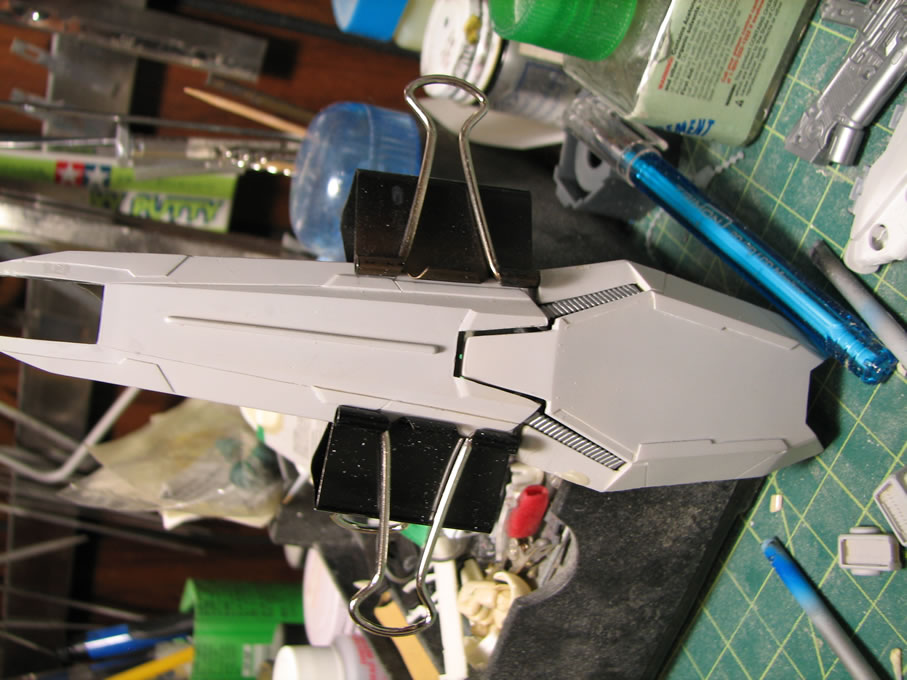
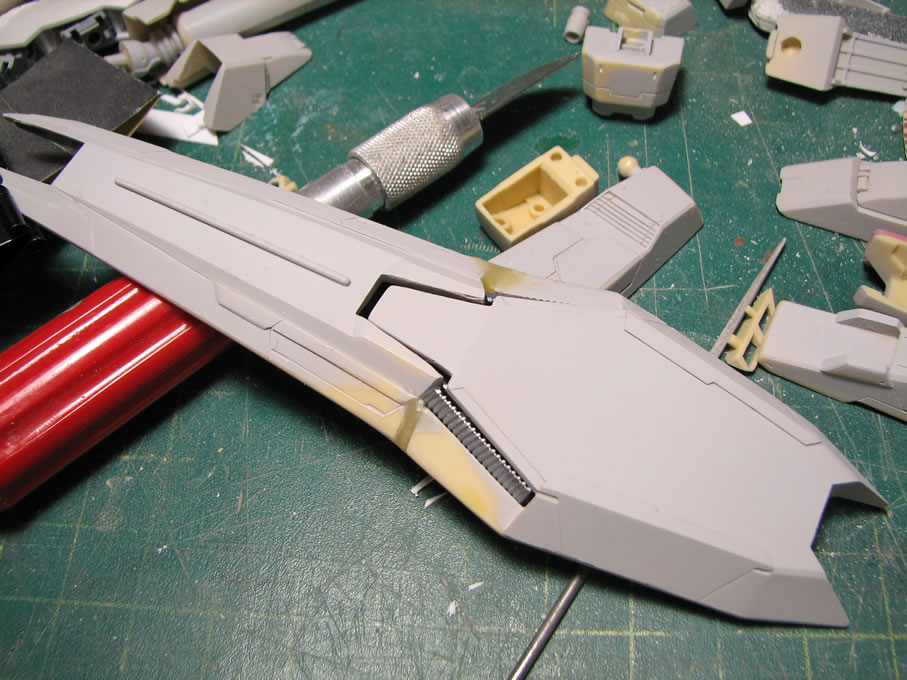
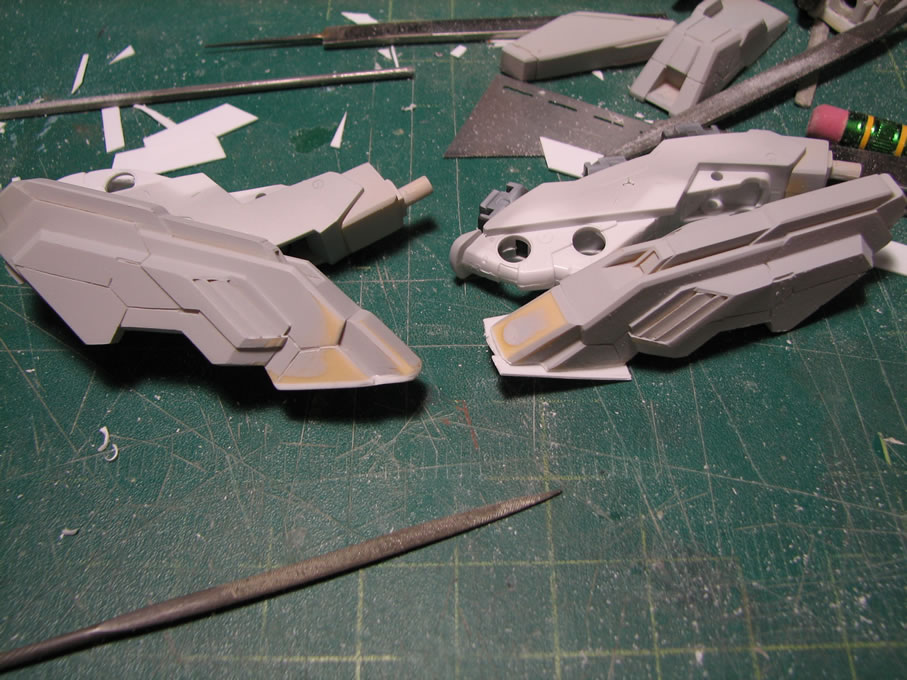
The shield and the resin pieces didn't quite fit, so a little cutting for the shield was in order. The two resin parts were glued and then assembled. VP's design has a break between the upper shield and the lower shield, I will be filling these breaks as I don't much care for that design. The shield is glued together and tomorrow I will be filling in the gap area.
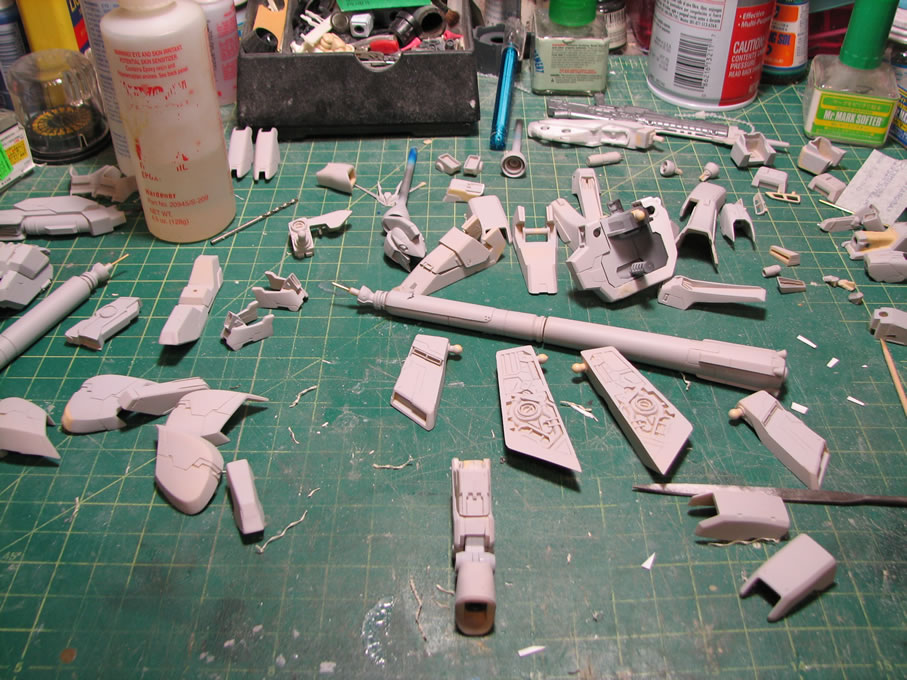
Last I left the kit, I had sprayed on the inital layer of primer. I had also started to fill the surface defects with light curing putty. A good number of the parts needed the clean up sanding for all these areas that were previously fixed.
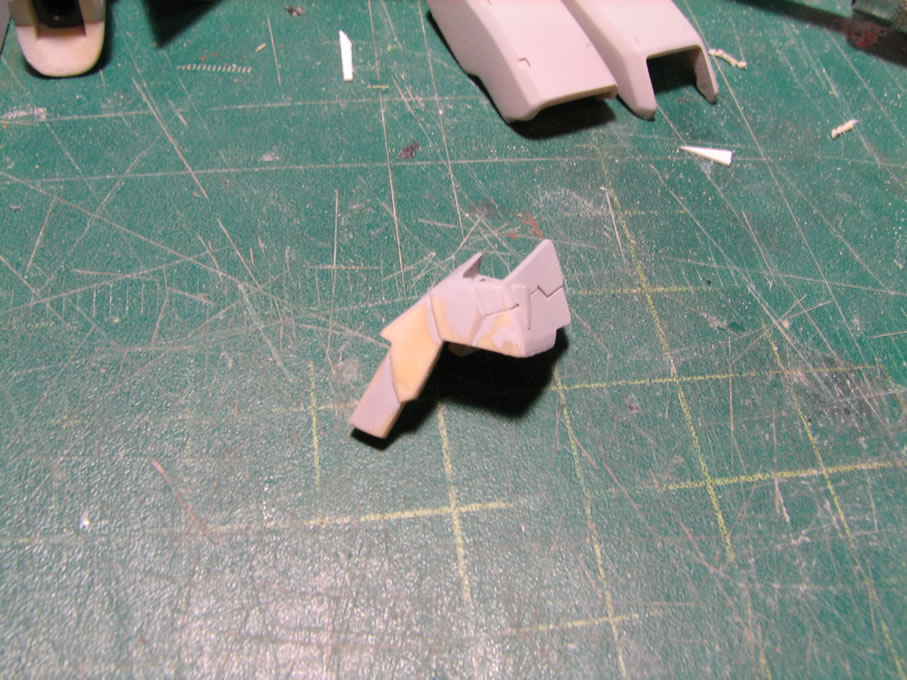
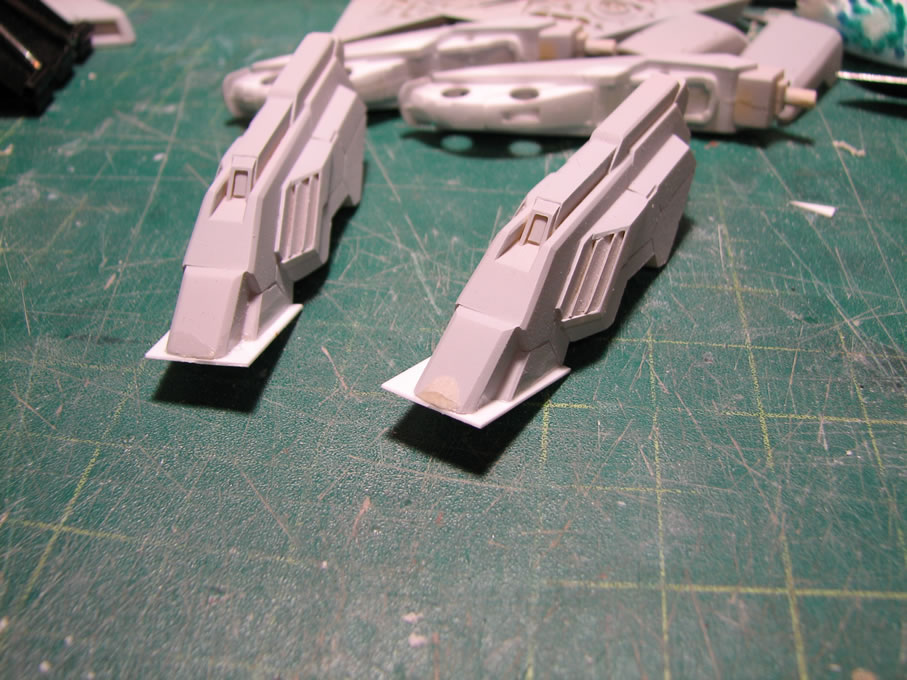
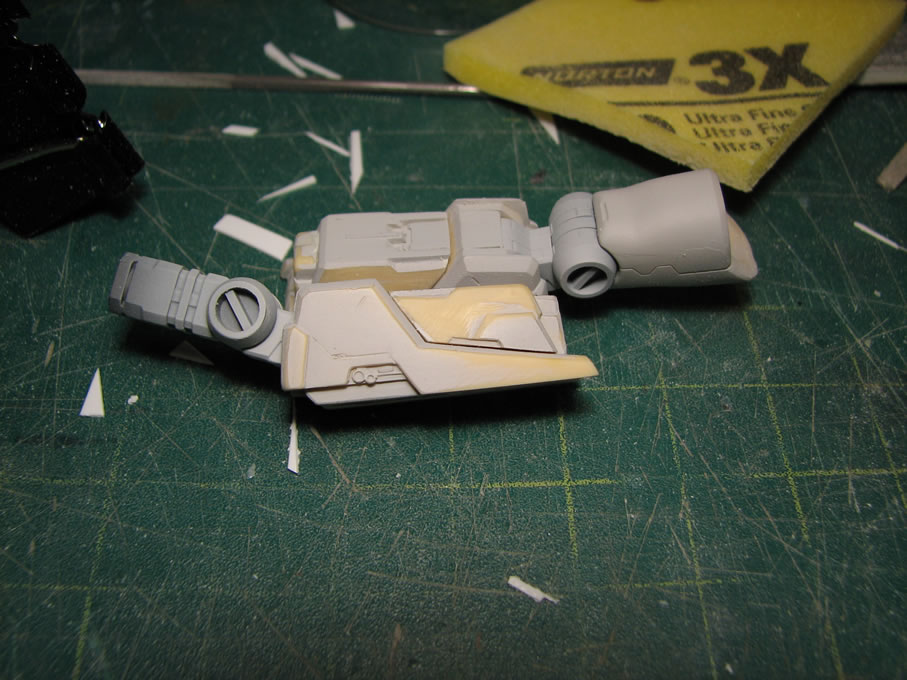
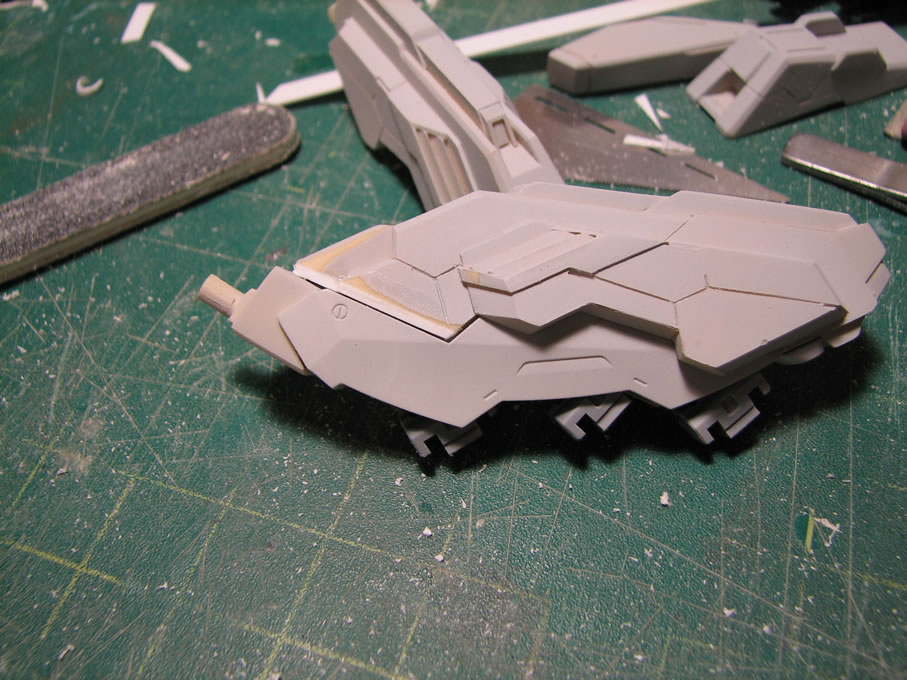
Some parts have some visible gaps that I filled using styrene strips glued to the resin. I started using this as it was much easier to get a uniform edge wih the styrene than putties. Any small fills would be done with putty, but the major gap filling is done with styrene. In the second picture, there is a small amount of white at the ends of the upper forearm area, this is the styrene strip that was glued and sanded down to fill this gap.
I'm preparing all the parts for the second priming session and hopefully I'll be onto the color painting sessions in a few days.
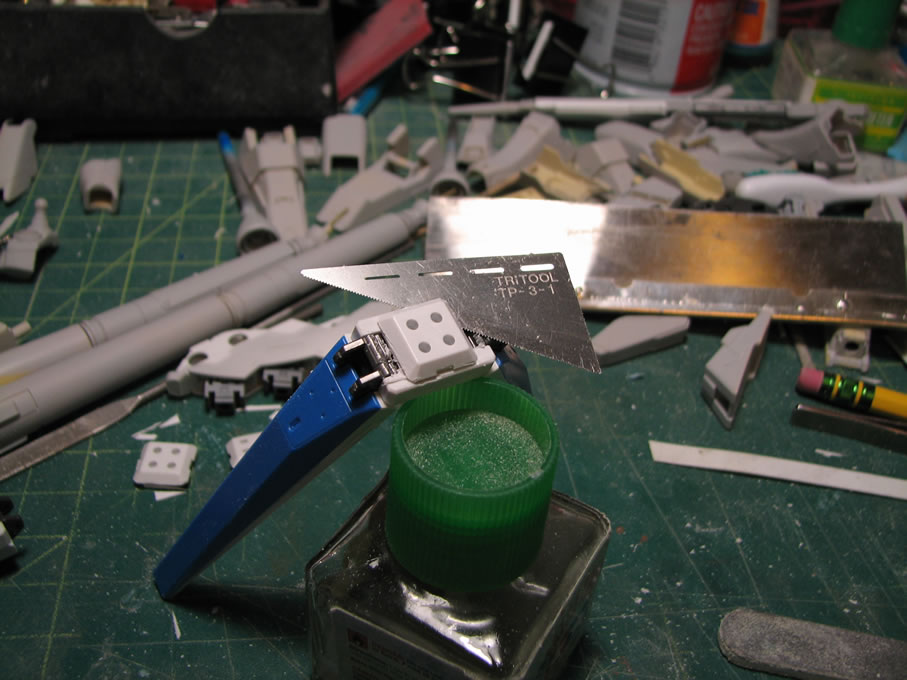
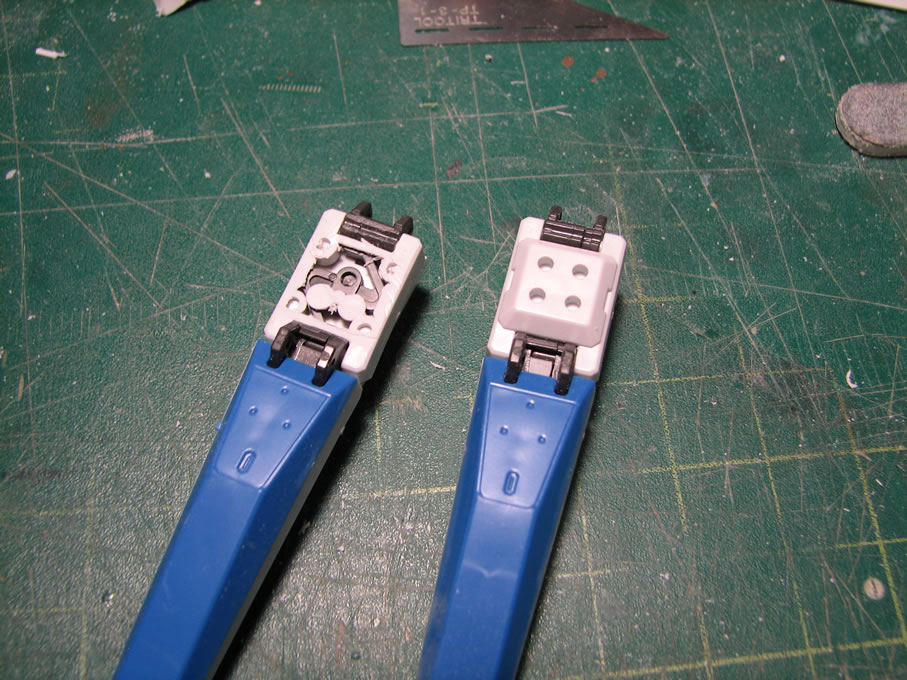
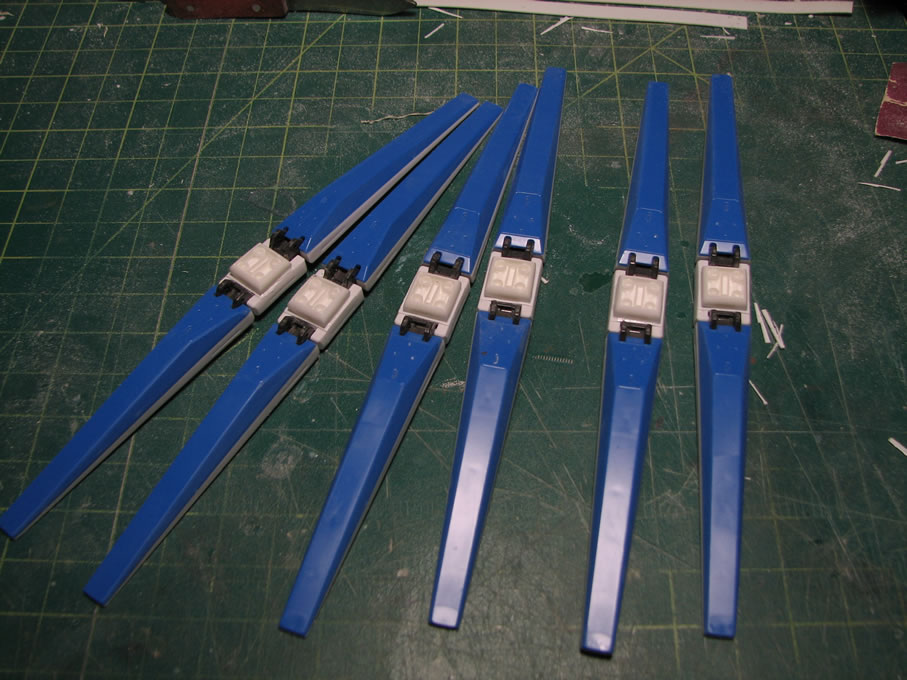
November 11, 2010: The past two days have been spent continuing the sanding after the initial primer layer. Finding surface defects and sanding, filling, and fixing them. The break up the laborious task, I'm detaling up the middle sections of the fin funnels. One of the things I hated most about the MG kit is the lack of details on the funnel sections. So, some measurements were taken and then the lack luster middle square pieces were sawed off.
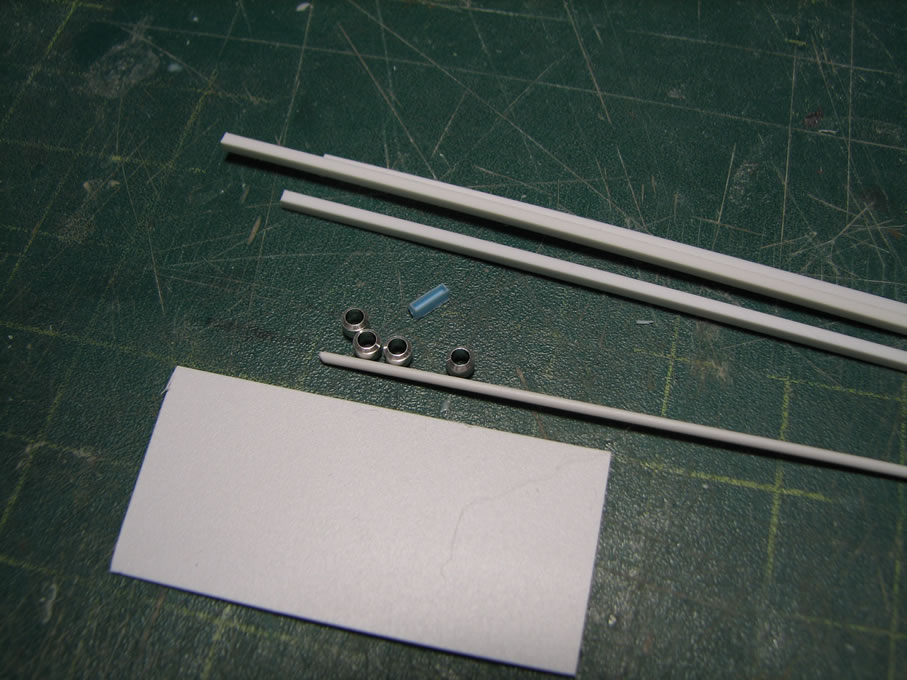
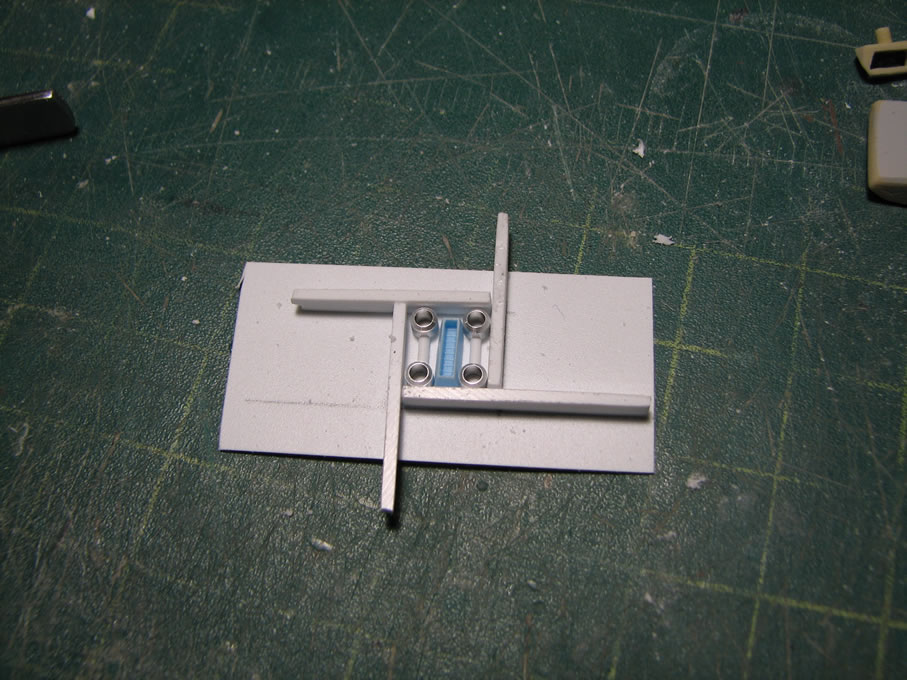
Raw materials for building the details. Styrene sheet base, styrene rod, styrene strips, some metal beads, and a resin thruster. Using measurements taken from the orignal part, an outline was down on the styrene base. Styrene strips were glued together for the walls of the detail part.
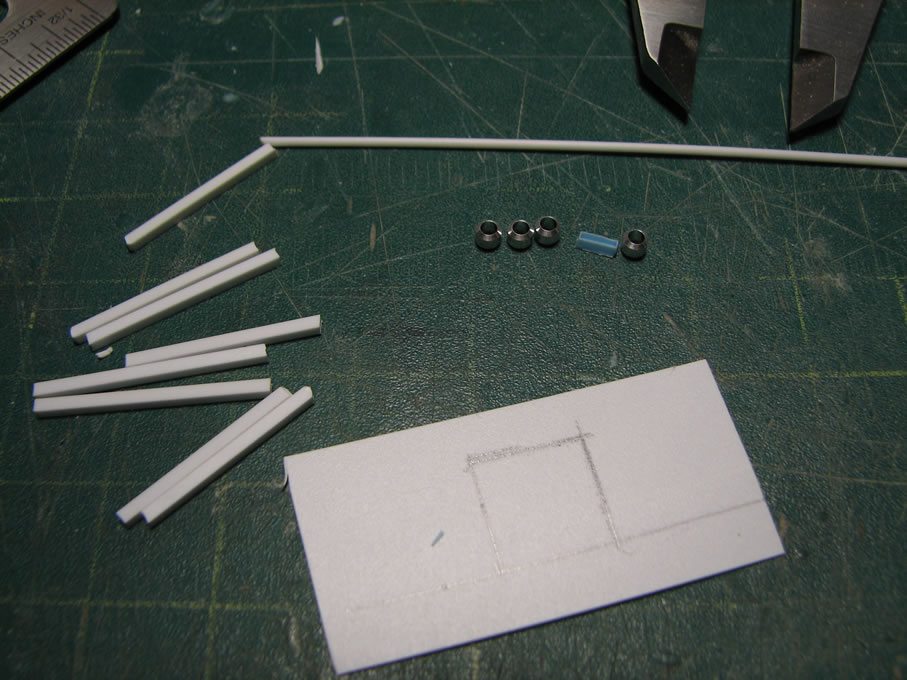
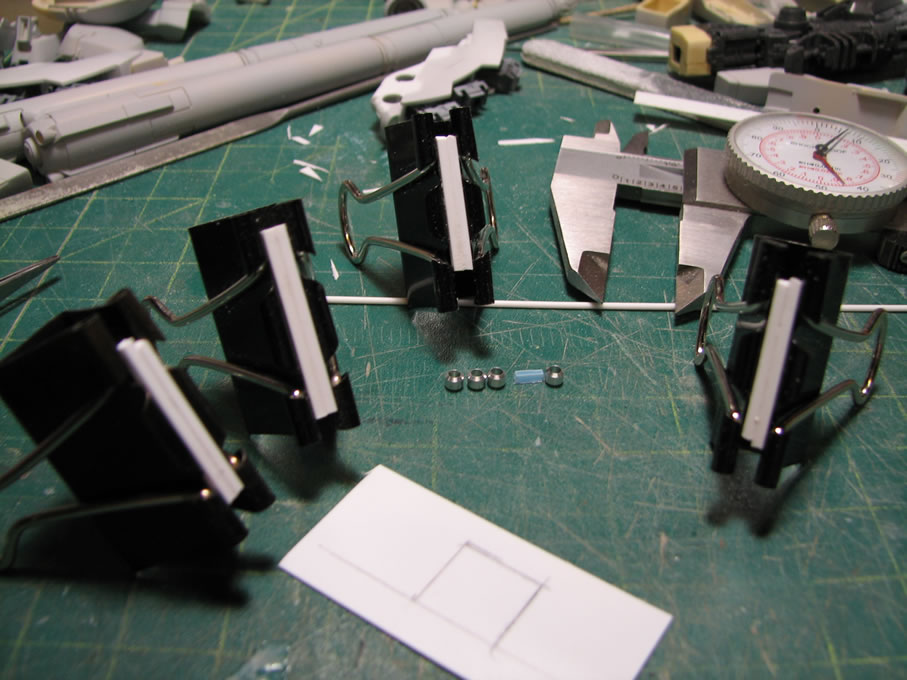
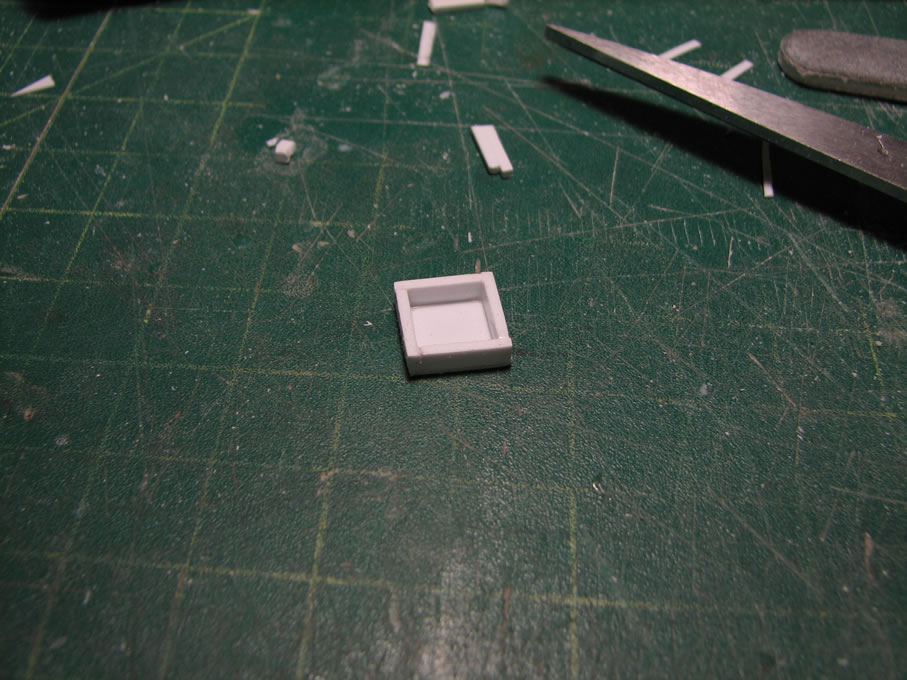
Once the walls were solid, they were cut, sanded, and placed on the styrene base with the other parts for a test fitting. Satisfied with the test fit, the wall pieces are glued into place and clamped down to cure overnight.
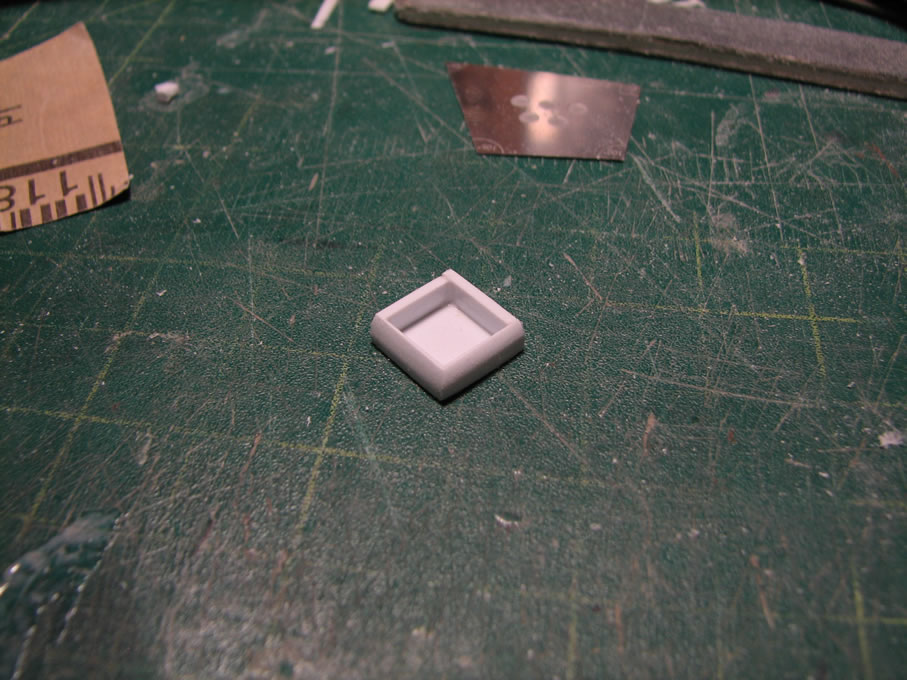
With the wall and the base solidly glued to one another, the excess areas were cut and sanded. The walls were then beveled with a sanding stick.
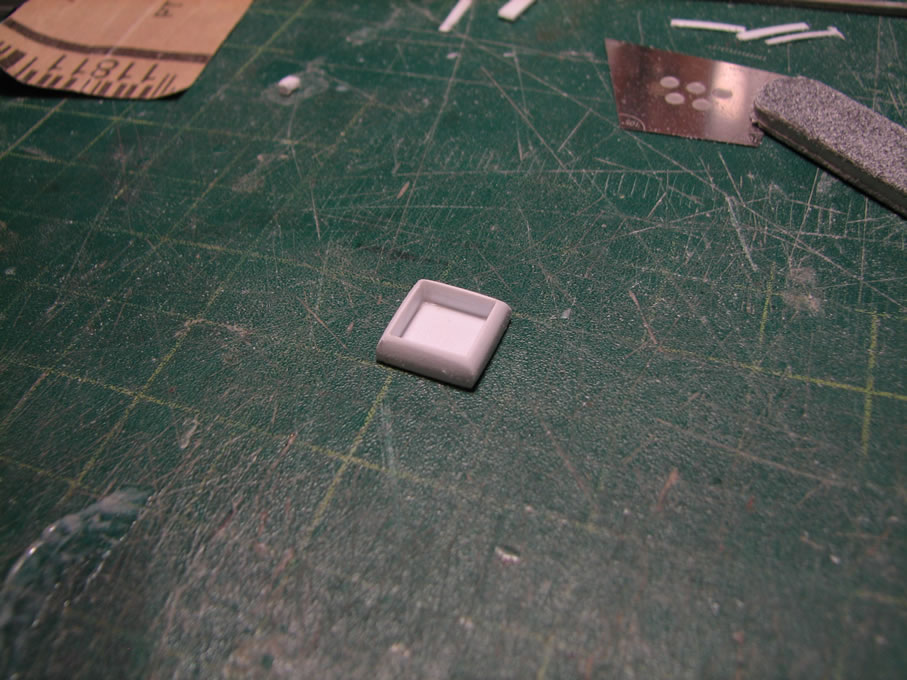
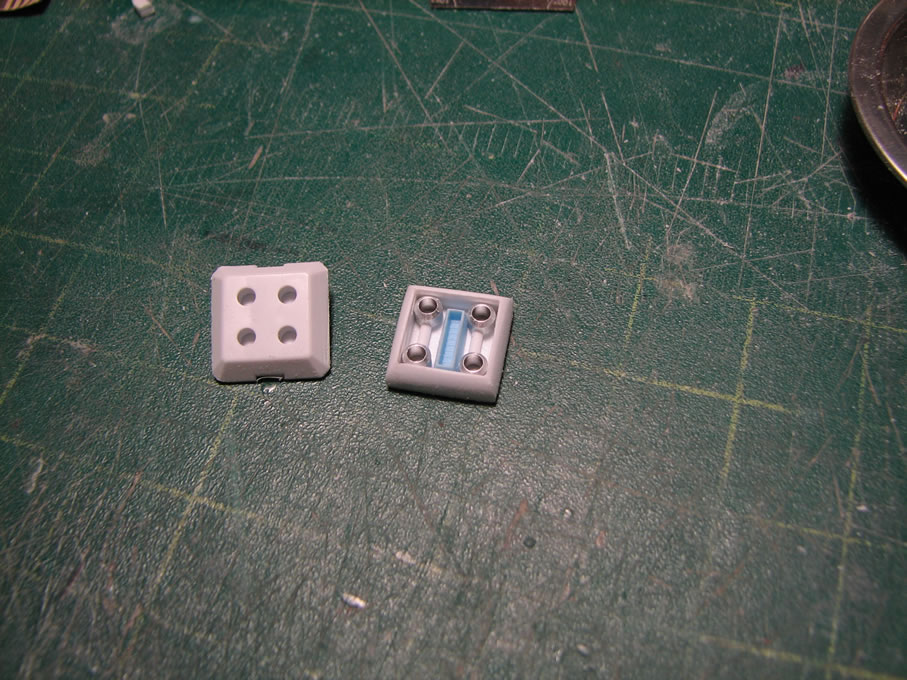
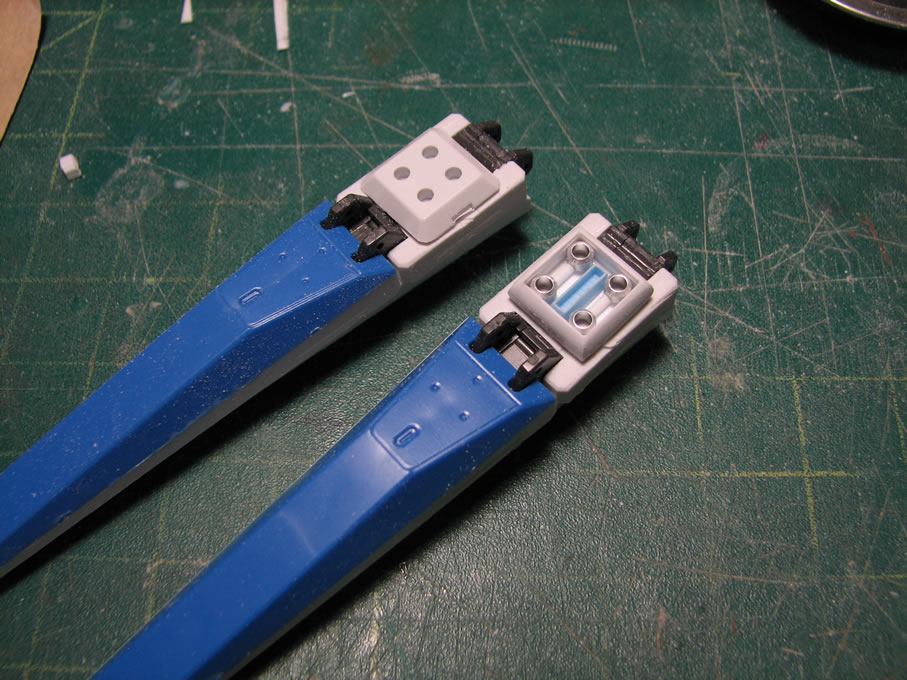
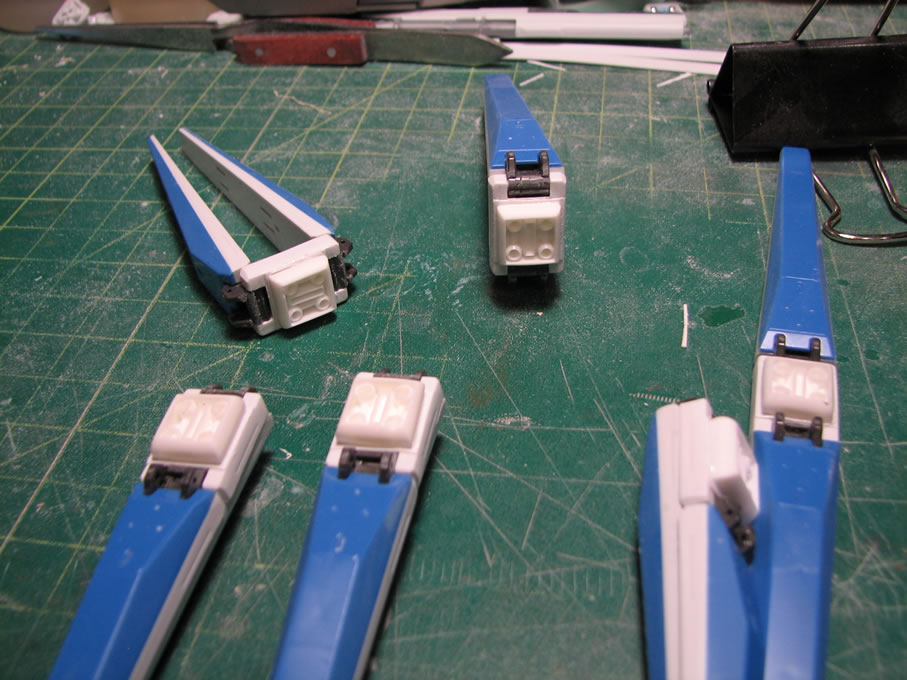
After beveling, the tubes, metal collars, and thruster are placed into the box for a test fit. Satisfied with this, the parts are glued into place using epoxy glue for strength and a longer working time than CA glue would give. Now the new detail part can be compared with the old piece. It may look a little odd, but once primed and painted, this should be a big improvement over the old design.
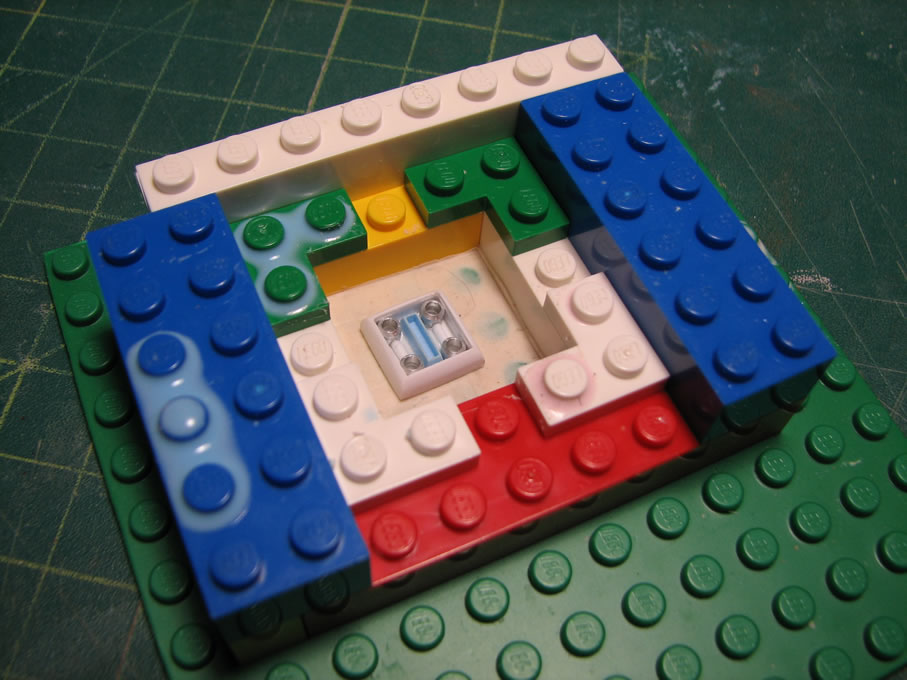
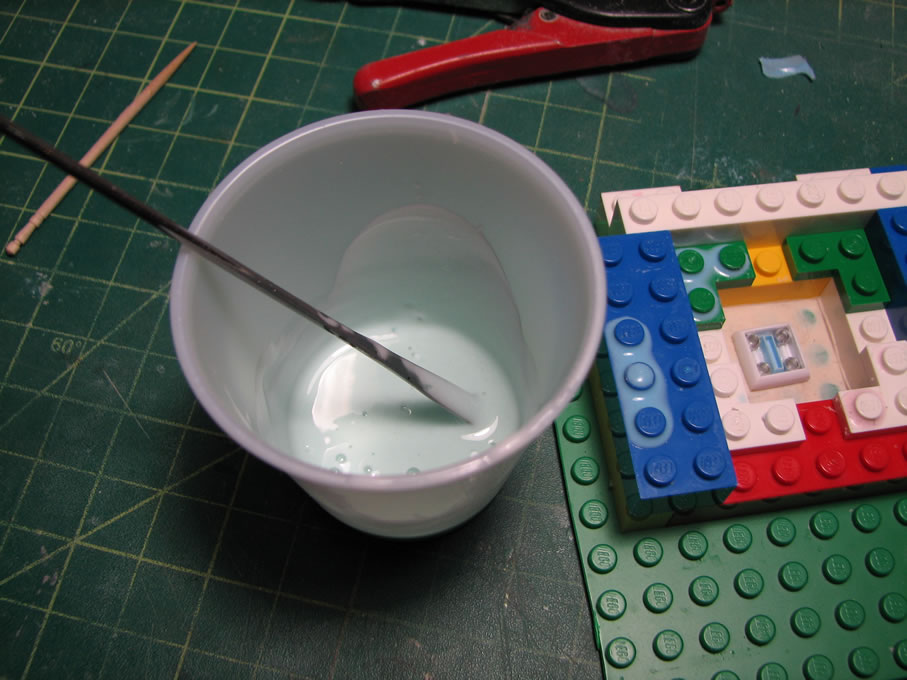
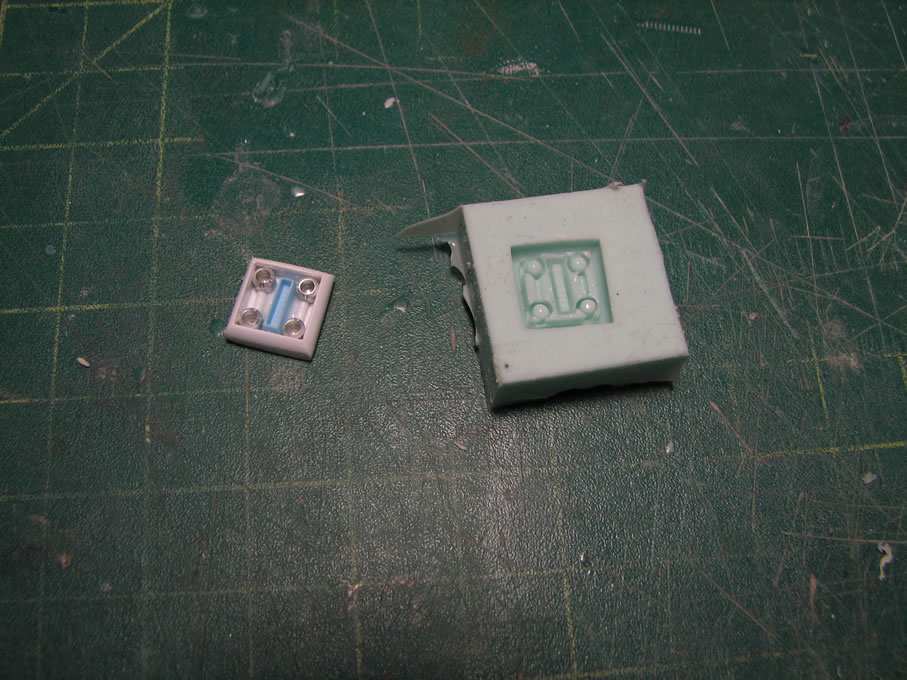
I built one master. I have 6 fin funnels to fix, so time to make copies. First thing is to build a box with a small amount of playdough at the bottom to hold the detail piece in place. Silicon rubber is mixed and poured into the mold box. This box is placed into my pressure pot to sit over night while the silicon cures.
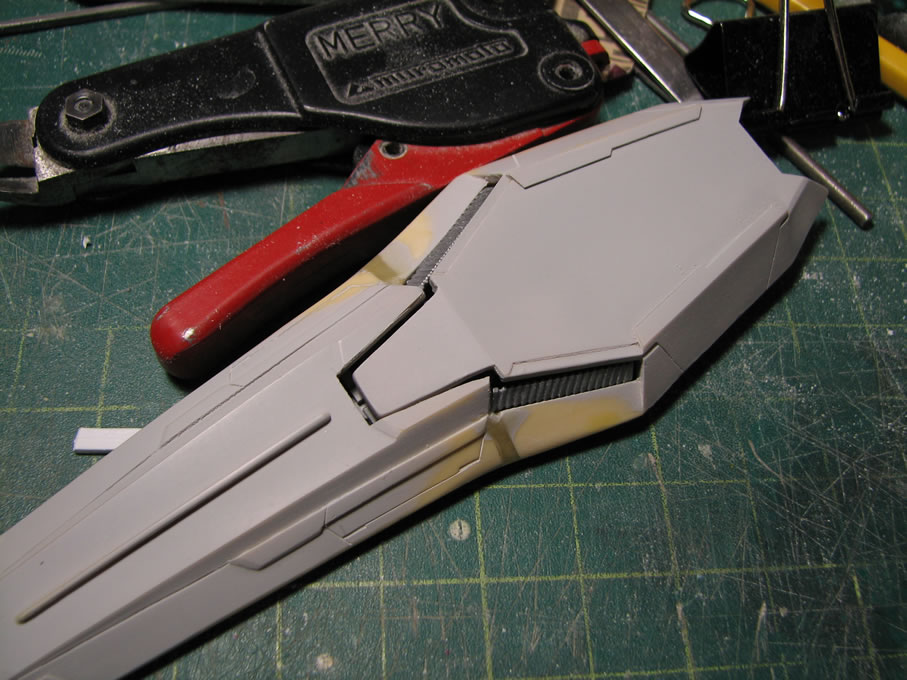
I filled the gap in the shield with light curing putty and sanded it down. Primer will be needed to check the gap.
Contining with the gap fix on the funnel system units, the gaps are fixed.
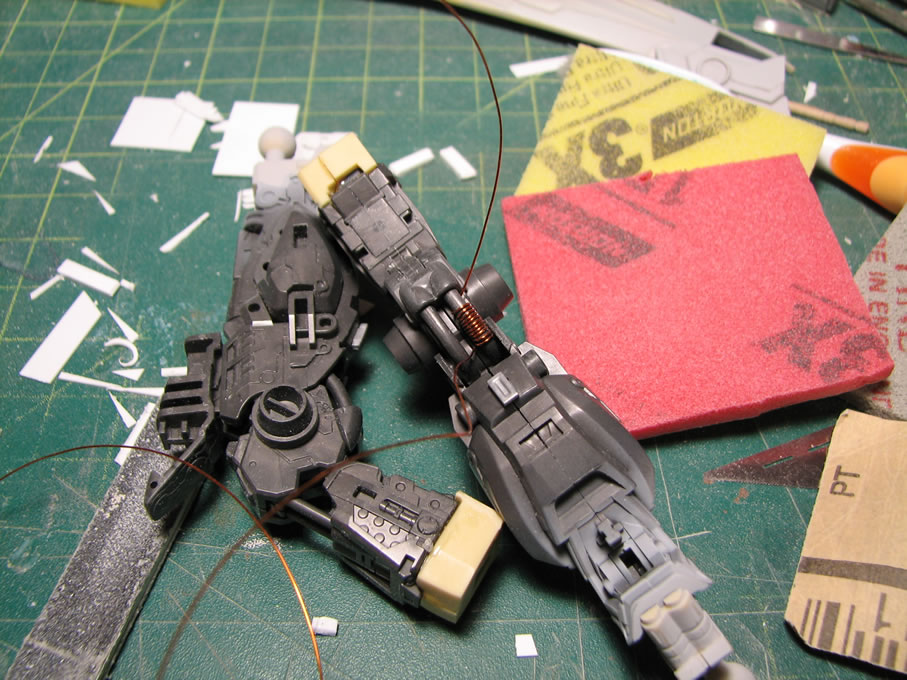
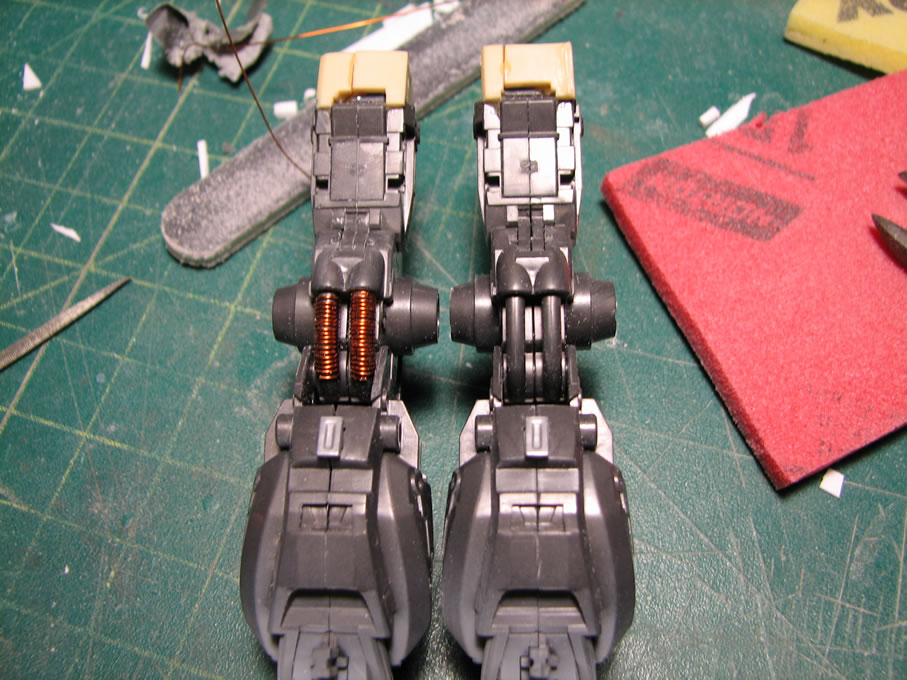
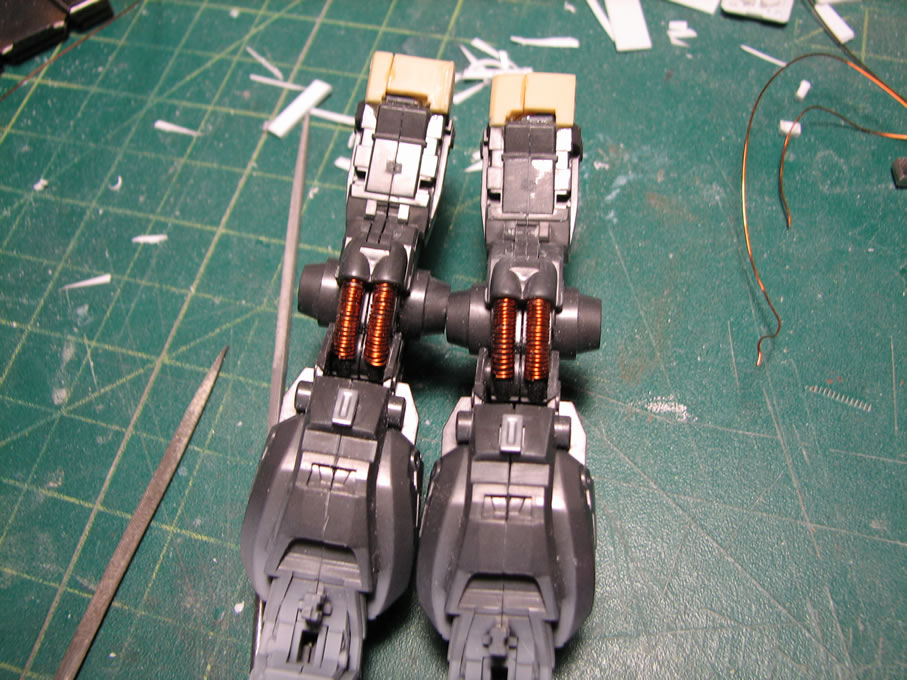
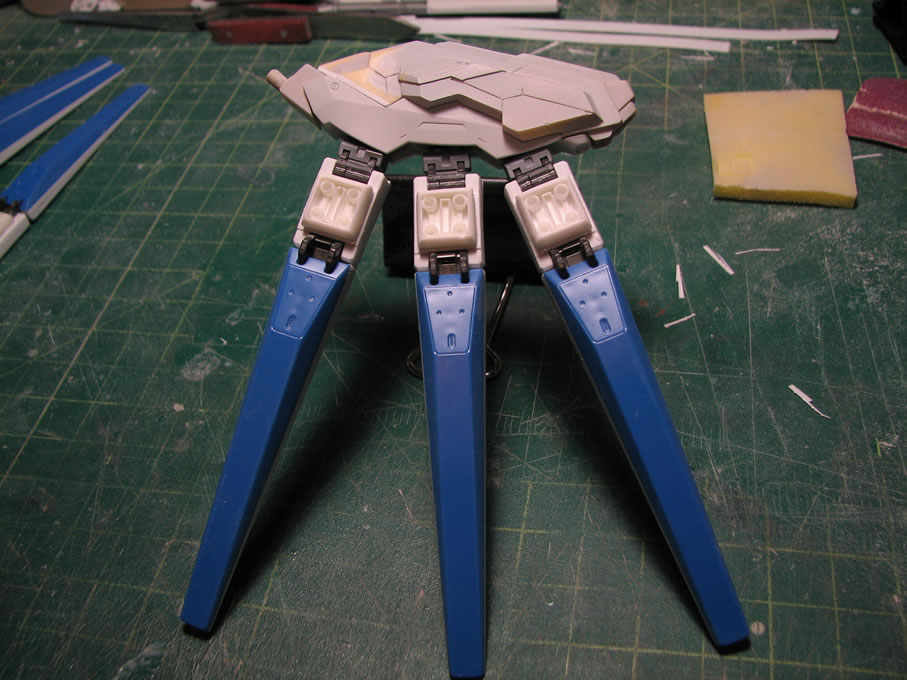
The back of the legs have tubing and looked a little on the plain side, so a little magnet wire wrapped around the tubes add a little more detailing to this area.
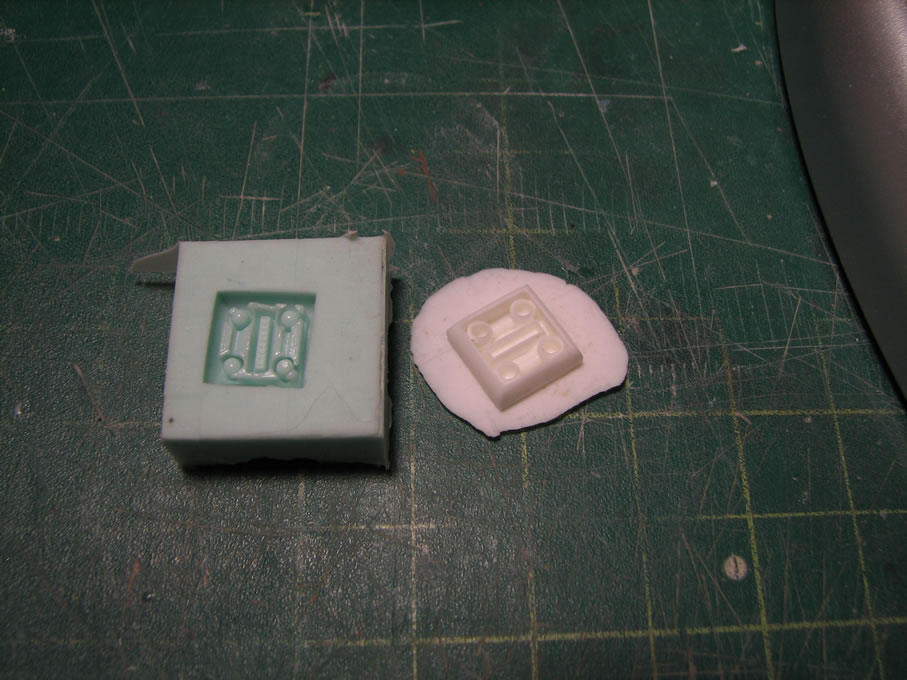
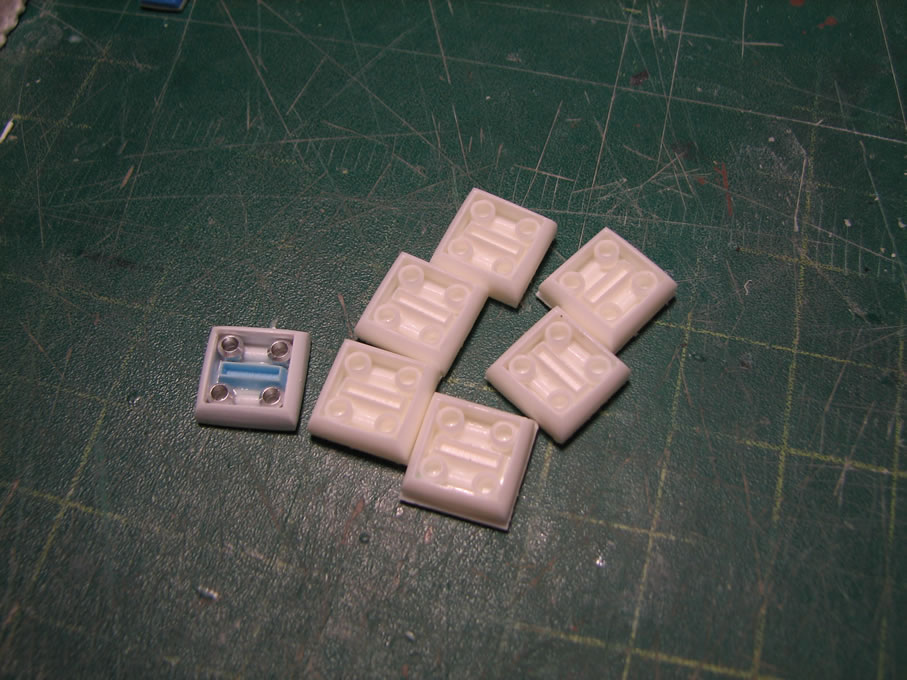
November 17, 2010: Small update. Slow progress as the mold is cured, cleaned up and resin is poured making six copies of the original detail master. The resin poured into the molds were placed into the pressure pot while it hardened cured. The resin pieces were then unmolded and left to fully cure for a few days, then sanded to clean off excess resin. Once cleaned, they were placed in a purple power bath to clean off any residual mold release.
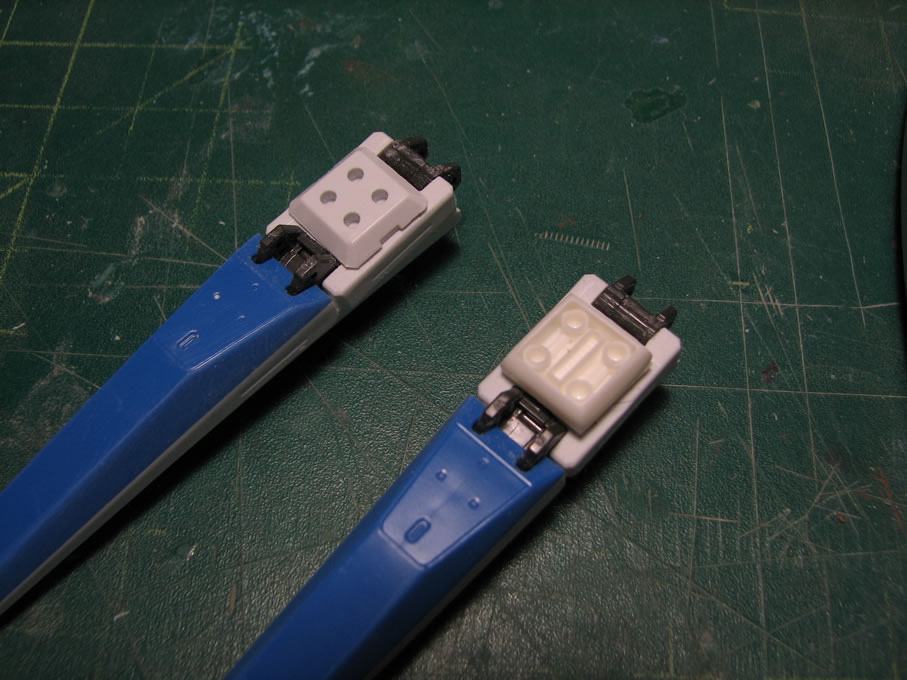
Here's a test fit and comparison picture with the old funnel detail in comparison to the new funnel detail.
The funnels were sanded and prepared for the resin pieces. A few strips of styrene are glued to the funnels to act as a contact structure for the resin detail pieces. Once cured, the excess styrene is sanded down and the resin pieces are glued into place using styrene glue. Once this cures, I finish cleaning up the funnels and get them ready for the initial primer layer.
And finally, since the parts were sitting on the shelf for over a year, after all the clean up and sanding, they were run through the ultrasonic cleaner to thoroughly clean the parts before applying the second layer of primer.
March 10, 2008: Continue work on the MG Hi Nu Conversion kit from Vicious Project.
November 9, 2010: Project resurrection.
November 11 2010: Fin funnel detailing.
November 17 2010: Fin funnel detailing cont.