This is a conversion kit for the MG RX 93 Nu Gundam.
I've had this kit for about a year, and was originally planned for my
first Nu Gundam. Alas, I redid the Nu Gundam (desert theme) and no longer
have the base for which this conversion kit is intended for. Currently,
I have a MG RX 93 Nu Gundam on order, and while I wait, I have started
working on the resin kit itself. Being the cheap bastard I am, I found
this kit and made the purchase before I realized that the price was so
low for a reason. The reason: the kit is a recast. Basically, the people
I purchased the kit from, made casts of the original kit and started selling
the recasts. This is bootlegging, but I did not know this at the time.
Recasts come with all sorts of issues that are usually not so present
in original cast kits. Stuff like bubbles, fused details, missing details,
cheap brittle resin, etc.
Well, the major problems I faced so far deal with bubbles
and chipped sections. I puttied some and others I decided that the placement
of the damage made for a decent area to showcase some battle damage. I
have see lots of completed Hi Nu kits, and I have yet to see an original
one. Meaning they're all painted in the traditional white and blue, and
most have little to no weathering that I could see. I plan on turning
this kit into a ground unit, with very few mods to the kit itself since
I really like the design. Just an alteration in paint scheme, a small
display diorama, and then possibly some mods, but I haven't decided on
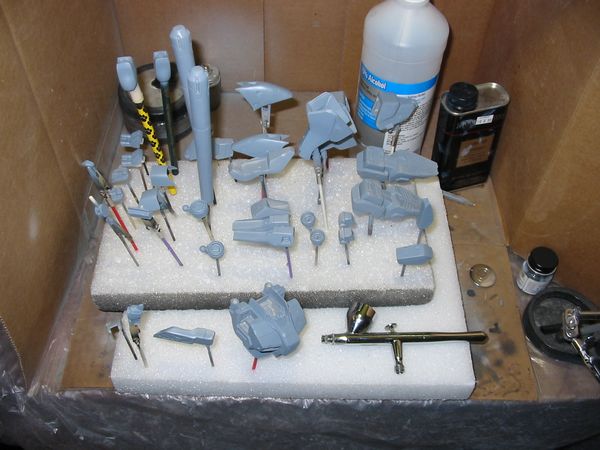
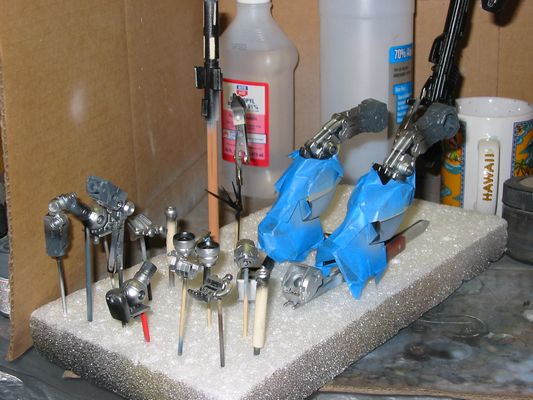
that yet. The resin parts have been sanded, puttied, and primed. There
are a few parts that I need to go over and resand and then reputty, but
since the MG kit isn't here yet, I have plenty of time. Here are some
pictures of the current progress.
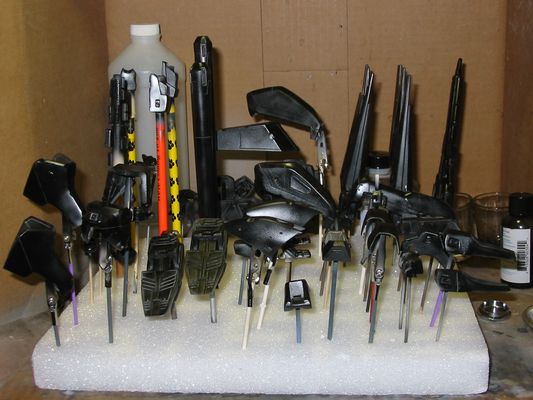
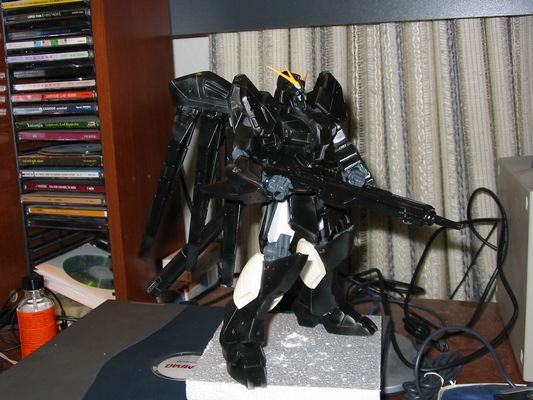
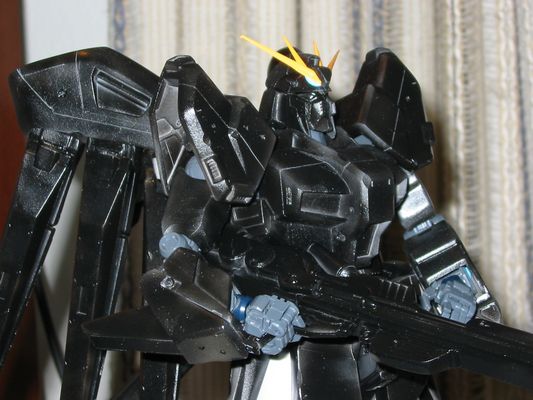
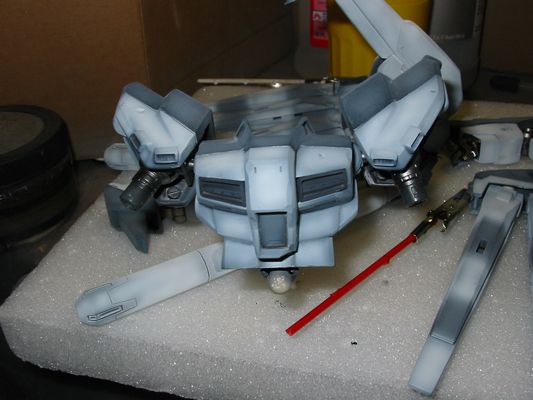
This is further progress on the Hi Nu conversion. So far, all the pieces
have been painted with alcad semi gloss black base.
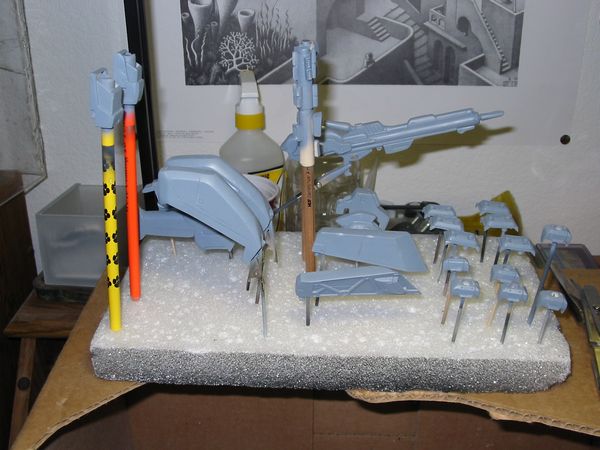
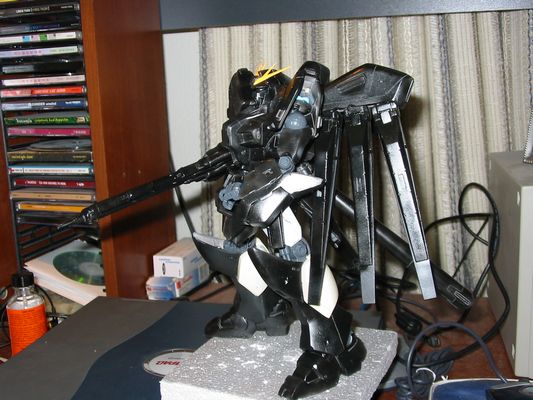
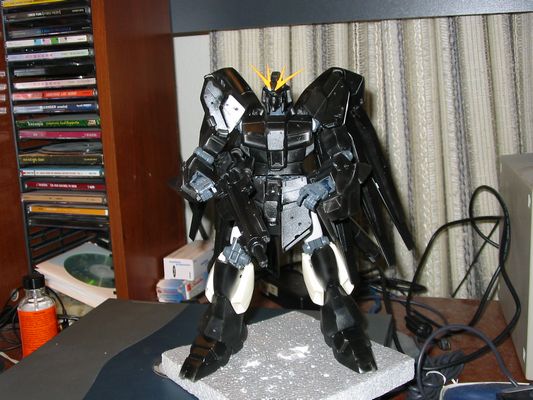
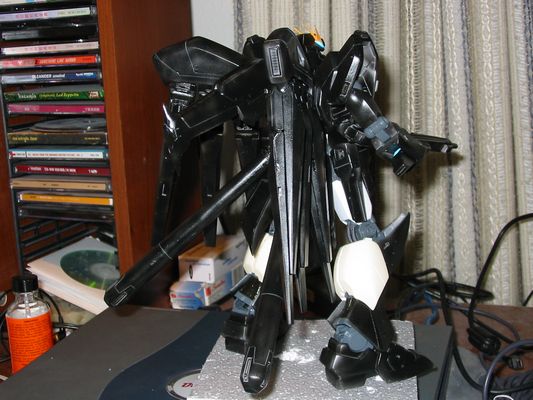
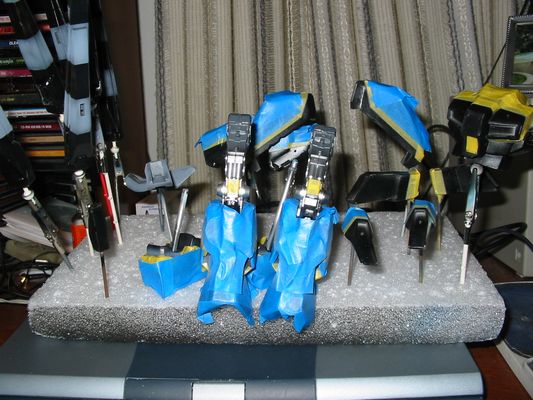
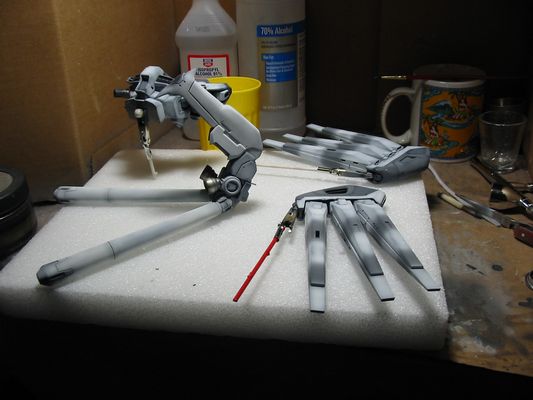
Got the MG Nu Gundam, so began working on putting together
the frame for the Hi Nu. Here are pictures of the test fitting. Next up
is final sanding and puttying of a few parts, primer and base coats for
the new parts. Then finally to the final paint and completion of the base,
which I have yet to start.
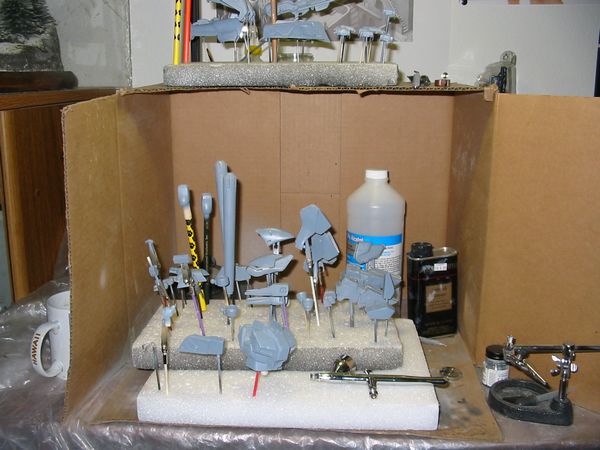
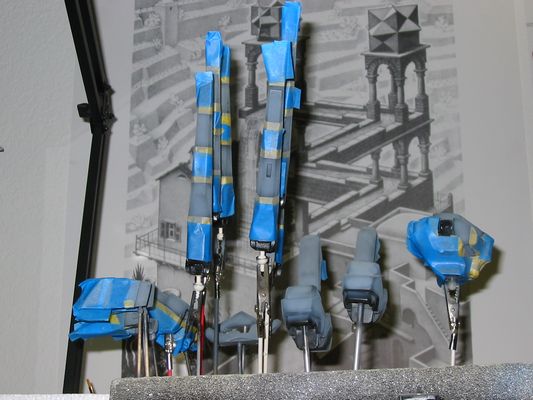
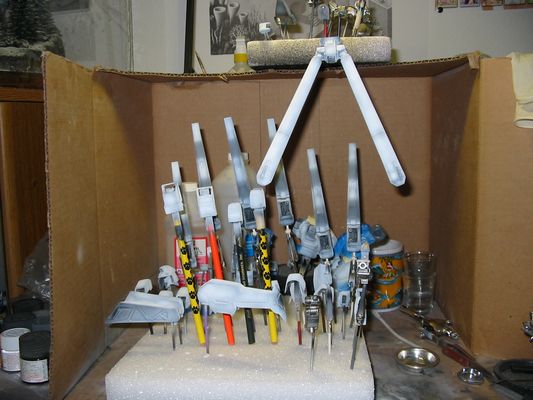
Ok here are som pictures of the masking and painting
process. There was alot of parts that needed to be masked and remasked
at different stages of painting. Hopefully this will all be worht it.

The following two pictures show all the pieces completely
painted. The next step is applying pure future to the decal areas for
better adhesion and the building of the base.
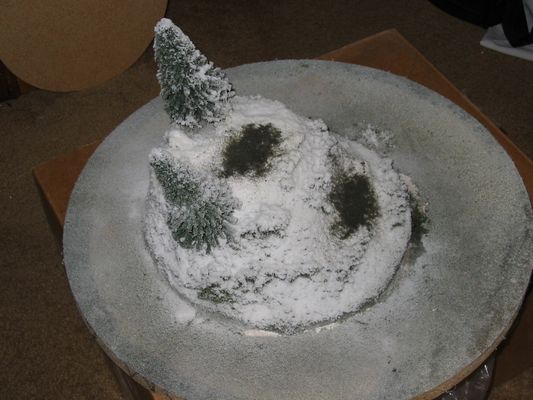
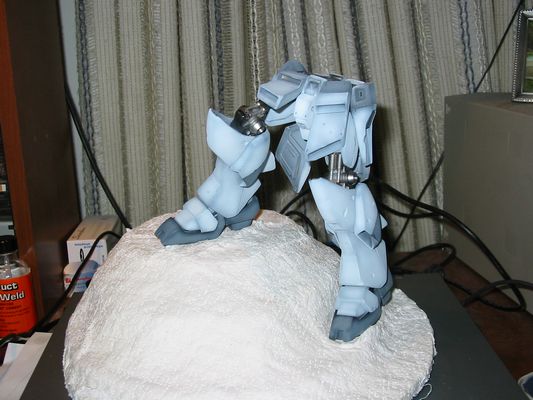
Below is a picture of the lower half posing on the future
base. The base is built from styrofoam layers and then cloth plaster was
laid on top. From here, the base was then spray painted black, then various
hobby scenics were added to complete the snow scheme.
The pictures below show the pieces right before future
was for decal areas. After the decals were applied, a final weathering
touch up were done and a final coat of satin finish future was applied
to the parts. Then after the final coat of future was applied, final assembly
completed the model.
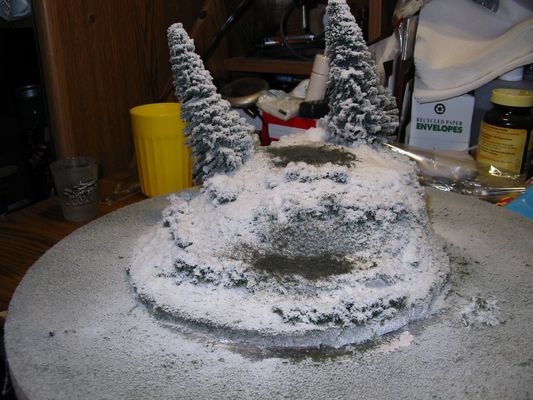
The following two pictures are of the base after adding
the scenics, the only thing left is to place the model on the base, and
then completion.