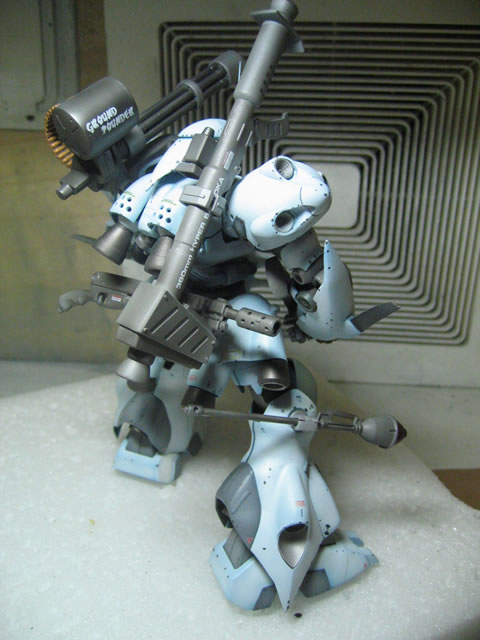
May 13, 2005 A sale over at Amazon.com prompted
me to purchase 2 US version MG Kampfer kits at 15 bucks a piece, yeah
I couldn't pass that up. I gave one to a friend and started working on
the other. I already have a MG Kampfer that I have built and rebuilt a
second time. The first job was done using spray paints in the typical
Kampfer colors, and the rebuild transformed it to a "Char's"
use Kampfer that I was planning on using in a dio, but that idea has since
faded. Now the question is, what type of scheme should I use on this version.

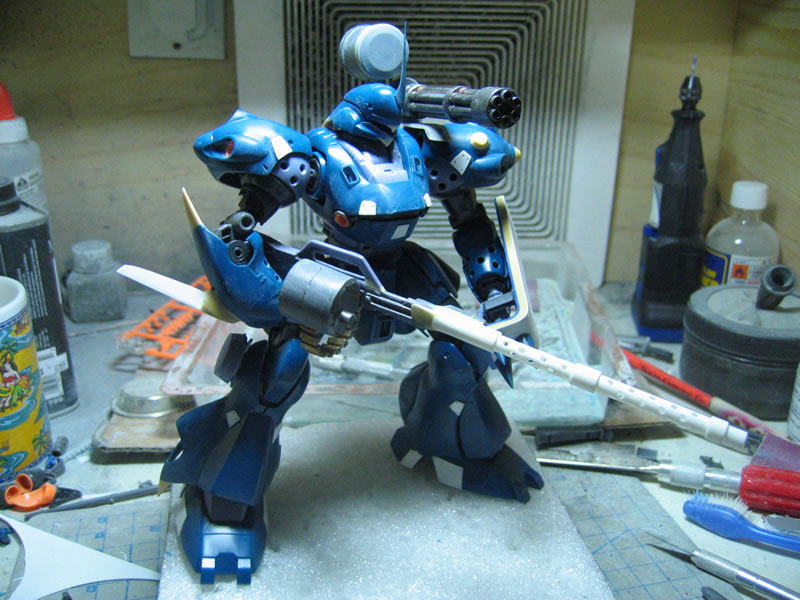
After doing a couple of idea searches, I found a picture of an MG Sazabi
done by Motoo Osumi. Using this as the general basis for my scheme for
the Kampfer, I decided on creating a "Shin Matsunaga" use Kampfer.
I also decided to add extensive mods (more ambitious than I have done
to date). So far the mods are the following:
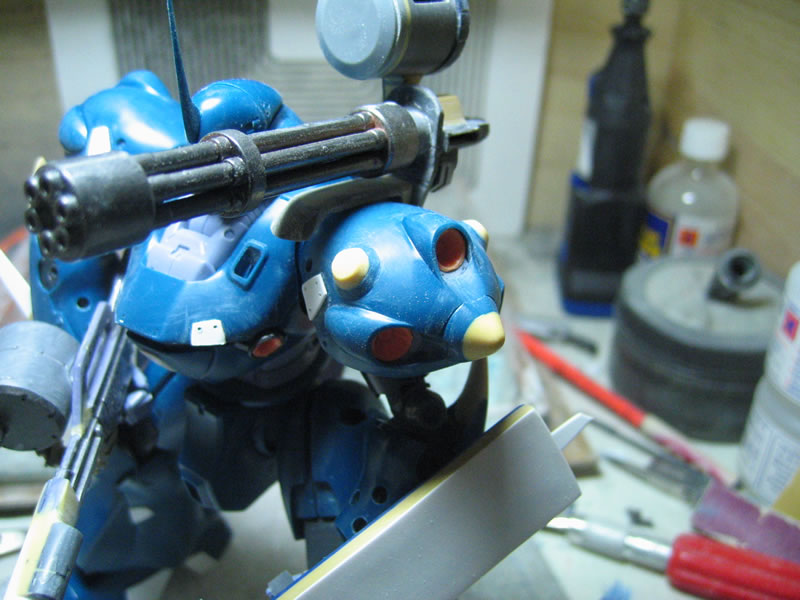
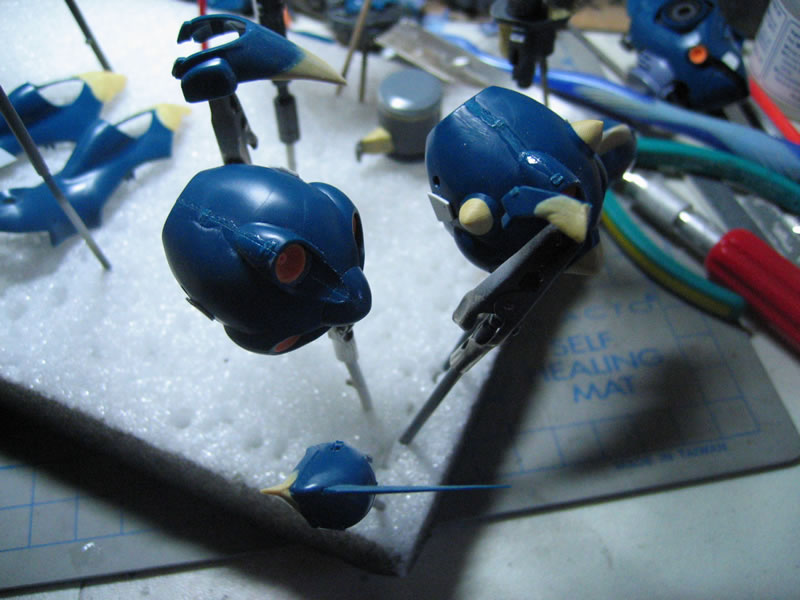
Head:
-The antenna has been sharpened and thinned
-Back of the head is elongated
-Add small details, panel line, drill out holes, etc
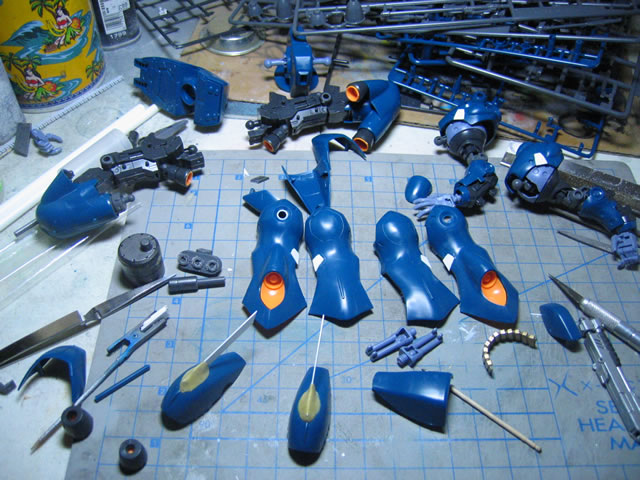
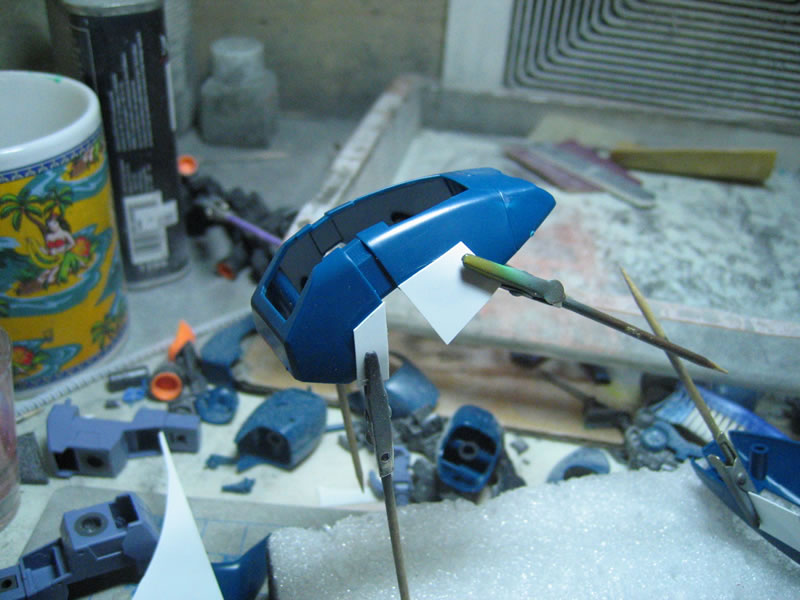
Torso:
-Add styrene plates
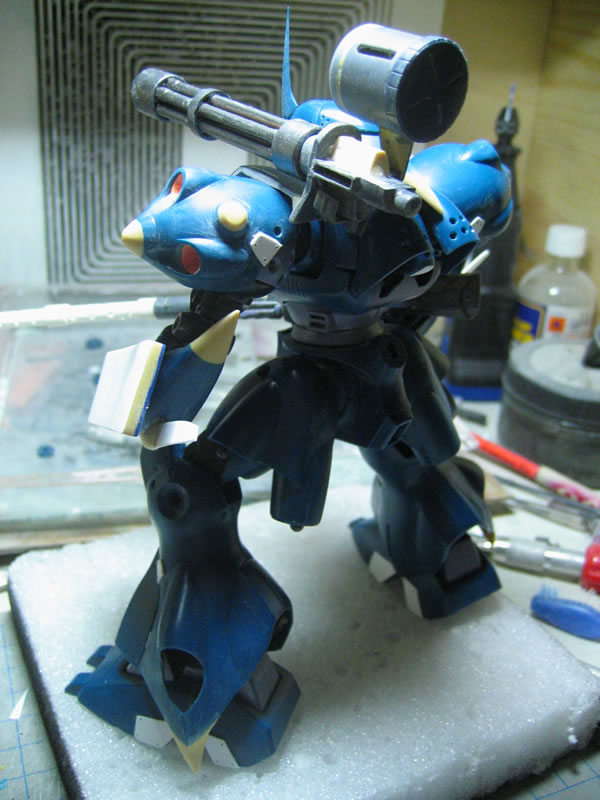
Backpack:
-Remove middle thruster
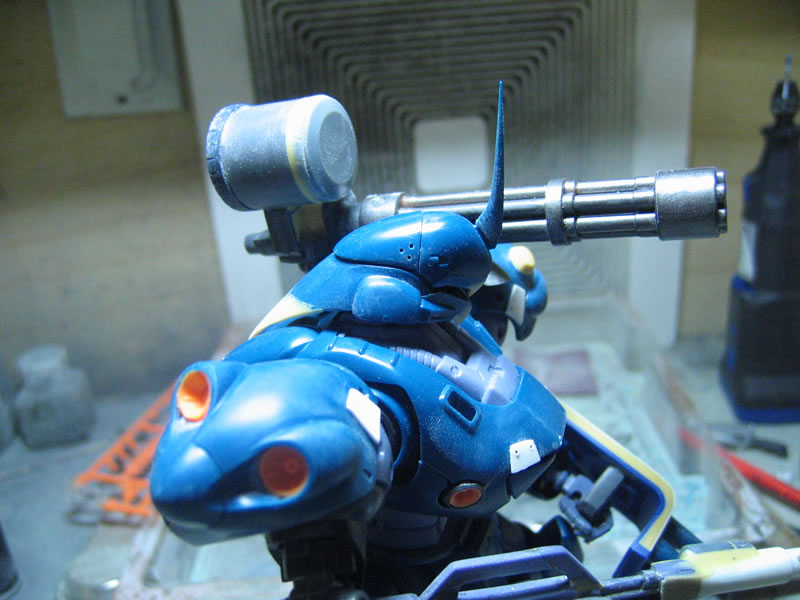
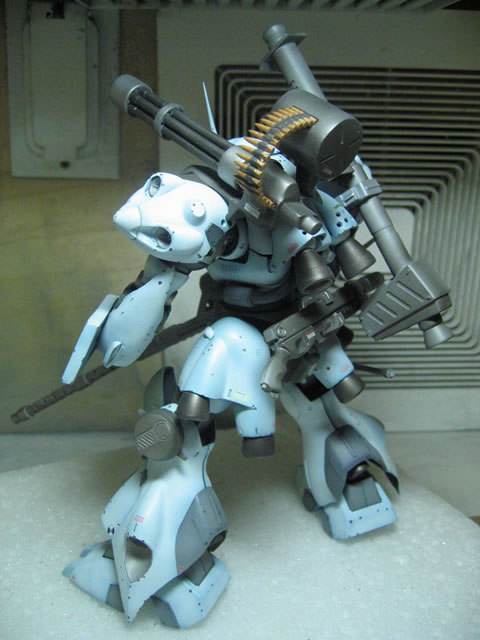
-Add backmounted (where the left bazooka attaches) gatling gun that drops
down right above the left shoulder
Shoulder/Arms:
-Add styrene plates
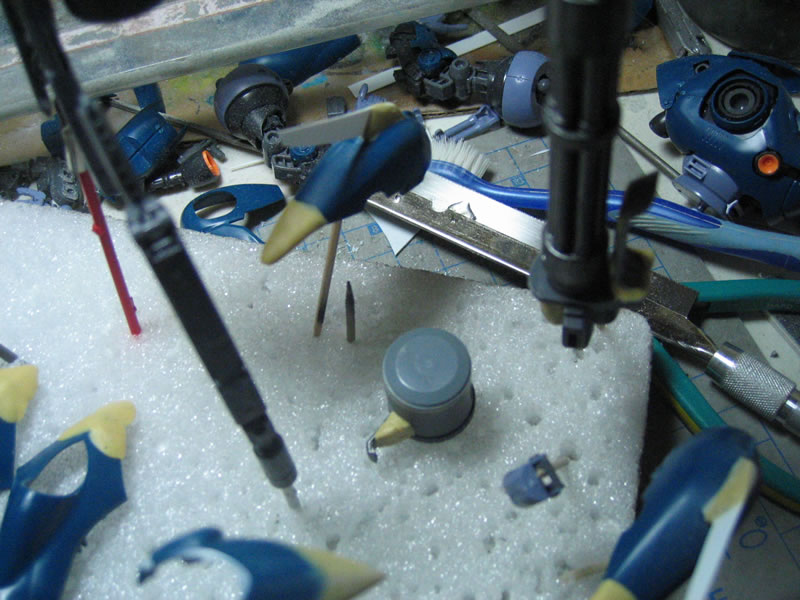
-Modify shoulder spikes to round stubs
-Add a blade to the forearms ala Baoh or Super Giant Robot feature
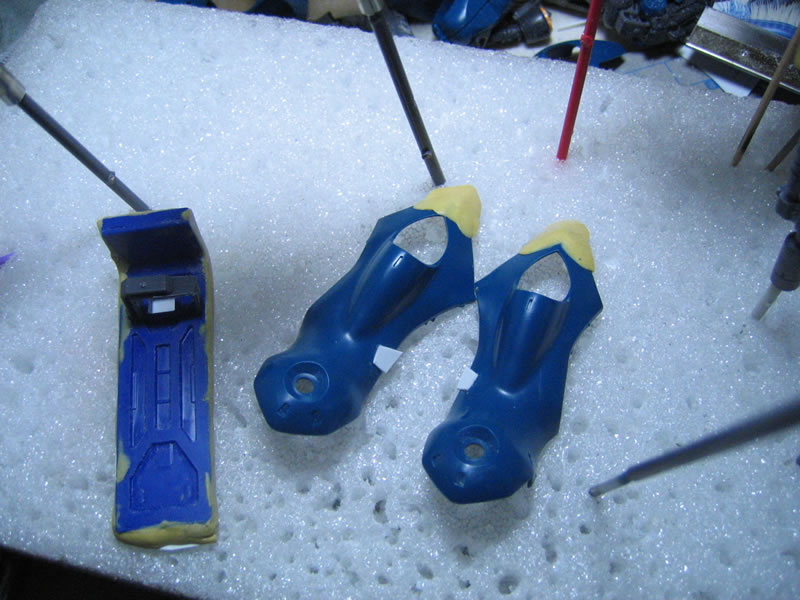
Legs:
-Add styrene plates
-Elongate outter leg armor slightly
Weapons:
-Addition of back mounted over shoulder gatling gun
-Modify RX-78-NT1 rifle into a BFG
-Added flash hider to shotgun barrel
-Add hand held Zaku Shield with spikes
Other mods will be added or removed as I continue to work on the project.
Currently I have built the BFG, and started work on the majority of the
mods.
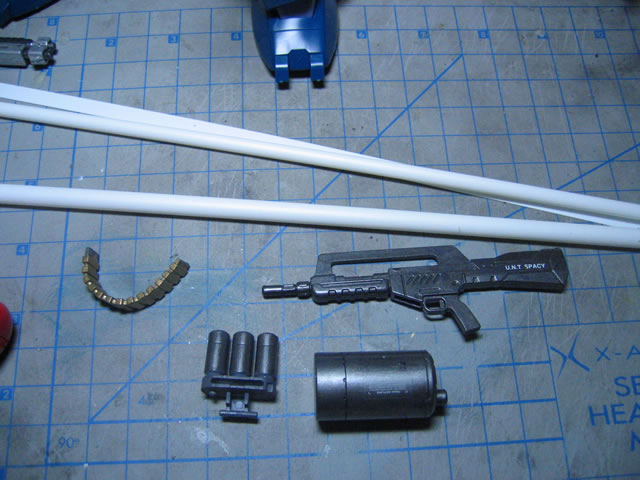
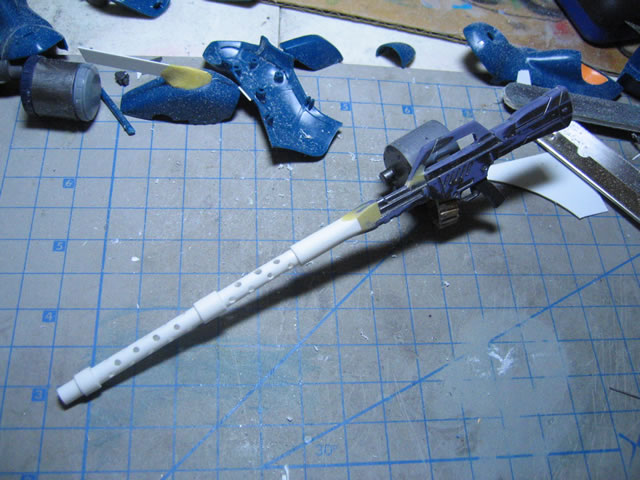
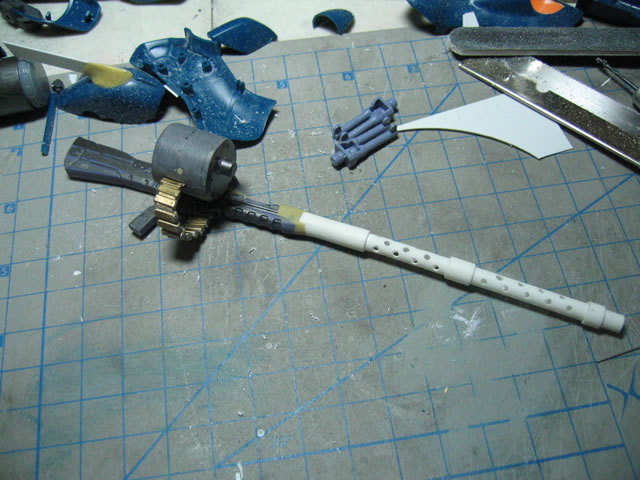
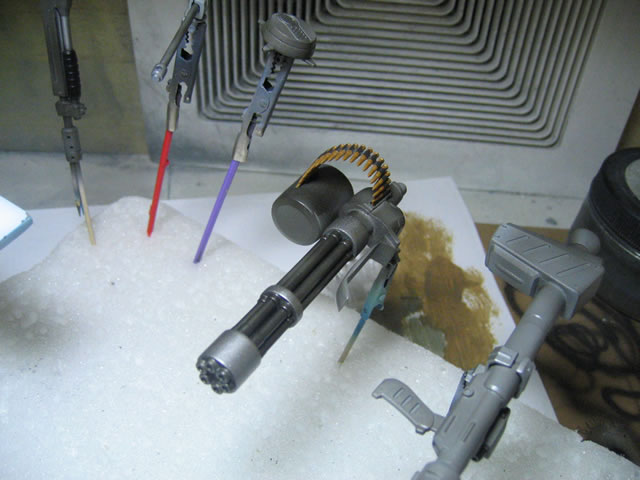
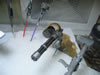
Using the rifle from the RX-78-NT1 MG kit, I first shorted the carry
handle. Using styrene tubes I increased the barrel length. Epoxy putty
was used for transitional areas from the gun to the new barrel and on
the carry handle as well. Ventilation holes were drilled out for the barrel.
Using plastic from the parts tree, I created an inner barrel for the gun.
Using a small hand drill, I drilled out a hole for the inner barrel. The
drum mag from the Gouf Custom MG sheild gatling gun was used as the magazine
for the BFG. The original mag was cut in half then using a block of styrene,
attached the magazine to the gun. I'm using the same ammo from the Gouf's
gatling gun. I will be using a barrel from the Gouf's handmounted cannons
cut in half as accents for the BFG and this should complete the mods for
the weapon.
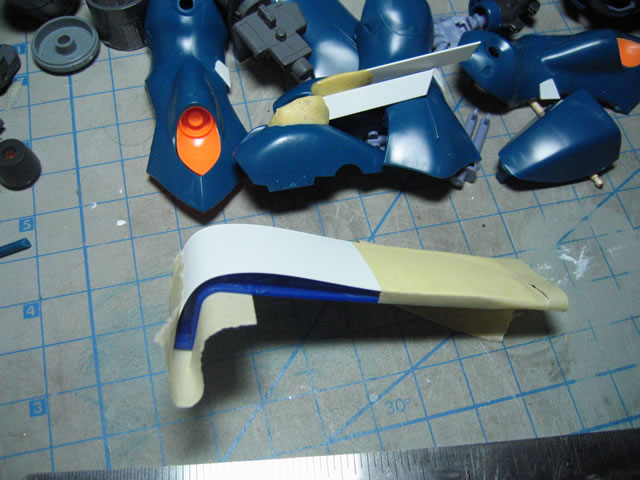
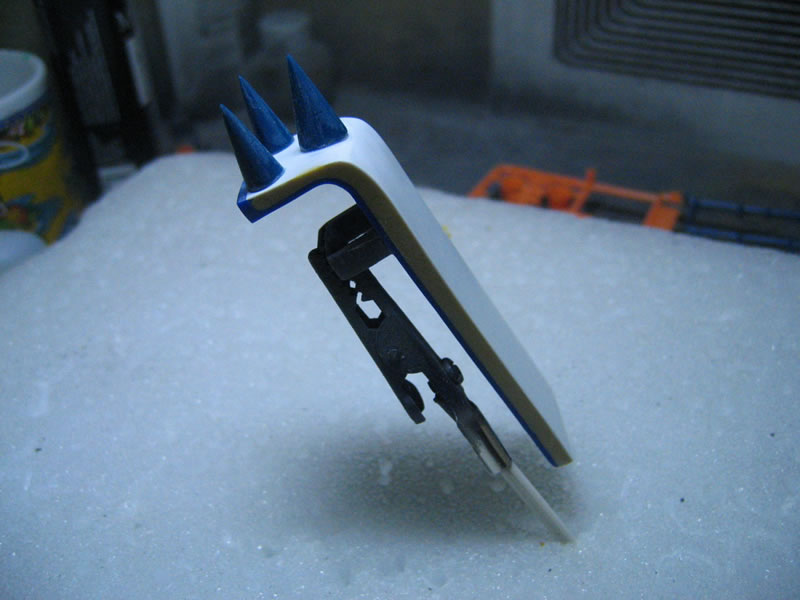
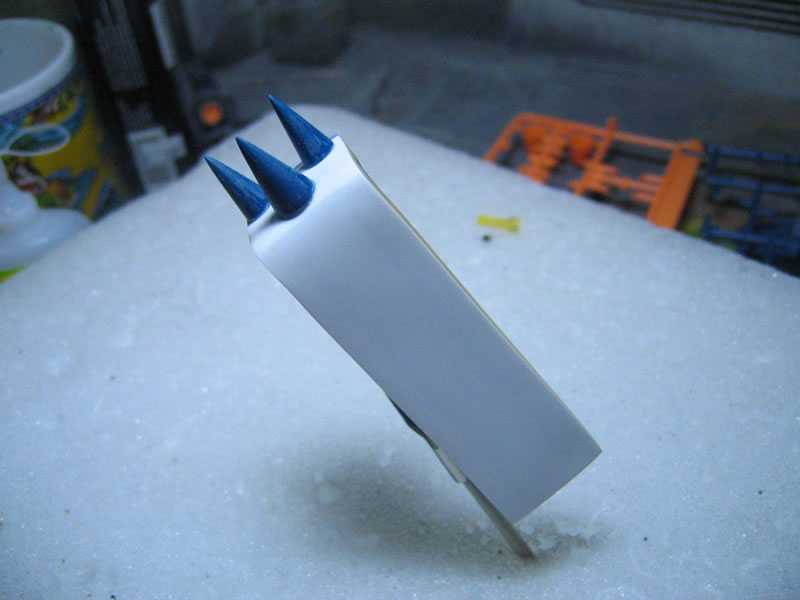
For the shield, using the spare part from Ramba Ral's Zaku I (it only
came with the back end of the shoulder mounted sheild), I used sheet styrene
as the front of the sheild. Putty was used to fill in the sides. Spikes
from the Kampfer's shoulders will be added to the short end(top) of the
shield.
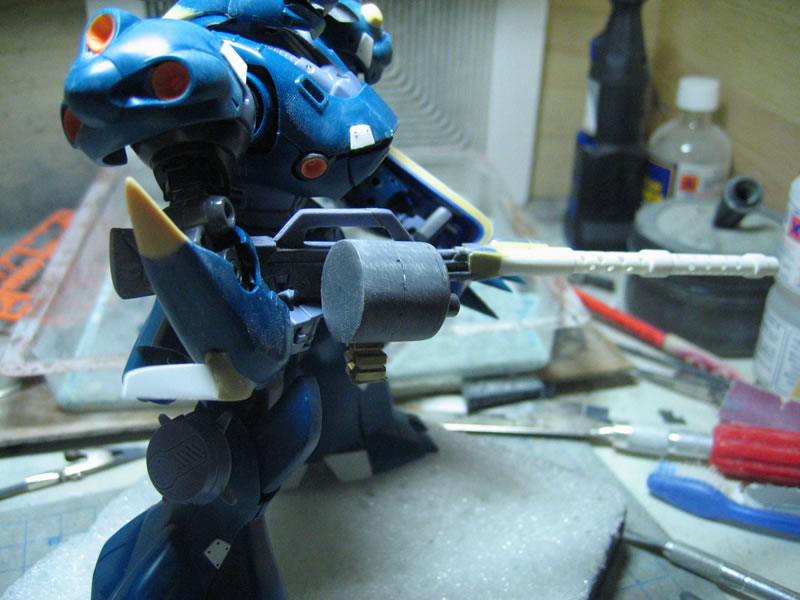
The gatling gun is mounted onto the existing backpack mounting system
for the bazooka. This will alow the gun to piviot up and down. A new ammo
feeding port was created to fit 1/8 ammo for the MG42 weapon that I have.
The other half of the gatling gun's drum mag was sealed up using the standard
Zaku ammo clip for one side and the shield cover from the 1/100 Denon
Zon kit. The drum mag will be mounted via the old ammo feed hole using
the top part of the bazooka holder. A few spots of putty will finish up
this weapon.
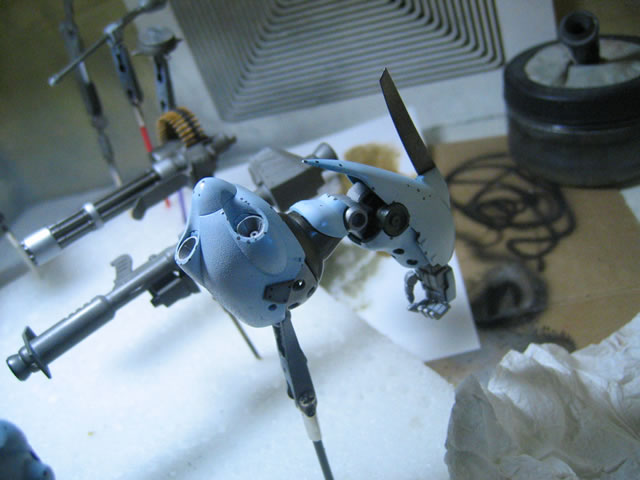
With the head, I was debating on whether or not to remove the antenna
entirely or not. I have so far decided on sanding it down to a very thin
and sharp strip. I elongated the back of the head using putty.

The forearms have added blades that are influenced from the anime Baoh
and Super Robot arms. Strips of styrene were used as the blades and putty
to create a bridge from the forearm to the blade. I'm still playing with
the idea to elongate and sharpen the ends of the forearms to match up
with the head and leg themes.
Shoulders are slighly modded with styrene and putty to cover the spike
attachment holes of the left shoulder.

The legs have been slightly modded with elongated on the
outer armor pieces and small styrene plates have been added. The feet
have styrene plates added.
Base:
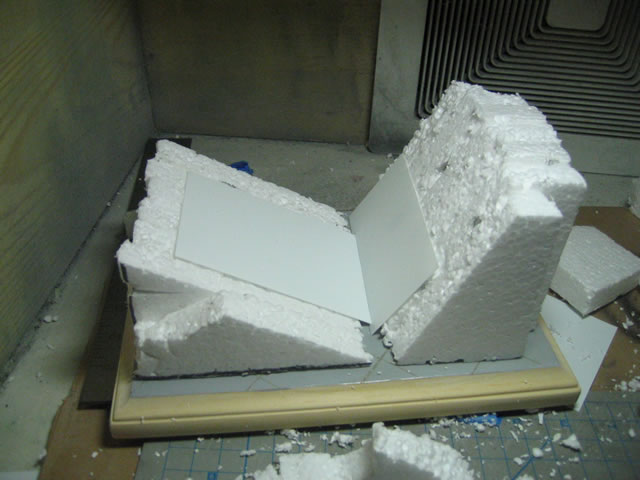
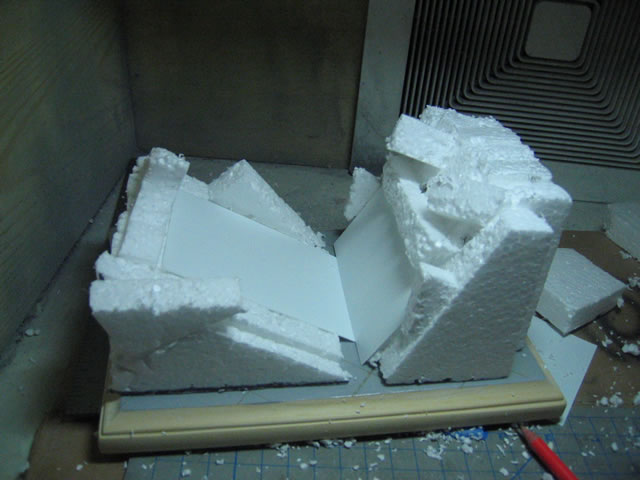
The general idea for the base is a sort of last stand guarding a gate
at Solomon. The idea sprang from recently playing Project Pegasus: One
year War PS2 Game where Amuro encounters Shin Matsunaga at the entrance
to Solomon. For practical purposes, I will create a "forced perspective"
feel for the base. The general idea is a Gate inside Solomon so this would
include the gate, a sort of paved landing zone and then the rocky edges.
So as to show as much of the suit as possible, the gate will be lie at
about a 25-30 degree angle on the horizontal, and the short paved landing
area will be at a 60-65 degree angle on the horizontal. An acrylic rod
will be perpendicular from the base to the kit which will be sitting on
the rod. This will help with the idea that they are in space and there
is no real up or down. The gate will be comprised for a couple of sheets
of styrene. The landing area will be sheet styrene with the baking soda
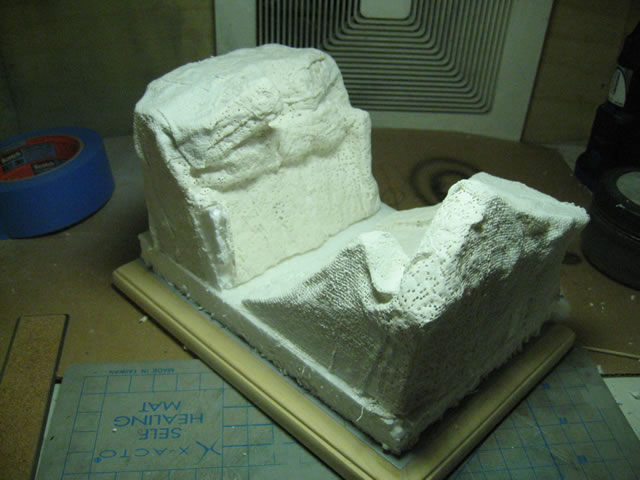
+ acrylic medium technique applied. The surrounding asteroid formation
will be done with celluclay. The whole set up will be ontop a styrofoam
structure.
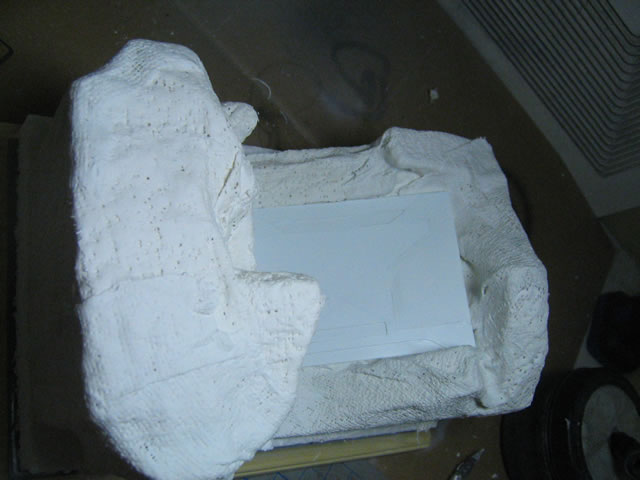
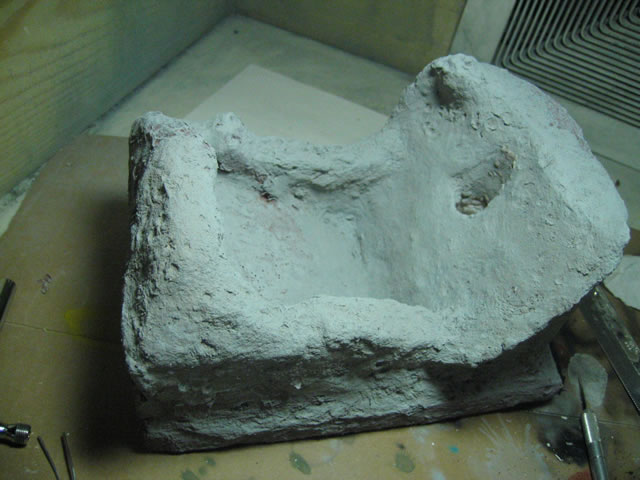
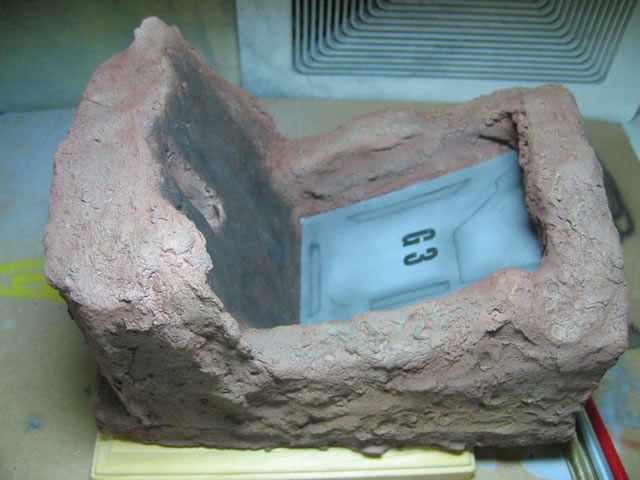
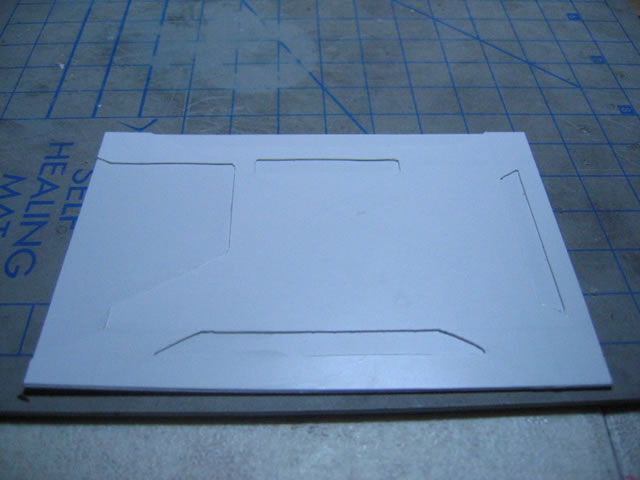
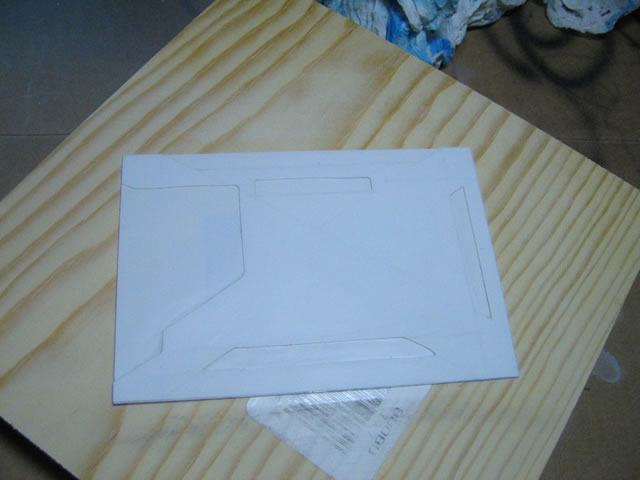
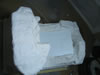
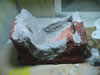
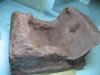
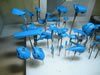
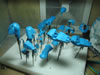
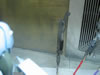
Ok I started working on the base this past week. The pictures
below should illustrate what I planned out from the above statement.
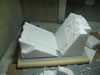

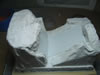
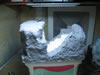
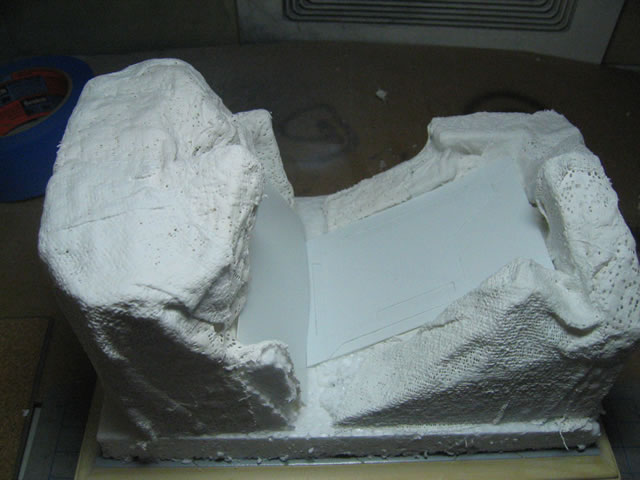
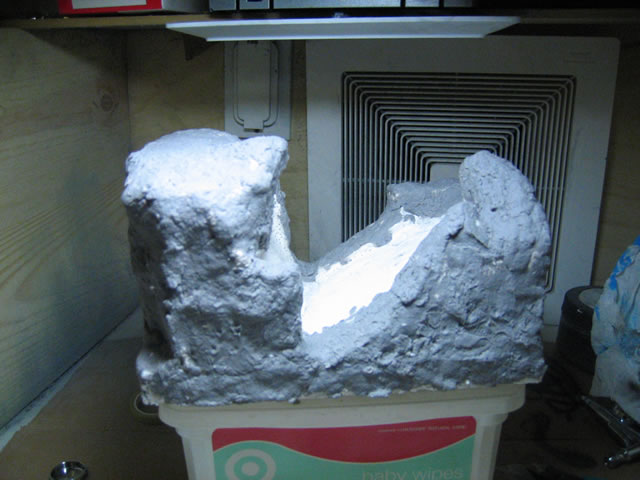
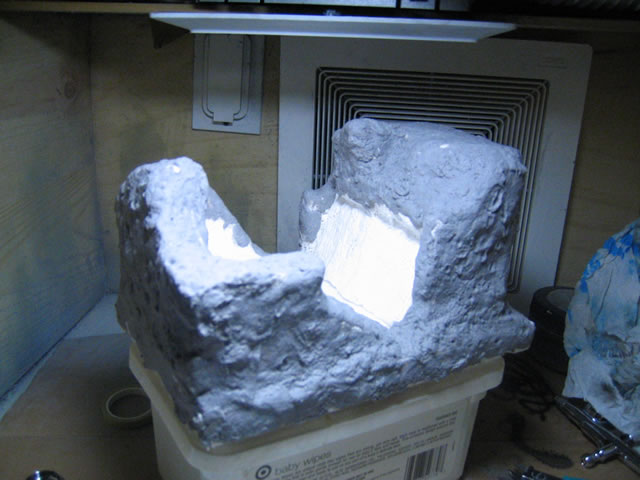
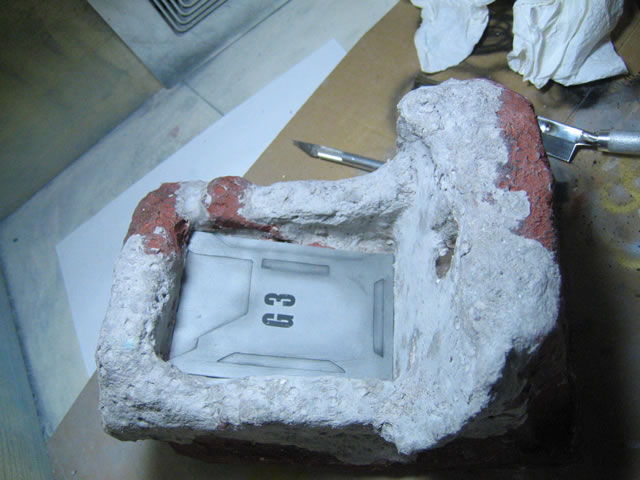
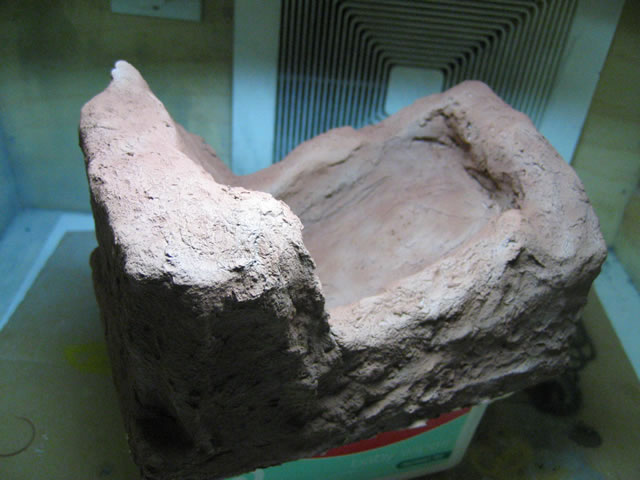
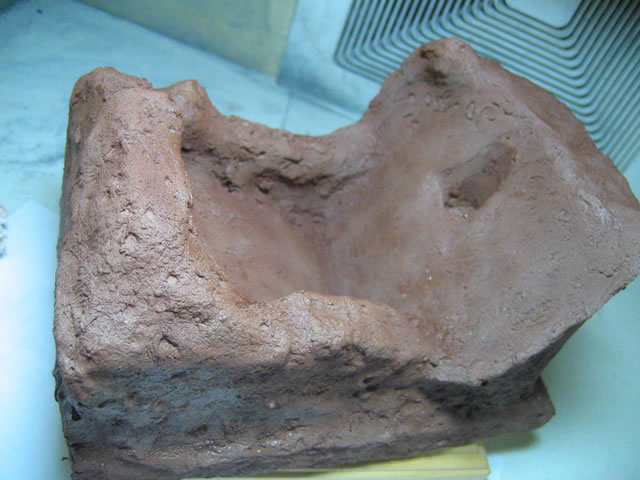
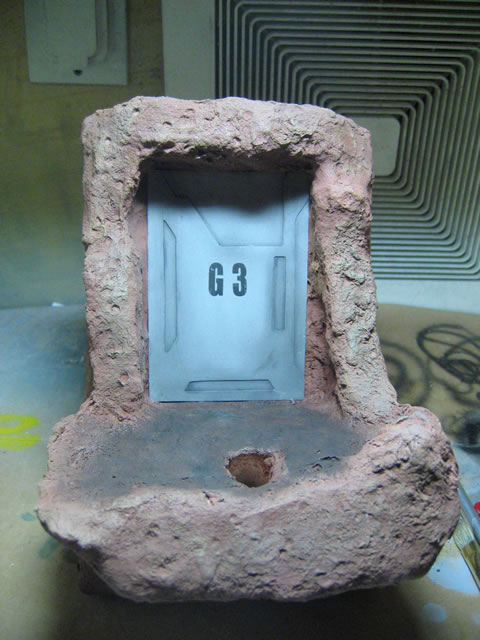
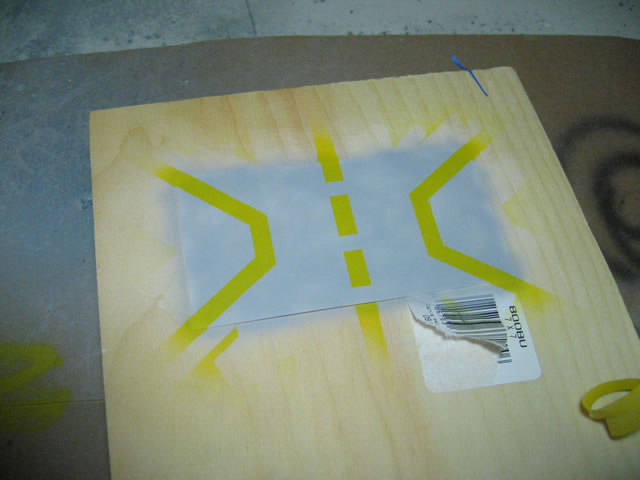
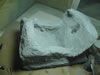
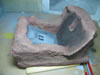
May 24, 2005: The base has been completed. I had to cut
down the landing pad area because it just didn't look right. I also omitted
the plastic landing pad area as well because put together, it did not
look correctly. I reapplied some celluclay and repeated the process of
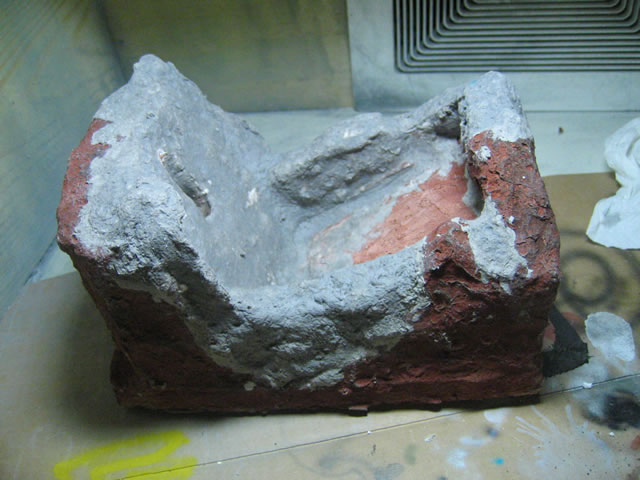
priming and then painting. From the below pictures you can see the previous
redish color of the base before I cut and added the celluclay. I decided
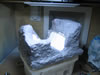
to go with a more earthy tone for the color. After the initial coat of
paint dried, I sprayed on a couple of coats of future. On top of the future
I applied an enamel filter of black to darken a couple of areas. After
the filter, I applied some drybrushing of sand yellow for some highlights.
A coat of flat future was sprayed to seal in the previous layers. And
finally a little brushing of chalk pastels finished up the landing area.
The wood base is currently being stained and polyeurathaned. I should
be able to put the entire mini dio together tomorrow.
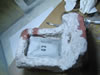
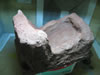
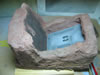
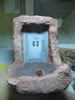
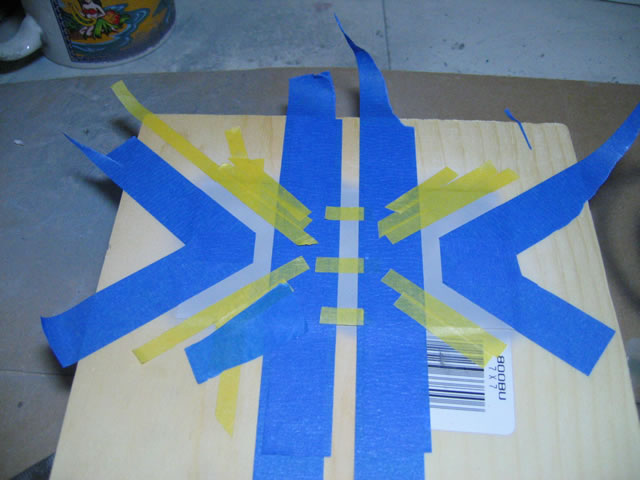
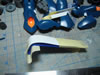
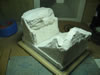
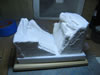
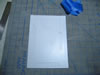
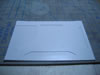
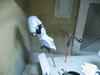
Below are the pictures for the door and landing pad. I'm
not sure if I'm satasfied with how the door and landing pad look when
I put them into the base. I'll think on this and possibly change this.


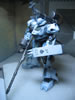
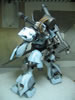
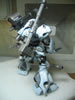
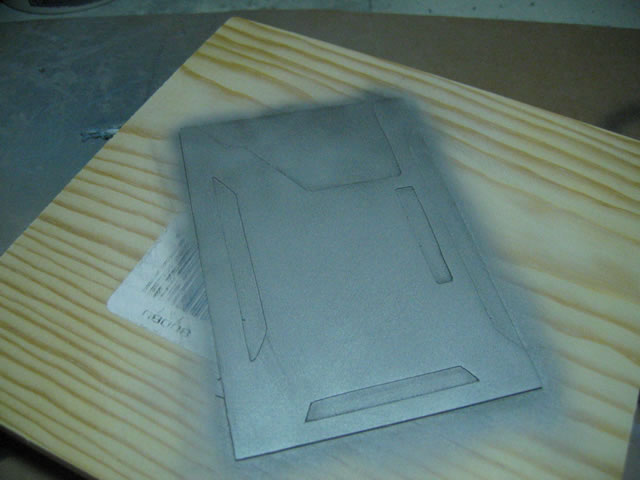
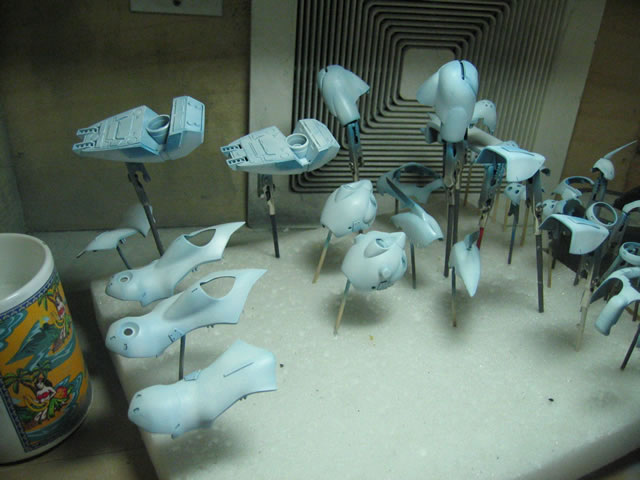
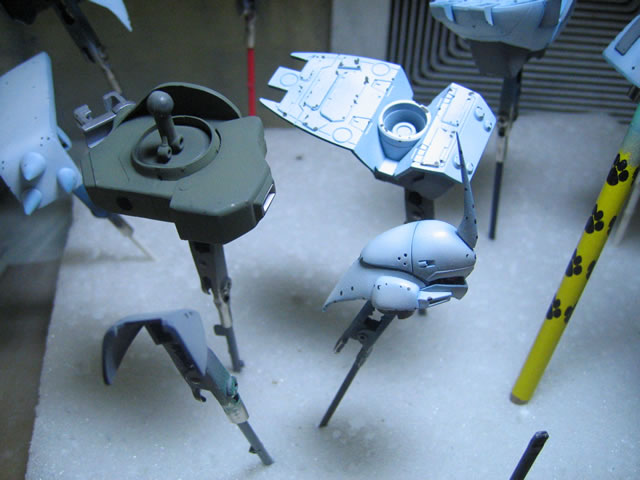
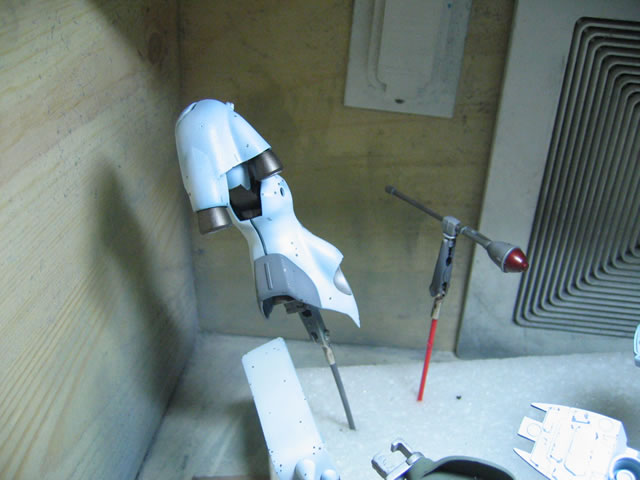
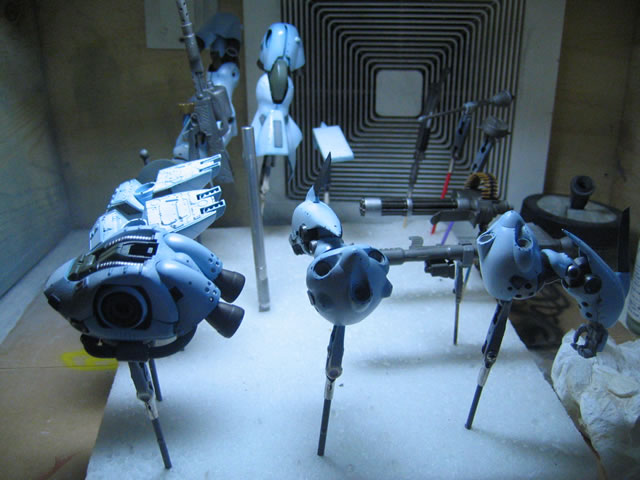
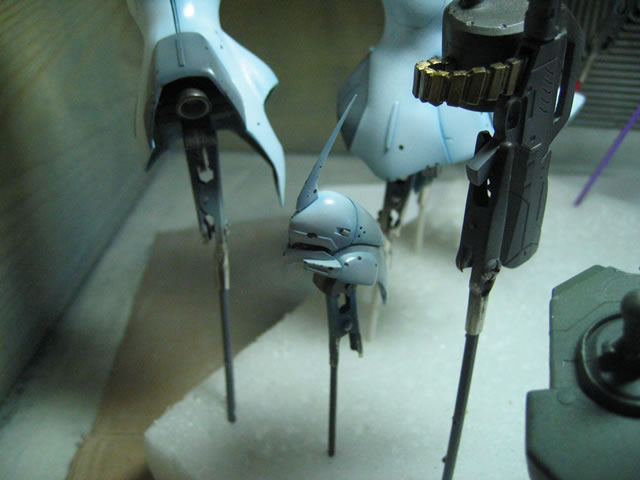
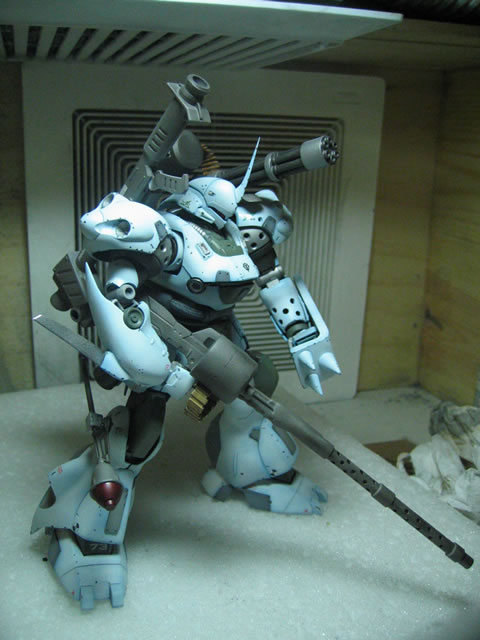
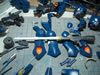
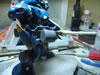
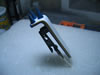
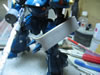
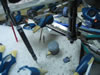
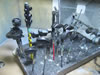
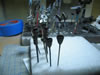
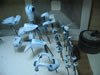
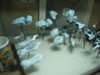
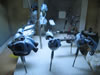
I did alot of work in the kit since my last update. Below
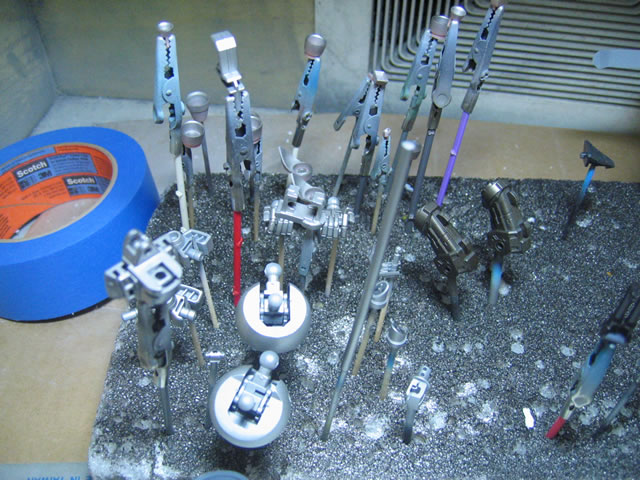
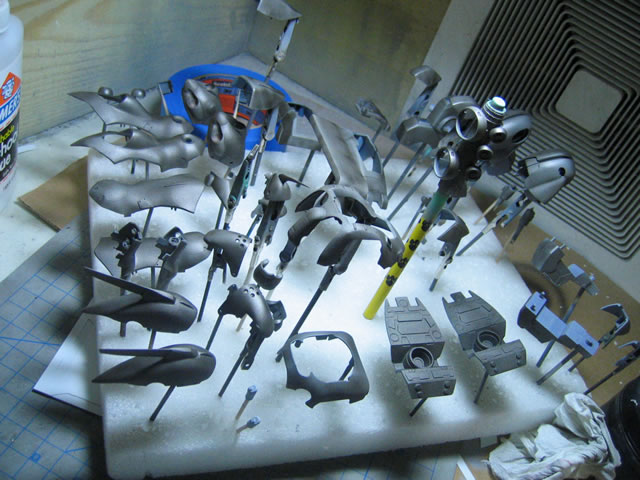
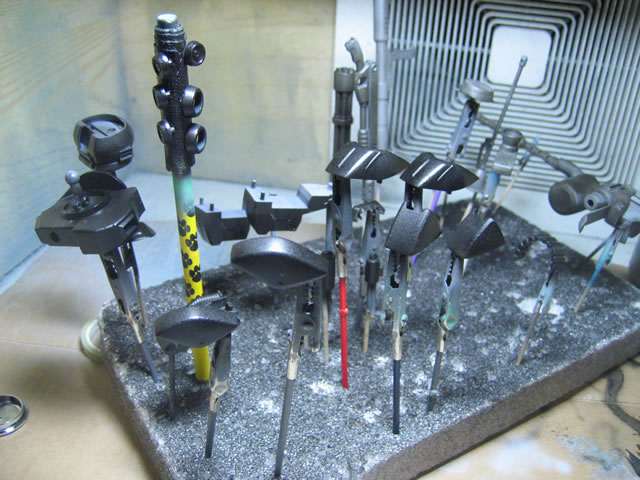
are pictures of the process. The first set of pictures are the first coat
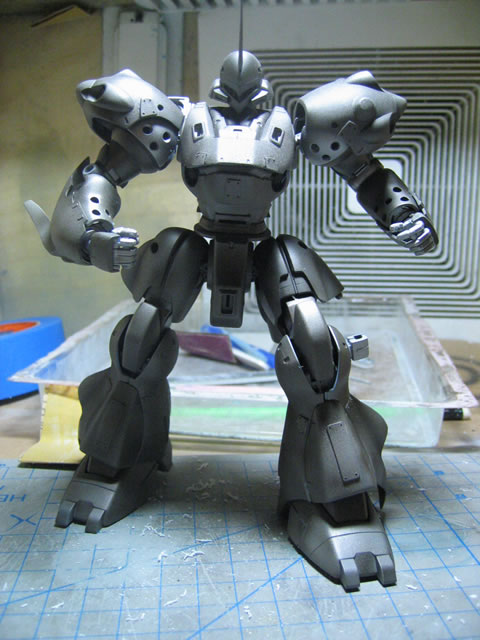
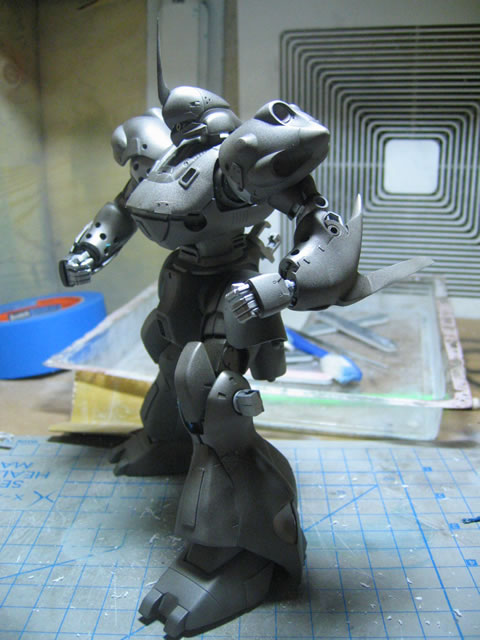
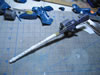
of paint using alclad II Steel. When this was completed, I did a mock
up to see where I wanted to add the paint chipping effect
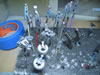

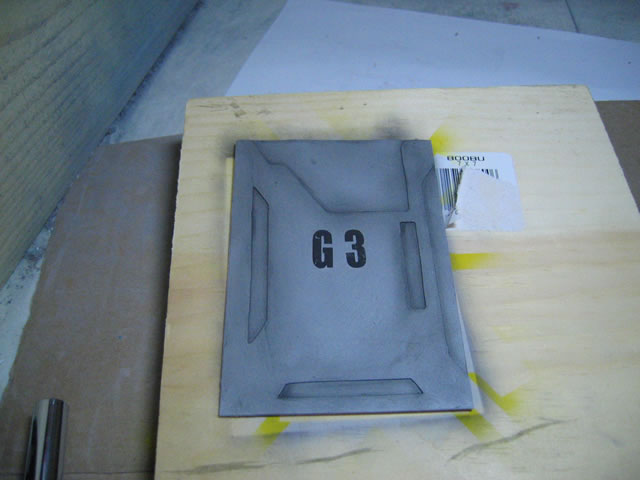
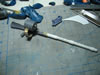
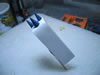
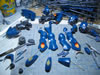
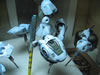
For the paint chipping effect, I used Mr Masking Sol and
a toothpick and placed little dabs in areas where I wanted the paint to
chip. After this was done and the masking sol dried. I went on to apply
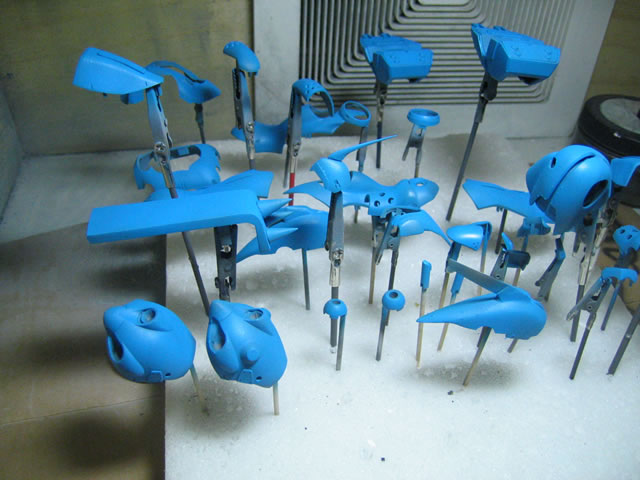
the base color layer for specific parts. The main armor parts are going
to be white so I used a light blue for a pre shading effect. For the other
parts, I used a gloss black.
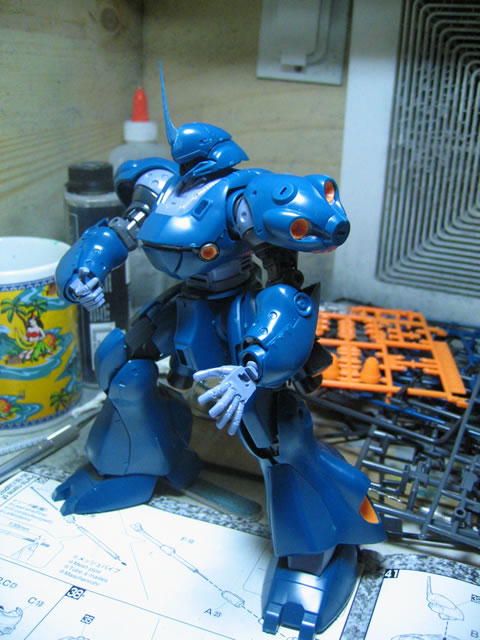
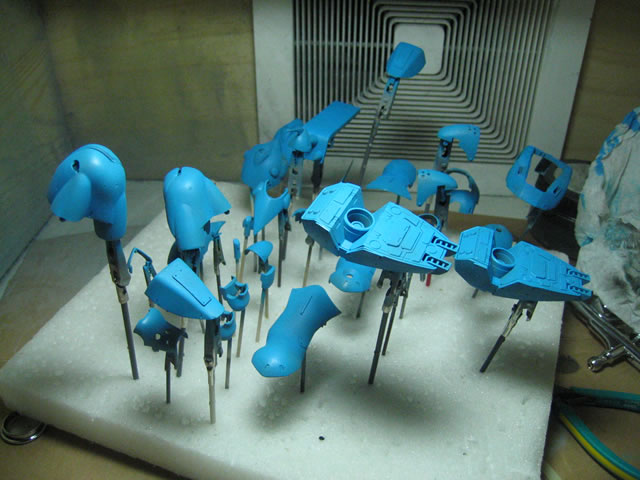
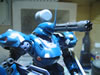
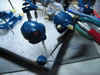
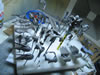
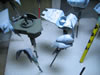
Next was the final color layer. White was used for the main
armor parts, and two shades of gray was used for the remaining armor parts.
I had to paint allow the paint to dry, mask, then paint the additional
areas such as the added styrene plates and the embedded trusters in the
shoulder sections.
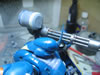
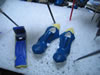
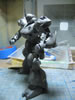
To this point I have sprayed on the first coat of future
and once that dries, I can move on to the decal portion. Below are a picture
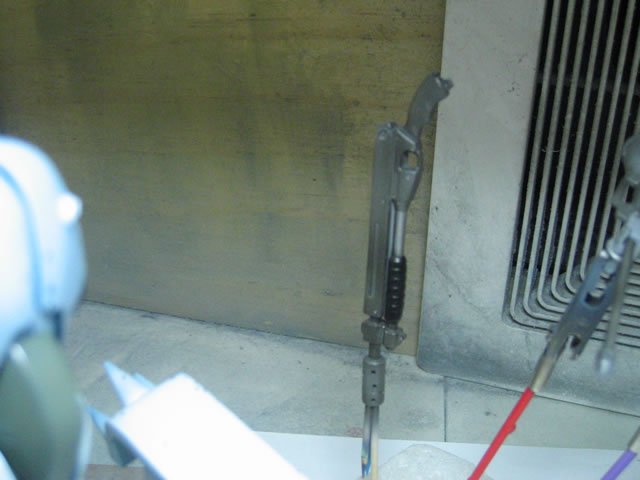
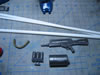
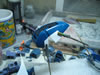
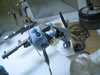
of the shot gun and the gatling gun.
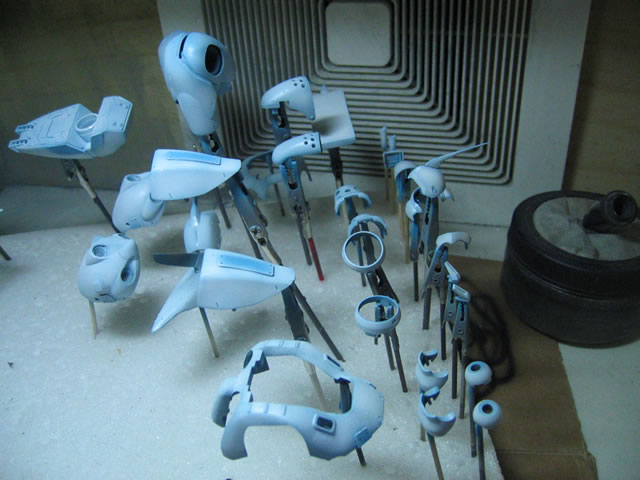
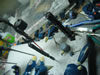
Another update: Finished adding decals, coat of future to
seal the decals, a enamel wash for some of the panel lines and a coat
of flat future. Following this I will do some minor weathering details
for the weapons and the kit and then concentrate on completing the base.