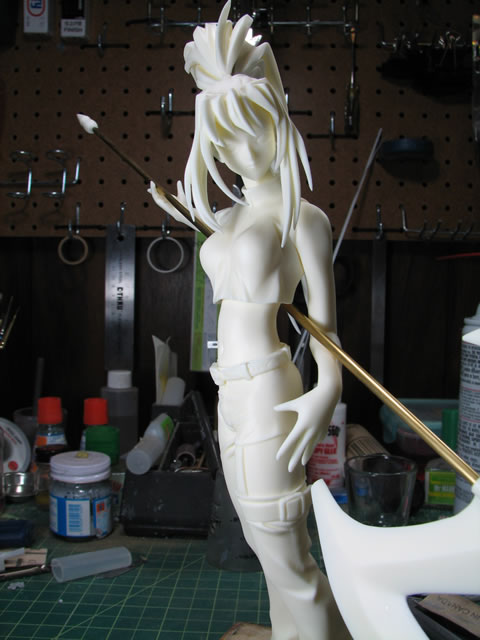
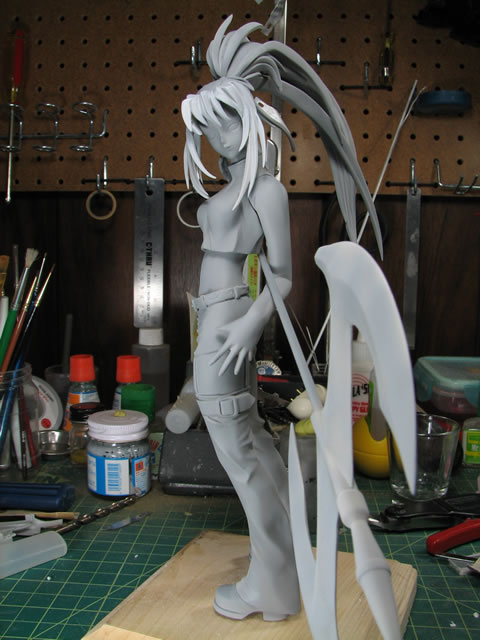
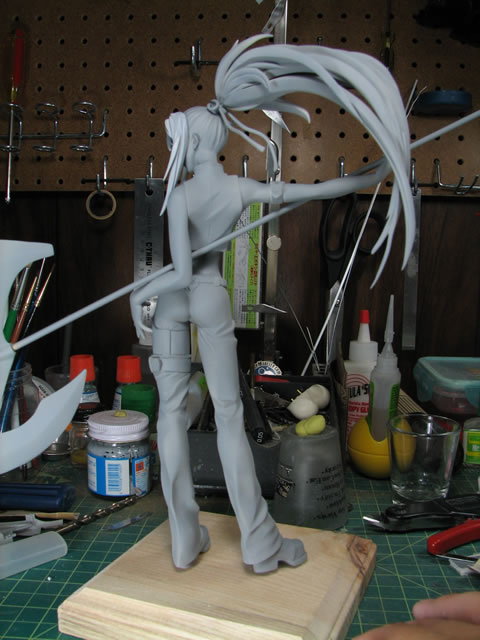
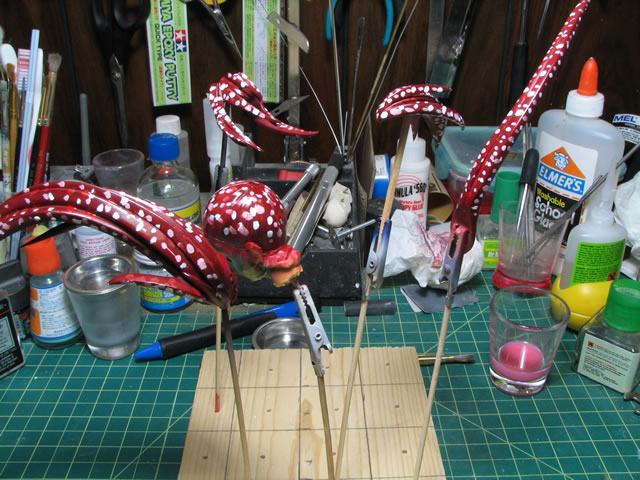
September 6, 2007: This is an original Volks kit that I picked up a couple of months ago. I originally saw it in a hobby magazine and picked her up as soon as I saw her up for sale on HobbySearch. It has been a while since I built a figure for myself so I wanted something fairly simple and fast to build so I can just get a quick fix. Parts fit is amazing. I actually started working on this kit two weeks ago during the model building gathering over at my house duing Nationals. Over the past two weeks I've managed to pin, sand, bathe her in the lovely purple soup, and run her through my ultrasonic cleaner. Today I pulled the last of the soaking parts, ran them through the ultrasonic cleaner, and got to priming her. This was also the first chance I got to take some progress pictures for the kit.
Pinned:
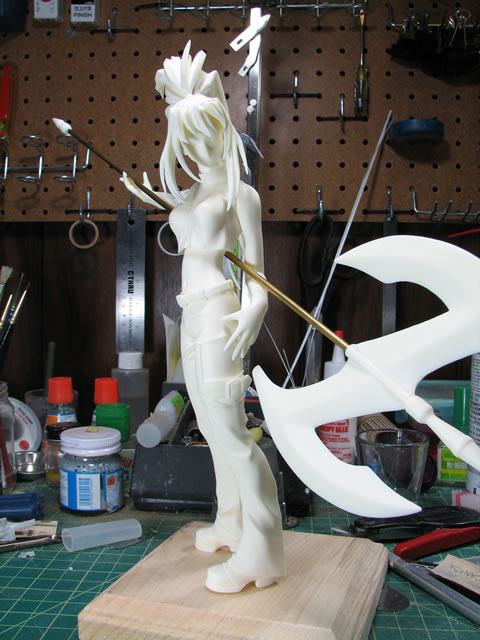
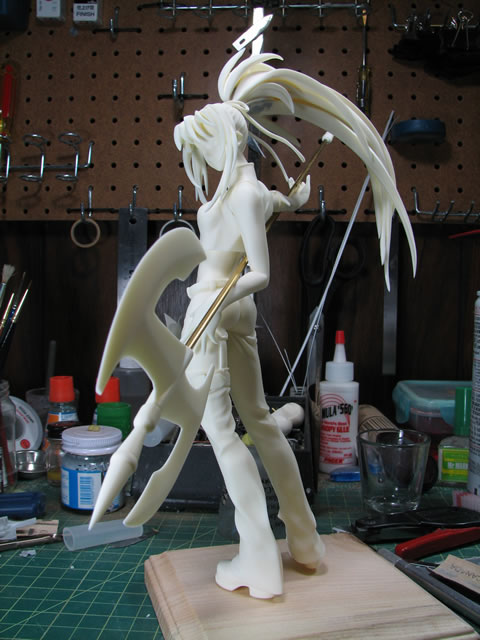
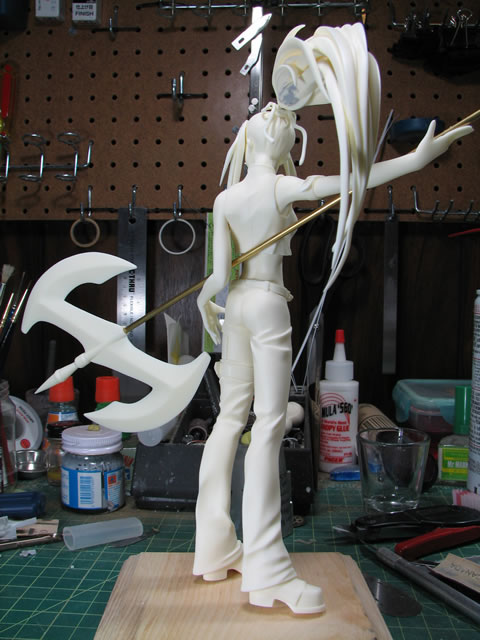
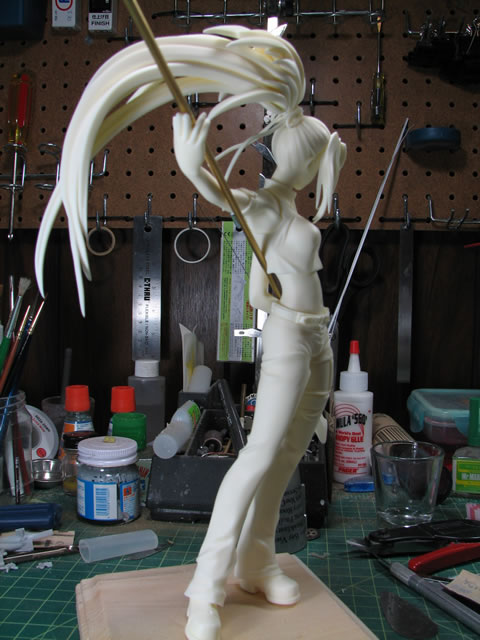
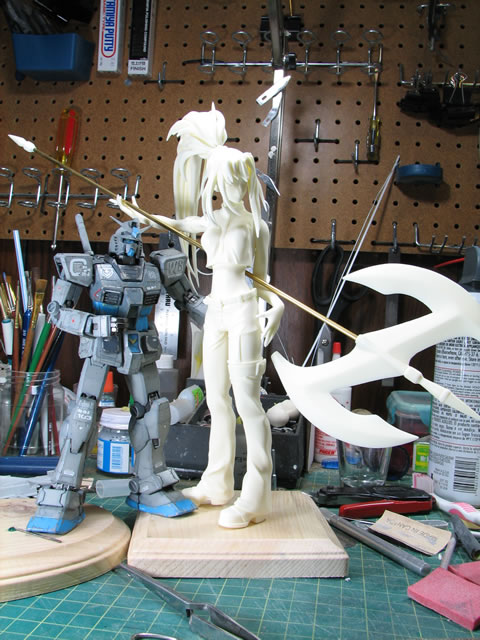
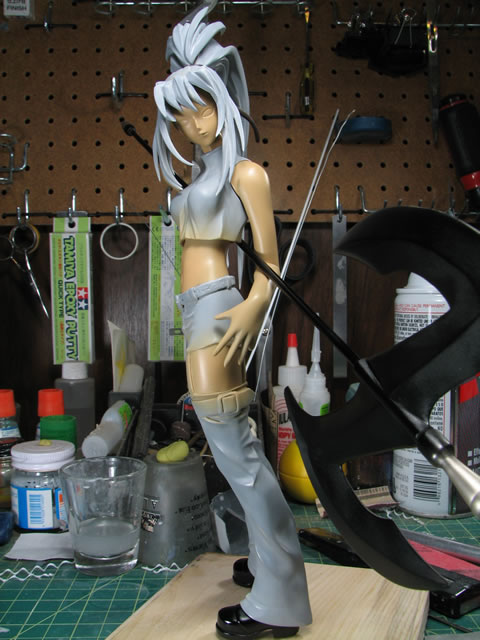
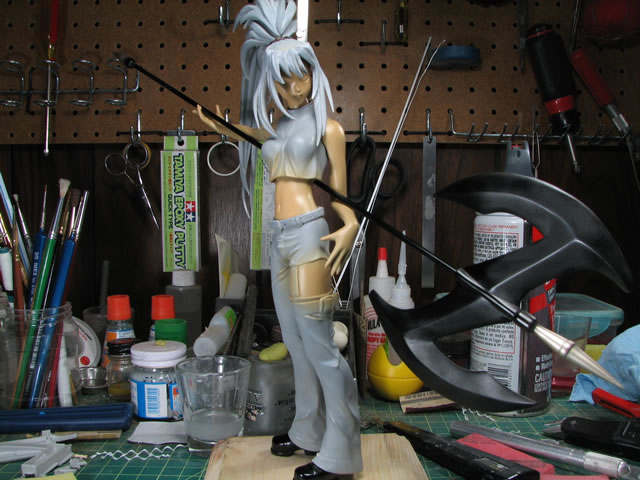
Standard G3 size comparison picture:
Primed:

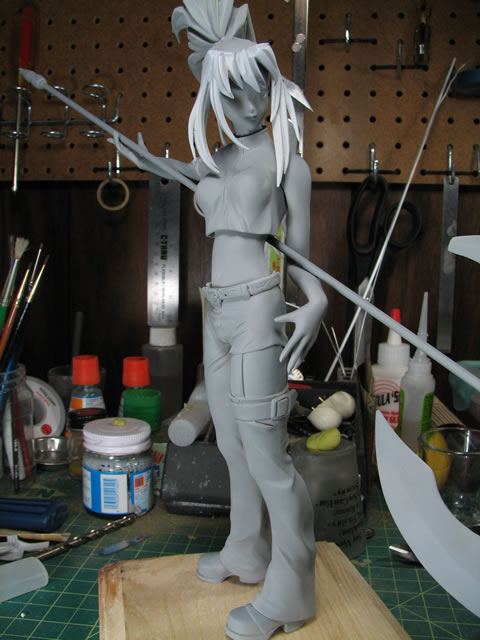
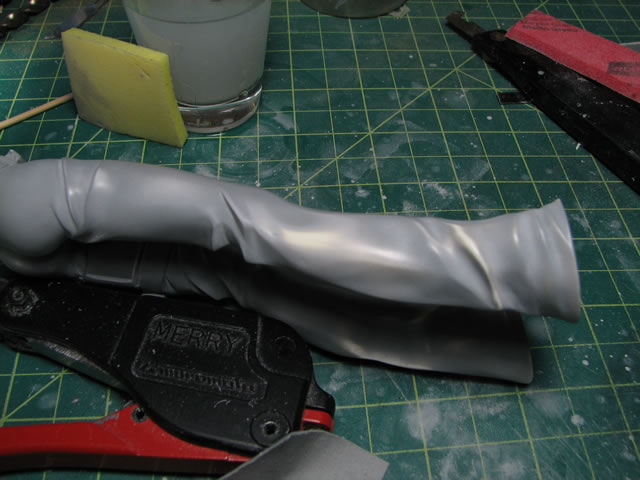
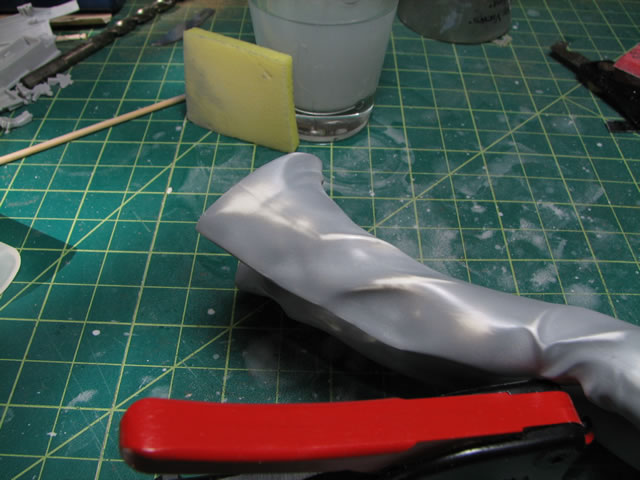
September 9, 2007: Weekend update. After the initial prime job, the small little defects and problem areas popped up. The following pictures illustrates the wet sanding process that smooths out the sprayed on primer so that the surface is as smooth as possible for the next layer of paint. The second picture shows the primer filling in small scratches. After priming, all the small scratches show up so those areas need to be sanded down.
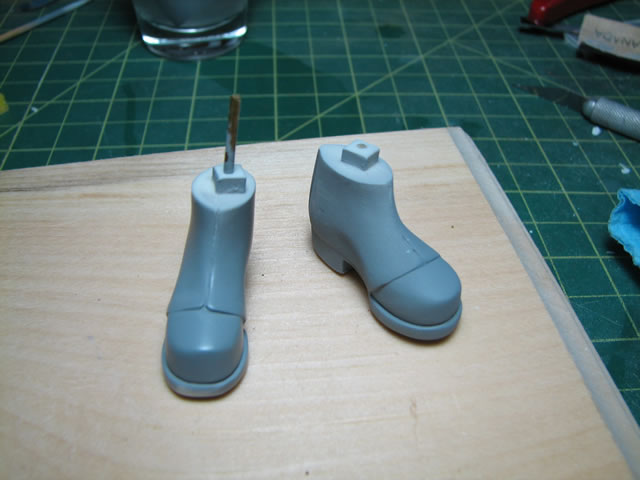
Here are some more examples of sanding down the problems shown up from the initial primer. Once those are sanded down, I sprayed on another coat of primer to check that the problems I fixed are not still there.
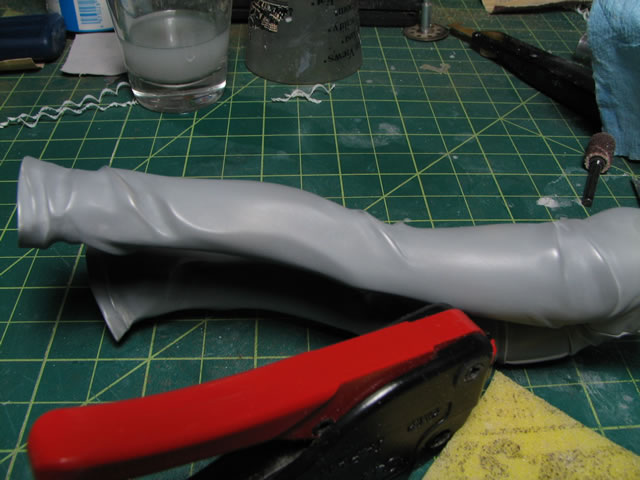
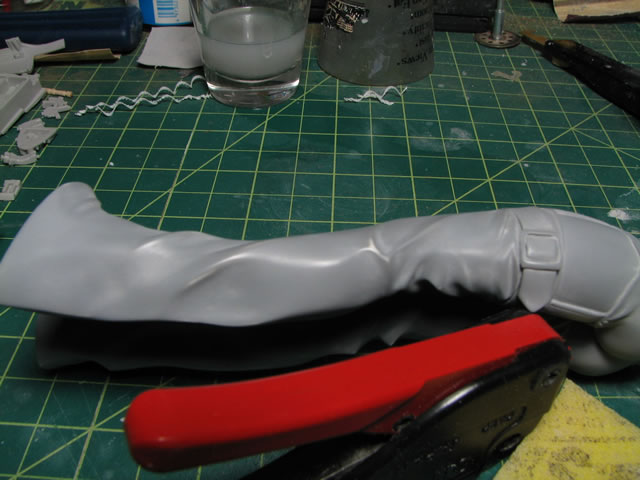
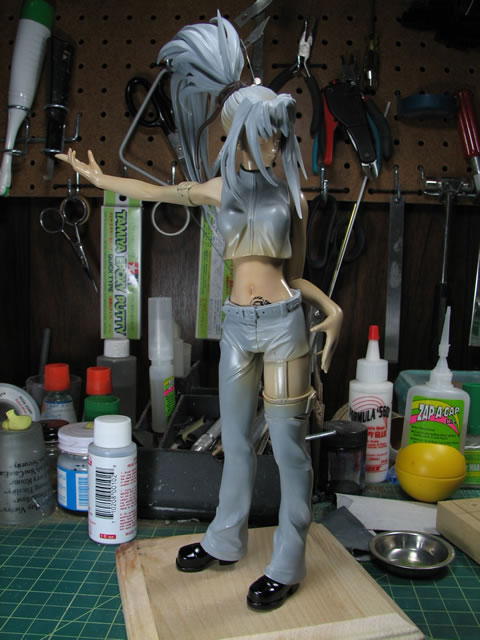
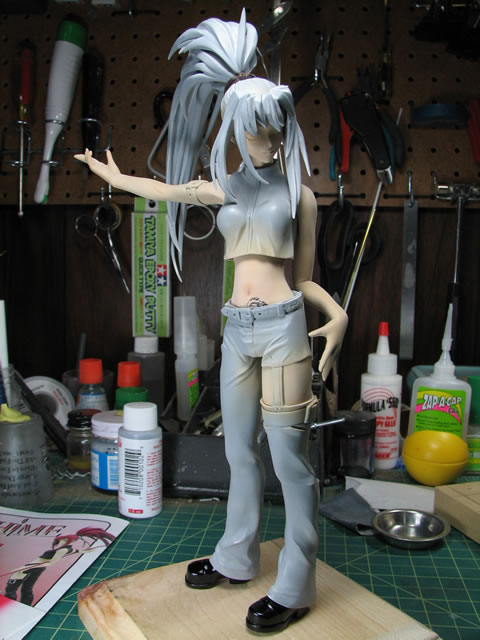
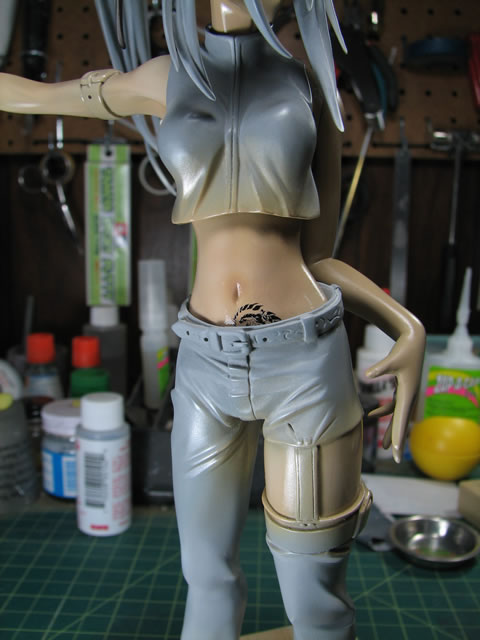
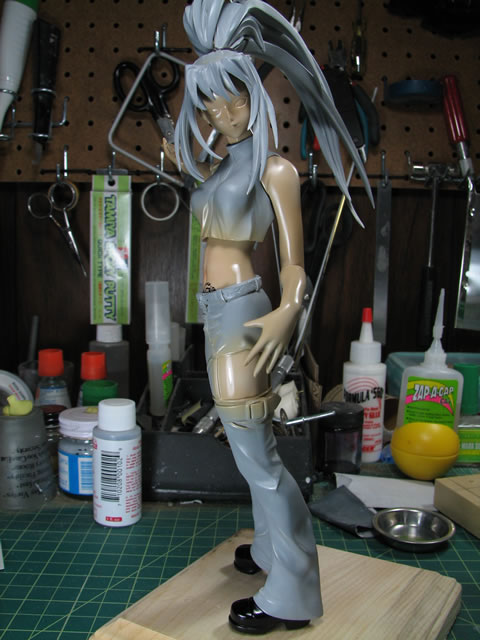
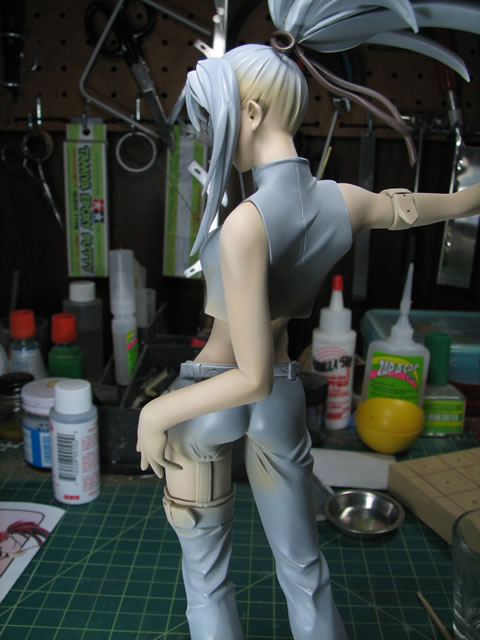
Before priming the kit again, I did a quick test fit for a quick picture. Once I had the parts reprimed, I went through the wet sanding process again and then was able to start applying paint. The first skin tone has been applied, a lighter shade will be applied later.

September 13, 2007: I painted on the lighter skin tone to do some shading on the body. After this was done, I applied a coat of future floor polish on all the skin tone parts. I do this because I'm planning on appling a tattoo and since the glossy surface allows for the best adhesion of the decal. The reason I spray all the skin parts is because the gloss coat changes the tone of the painted colors. The gloss coat darkens the tone, so to keep consistency with the various body parts, I sprayed all of them. After the decal was applied, I sprayed on another coat of future floor polish to help seal in the decal and hide the decal edges. After another day, I was able to spray on a flat coat to finish up the skin tones. After another day or two of curing, I should be able to mask and paint the rest of the kit.

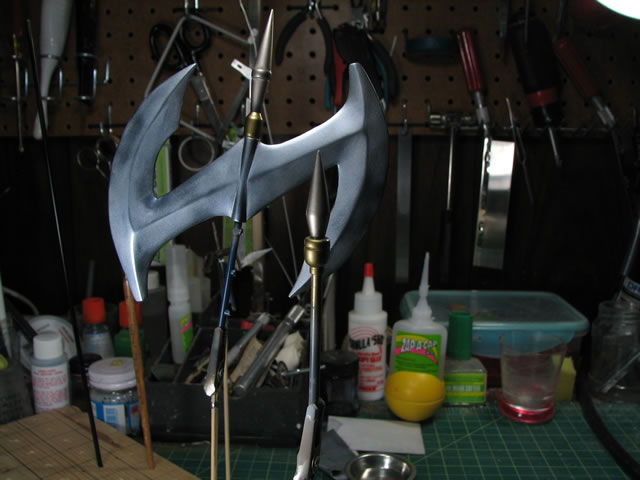
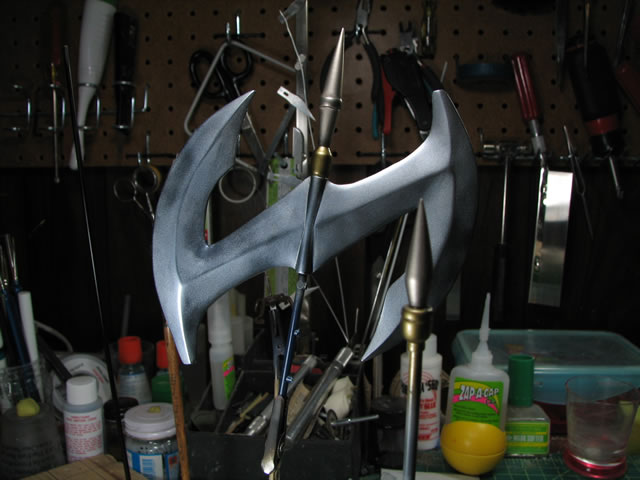
During the cure time for the skin, I was able to paint, mask, paint, and clear coat the weapon.
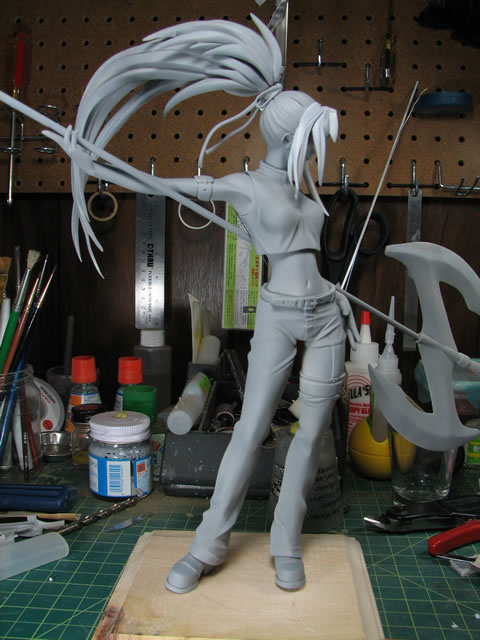
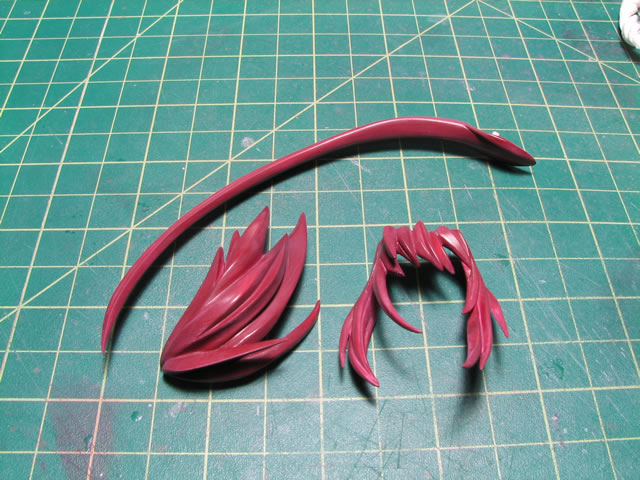
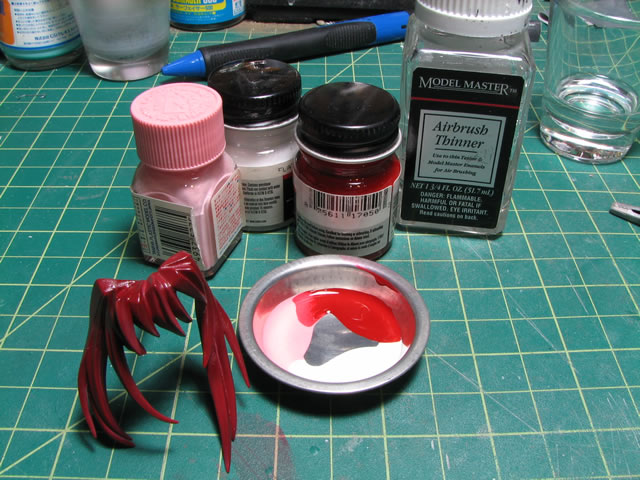
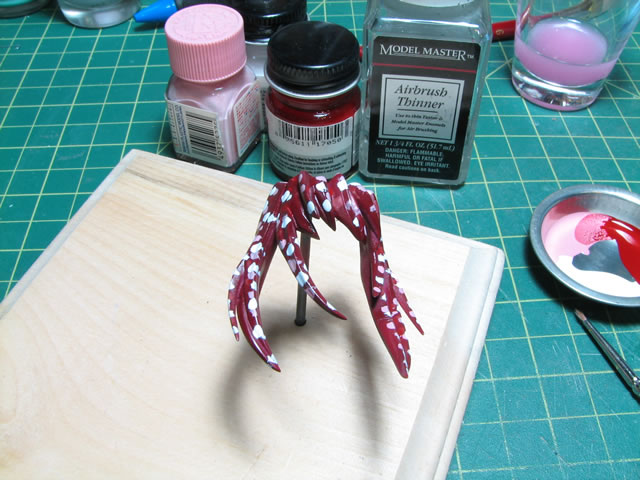
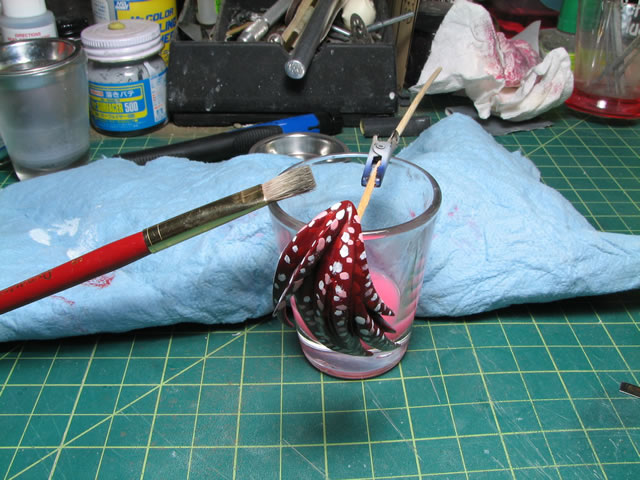
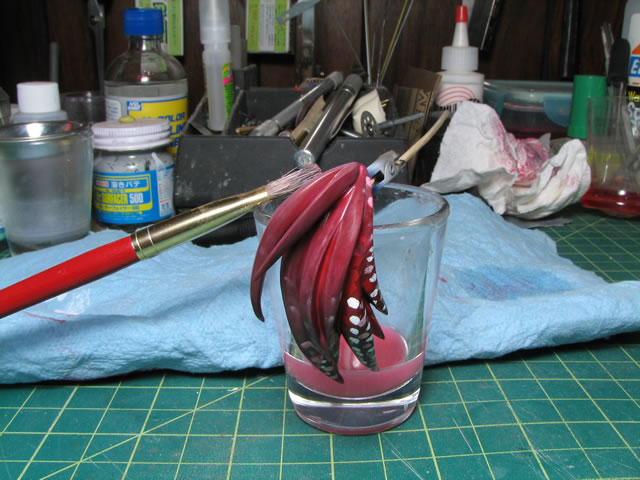
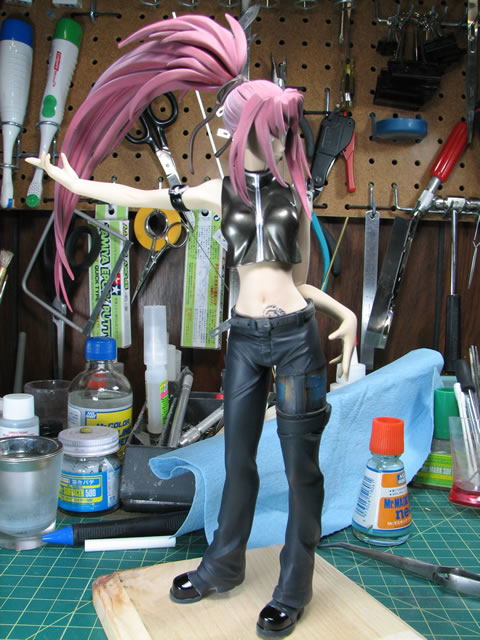
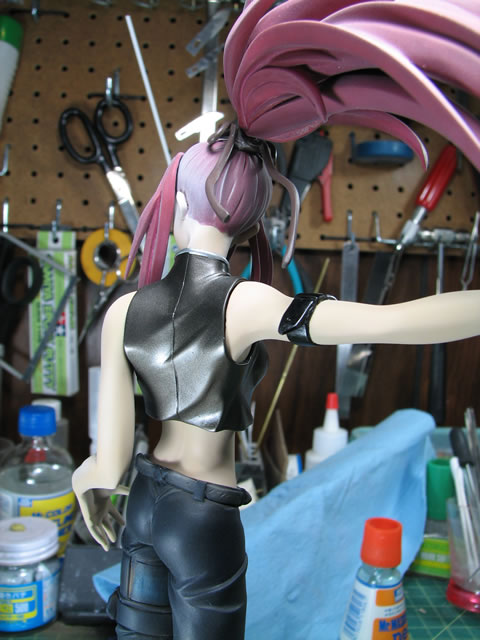
September 16, 2007: The weekend saw quite a bit of work on her. I was able to mask off the skin and paint most of the kit. For the hair, I'm using a filter/fade method to add some tonal variances. Below is the before and after picture.

The steps from point a to point b begin first with a clear gloss coat. I used a lacquer based gloss to expediate the cure time form when I painted the hair. The hair is painted with Mr Color wine red first, then shaded with russet. Once the gloss clear coat cured, I use flat white, pink, and insignia red. The hair parts are dotted up; then using a stiff brush and some enamel thinner, the dots are wiped away. This results in a change in the paint's tone.
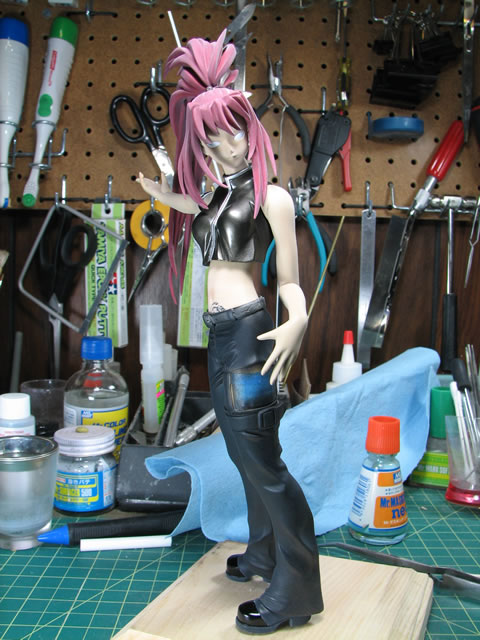
Here are some pictures of the progress so far. Hopefully I can finish her up this week. I still have some detail painting such as the eyes and the belt around her leg.

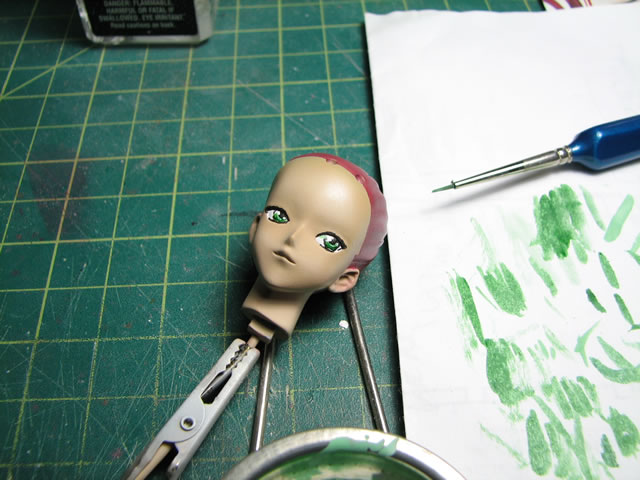
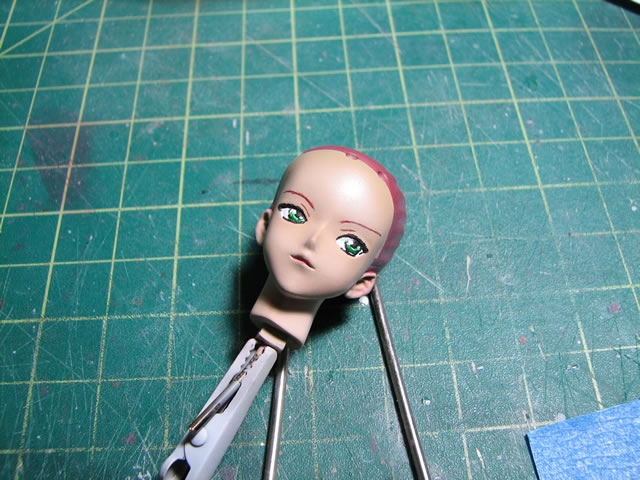
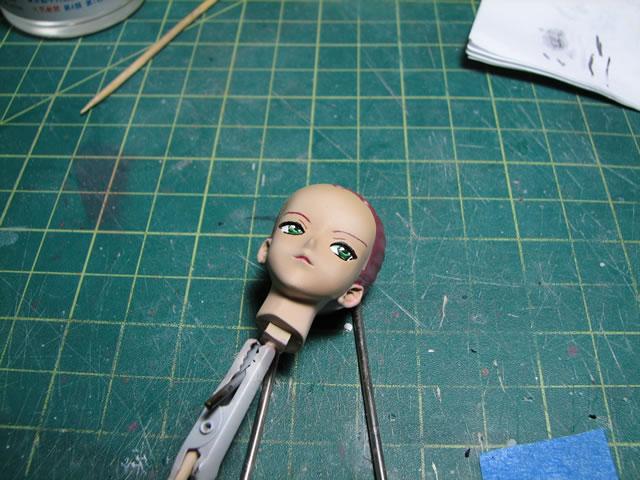
September 20, 2007: Last update before I take final pictures. Today I finished up all the small detail painting on the leg piece and the head. I painted the eyes. I start with a mechanical pencil and draw in the eyes. Once I'm satisfied with the eyes, I trace over that with a rapidograph technical pen. Once that dries, I can apply the enamel paints for the eye color. I did a couple of shades of green for different highlights. I then used the mechanical pencil to draw in the eyebrows. Most kits have the eye brows molded in, but this one didn't so I had to draw them in. After drawing them, I used the final hair tone to paint in the eyebrows. Once this all dried, I was able to dab on a little future floor polish for a final gloss clear coat over the eyes, giving them a wet look to them. Once everything dries, I'll put her together and take some final pictures.

September 6, 2007: Got her pinned, sanded, bathed and primed.
September 21, 2007: She's done Click here for the completed page