August 1, 2007. The upcoming MMC contest for August
is the "Snapper Contest" with the stipulation that no parts can be glued
together nor major painting. So since this Zaku is so wonderfully engineered,
I'm going to attempt to build this without gluing any of the parts together
or painting the kit. I am, however, allowed to paint details, use glue
in other means, apply a wash, filter, fade, use clear coats, decals, dry
brushing and pastels. So this will document that progression.
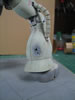
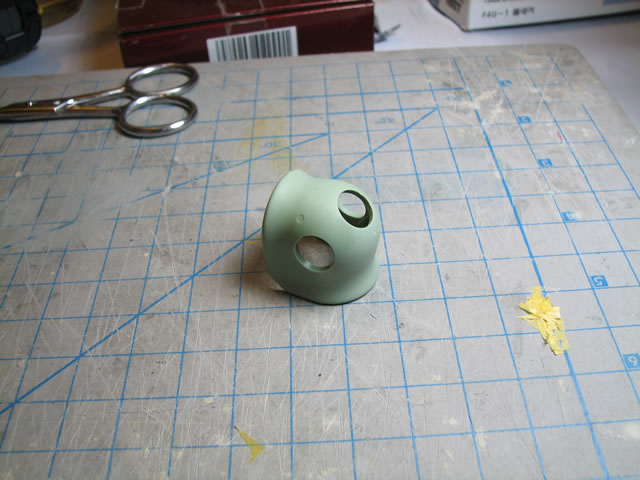
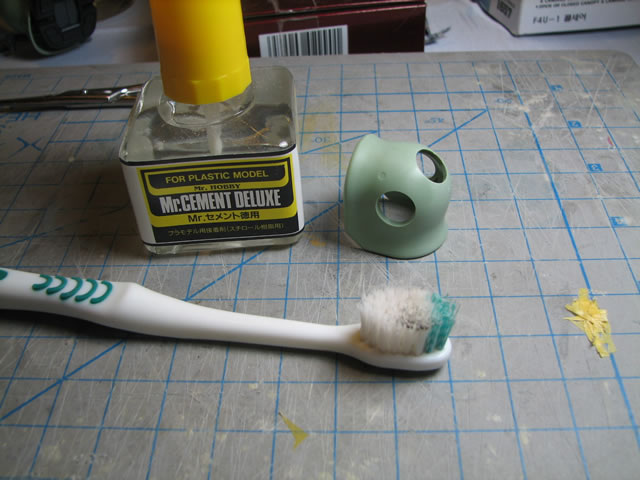
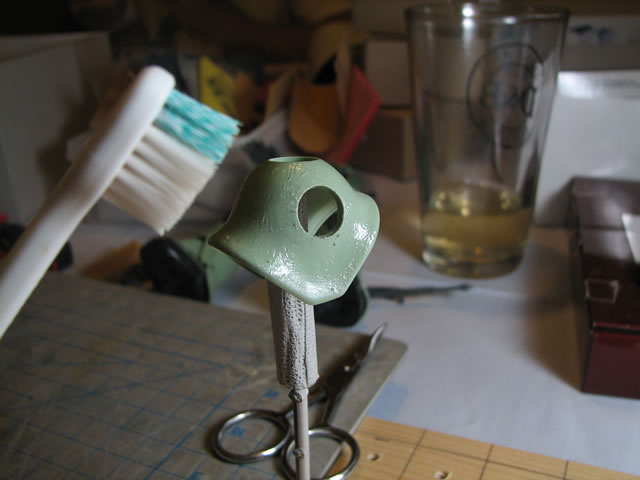
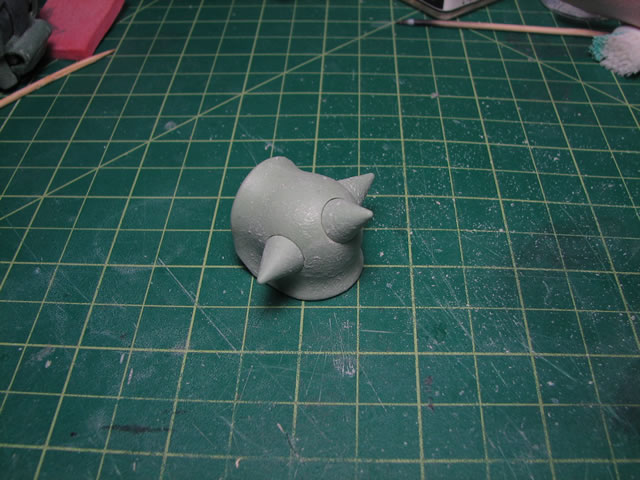
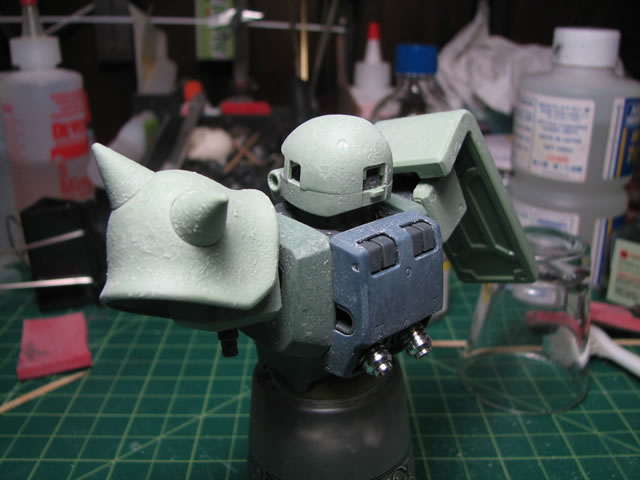
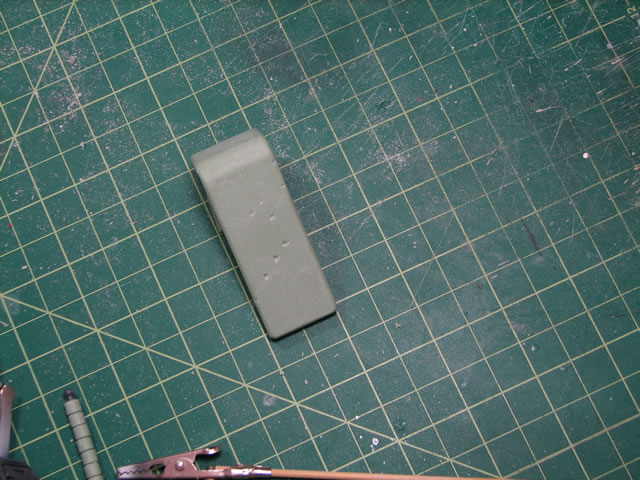
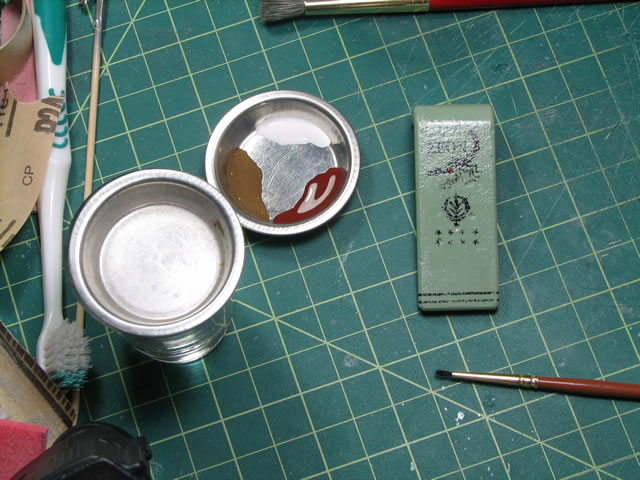
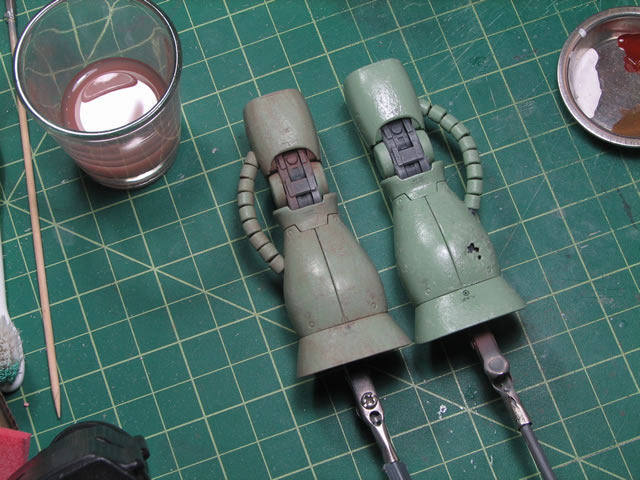
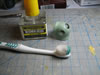
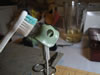
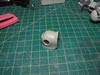
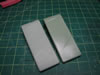
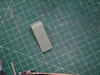
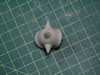
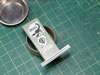
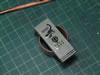
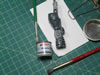
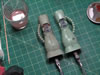
Now, since I want to apply some texture to the surface of the kit, I'm
using solvent glue and a toothbrush to create texture to the surface without
having to use primer. Pretty simple process, apply the glue to the surface,
then before the glue dries, take the toothbrush and scrub some texture
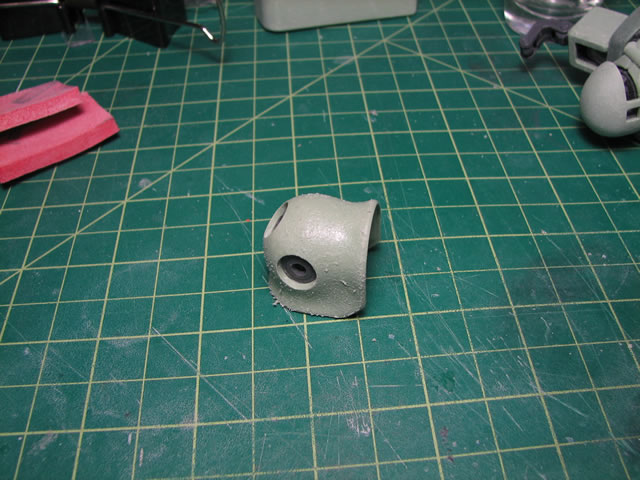
into the surface. Once that completely dries, take some sanding pads and
smooth over the edges and we have a nicely texturized surface without
the need to use mr surfacer.
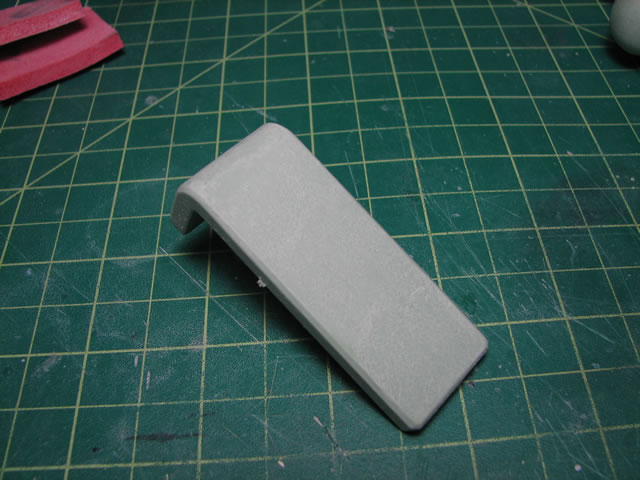
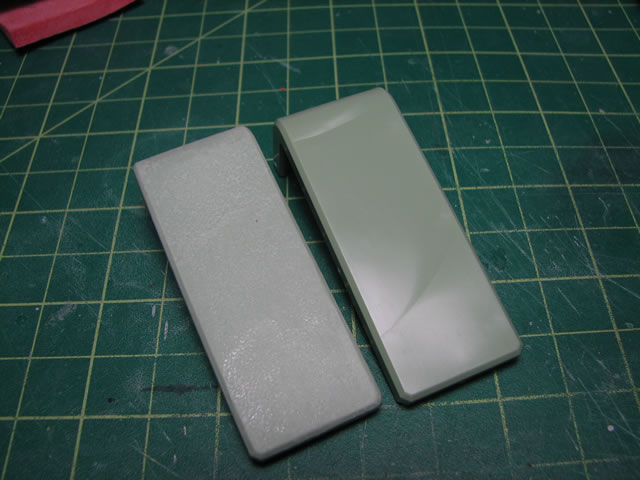
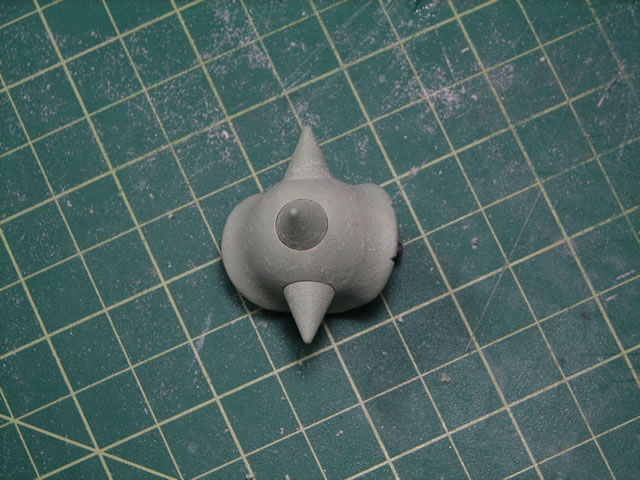
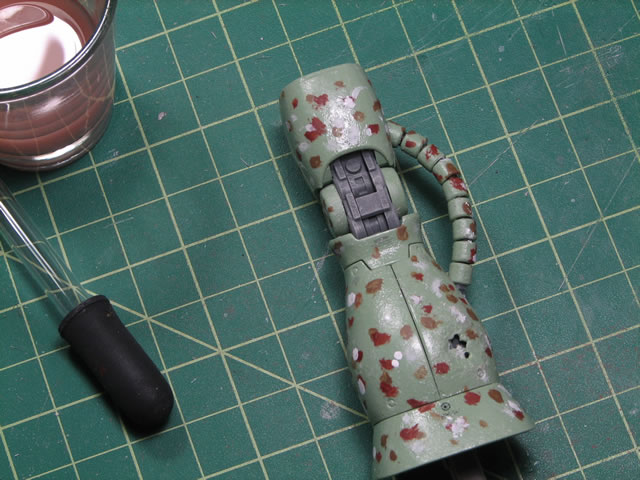
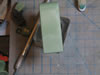
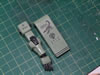
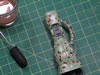
The same process was applied to the shied and the rest of the surface
of the kit.
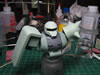
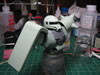
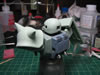
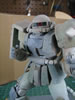
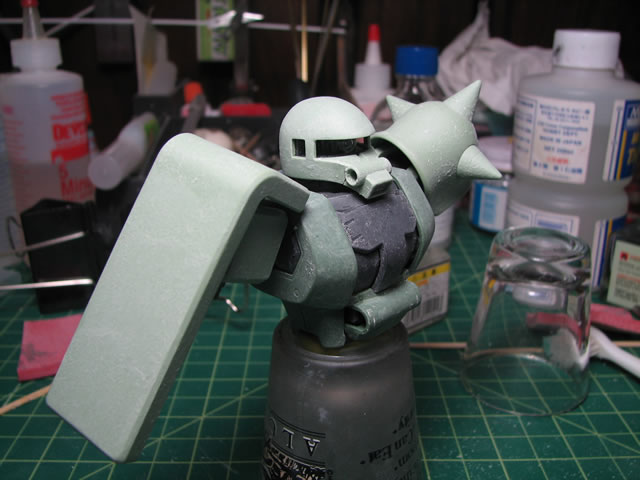
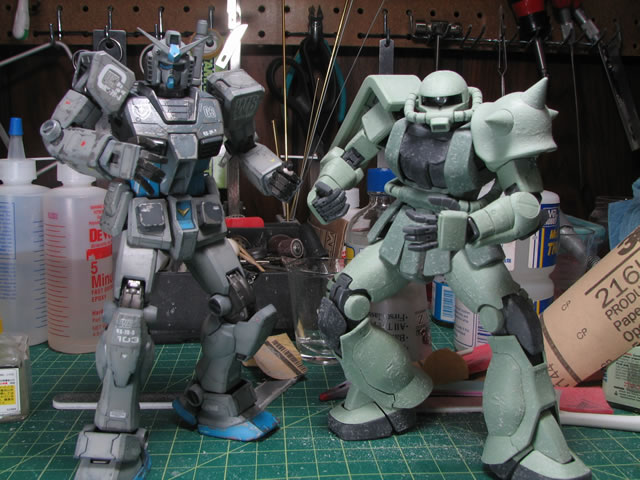
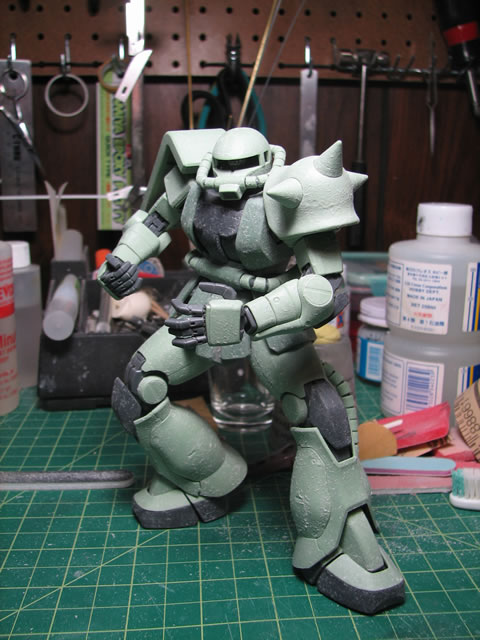
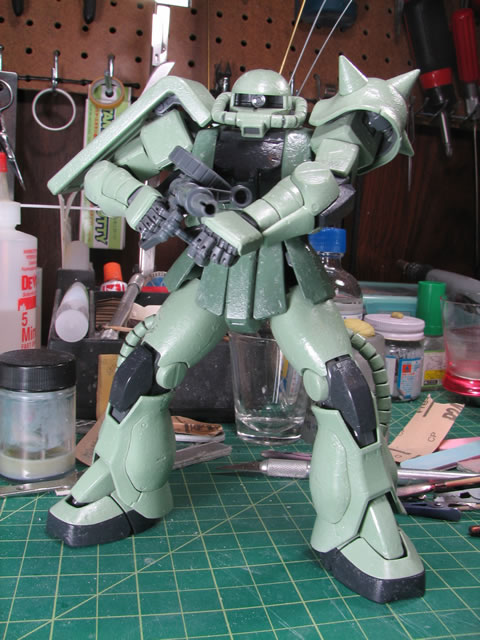
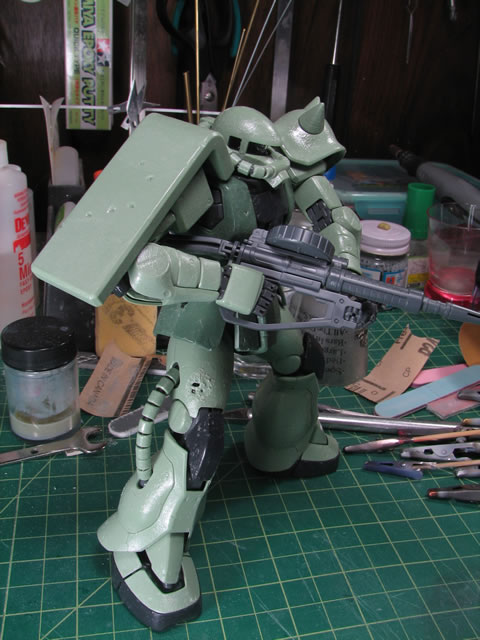
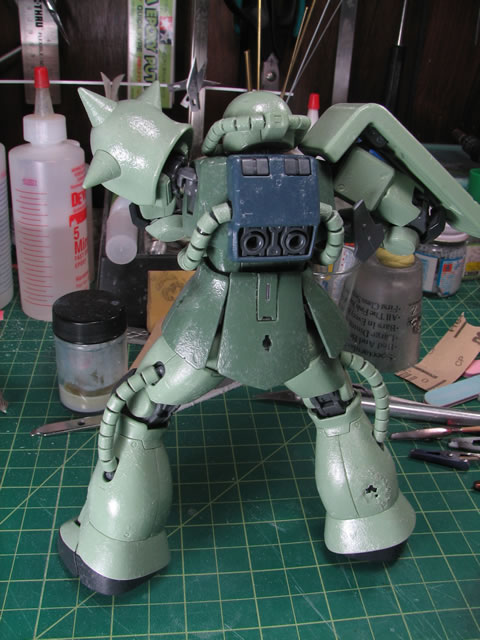
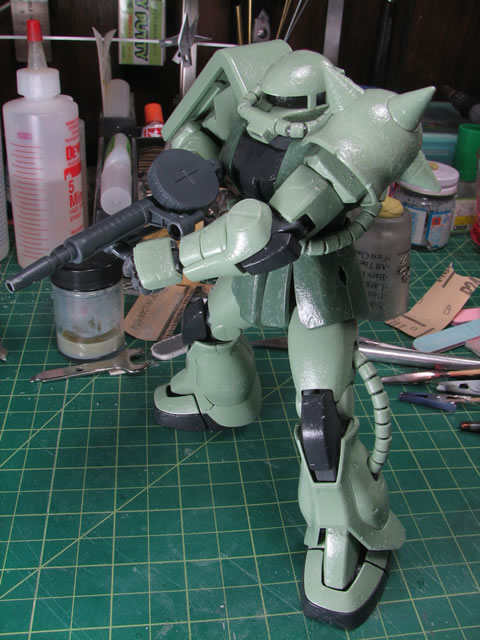
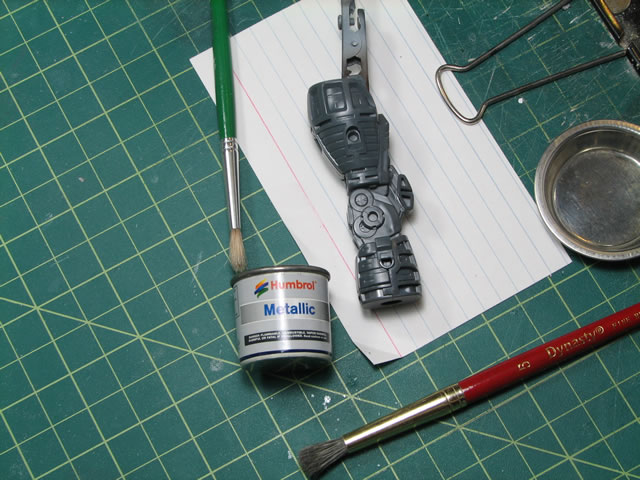
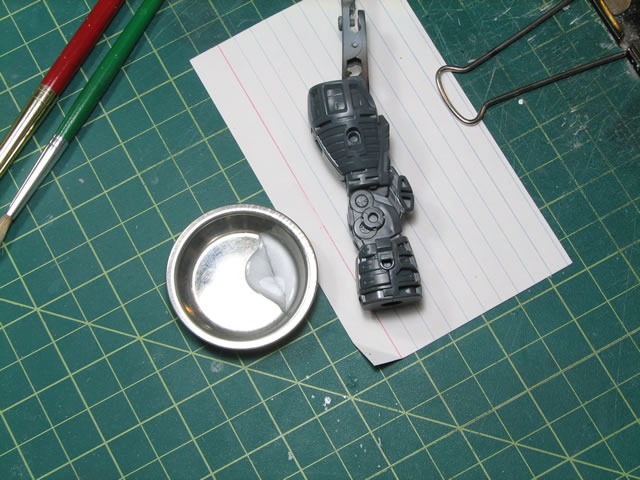
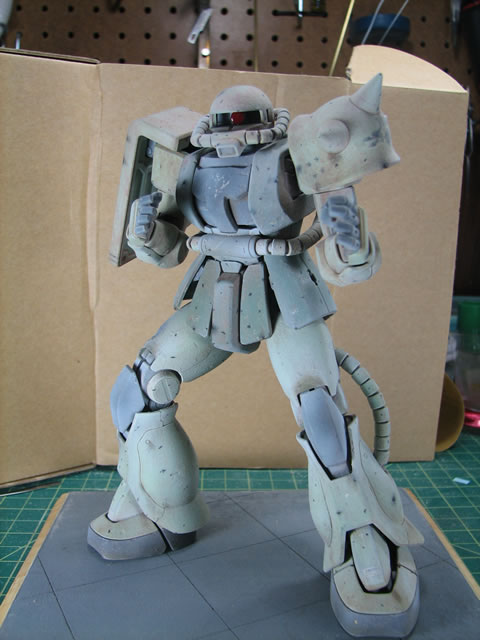
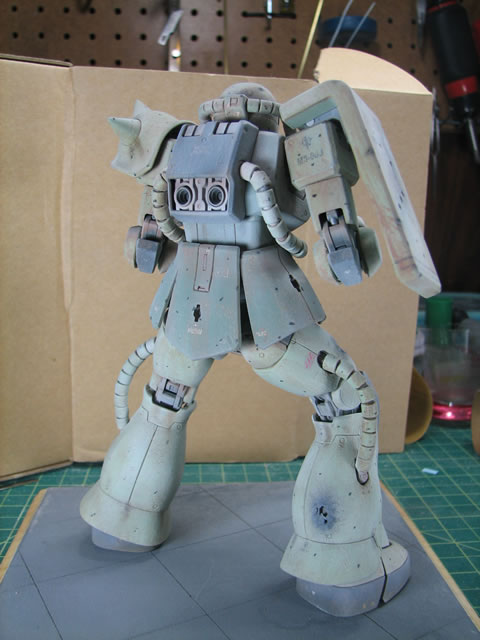
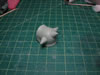
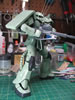
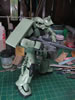
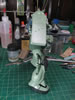
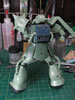
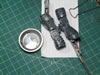
August 6, 2007: Got the internals sanded and ready for drybrushing, and
I have most of the surface prepared with the texturizing technique. I
may still sand down some of the rougher areas. I need to apply the clear
gloss to make way for the decals, and weathering. I still may do some
additional work with the hobby knife, such as apply some damages here
and there. I may pull the dremel out and do even more damage... I'll let
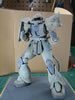
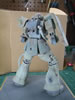
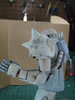
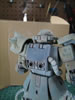
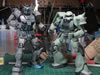
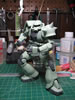
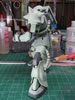
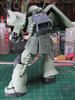
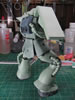
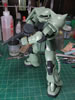
the thing sink in while I decide what to do next. Here are some pictures,
posing with the G3 and different angle shots

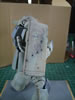
August 8, 2007: I wasn't able to make an update yesterday since my computer
decided to die on me. So here's what's happened since. Using a hobby knife,
I cut in some bullet holes and some dents to the kit. I also did some
more cleanup sanding before spraying the gloss coat.
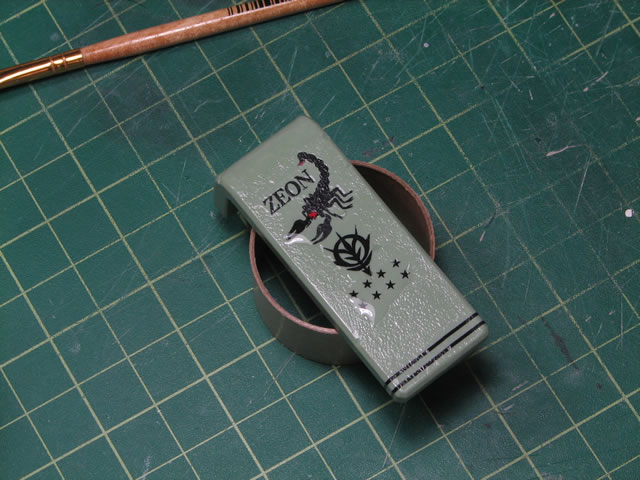
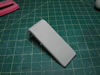
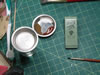
I applied the first gloss coat to all the exterior pieces. Nice and shiny!
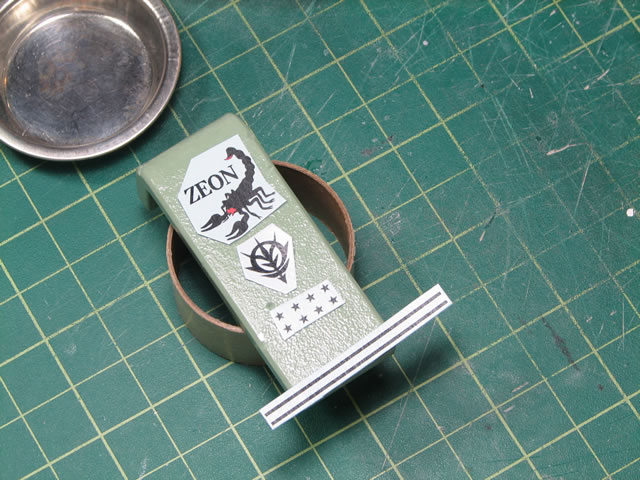
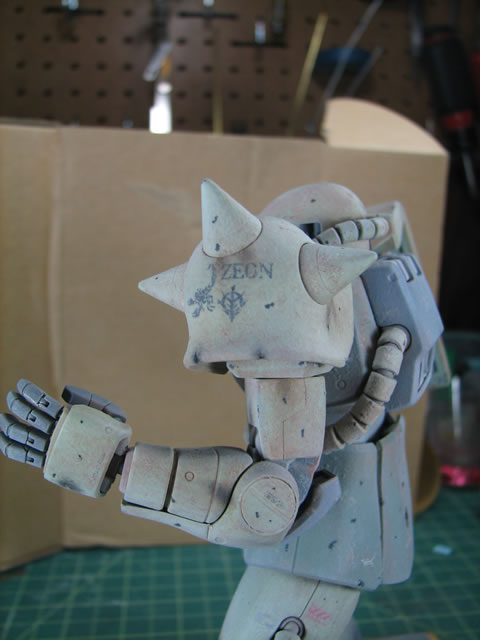
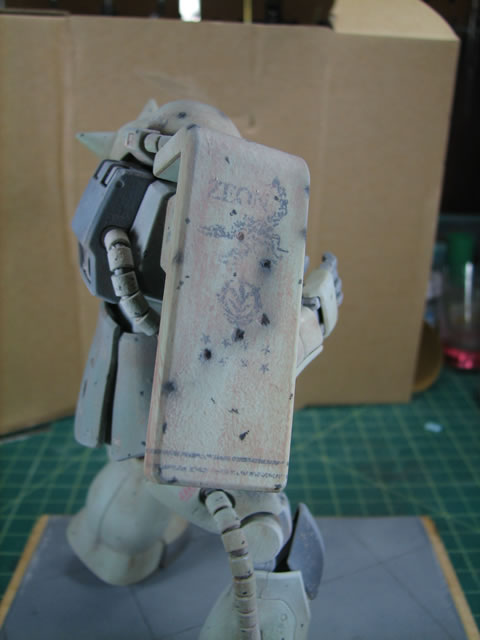
After the gloss coat dries, I went and applied the decals. First I planned
out where I want the decals to be placed. Then dipping the decals in water,
I slid them into place. The excess water was dried with a paper towel.
Now, to ensure that the decals stay in place and stick to the surface,
I applied some micro sol decal setter over the decals. All I do here is
to apply the decal setter with a brush and allow it to evaporate on it's
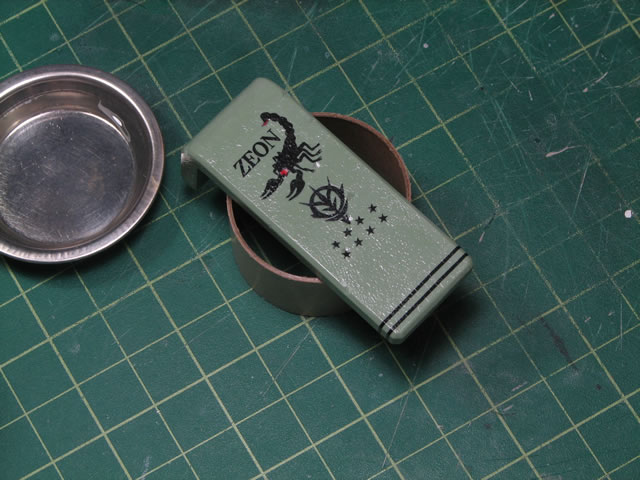
own. Once this is completely dry, I took a hobby knife my sanding pads
and proceeded to apply some weathering to the decals. A weathered surface
with perfect looking decals looks a little out of place. The hobby knife
and sanding pad are two methods for weathering the decal.

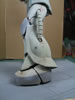
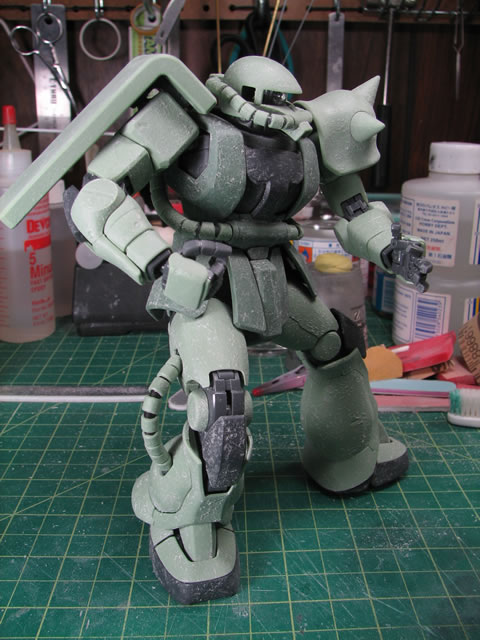
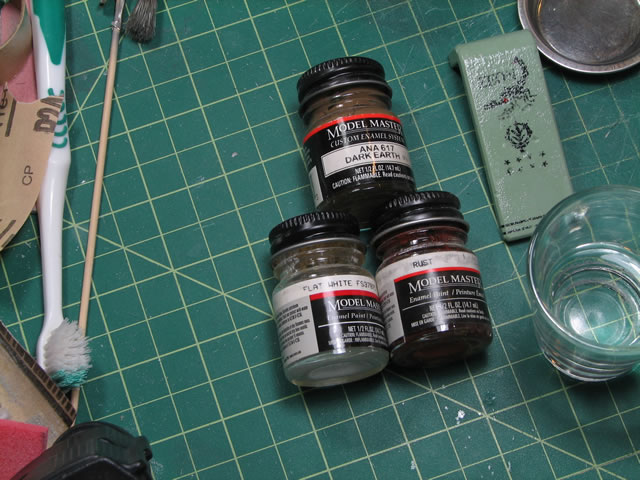
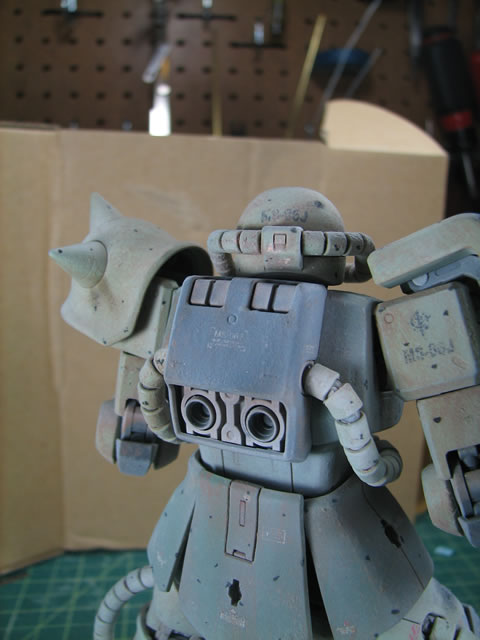
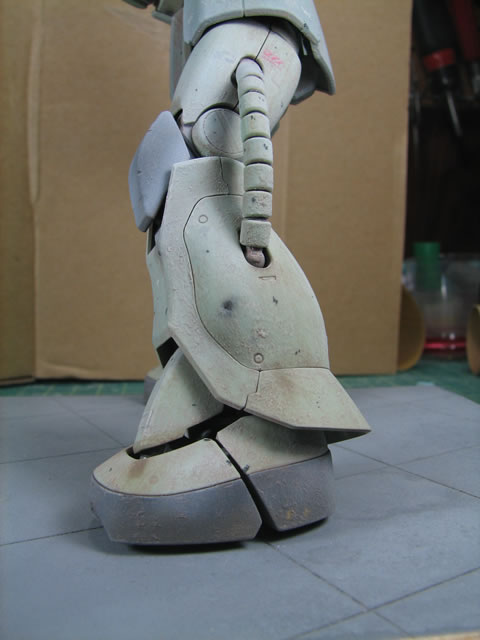
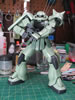
August 16, 2007: Almost there. I applied some drybrushing to the internals and applied a fade to the bare plastic to add some depth to the surface

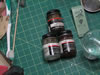
After the fade was applied, I sprayed on a layer of Mr Super Clear Flat so that I can apply the pastel weathering stage. Once the
pastels were added, I sprayed on a final coat of Mr Super Clear Flat and once dried, we have the following. I have only the weapons
to finish building.