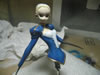
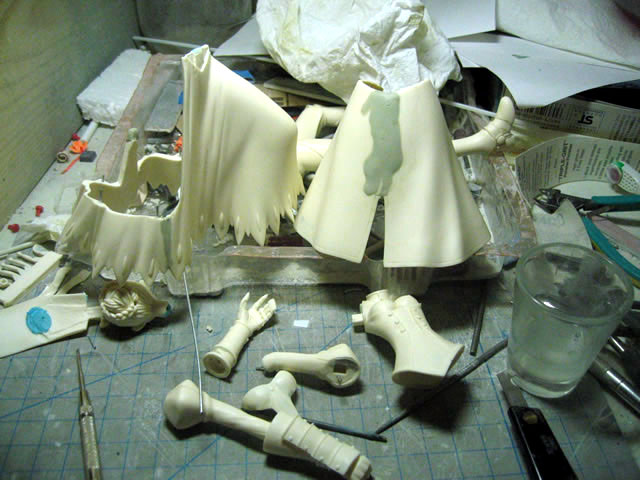
August 27, 2005: I got a new "kit" in
the mail today. I've been mulling over this kit for a while now. I just
really like it and I finally bit the bullet and ordered the recast from
HobbyFan earlier this week. The character is Saber from Fate/Stay Night.
I'm not sure of the origins of this kit, but I know that there is an anime
series in the works that includes this character. Once upon a time I build
a Trunk's figurine that was hand painted with humbrol enamels. This was
oh, about 10 years ago. Its finally time for me to try building another
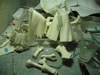
figure. Looking over at the parts, most of the expose surfaces are nice
and clean. Guess this was a first recast. Some of connecting points are
fairly marred, but I'll be pinning and stuff so that just gives me a rough
judge of where to pin. I'm really looking forward to working on this kit
and hopefully it won't suck ass. Right now she's taking a nice little
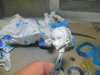
bath in some industrial strength concentrated cleaning solution. I'll
take her out tomorrow and maybe get some work done on her if I'm not completely
bogged down by my GM project.
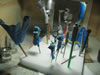
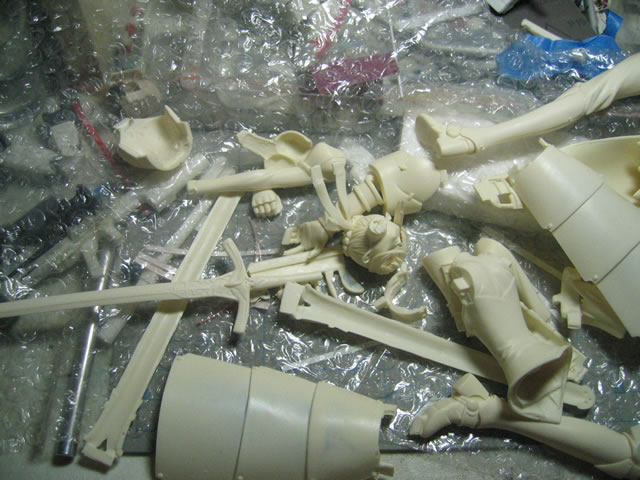
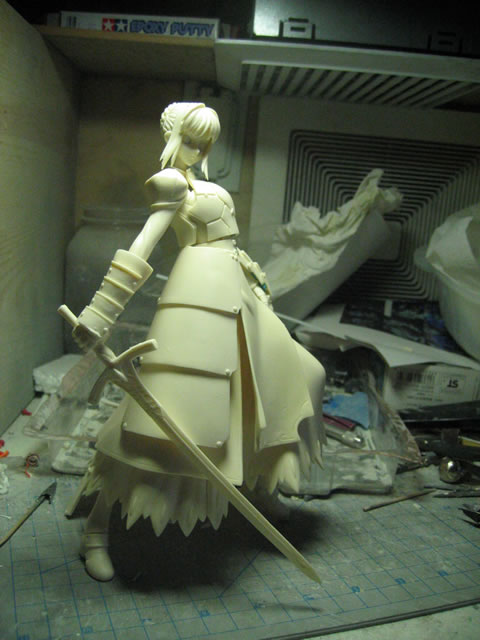
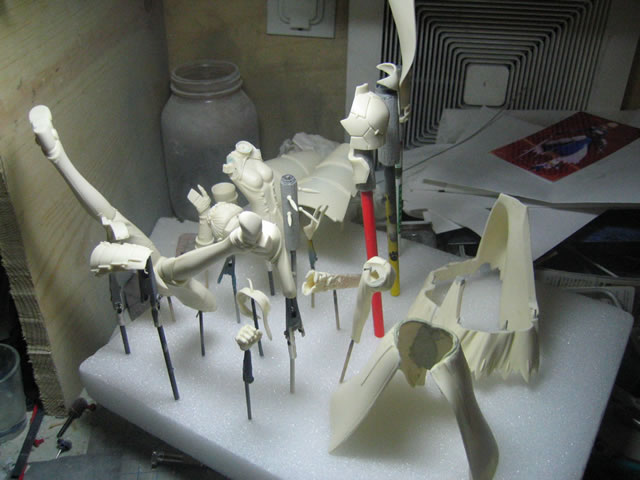
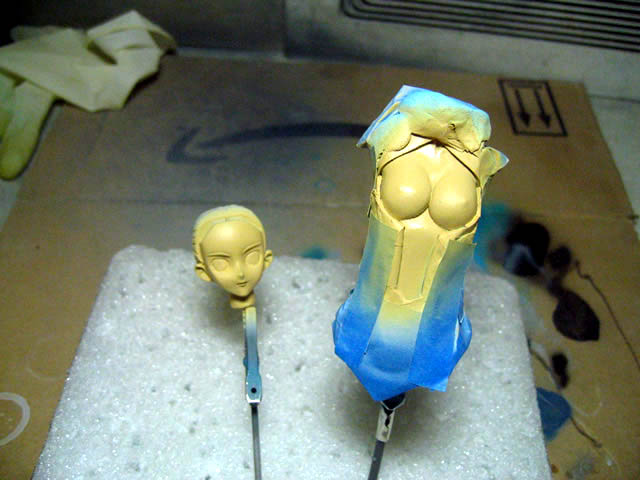
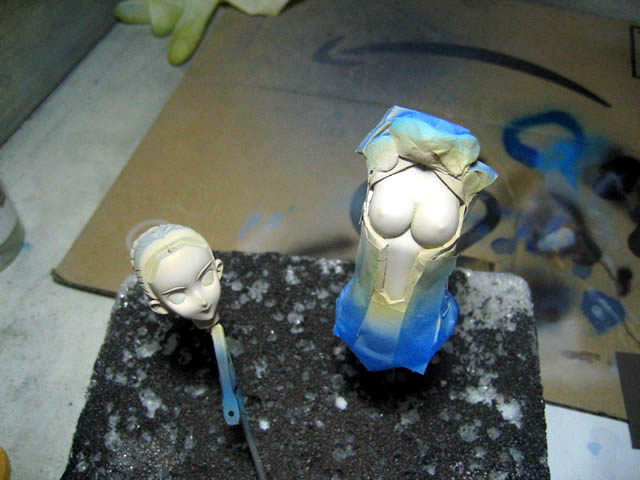
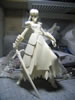
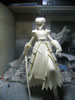
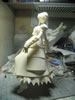
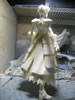
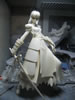
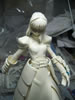
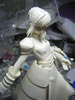
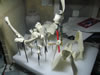
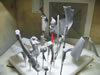
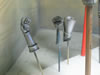
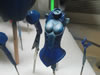
August 31, 2005. As I should be working on my GM project, I couldn't
help but take Saber out of her industrial strength cleaner bath and do
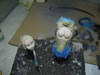
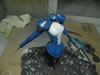
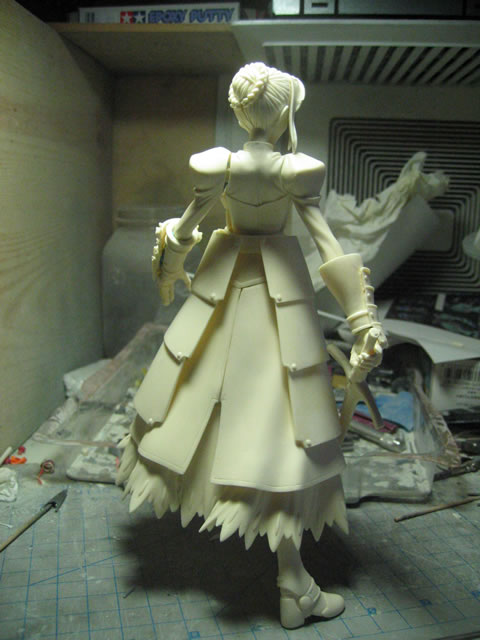
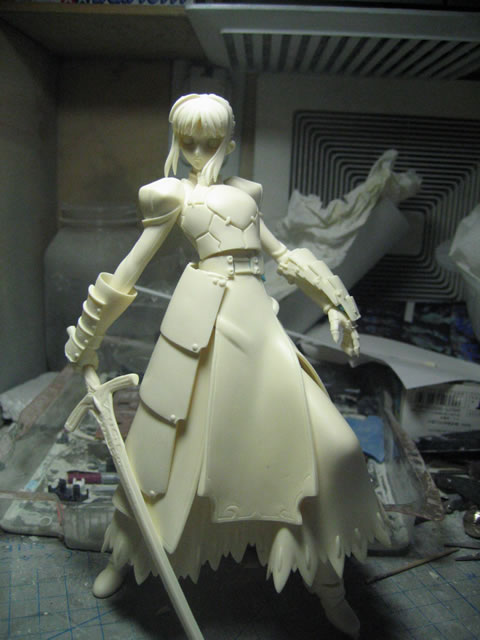
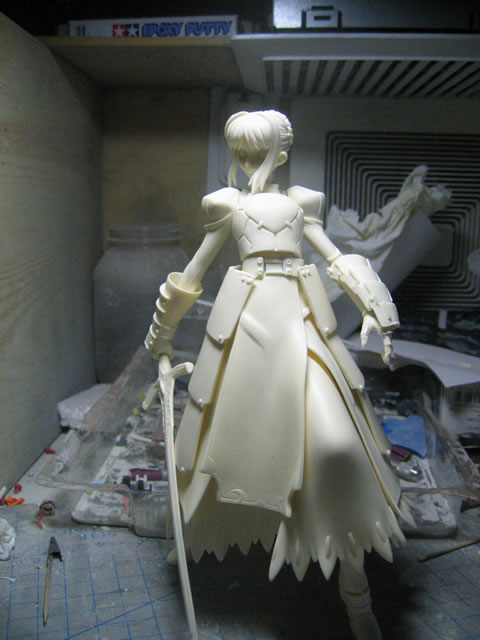
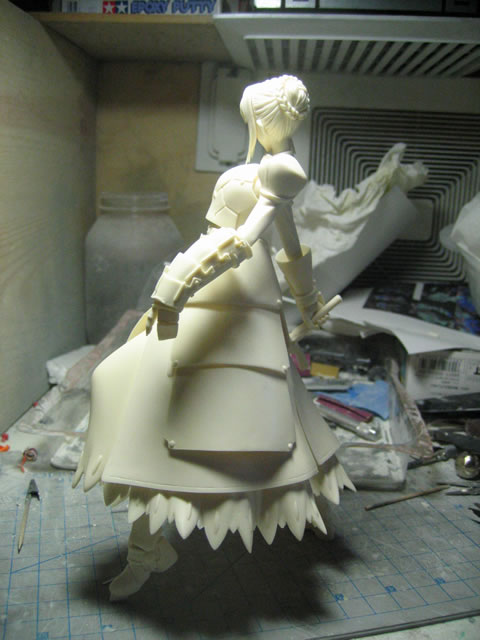
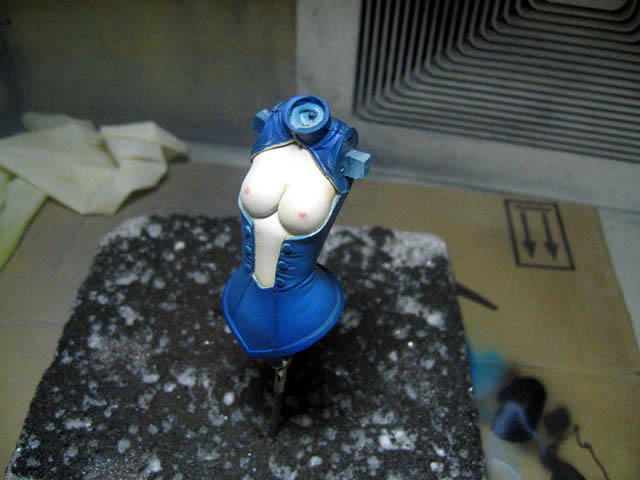
some initial pinning and such to get a feel for the kit. The kit has a
couple of options for display. Exposed breasts, shirt, or chest armor.
I'm debating between having the shirt or the chest and back armor. For
a more dynamic color variation, the shirt looks to be the best option.
I'm leaning toward the shirt display, however I will still paint the armor
since I can easily sticky tac it on if I want it displayed. Here are a
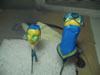
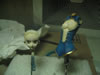
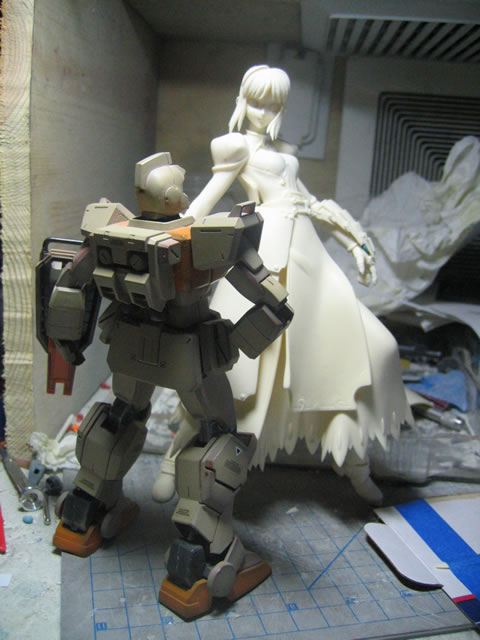
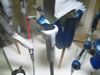
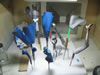
couple of pictures of her pinned. The last picture is a size comparison
to a 1/100 MG RX-79[G]. Big figure....
Without the chest and back armor:
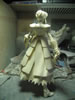
With chest and back armor:
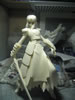
Side by side comparison shot:
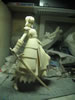
Size comparison with GM

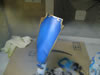
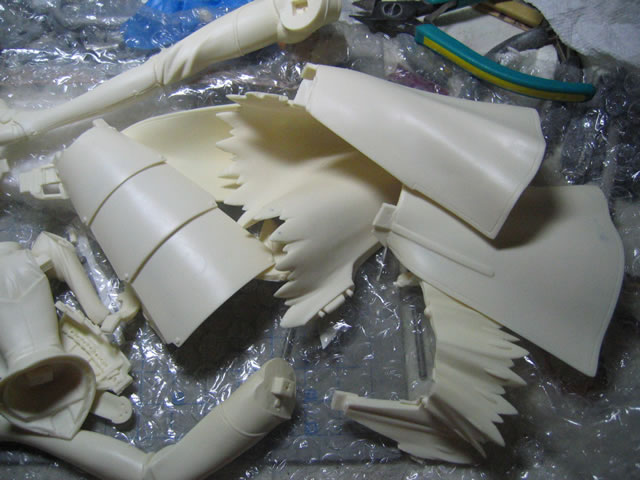
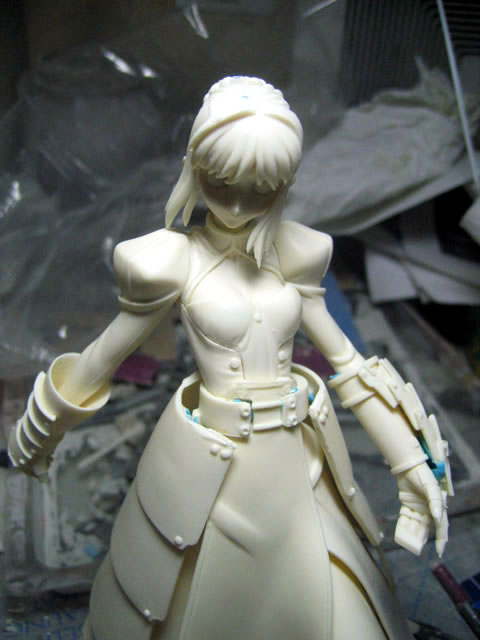
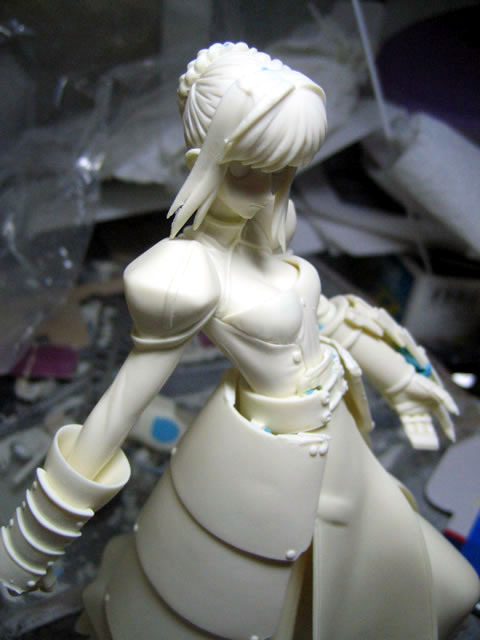
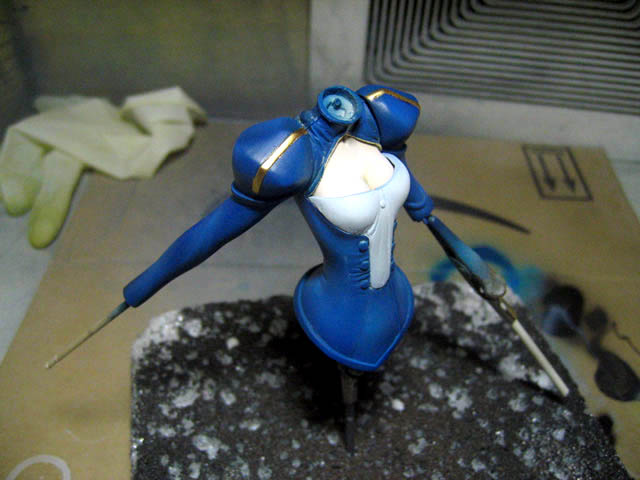
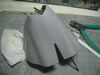
September 1, 2005 A small little update. Below are a couple
of pictures of what the shirt looks like sanded down a bit to expose a
little bit of cleavage - it's there, why waste it? Its a bit hard to compare
with the earlier pictures because of the angle at which I took the earlier
pictures, but oh well. I went from 3 buttons down to 1. The last picture
is just the parts pinned, glued, roughly sanded, and puttied. This kit
is coming along very nicely. I really should spend some time on the GMs
too.
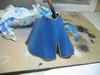
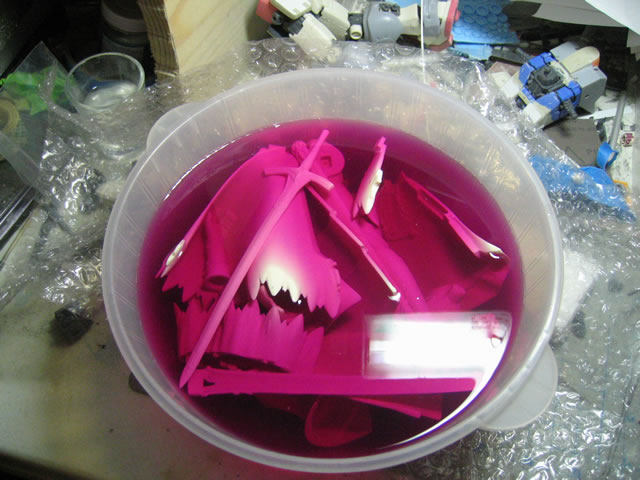
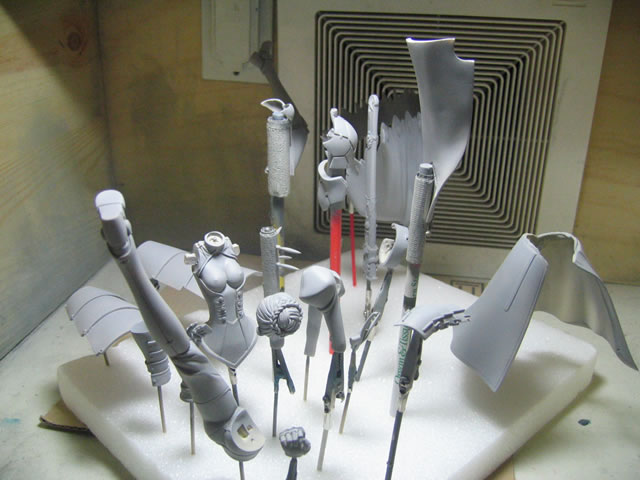
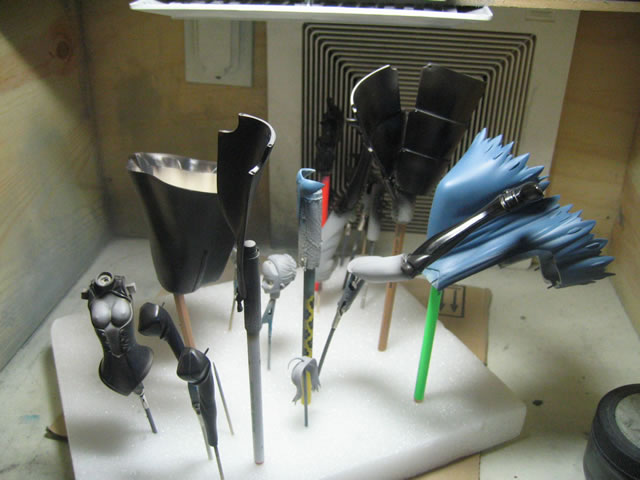
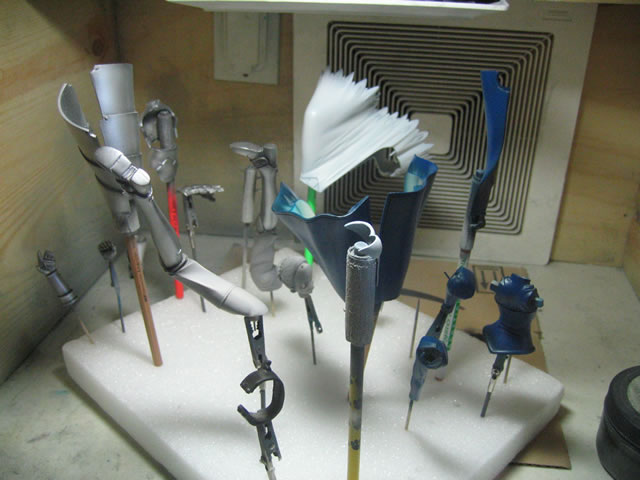
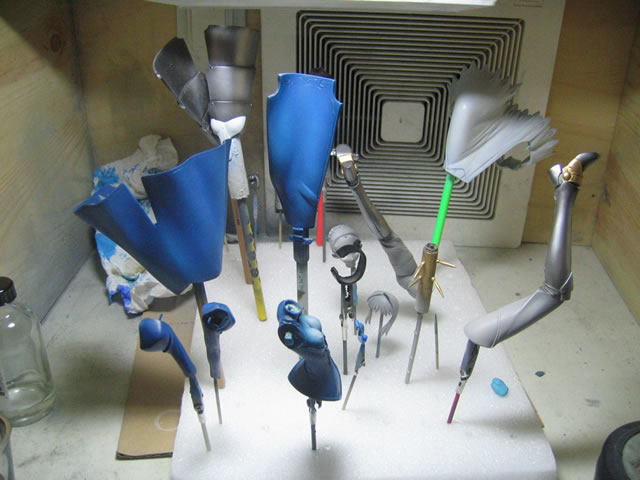
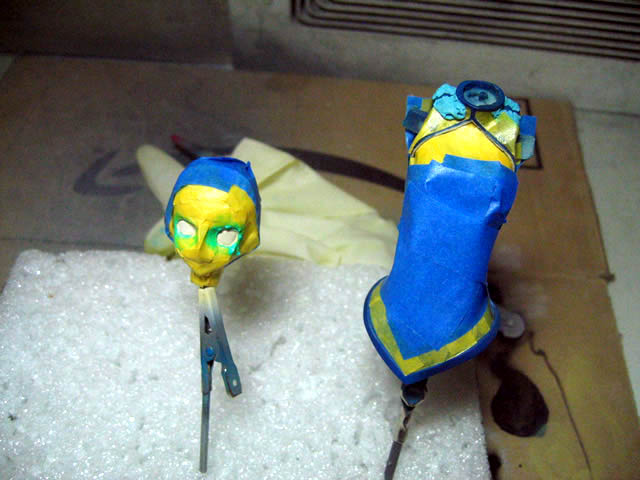
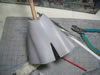
September 5, 2005 Labor day weekend - read got lots of work
done on her; whilst working on the GM's at the same time. All the parts
were sanded and set for primer. The parts where then primed using Mr Surfacer
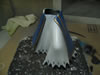
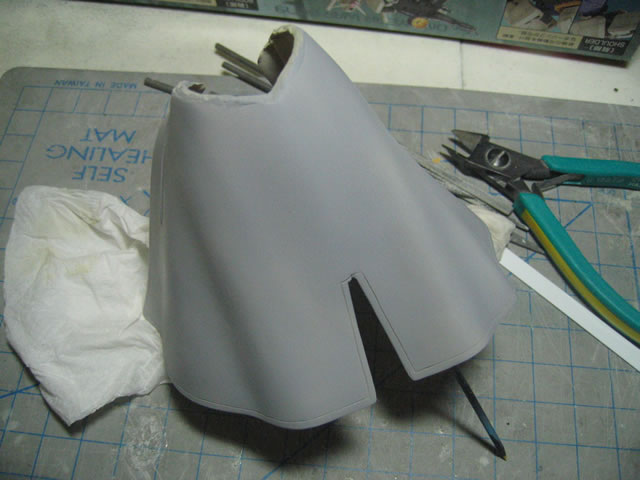
1000. A day later, I went and wet sanded the parts to get a nice smooth
surface for the paints. I have a pictures of the before and after wet
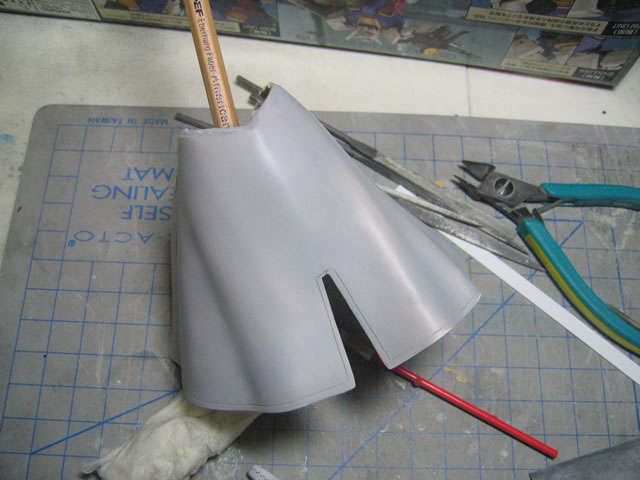
sanding for Saber's dress skirt.
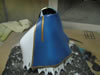
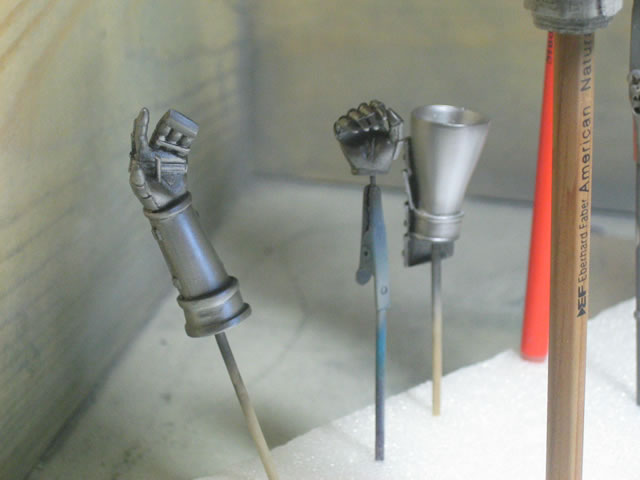
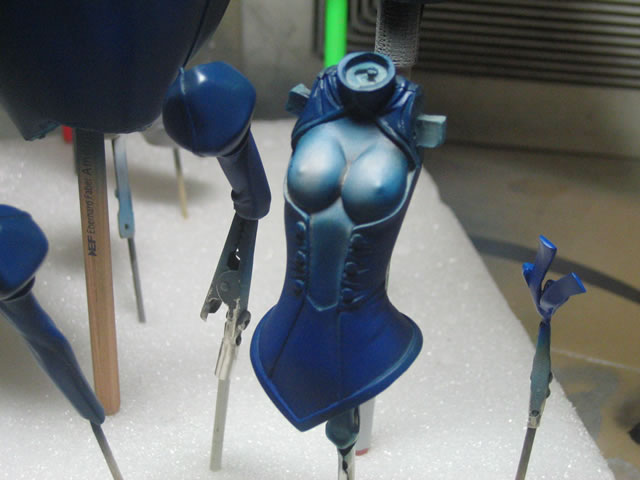
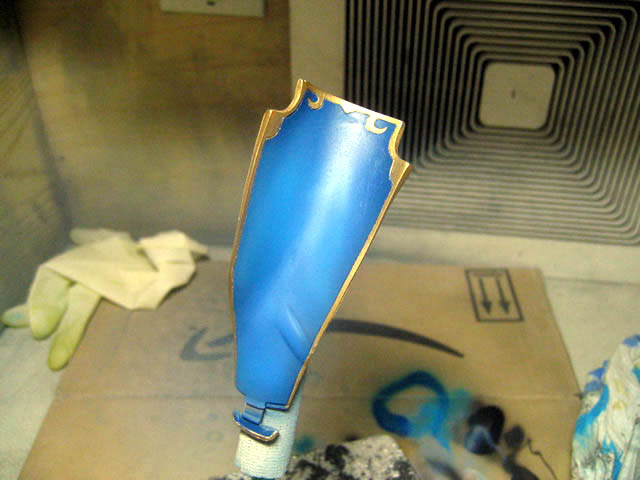
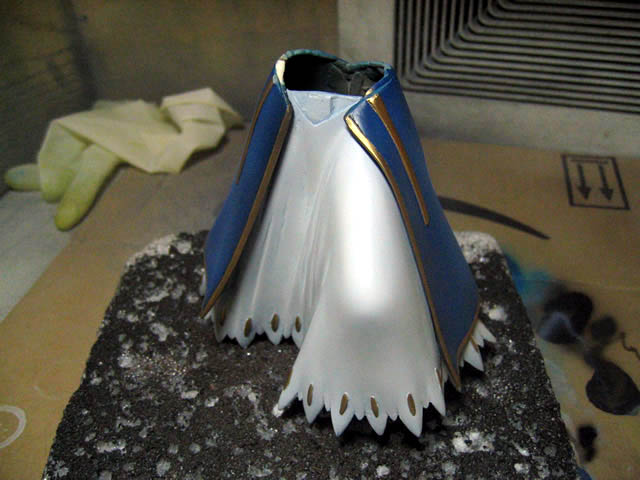
Next up came the painting. The armor parts were preshaded
using black and then white aluminum. Pale gold was used for the parts
gold parts of the boots. I will be using pale gold for the gold lining
on her dress.

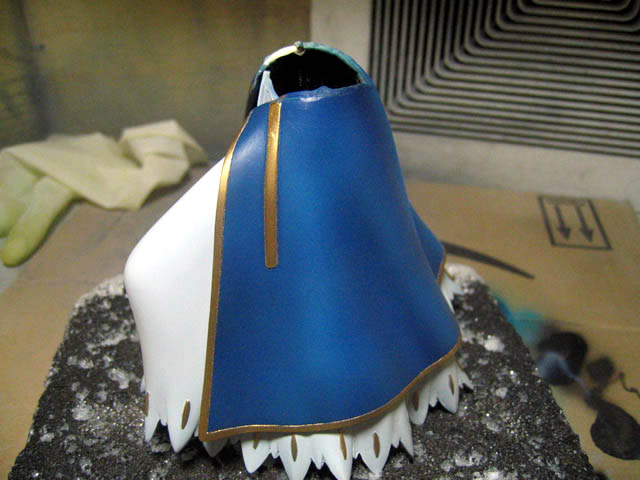
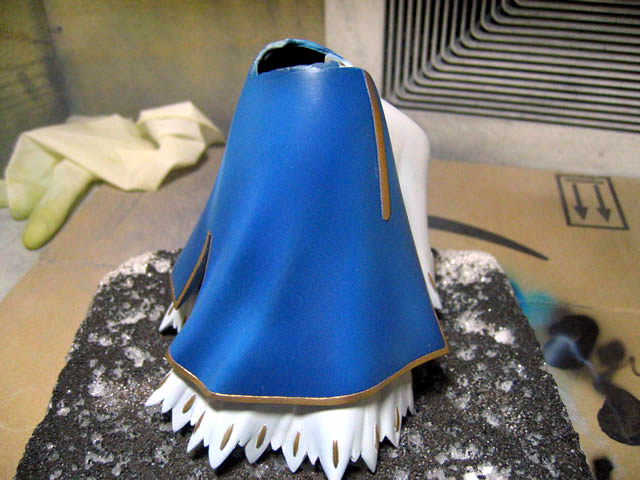
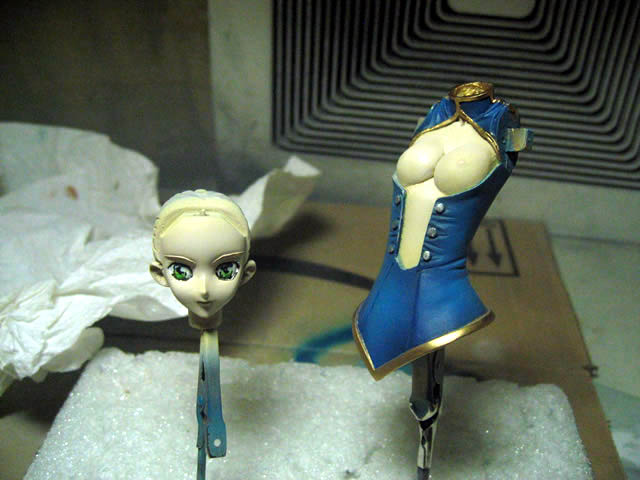
The white sections of her dress and shirt was preshaded
with an intermediate blue (grayish blue) then character white was sprayed.
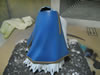
For the sleeves and the main skirt, I used a color rise beginning with
midnight blue, bright blue, cobalt blue, and finally sky blue. Hopefully
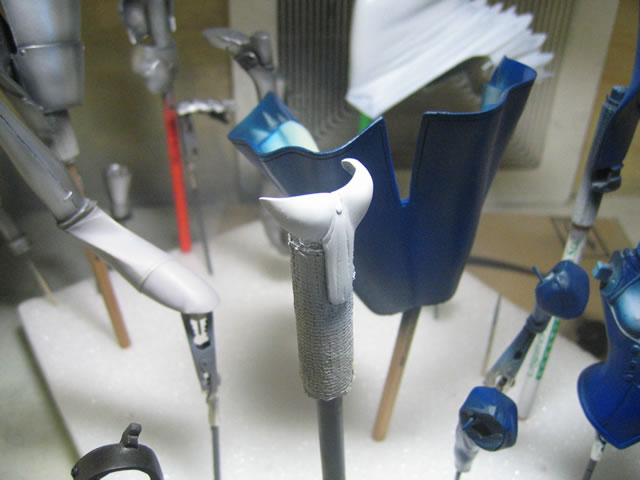
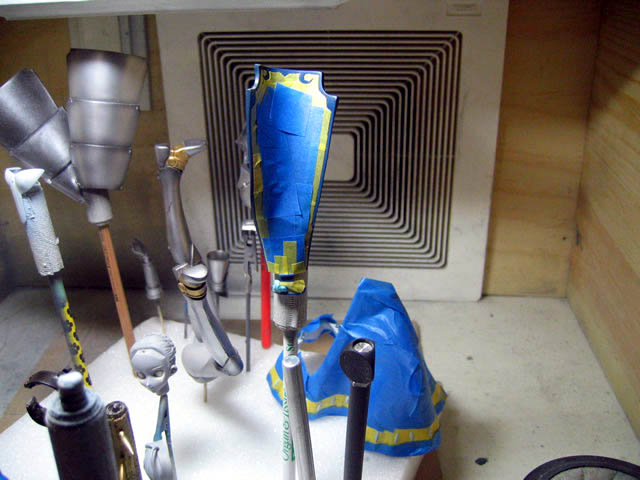
it doesn't look over shaded. Next up is alot of masking for the skin sections,
the gold lining sections, gold beading on the inner skirt, the face, and
hair.
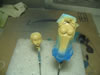
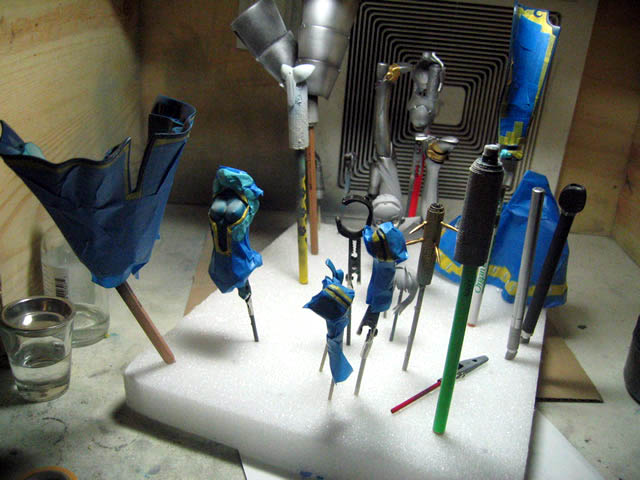
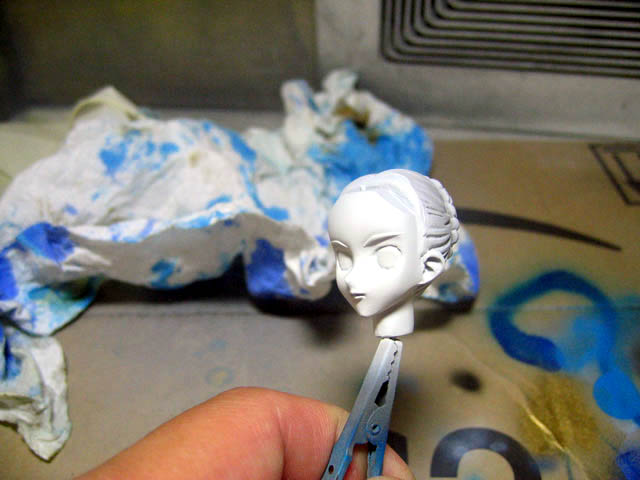
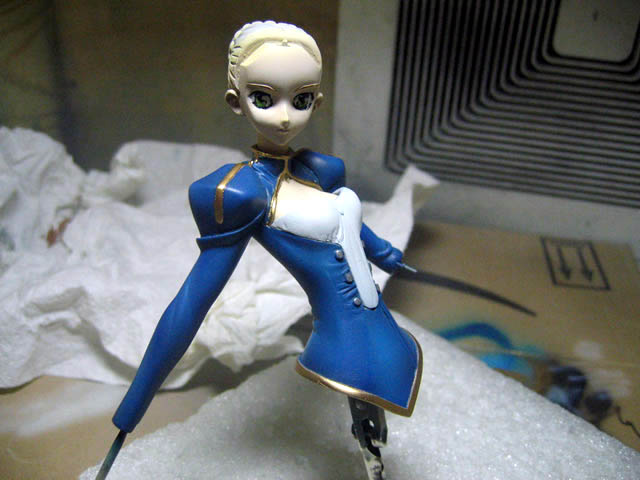
September 8, 2005: Ok got a decent amount of painting done.
The gold highlights have been painted. And I finished up the rest of the
body and painted the eyes. Keep in mind this is my first real figure kit.
I still have the sword, sheath, and hair to paint and the finishing items
such as sealer and the base; and then I will be finished with the kit.