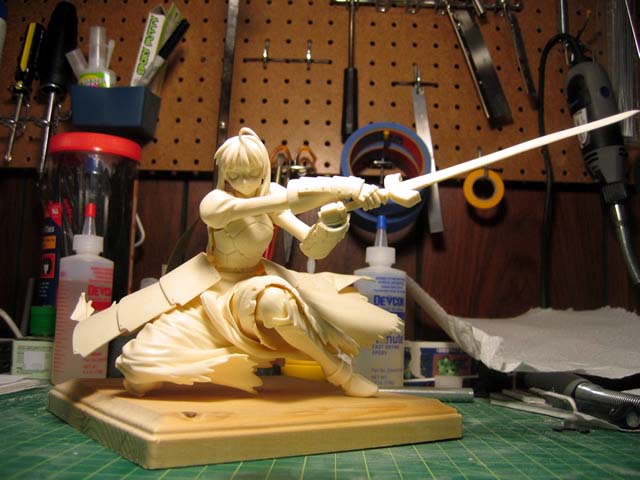
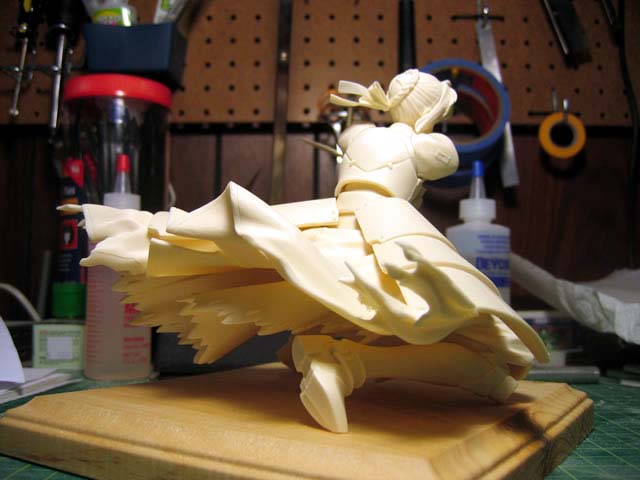
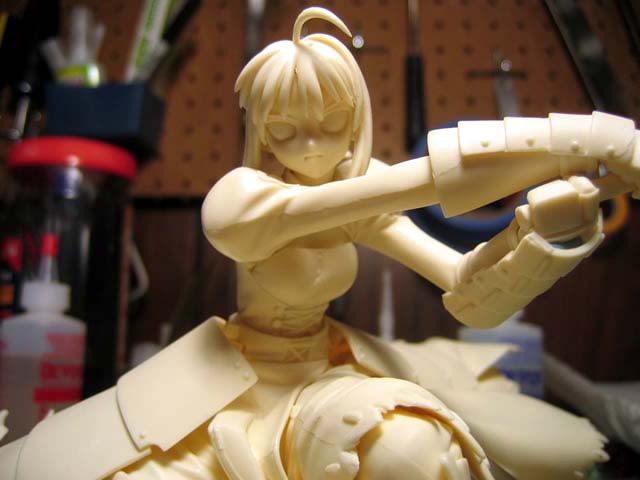
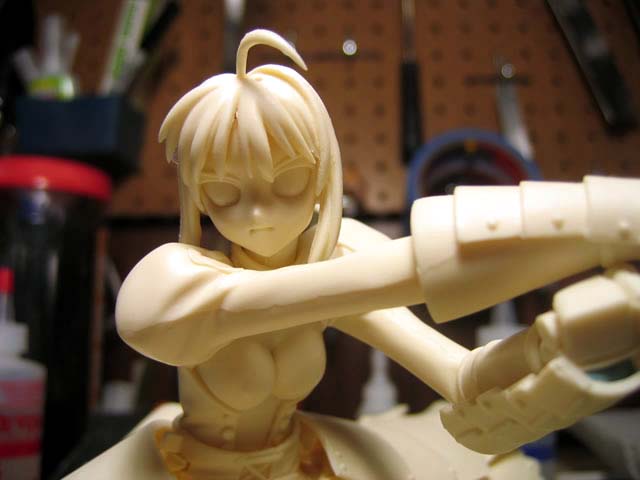
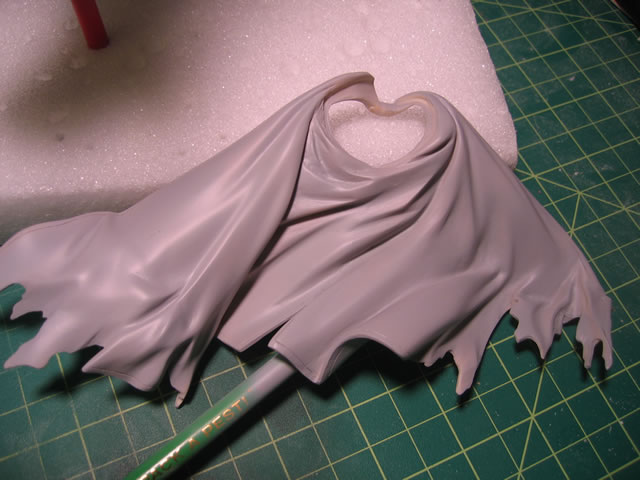
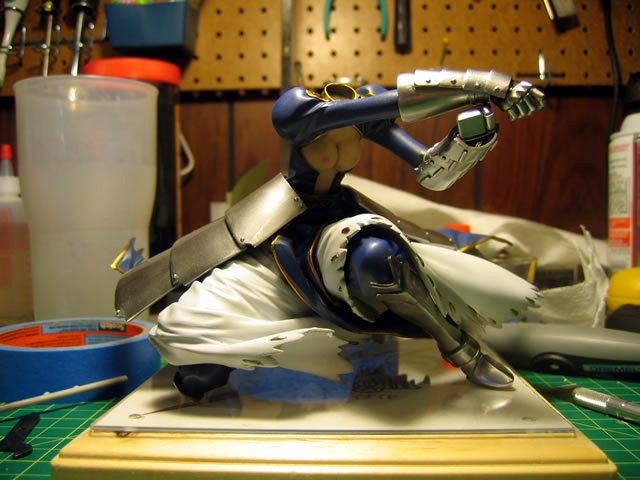
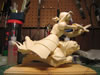
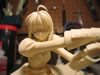
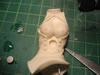
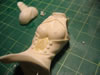
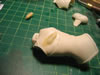
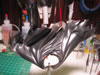
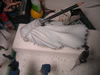
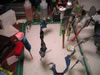
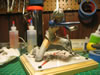
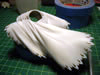
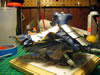
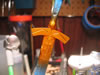
April 12, 2006: This kit came in today and I just
had to start working on her. She's been pinned and ready for sanding and
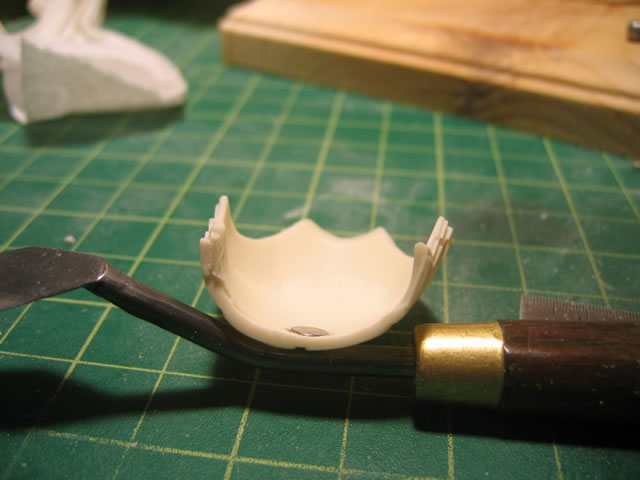
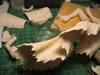
putty. The quality of the cast is very good. I've only uncovered one bubble
so far with some rough sanding and removal of the mold tabs. A few mold
lines here and there; very nice details. This is a very dynamic kit, and
I have been looking forward to working on this since I saw it. This came
in perfect timing with my one mecha, one figure pace. It even allowed
me a one day break from building...
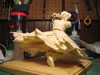


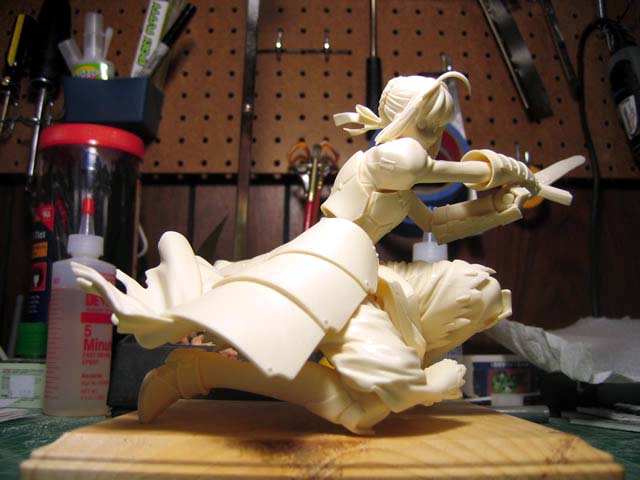
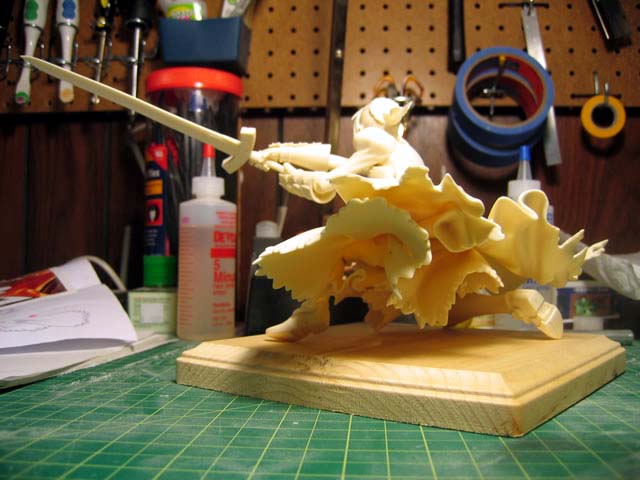
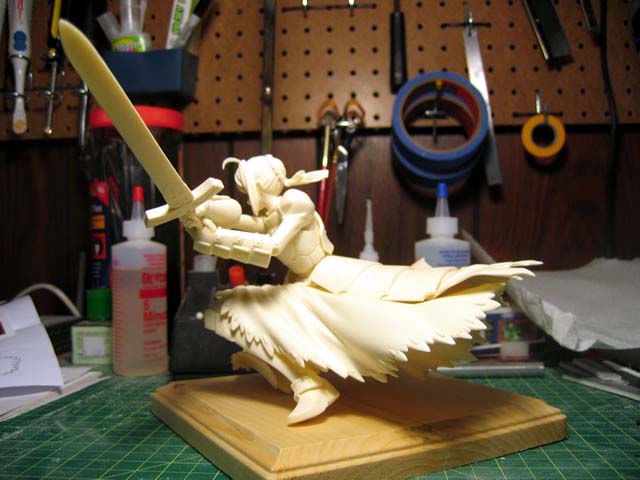
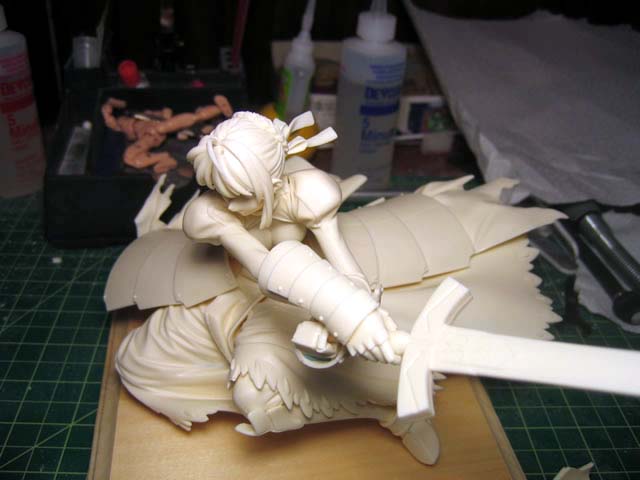
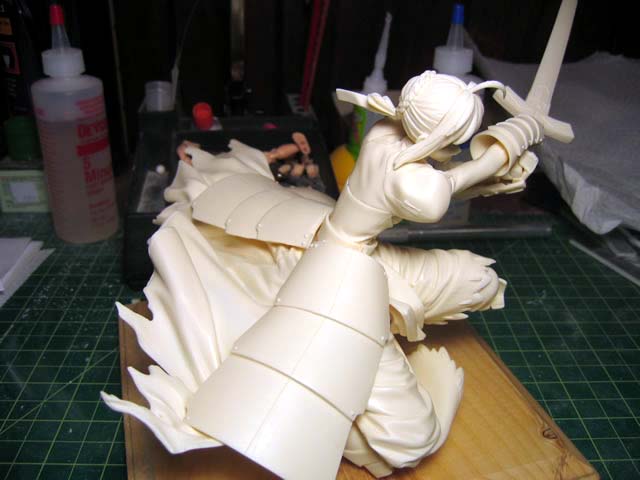
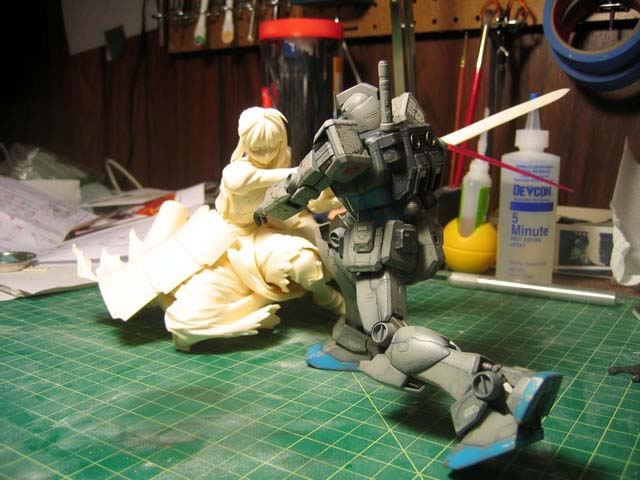
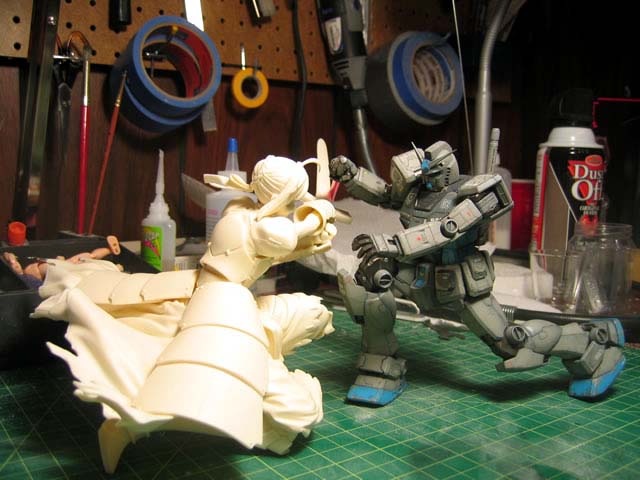
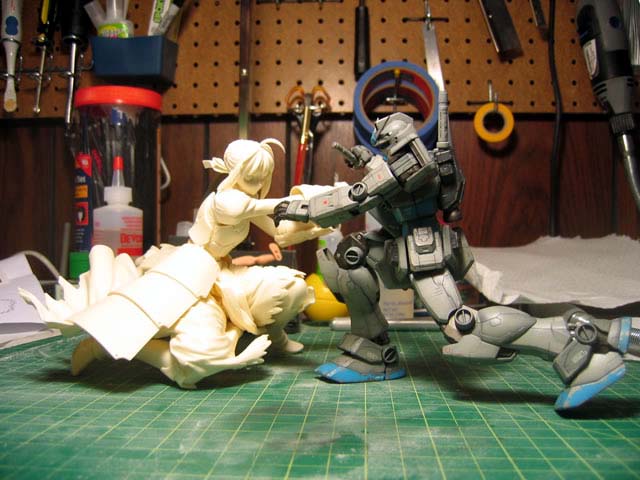
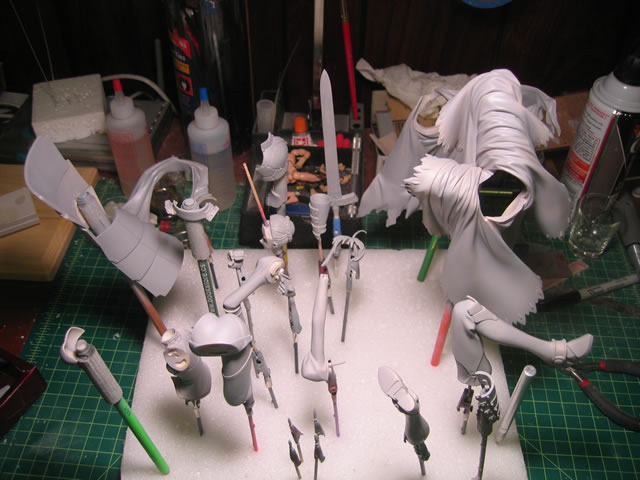
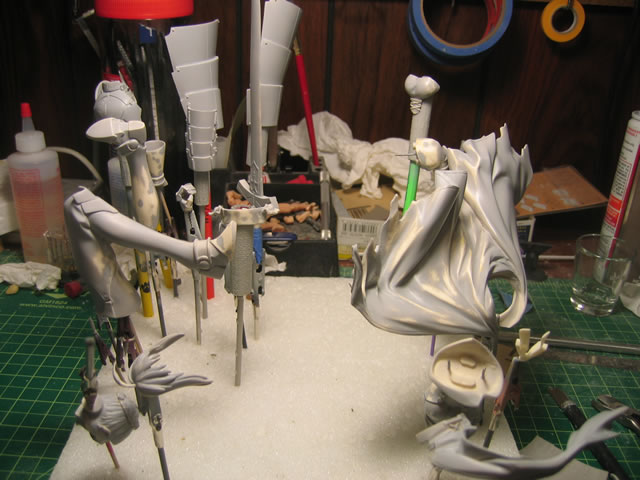
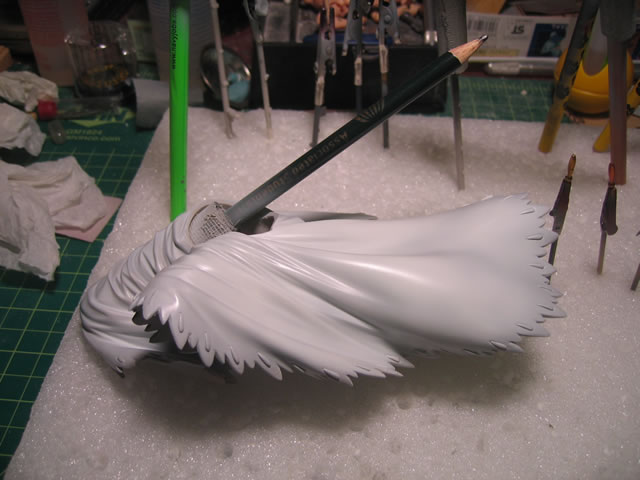
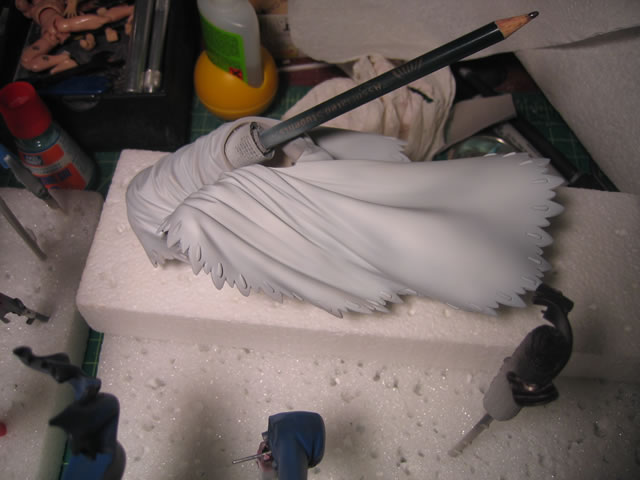
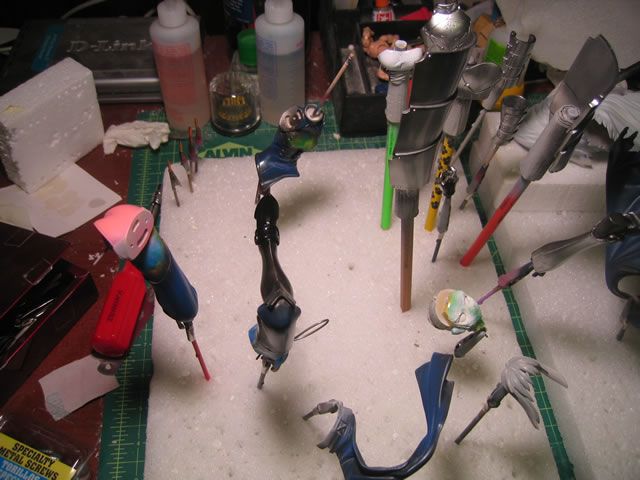
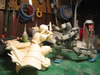
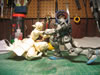
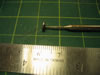
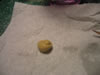
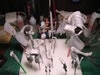
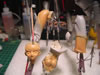
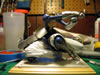
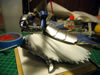
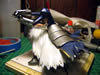
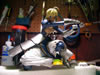
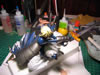
I'm starting to get a little more creative with the size
reference pictures... wonder what Mr G3 is trying to do....
April 16, 2006: Weekend update. Didn't get too much done
since I had to work on Saturday and was gone all day. Got a bit of work
Friday night and all day Sunday. Here's what's been done.
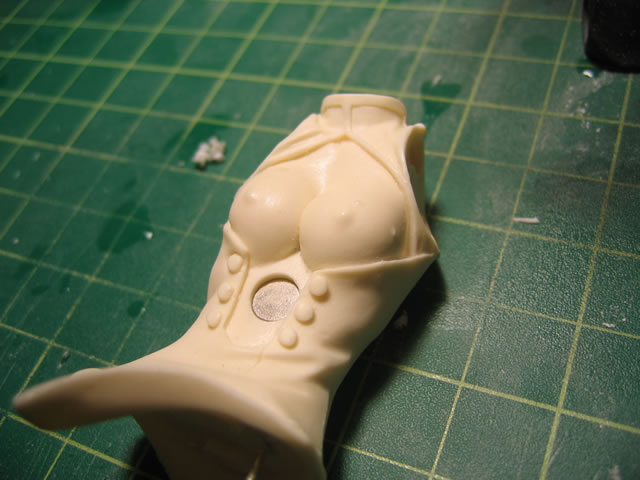
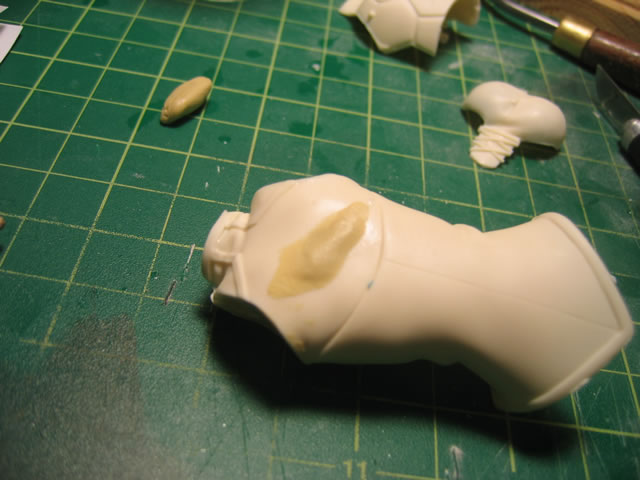
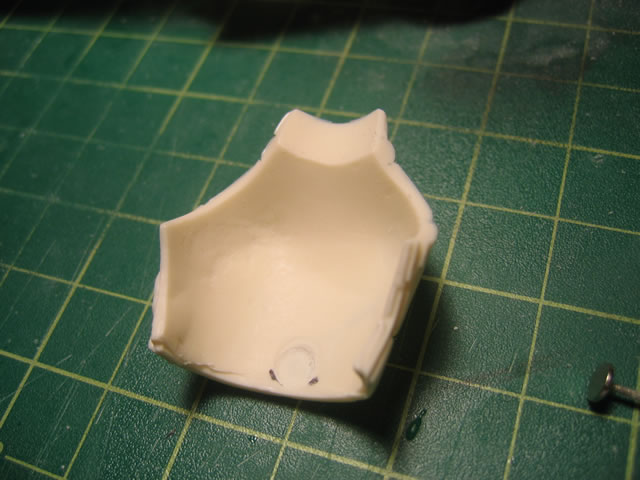
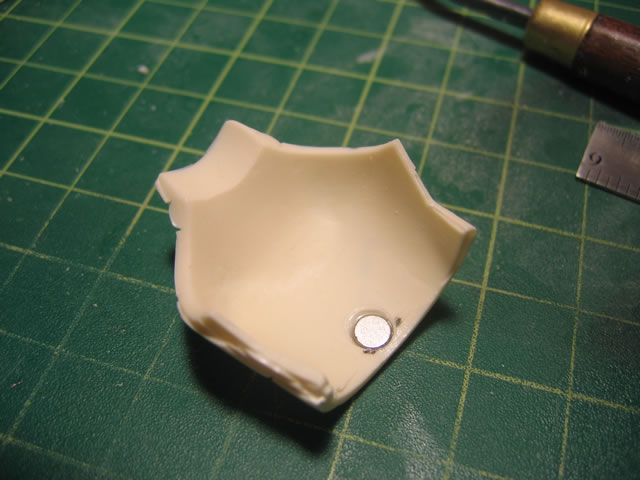
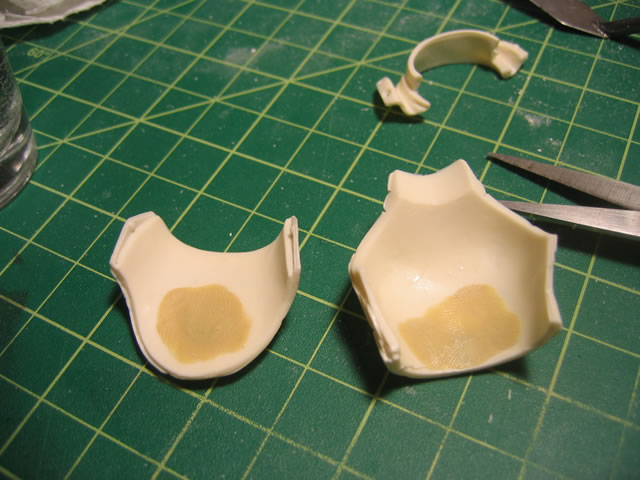
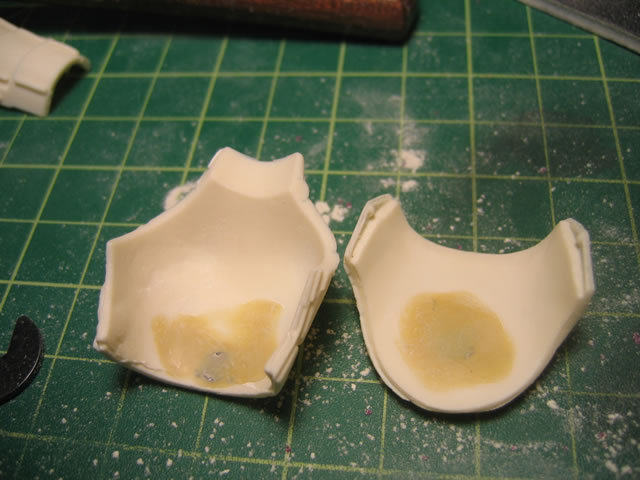
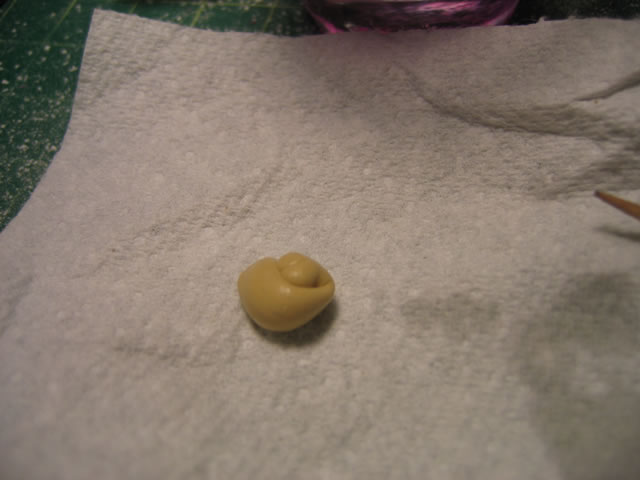
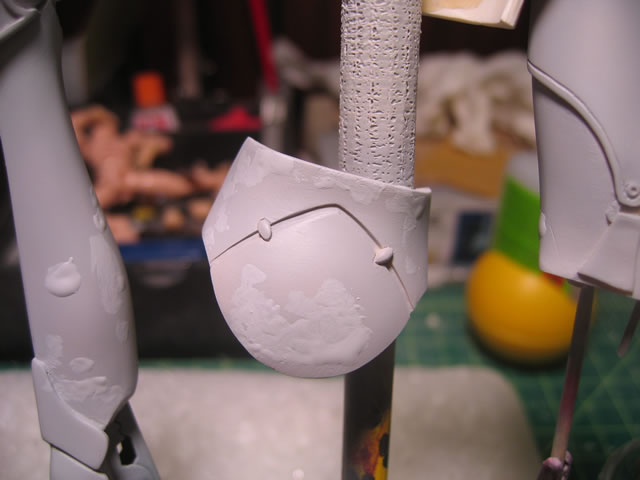
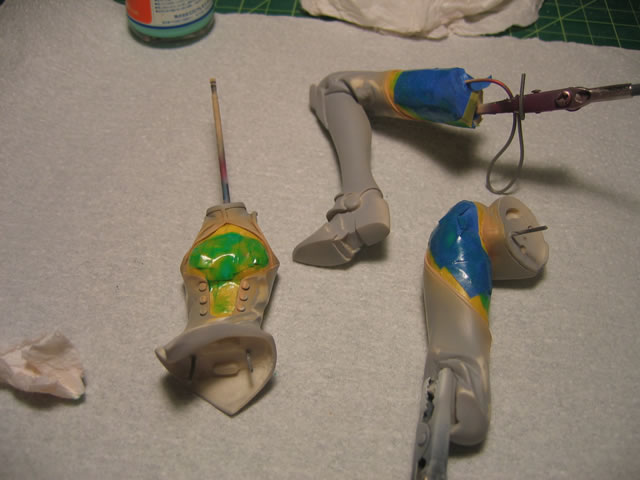
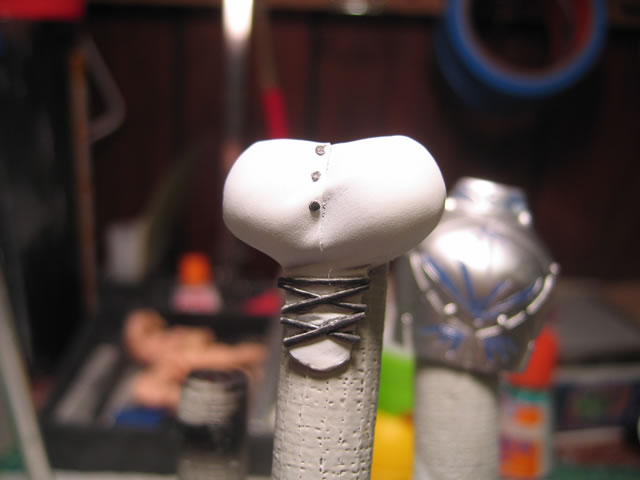
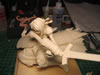
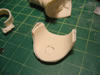
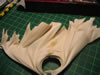
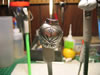
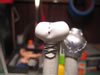
Holes were drilled out of the stomach, back, front armor,
and back armor. Magnets were then epoxy glued into place, then covered
with epoxy putty, then sanded.


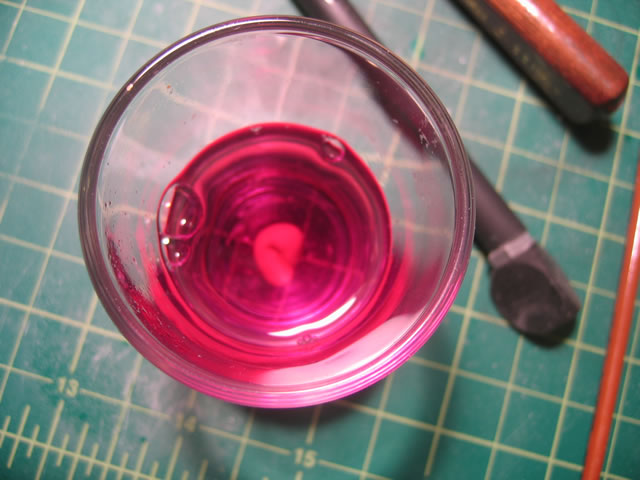
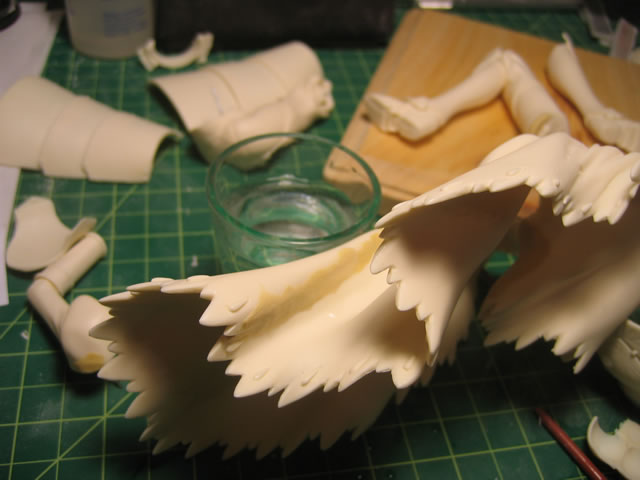
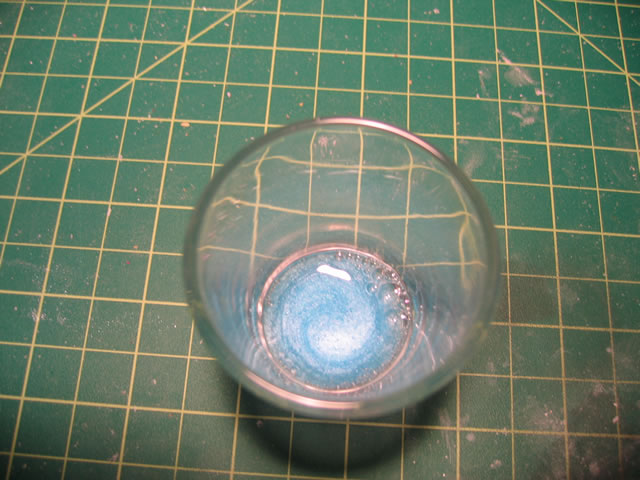
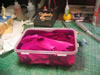
Next up was a test that I started a few days ago to check if the industrial
strength purple cleaner will dissolve epoxy putty, since I my progression
of work changed this time. The more logical path of clean up, pinning,
putty, and sanding before soaking in purple cleaner was taken. The epoxy
putty does not dissolve, so I'm safe to putty away before the purple bath.
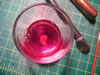
Bath time.
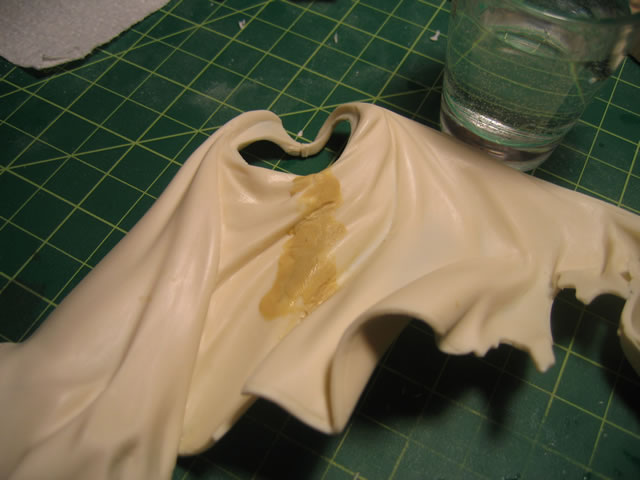
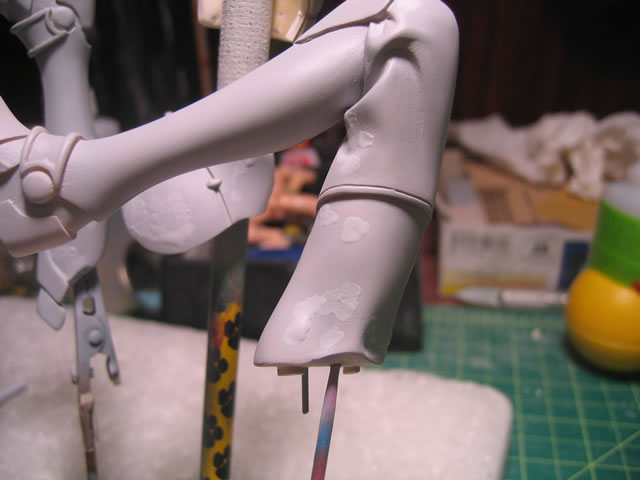
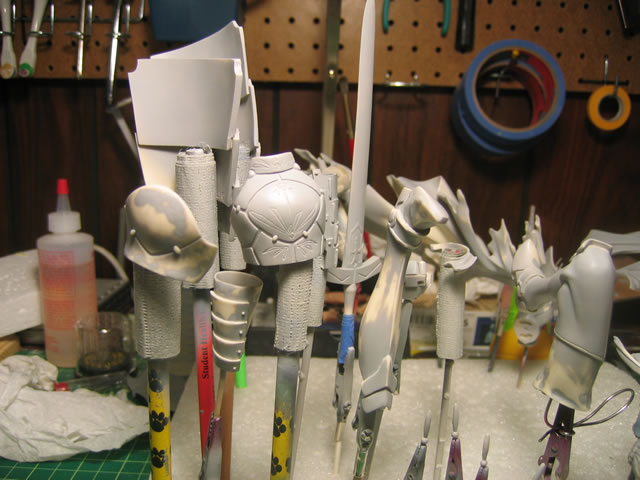
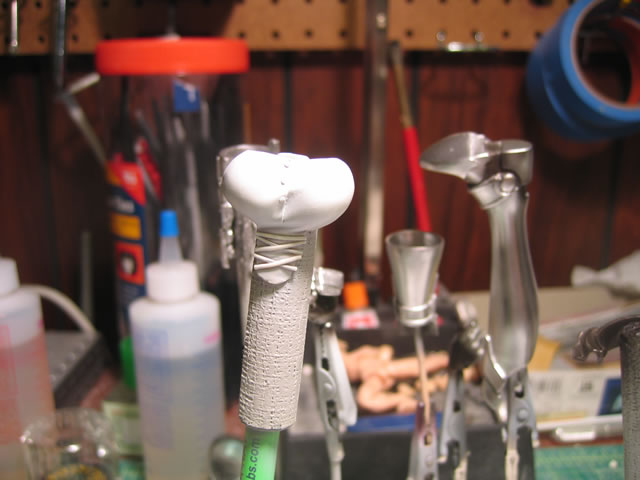
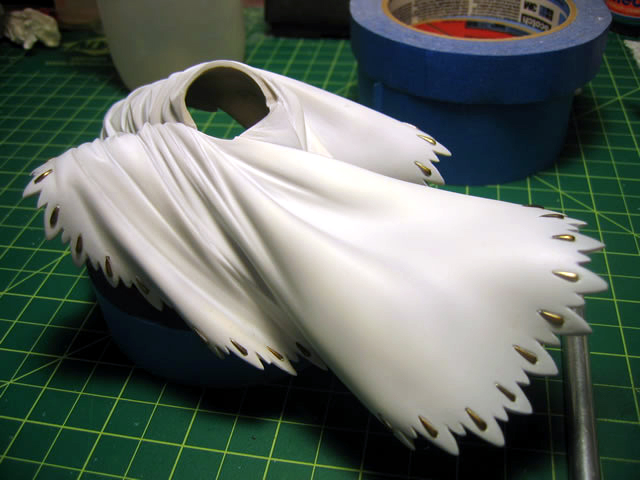
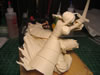
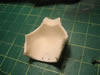
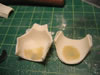
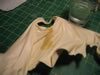
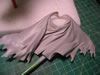
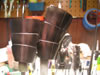
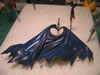
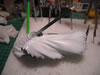
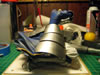
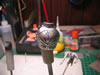
April 17, 2006: Tax day update: Took Saber out of her purple bath and
gave her a nice scrubbing with some dish soap and warm water. Below is
the picture progress of puttying, sanding, and primer on the top skirt
layer:
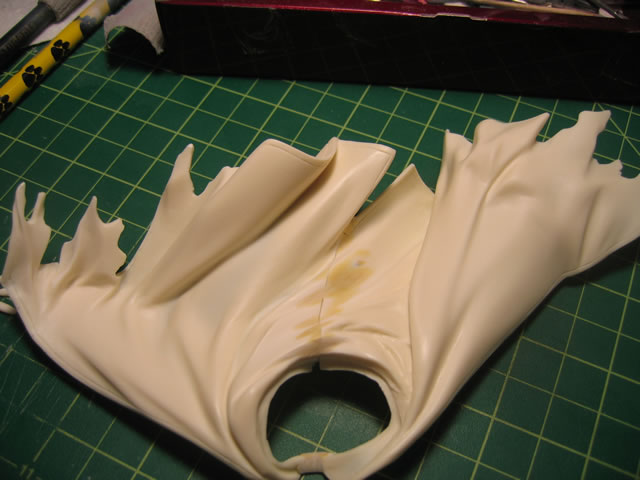
After all the pieces were primed, I then went to check for
missed sanding areas, scratches, and other minor surface imperfections.
Primer also helps in finding defects that are a by product of the cleanup/sanding
phase of kit building. To fix these small imperfections (so long as proper
sanding and clean up work is done, these imperfections are usually fairly
small - sanding scratches, little dents that were hard to see on the raw
resin, etc) Mr Surfacer 500 comes into play here. I just hand brushed
liberally, Mr Surfacer 500 taken out from the jar onto the surface imperfections.
Allowing this to dry/cure over night, I should be able to lightly sand
everything and move on to the painting phase.


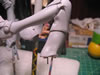
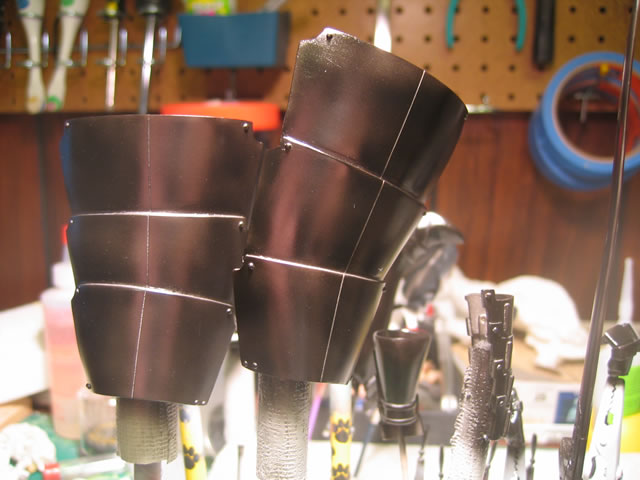
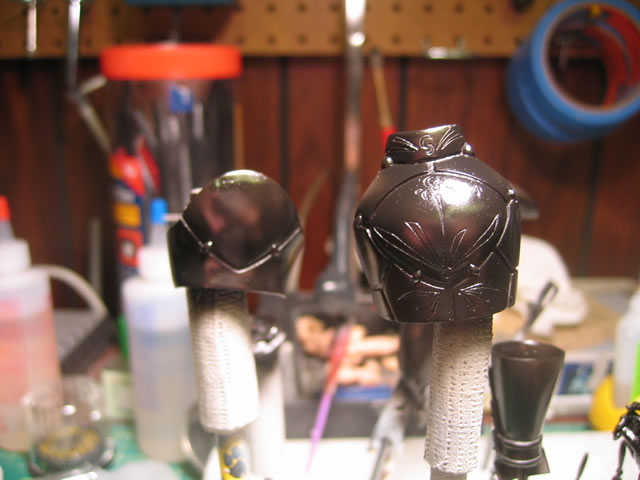
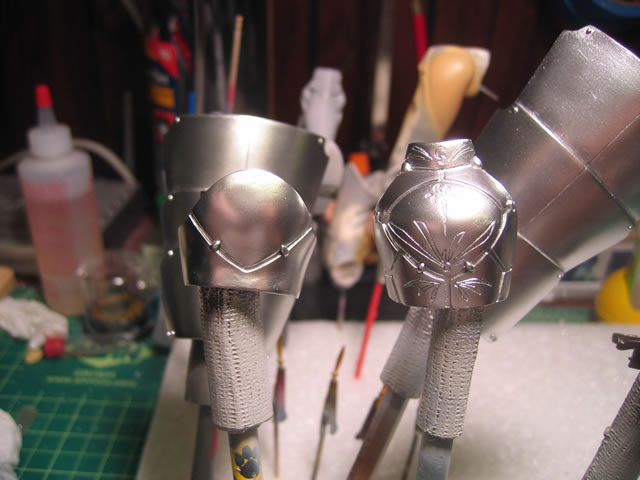
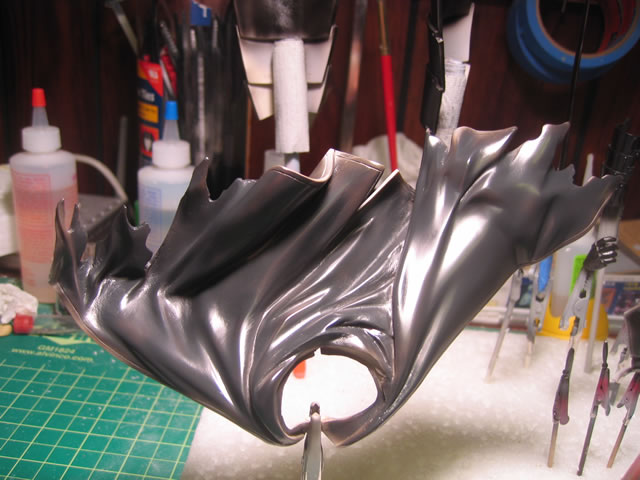
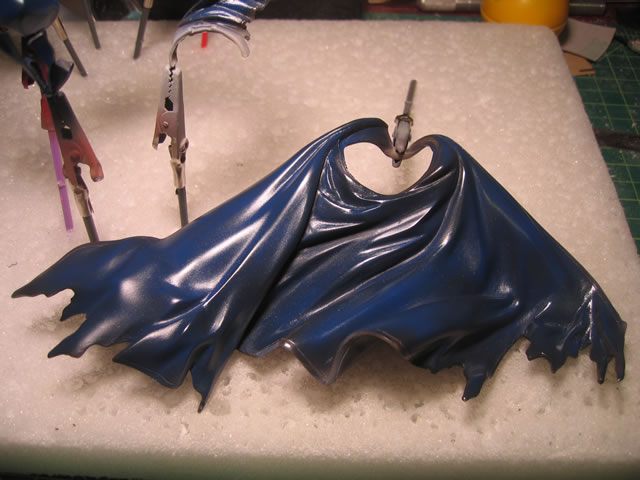
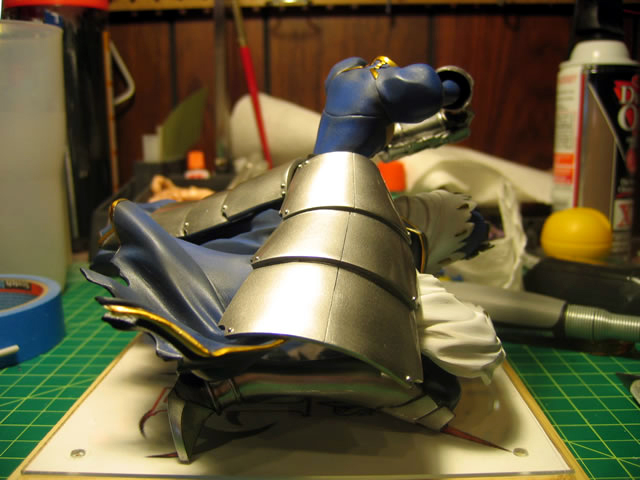
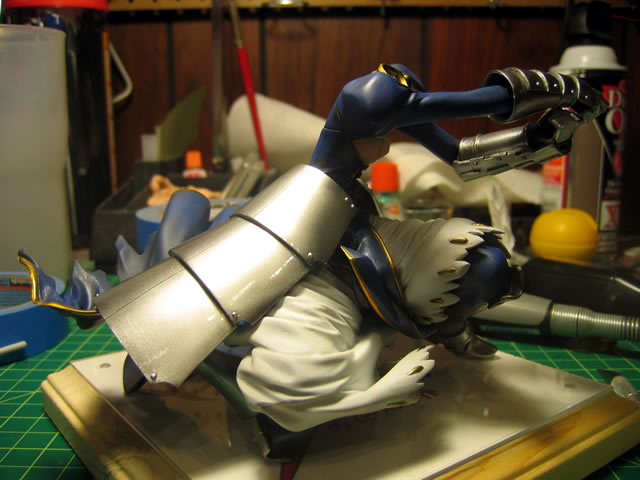
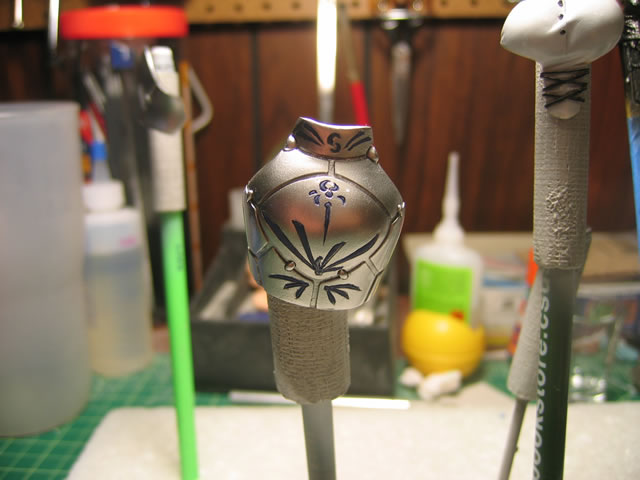
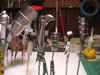
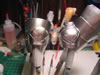
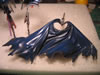
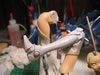
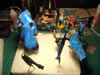
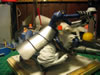
April 18, 2006: Wet sanded with high grit sand paper to
finish up the prep work. On to the first layers of paint. For the armor
pieces, I painted on a base of gloss black, this will help bring out the
metallics that will go on next. The arms and upper layer skirt was painted
with midnight blue as the base preshade color. Pictures moved down to
show progress.
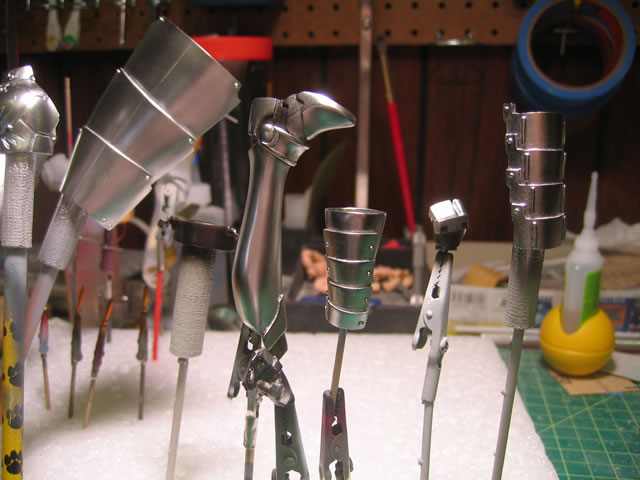
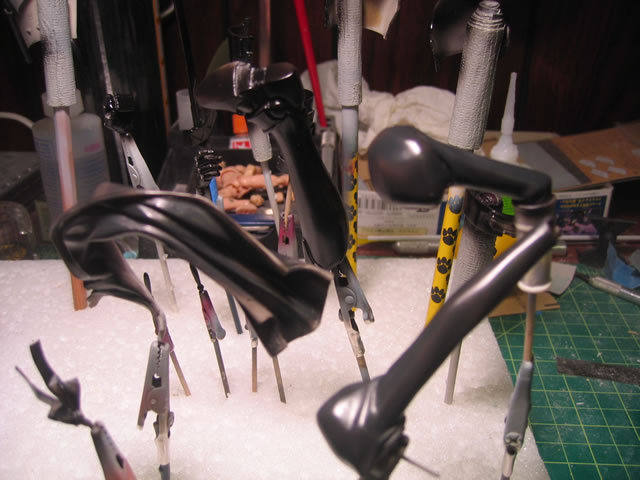
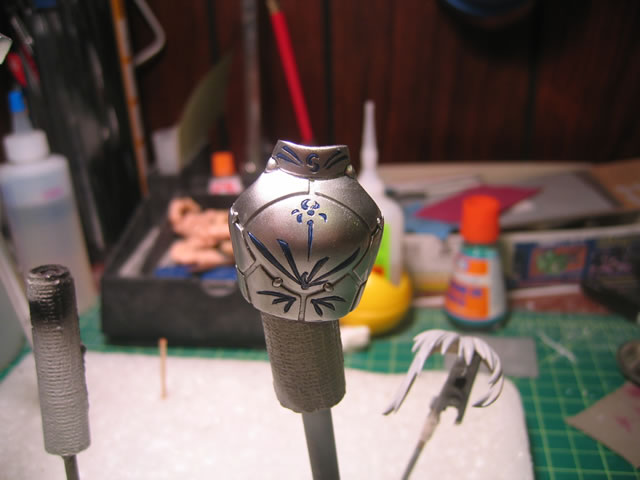
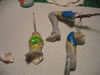
April 19, 2006: More painting progress.


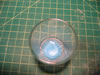


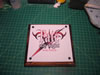
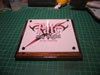
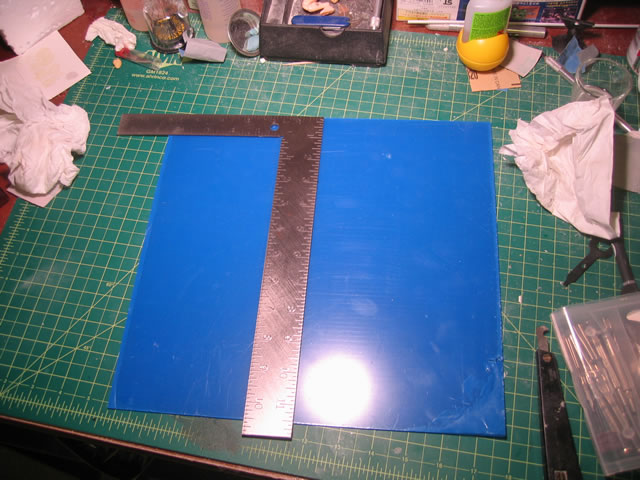
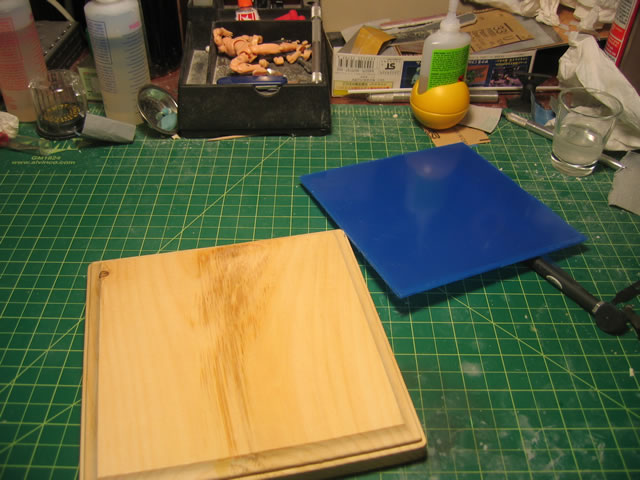
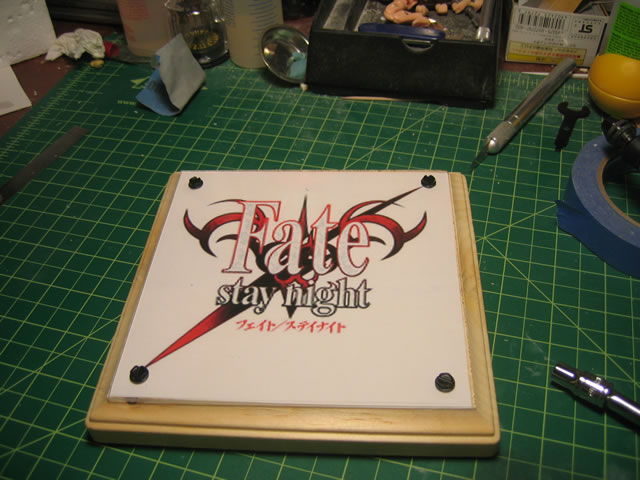
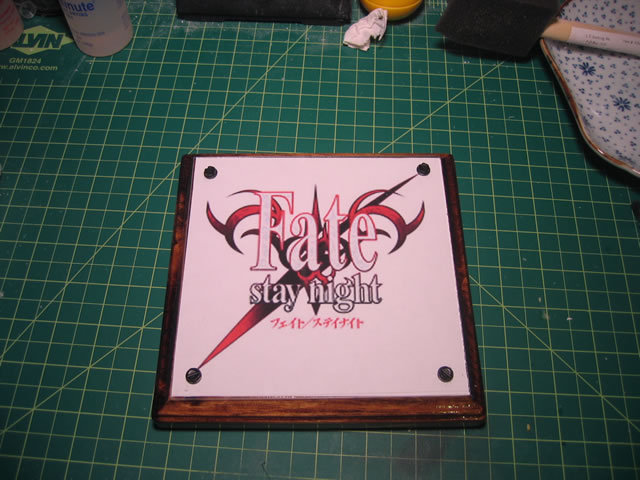
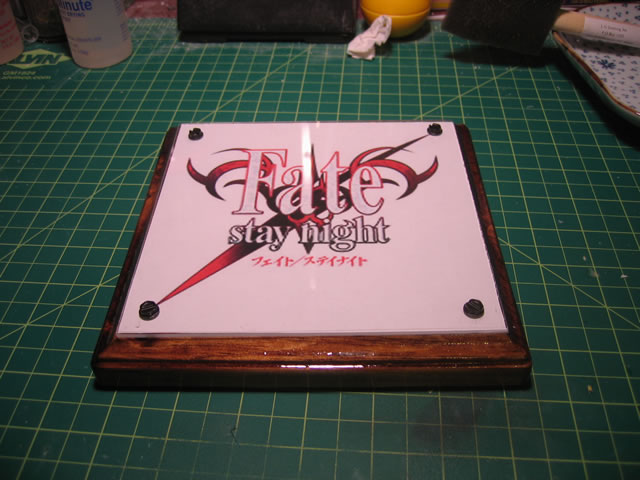
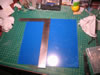
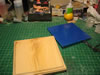
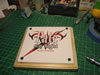
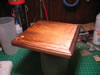
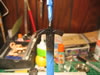
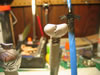
April 20, 2006: Yay, 420 update. Today I spent most of my
time working on the base. I purchased a couple of scrap sheets of acrylic
in different flavors - rods, clear, smoke, black, white, and mirrored
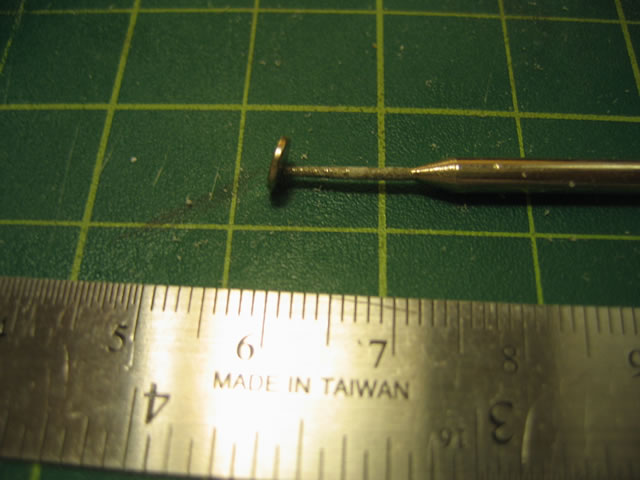
sheets. I decided to do something a little different this time with the
base. I cut the acrylic sheet to size using my scribing tool to score
along the measured lines, then snapped the pieces apart. Then using a
fairly high quality printout of the "Fate/Stay Night logo, I sandwiched
the wood base and clear acrylic sheet; then fastened everything together
with some screws. I still need to disassemble the base to sand the unfinished
wood and polyurathane the base. I'm debating on leaving the natural wood
color or staining it.
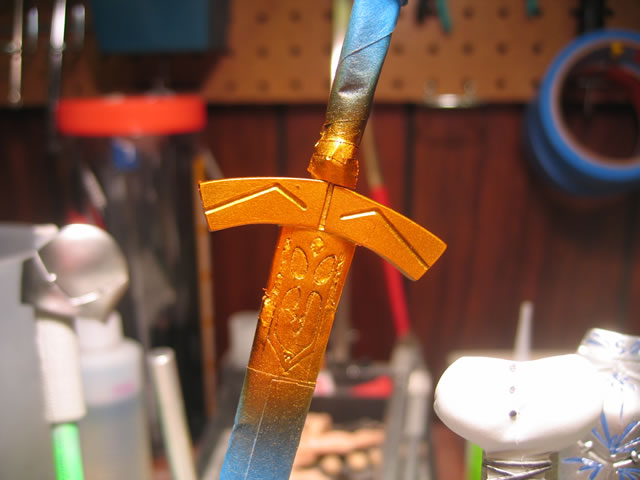
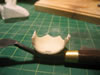
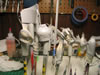
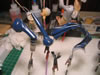
April 23, 2006: Weekend update. Friday night was masking hell. I masked
off the pieces to prepare for painting the gold trim. The process took
about 4-5 hours. The painting process took less than 10 minutes. Oh how
I loath masking. I still have the eyes, detailing, and the base before
I can stamp this one completed.
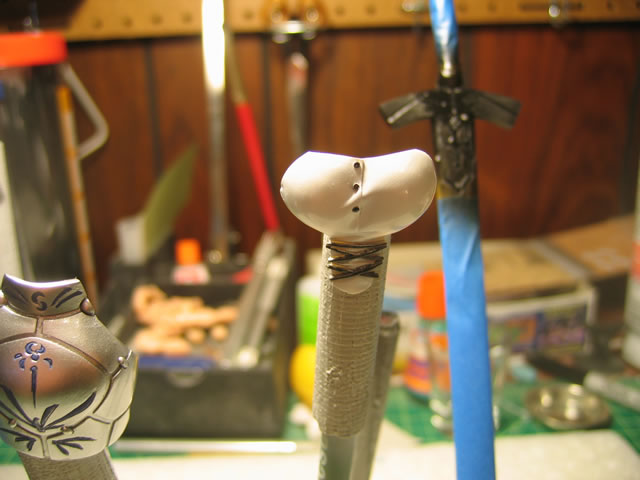
April 25, 2006: Finished up some detailing painting on the
front body armor, shirt, and sword. Eyes are also painted. Wash, filter,
paint the hair, and finish the base is all that's left to do.

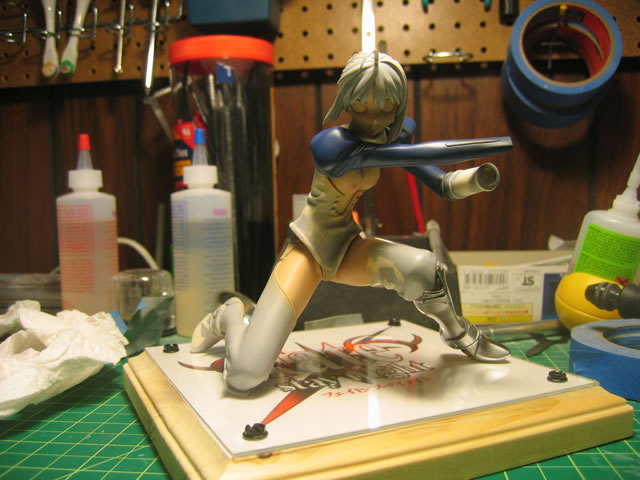
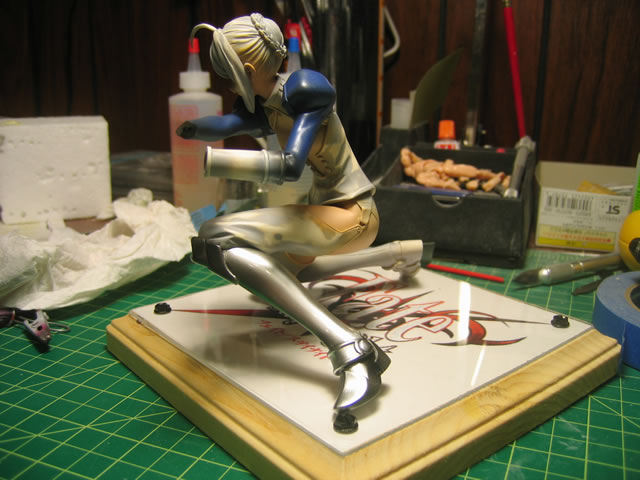
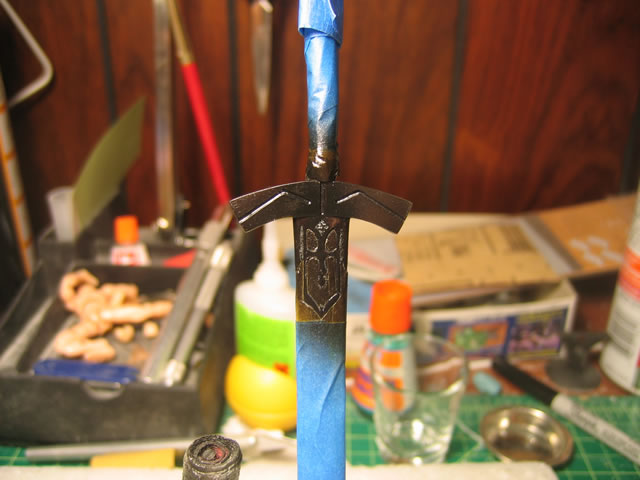
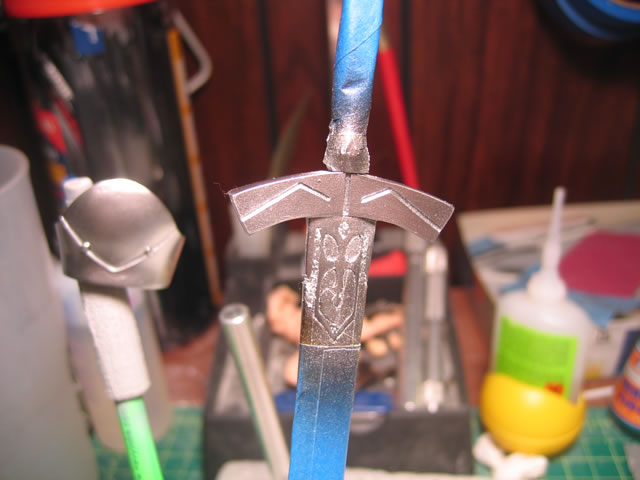
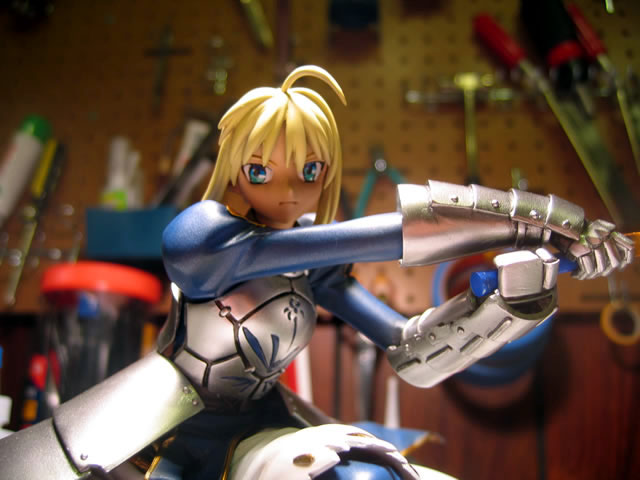
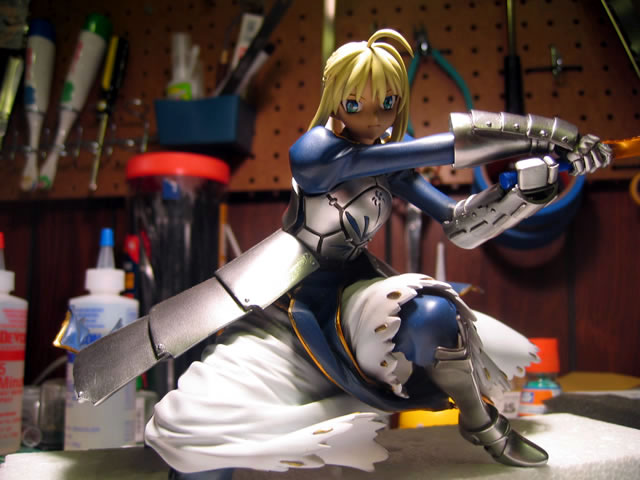
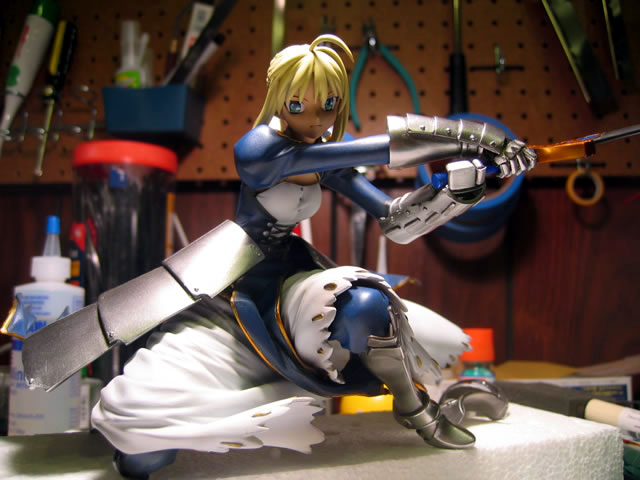
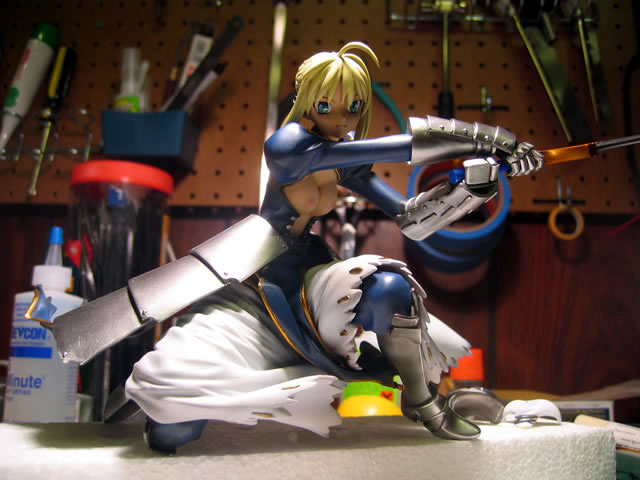
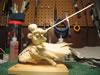
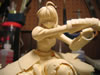
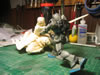
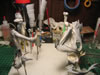
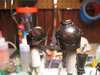
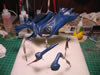
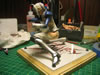
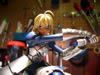
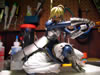
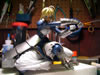
April 27, 2006: Late night/early morning update: Painted
the hair, finished detailing the eyes, did a little wash, and finished
the sword. Still debating on how weathered I want her, but to get an idea,
I threw her together for some pictures. Blouse/armor optional is friggin
great! I still have to do her lips, and I'll see about how I feel about
weathering her armor tomorrow. Going to be gone the entire weekend so
next foreseeable update will be next week sometime.
April 27, 2006: