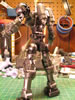
August 31, 2006: I finally cracked down and opened
up one of the MG Gyan's I have and snapped it together during the past
weekend. Over the course of this past week, I've been working on it off
and on, with the intial sanding for the internals and doing a few cosmetic
mods. On a side note, I recently picked up a new camera so I'm still in
the process of getting used to my new camera. (disclaimer for crappy pictures).

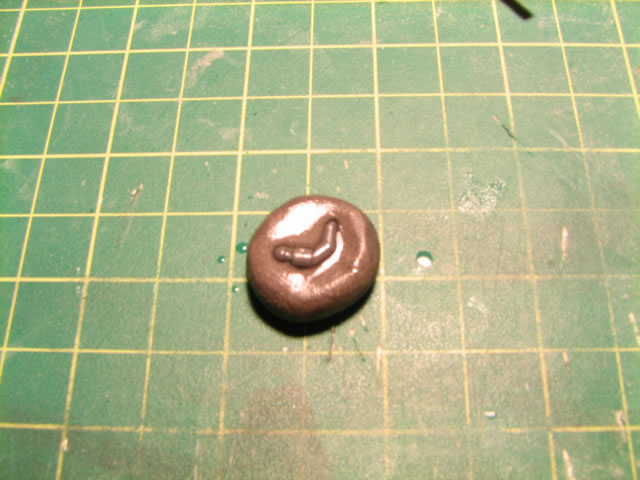
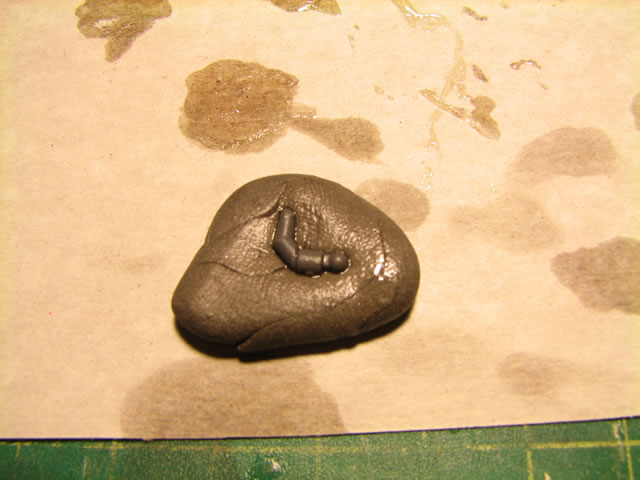
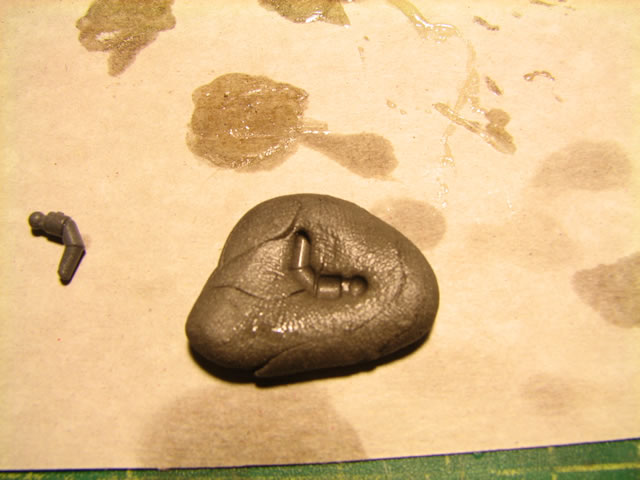
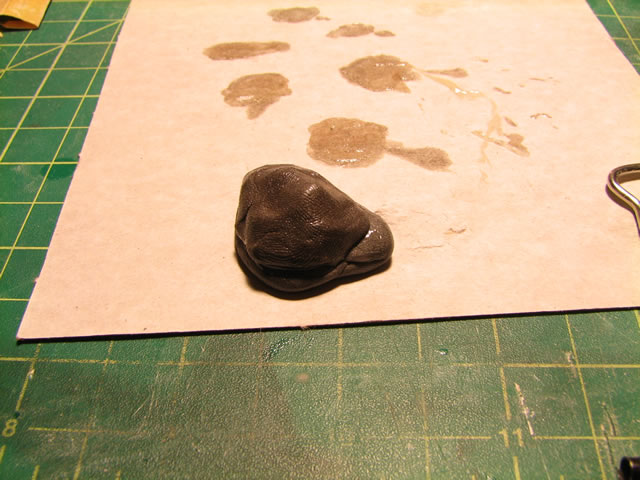
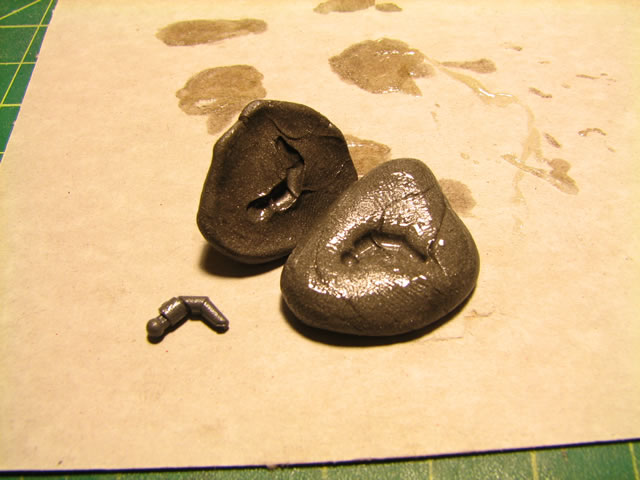
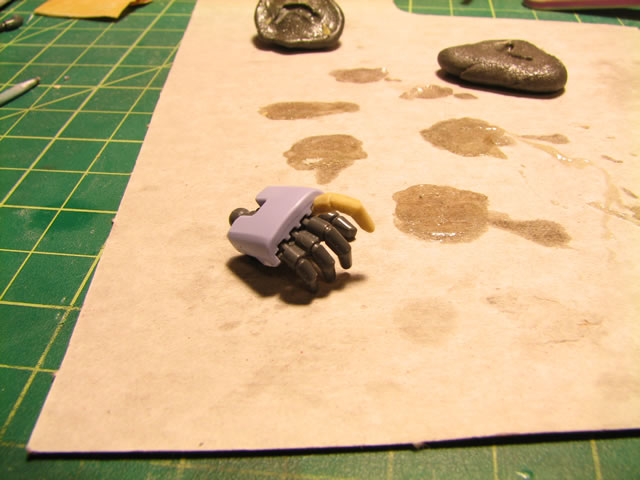
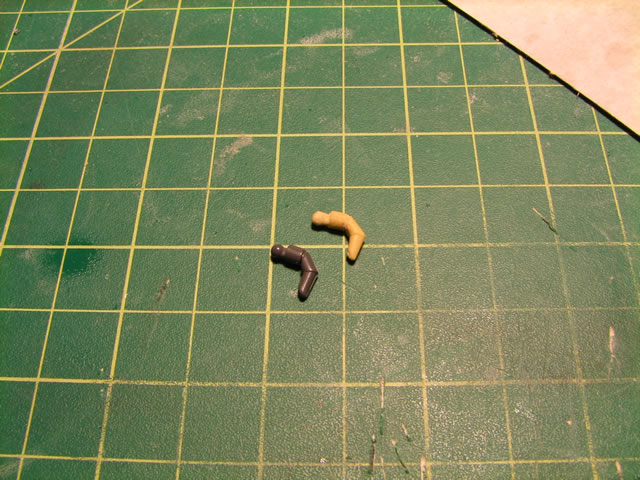
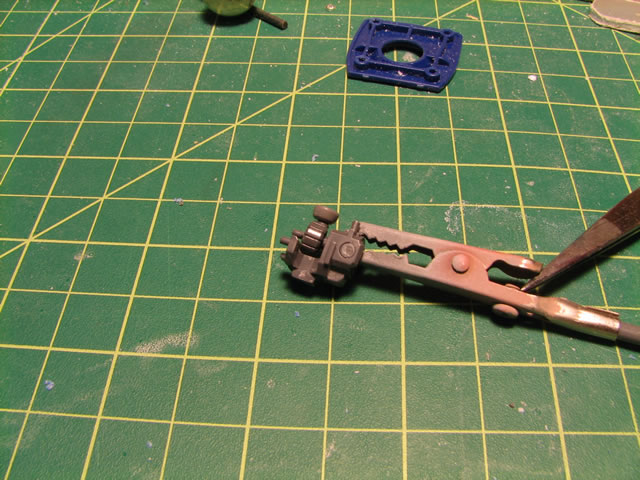
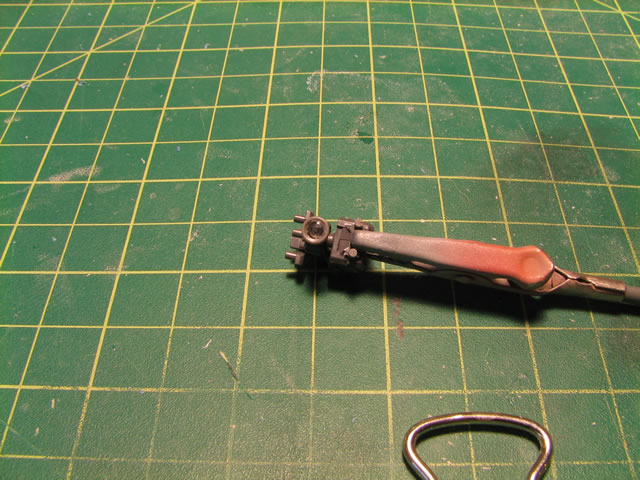
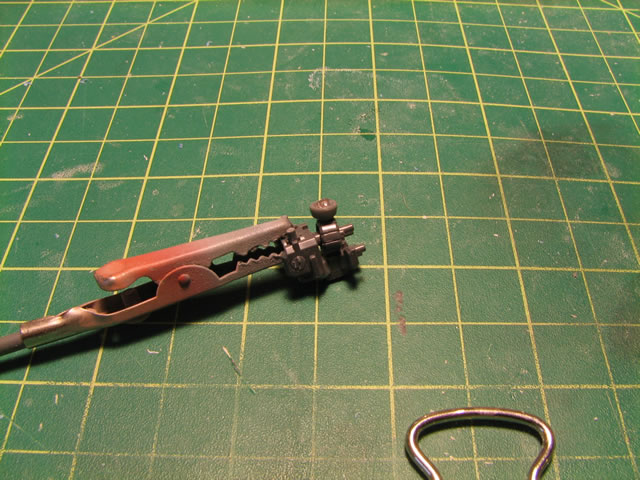
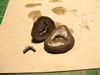
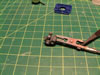
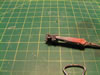
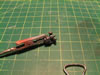
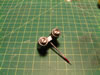
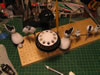
So having throught that I lost one of the index fingers
for the kit. Rather than keep searching, I decided to cast one using the
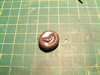
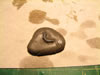
remaining index finger. The molds is made from a product called "faststeel"
a steel reinforced epoxy putty that hardens very quickly. I coated the
finger with vasaline and then pressed it into the faststeel putty. Once
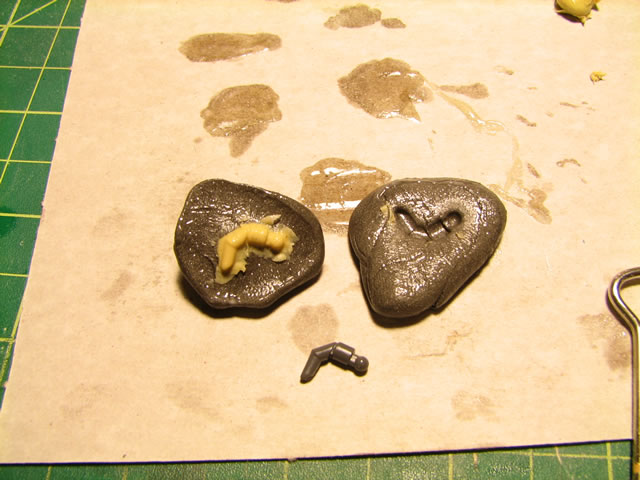
the putty hardened, I used another blob of the putty and created the other
side of the mold. Once hardened, I used tamiya epoxy putty fast type and
pressed the putty into the mold halves that have been lined with vasaline
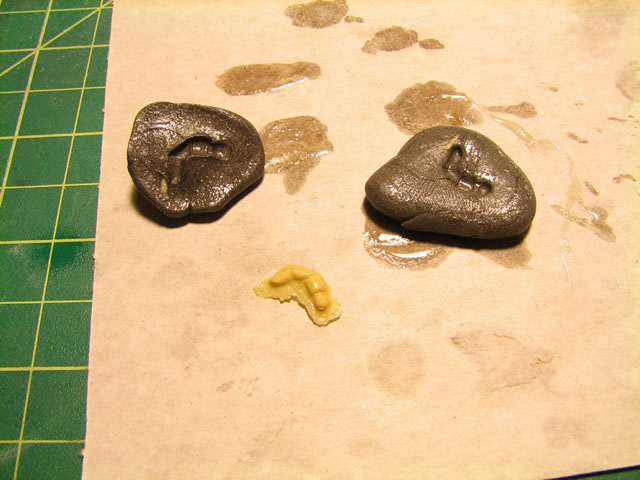
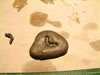
and then left it there overnight. I did this last night, so today, I was
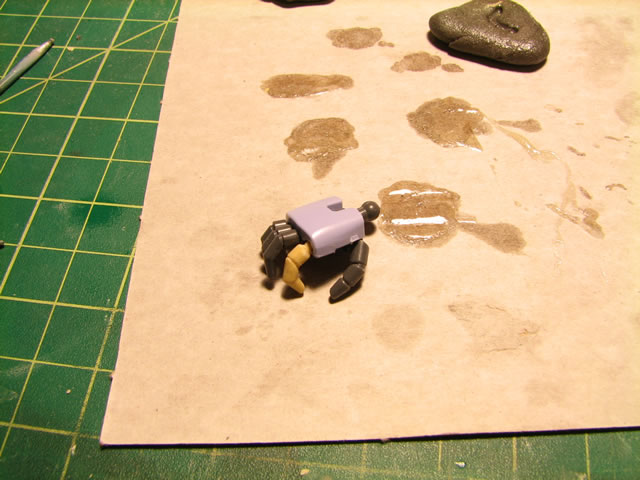
able to pop the recasted index finger out; sanded, and washed it and it's
now ready for paint.
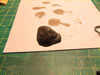


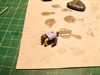
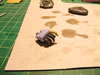
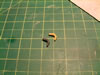
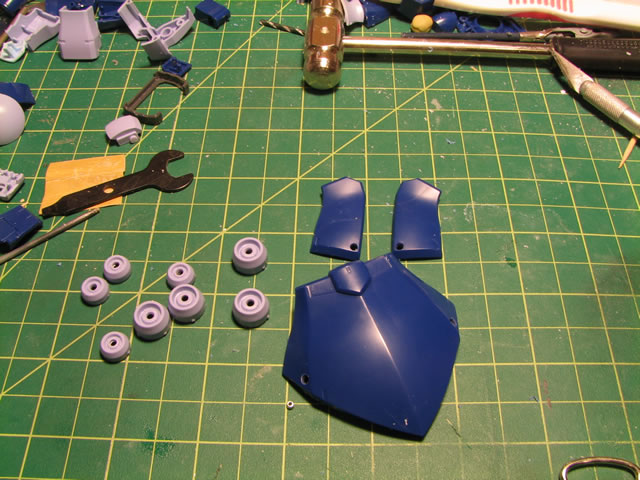
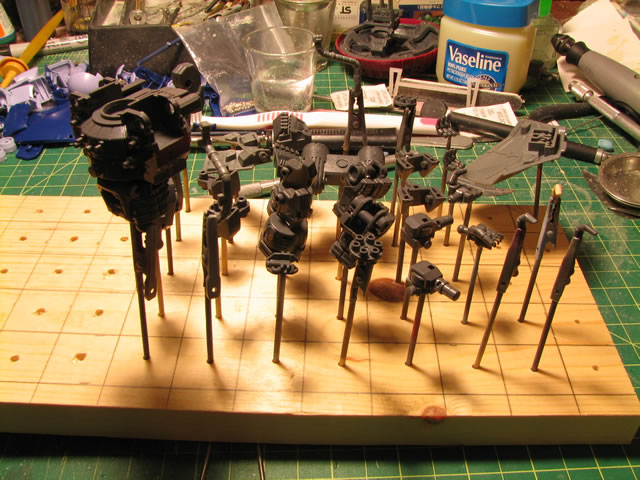
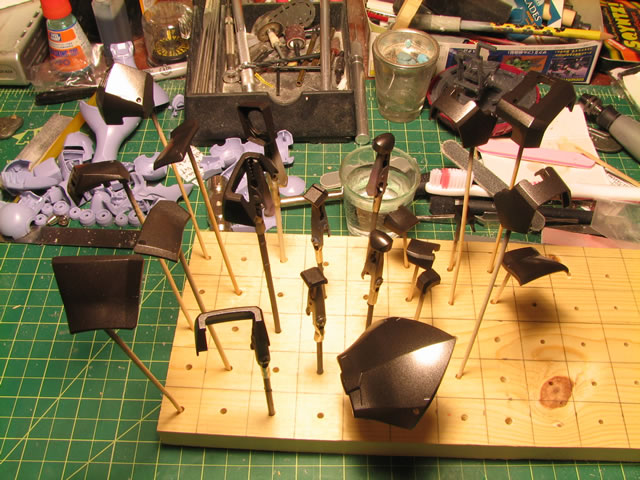
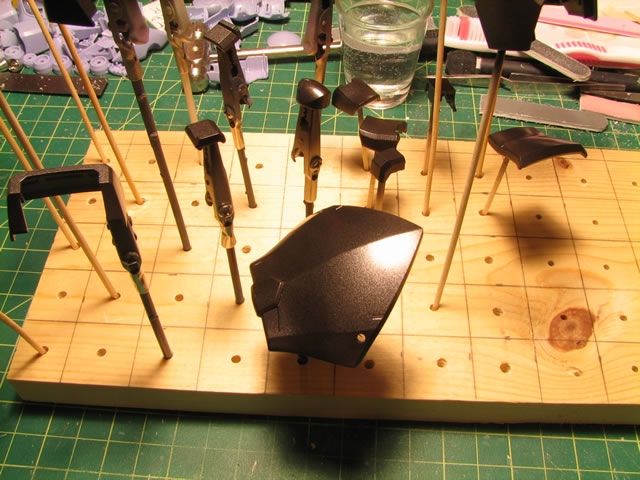
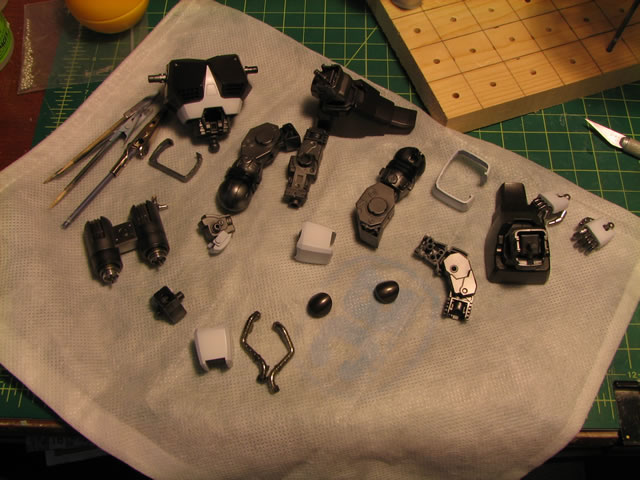
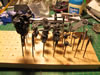
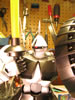
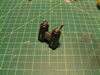
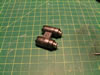
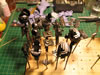
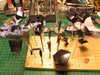
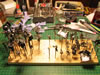
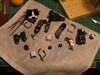
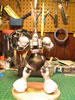
Finally, I did some drilling into a few select pieces for
some small metal beads. The last two pictures are of the internals that
are ready for painting.

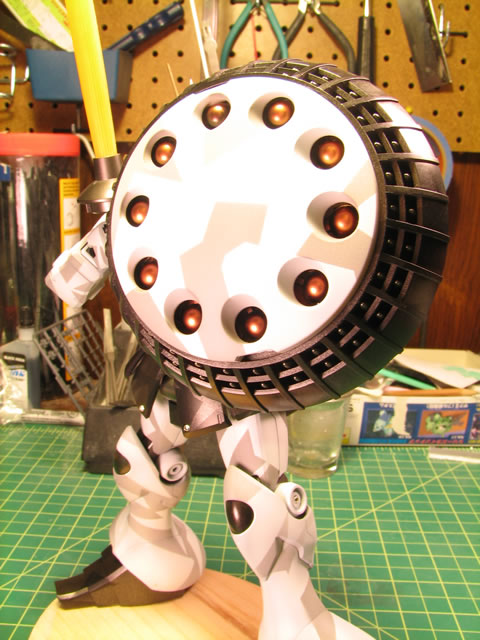
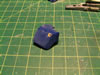
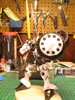
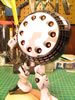
September 4, 2006: Labor day weekend update. I've seen several
modelers build mono eyes with a round casing around the mono eye sensor;
which I think looks really nice. So using option venier parts and option
clear eye parts, I built a mono eye casing:
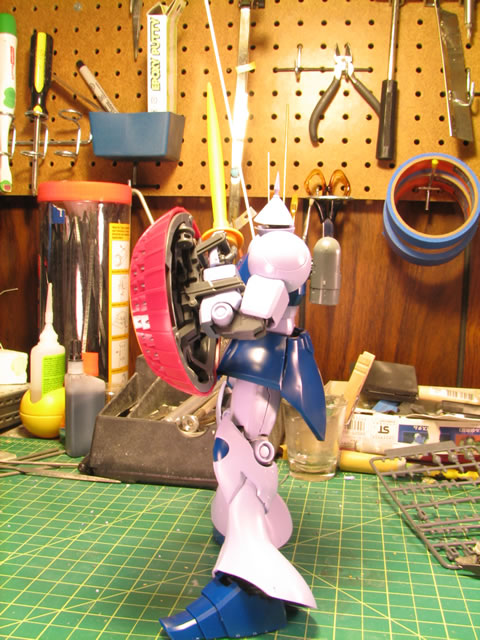
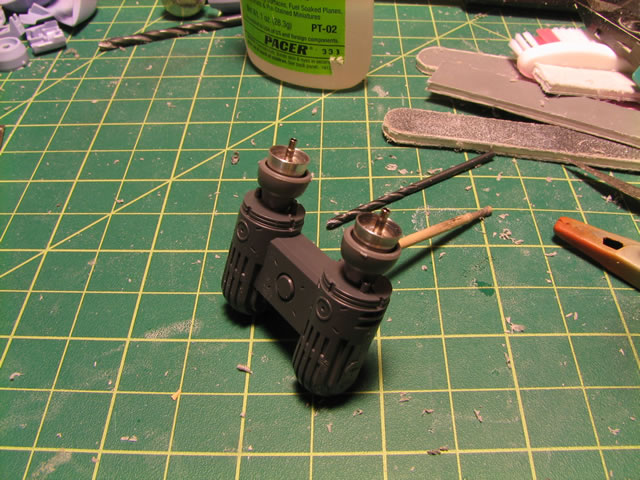
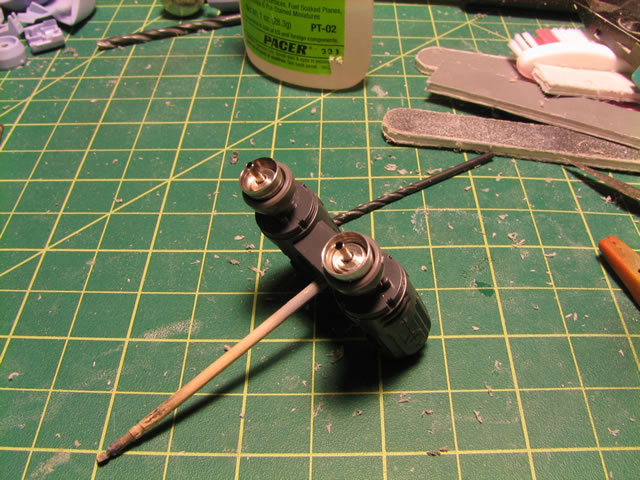
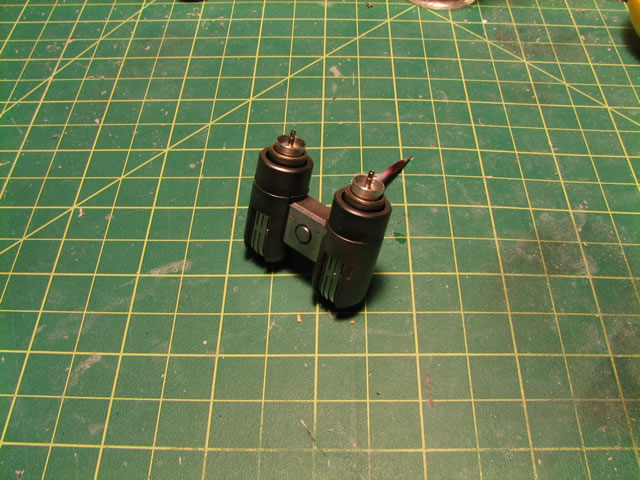
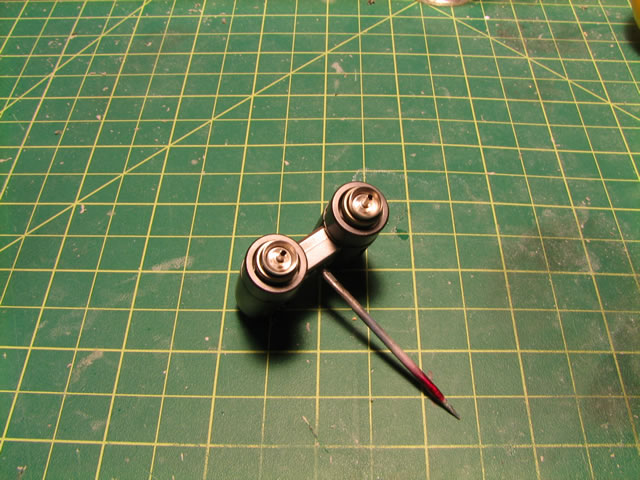
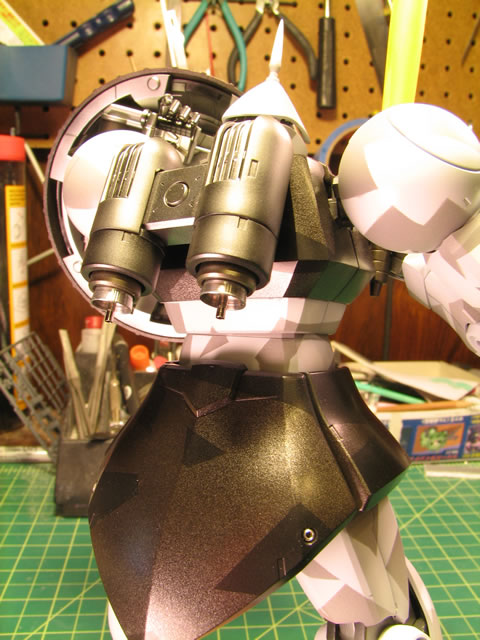
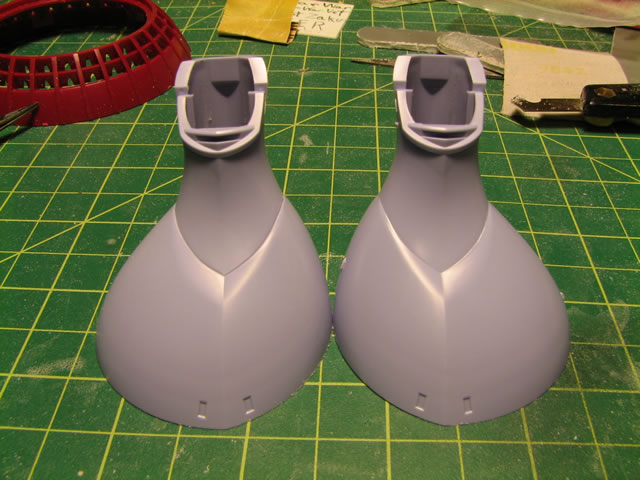
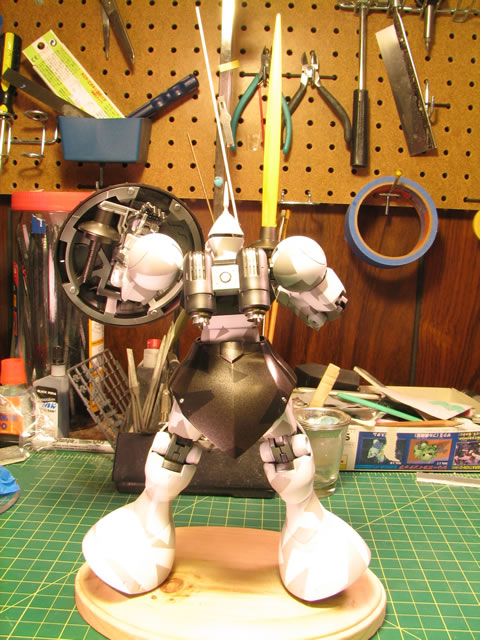
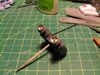
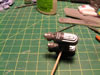
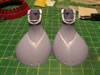
I also modified the backpack thrusters to use mechaskunk's
machined aluminum thrusters. Since the thrusters are smaller than the
thruster area for the Gyan, I used another thruster from wave venier option
parts as an additional thruster casing for the aluminum thruster. Here's
the progress on that.
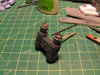
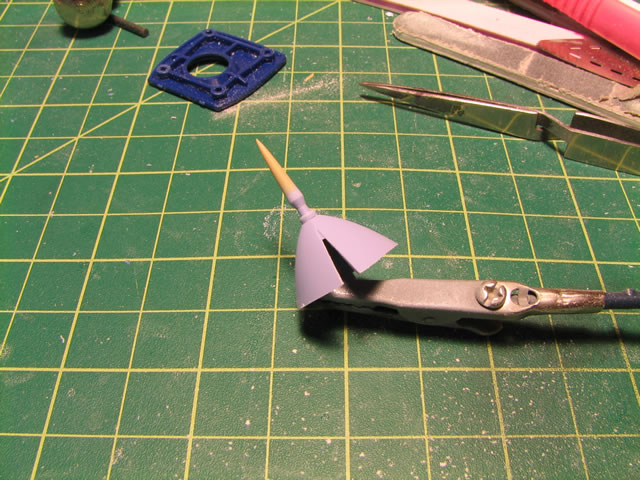
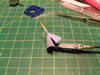
Some other modifications include lengthening the head spike,
drilling small holes for metal bead fittings, and making a deeper scribe
on the leg panel lines.
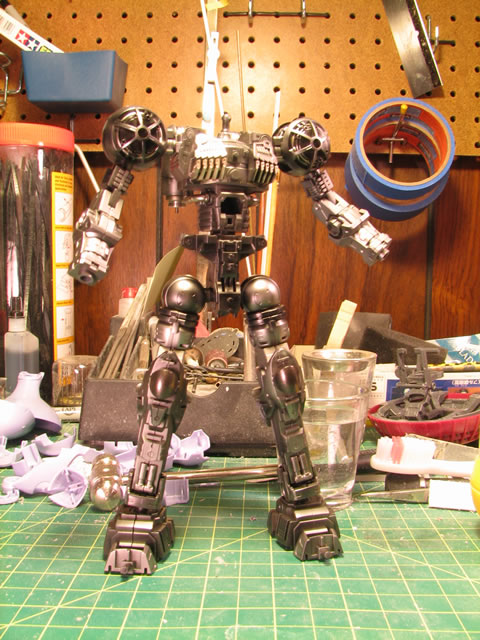
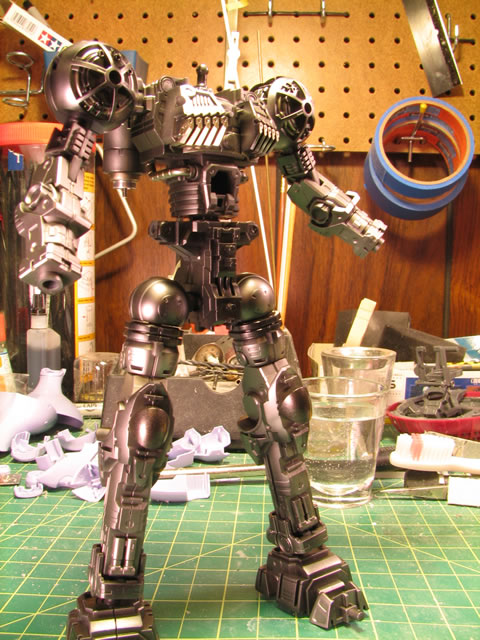
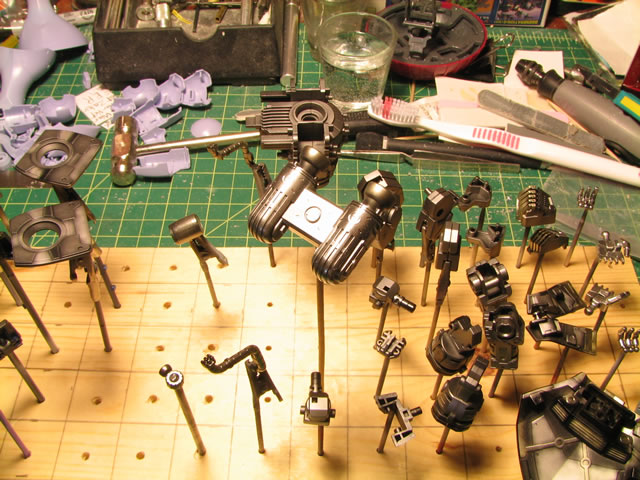
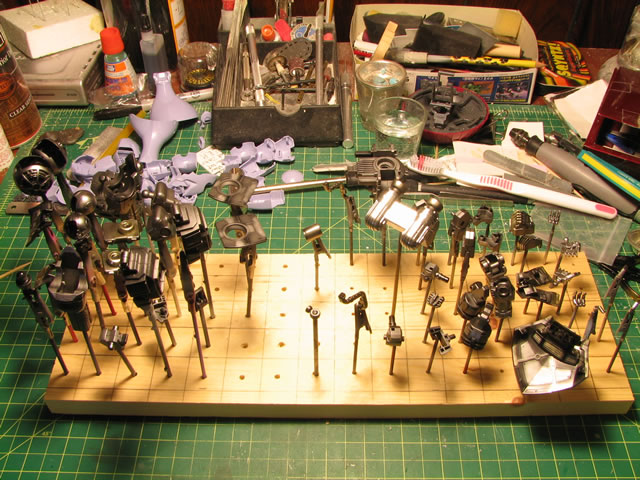
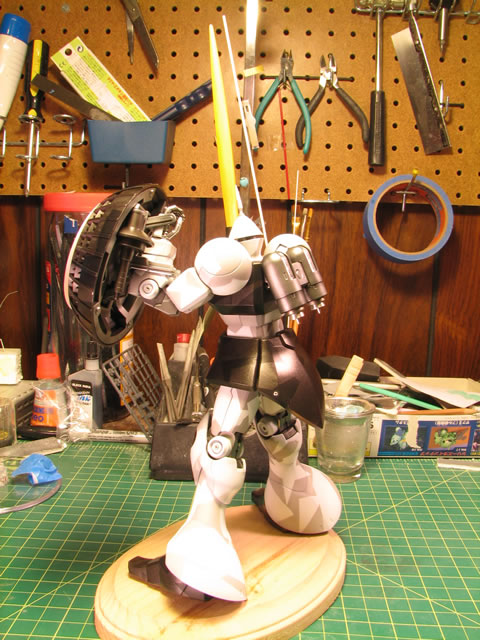
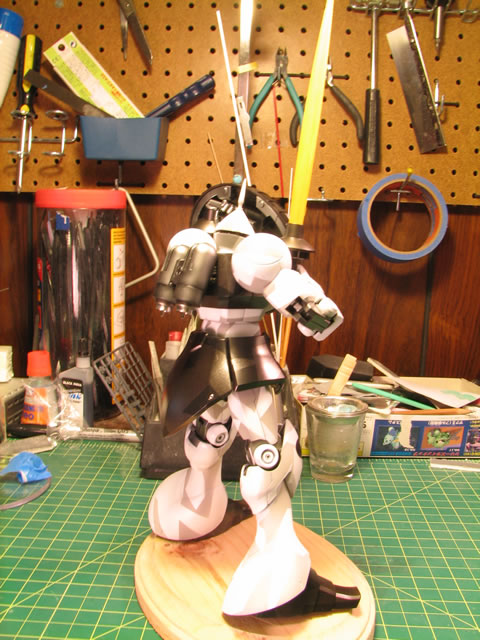
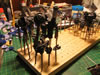
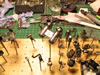
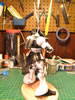
The following pictures are pictures of the completed internal
frame:


These are some pictures of the parts painting progression:

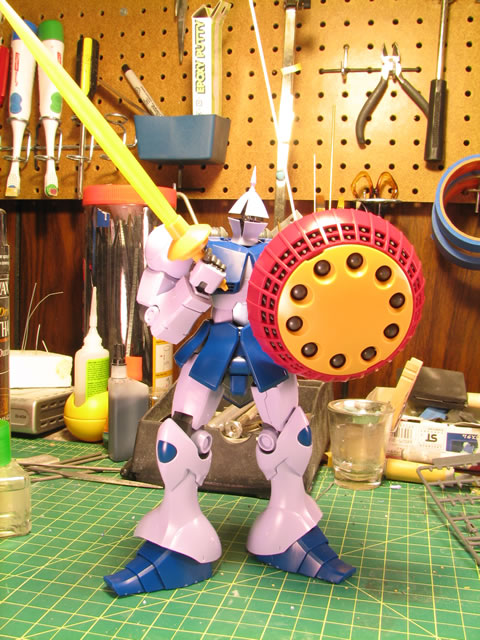
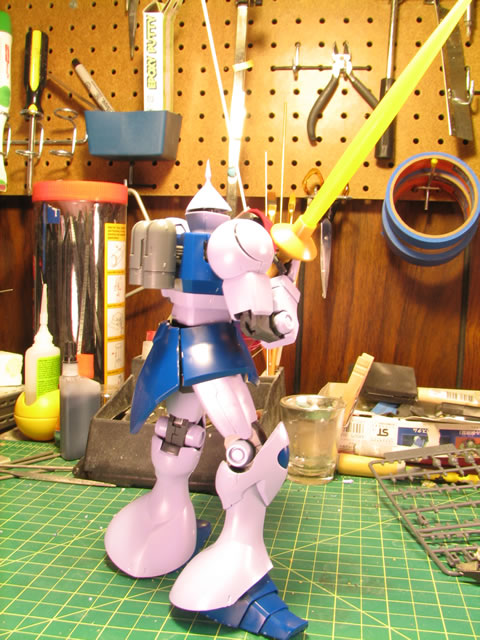
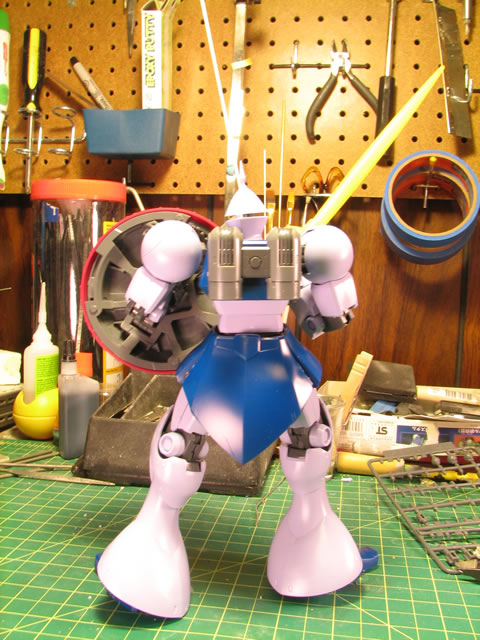
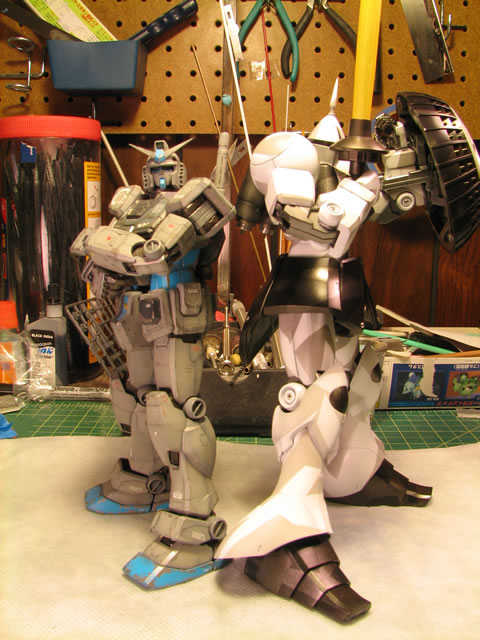
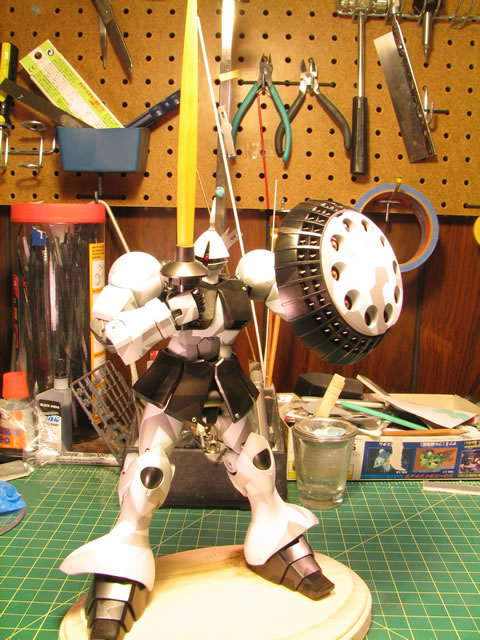
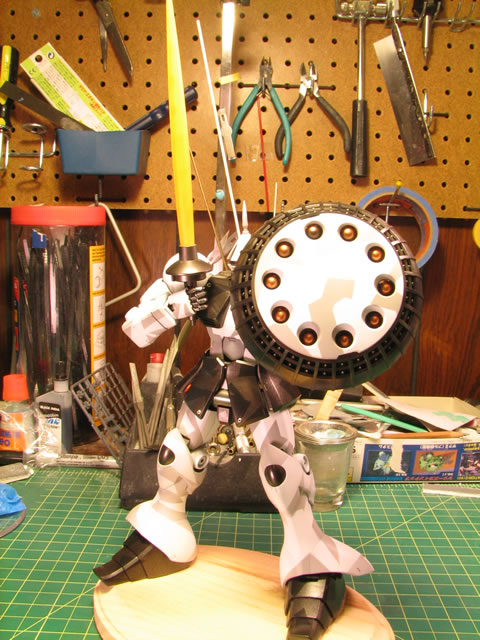
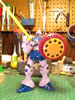
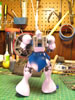
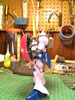
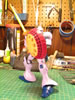
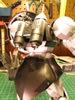
Here's the kit painted as well as a comparion shot with
Mr. G3 for which I neglected to photograph with the initial snap fit.
Next up are the finishing steps: clear coat, decals, wash, final clear
coat.


Update Information:
The kit is finished, click
here for the completed page.