August 19, 2008: This is a Tekkaman Evil kit that I started gluing during the build gathering. This is an out of production kit from the early 90's. Which translates to all sorts of good seam work that needs addressing. So far I have the two part pieces glued with the exception of the upper thigh pieces and the main chest piece. I still need to sand some auxillary pieces that fit within those areas first. But I quickly snapped the kit together with all the glued pieces for some pictures.


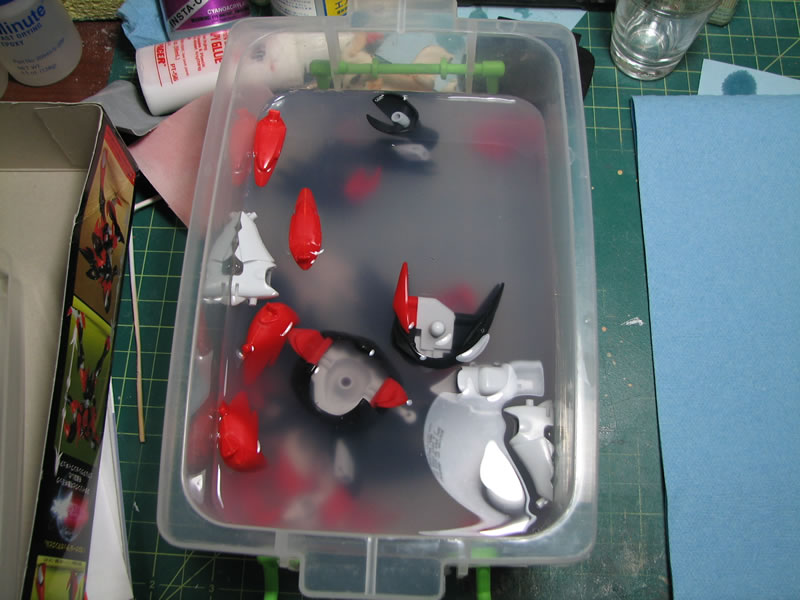
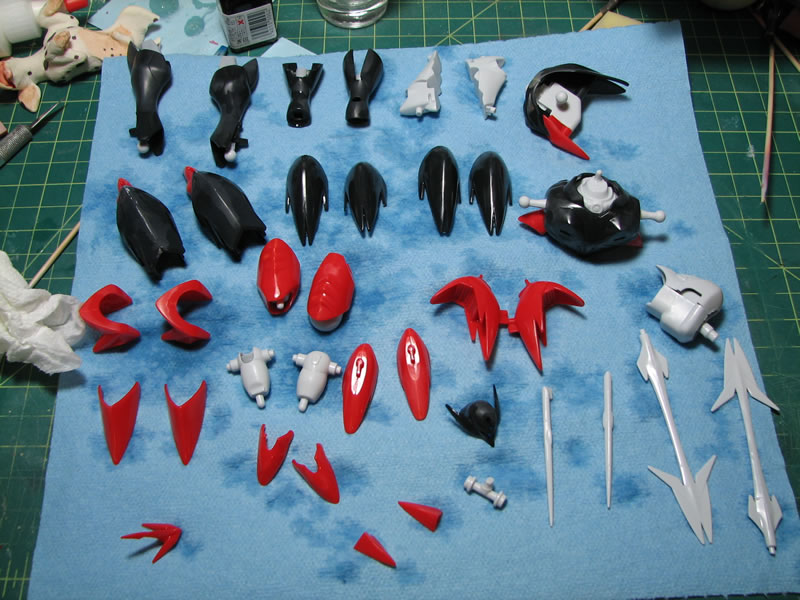
Update: October 22, 2008: I have been working on the kit for the past two weeks but I haven't taken the time to update the page. I've been taking pictures along the way to keep the documentation. The last few months have been fairly busy and model building as a whole has suffered. But things are returning to normal and I have focused on finishing this kit this week or the following. The first set is the washing of the parts as they have been siting around for quite a while. This ensures that the primer sticks cleanly to the surface and reduces the amount of surface defects.
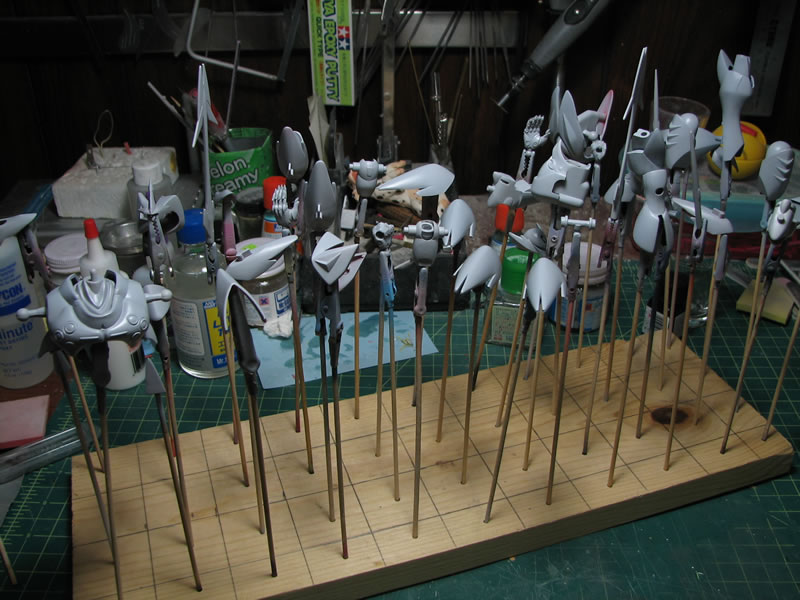
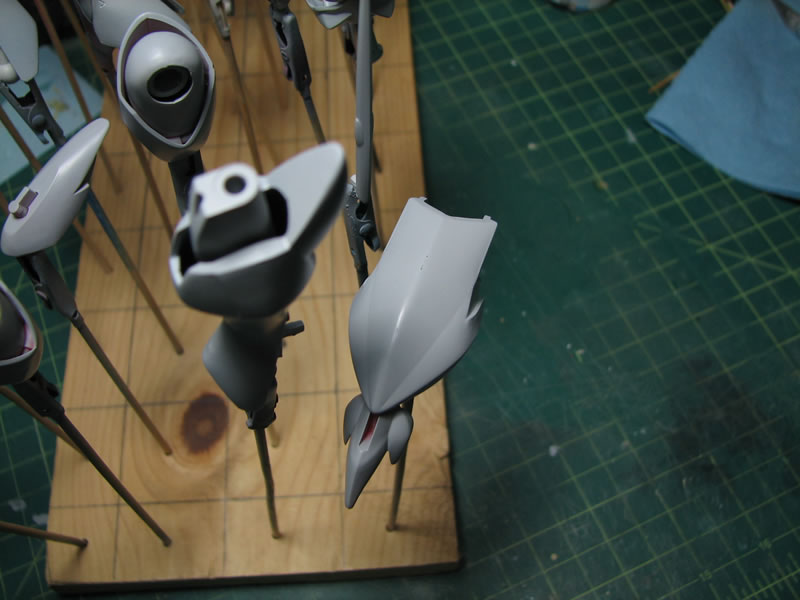
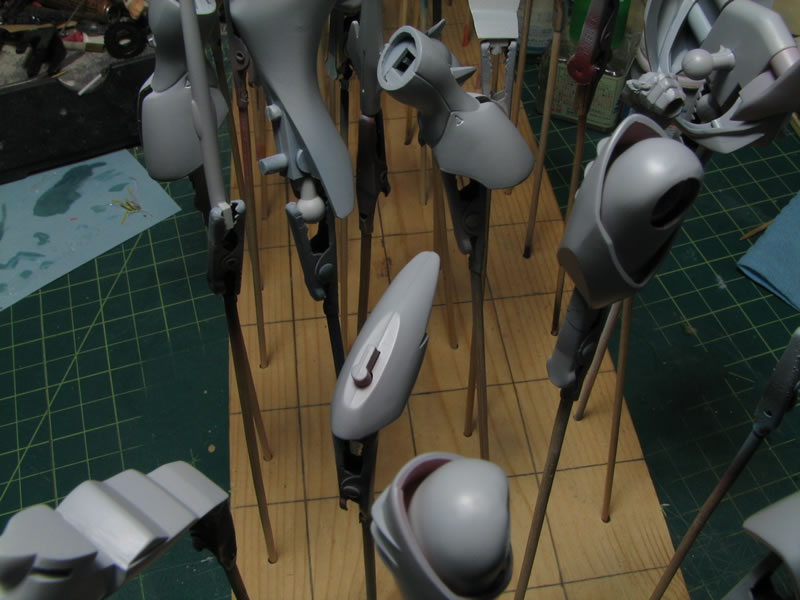
Primed.
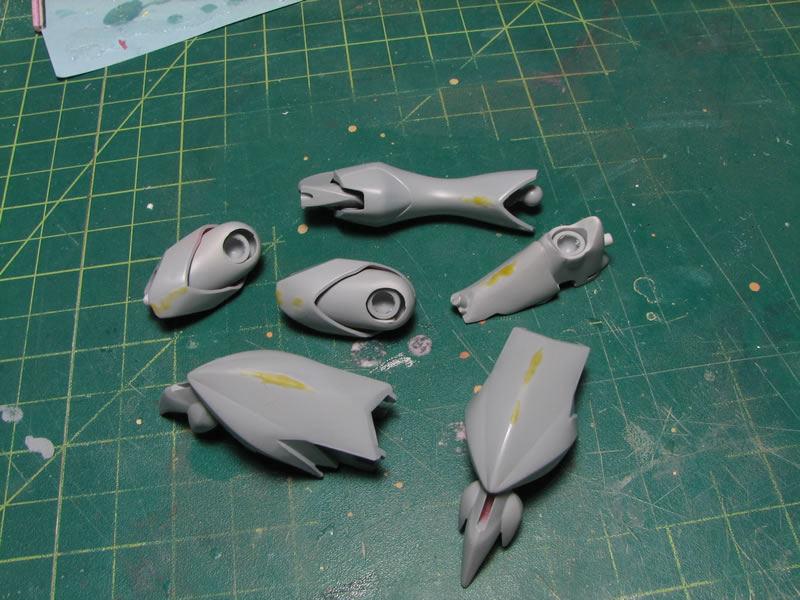
Problems found after priming, defects from the seam filling sessions and some missed sanding areas.
I used tamiya light curing putty to fix the issues. After two minutes of curing, I sanded the areas smooth, then reprimed everything.
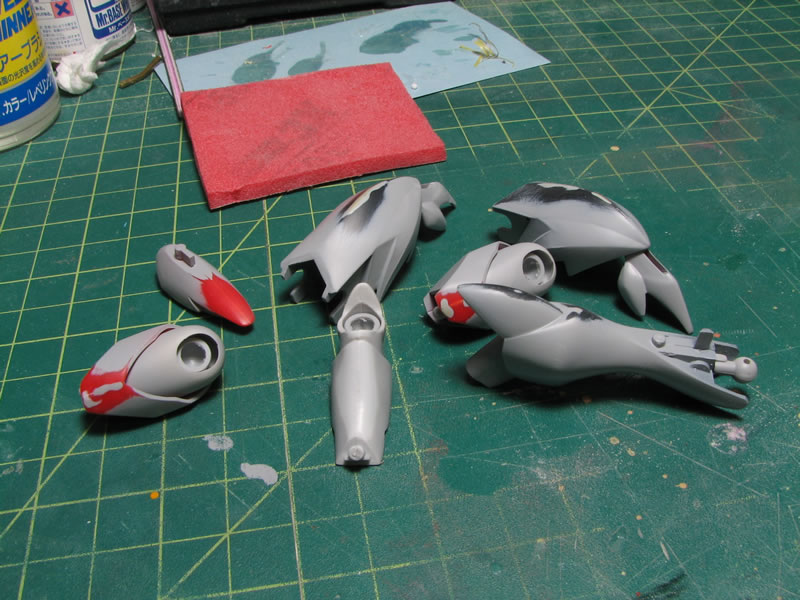
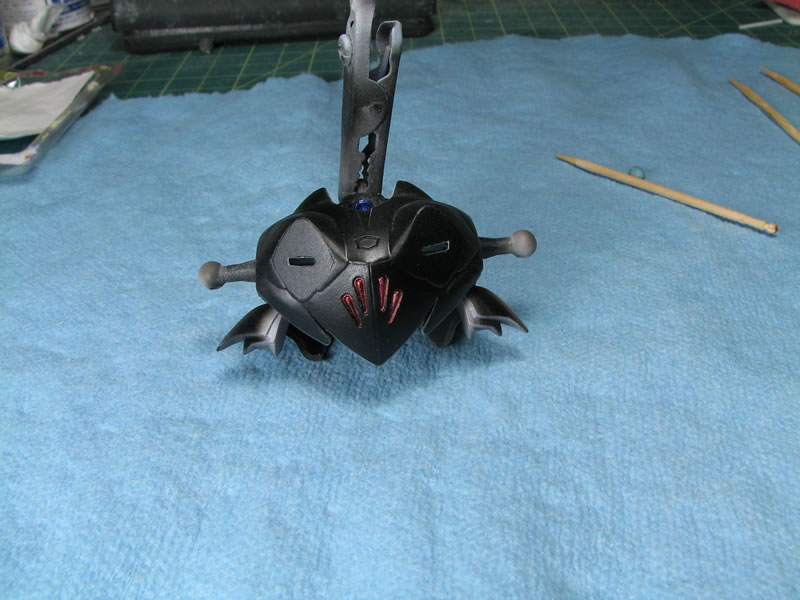
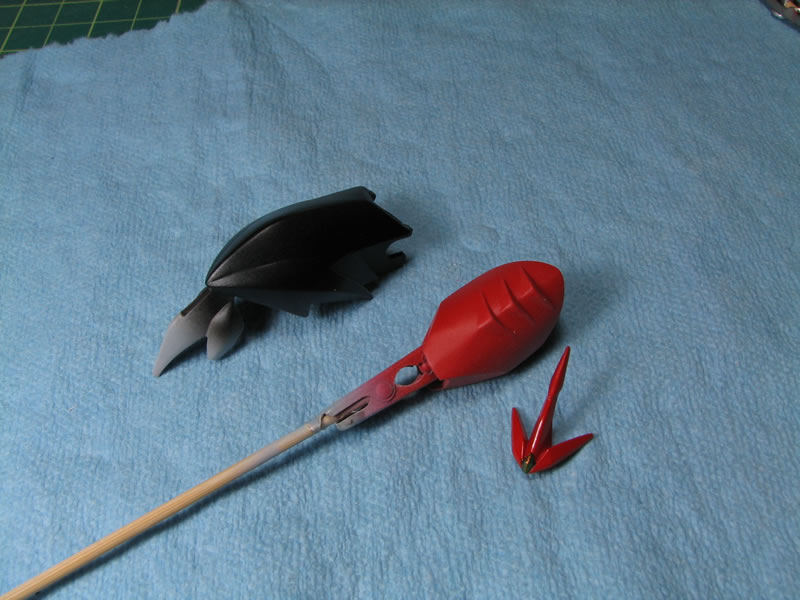
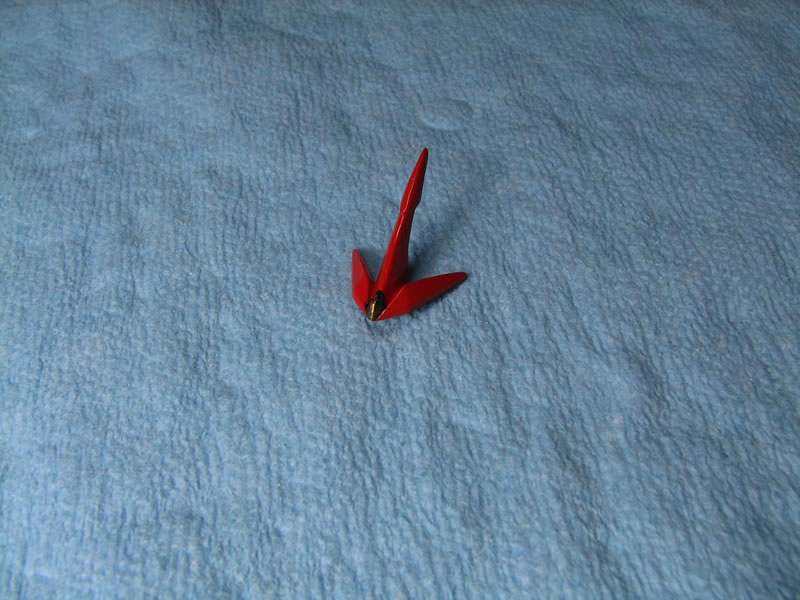
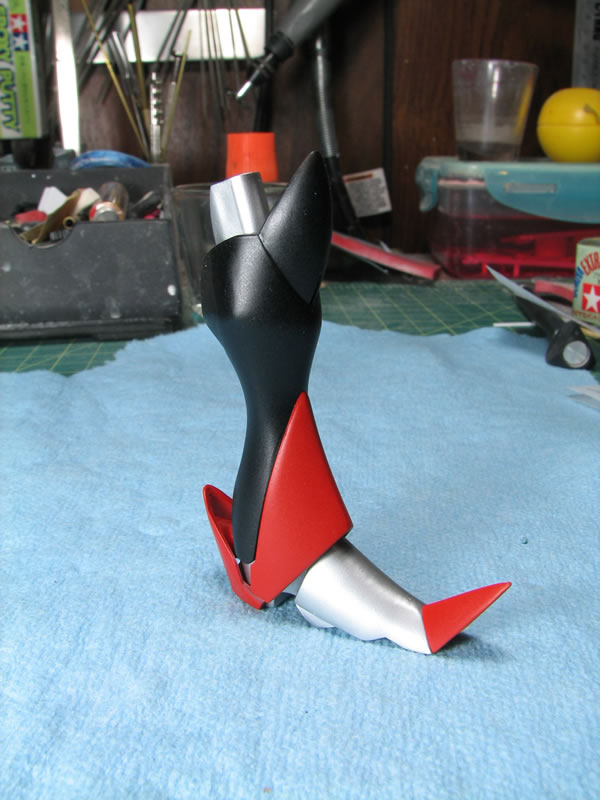
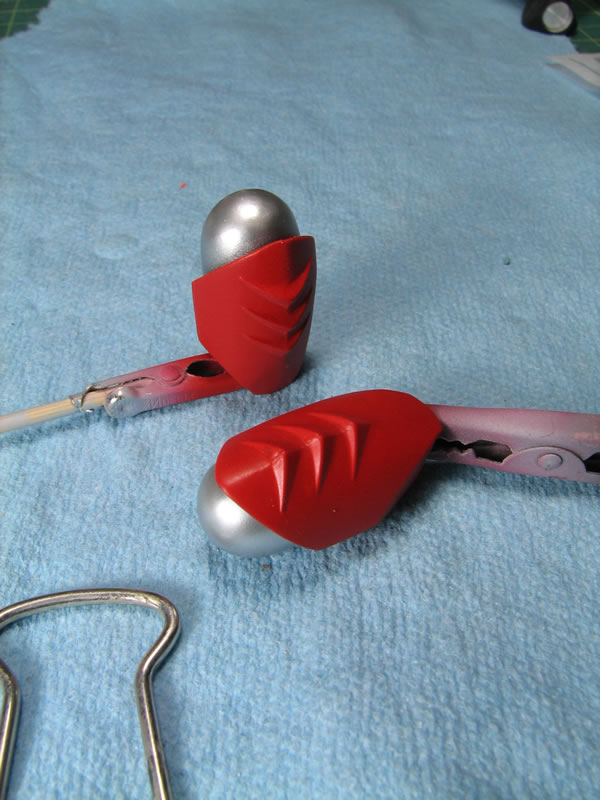
Today I got actual painting in. The red pieces were done with mica red, and pure black for the black pieces. Paints are Finisher's Paints.
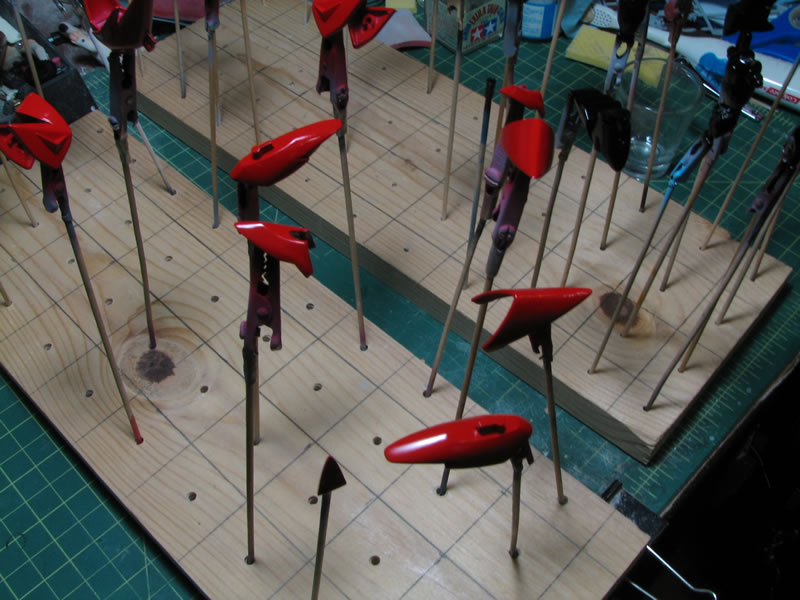


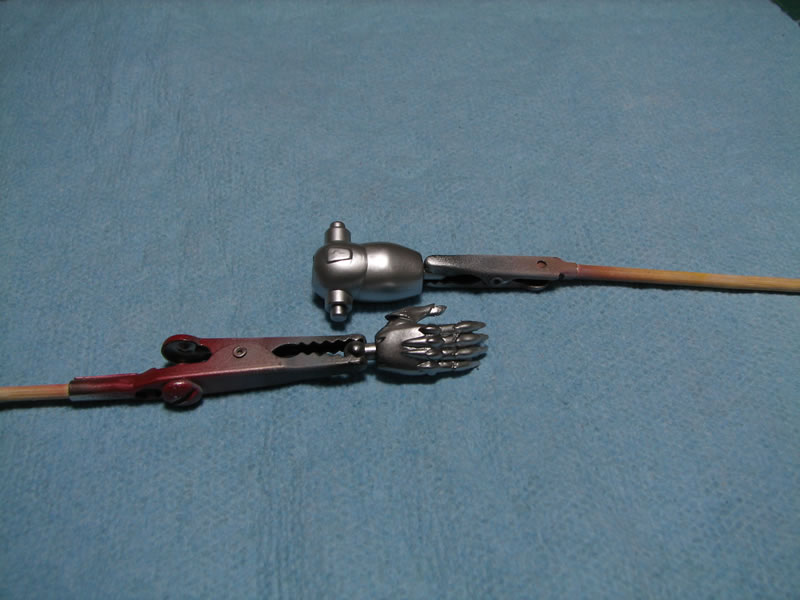
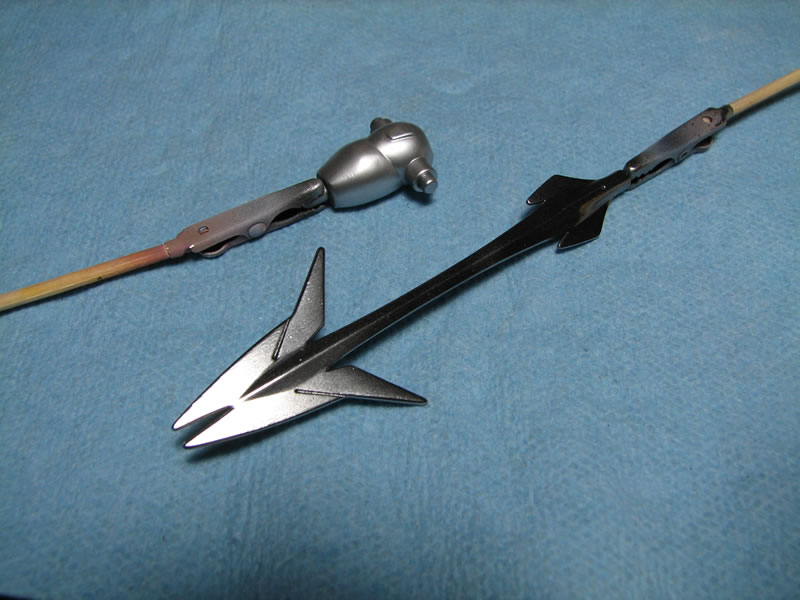
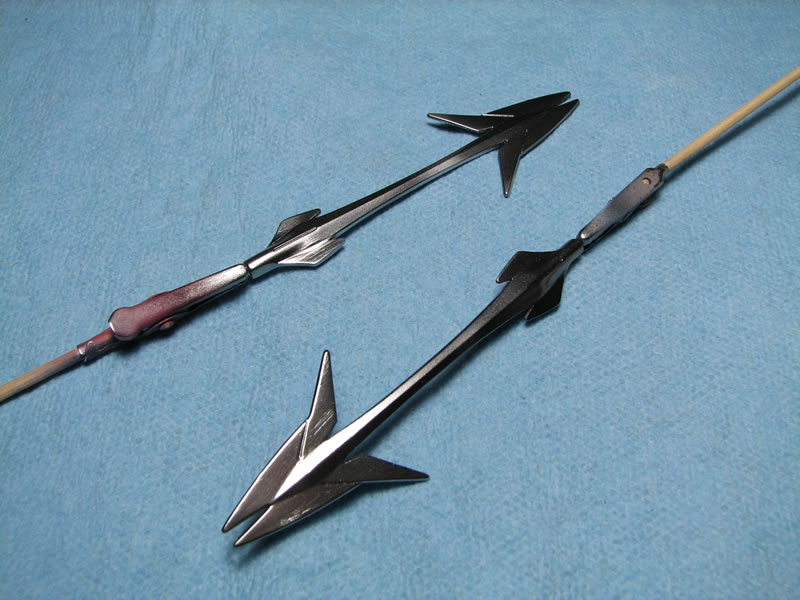
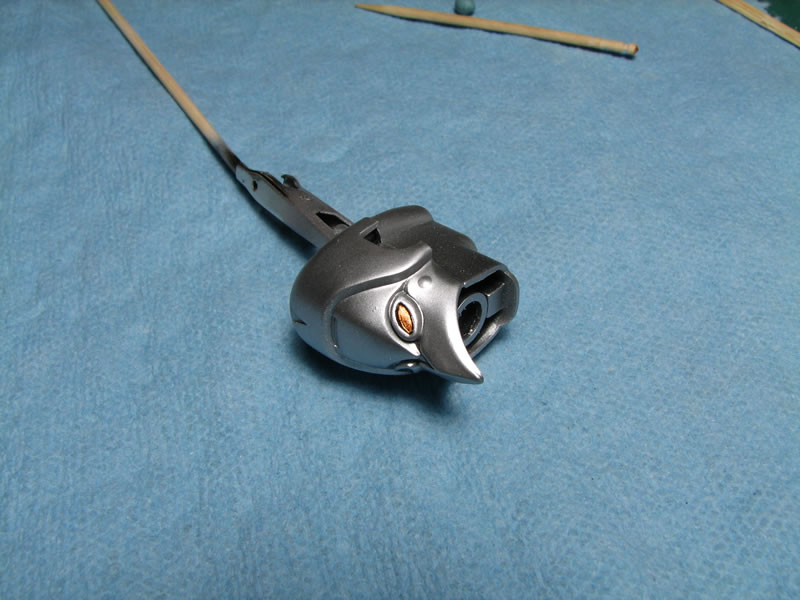
For the grey areas, I decided to use metallics. I went with alclad white aluminum. The weapons were done using alclad stainless steel. There is a comparison picture with the white aluminum.
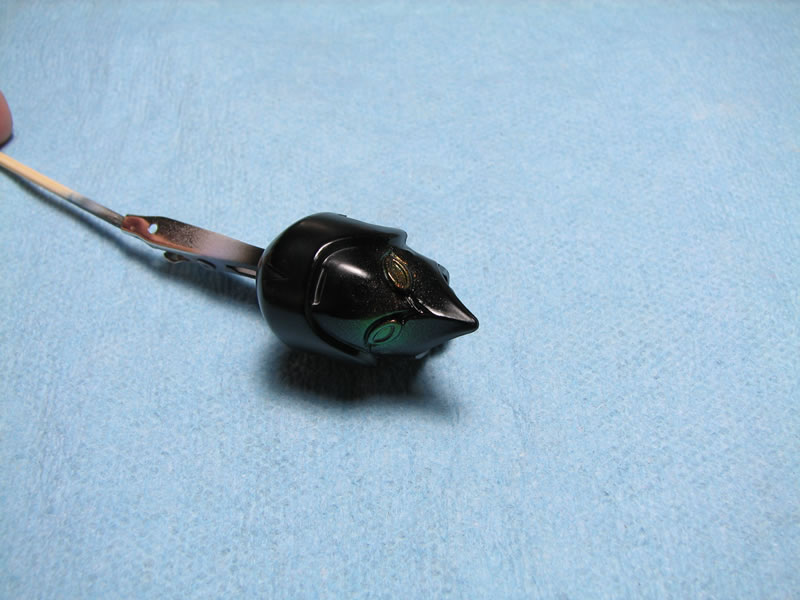
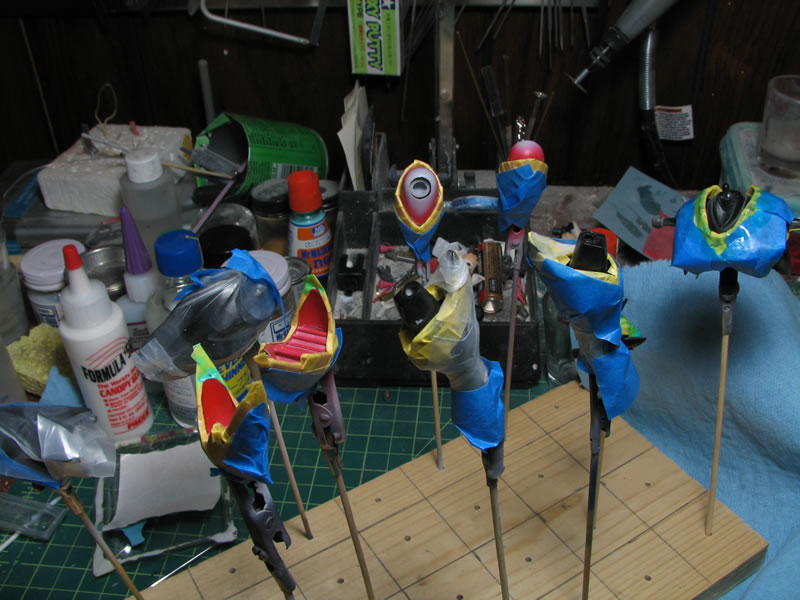
The little detail areas were done with color shifting paints. Over the blue color shifting paints, I sprayed on a mixture of micro pearl and green pearl powders to further enhance the color shifting properties. Once these areas have fully cured, I will mask them off and finish painting the rest of the kit.

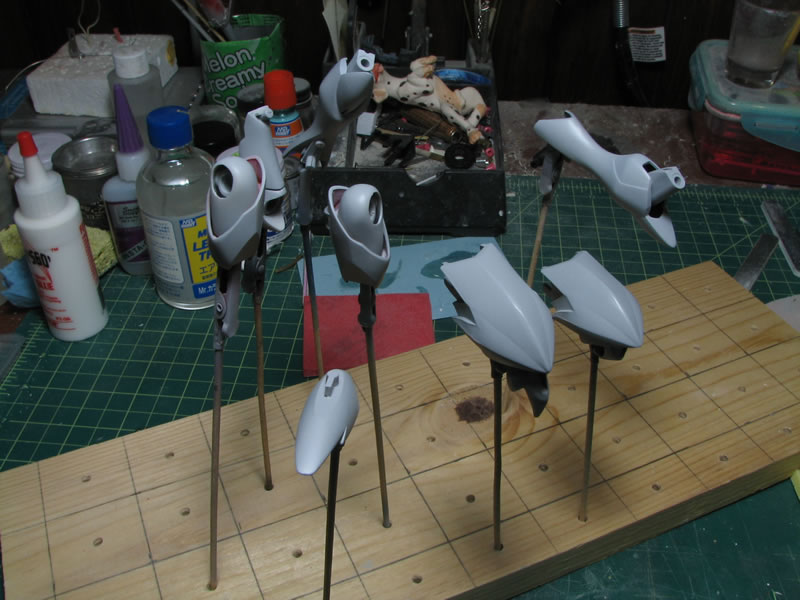
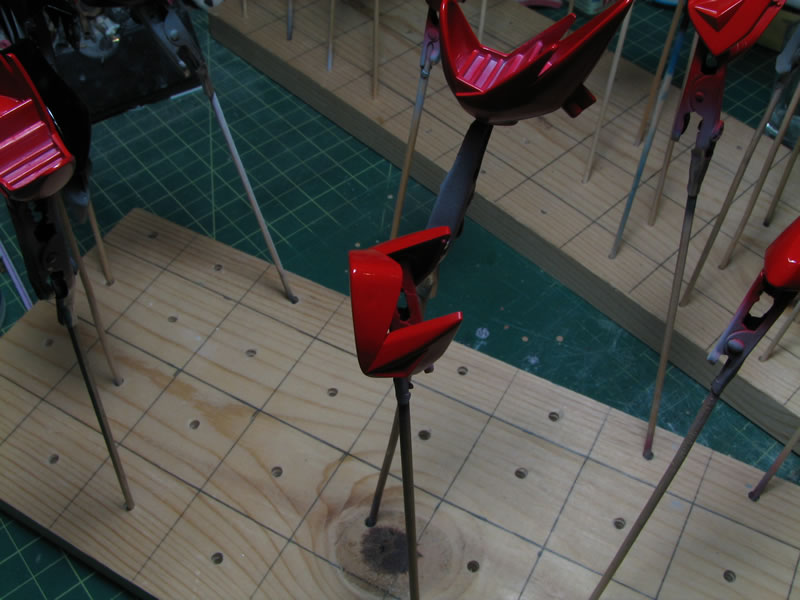
Update: October 22, 2008. I masked off some of the detail areas and then resprayed the gloss black. For the lower abdomen piece I sprayed white aluminum.

The same was done to the chest lights, they were masked and the black repainted. Once the black was repainted, a clear semi gloss was sprayed.
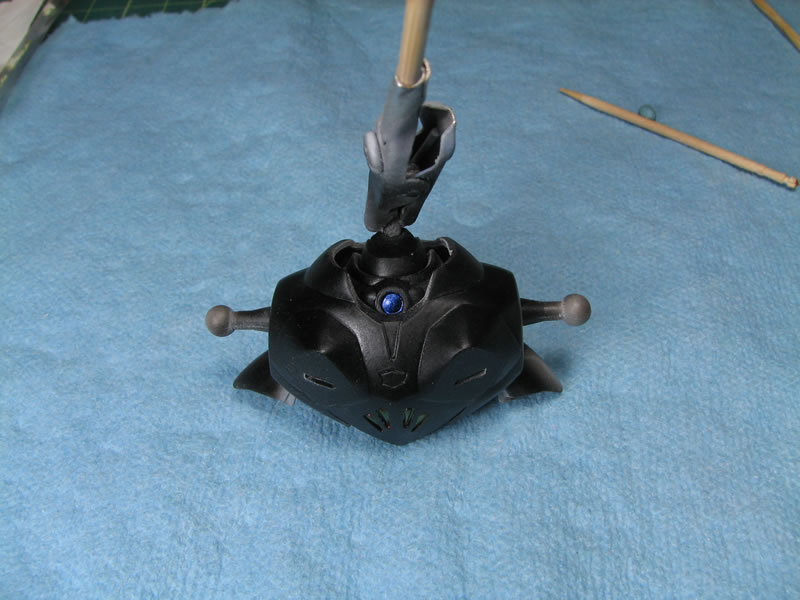
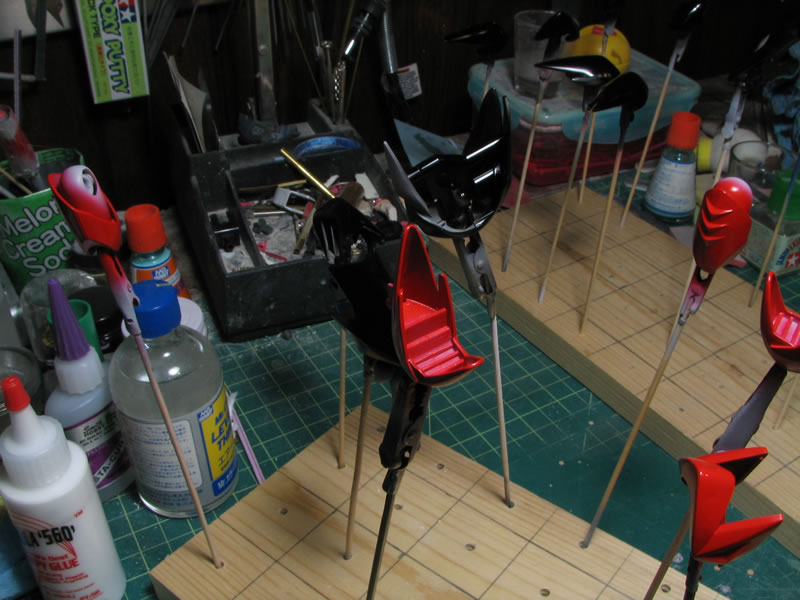
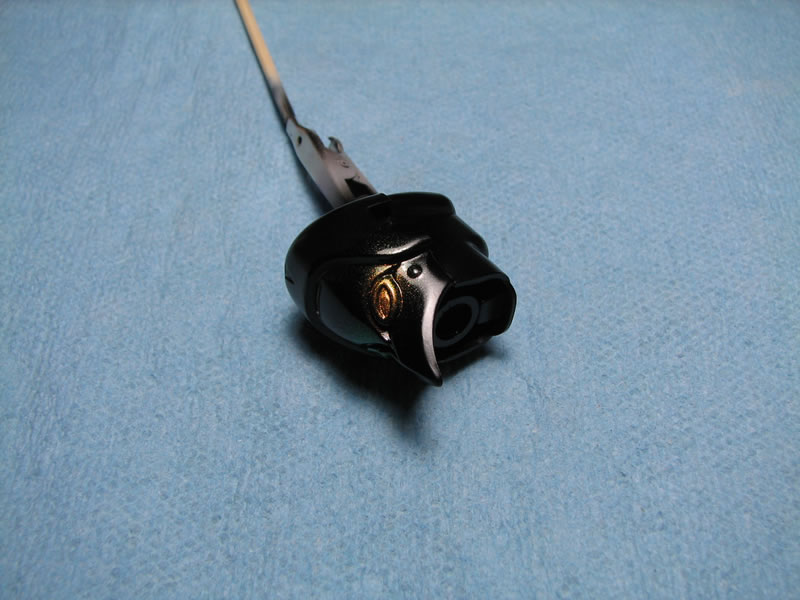
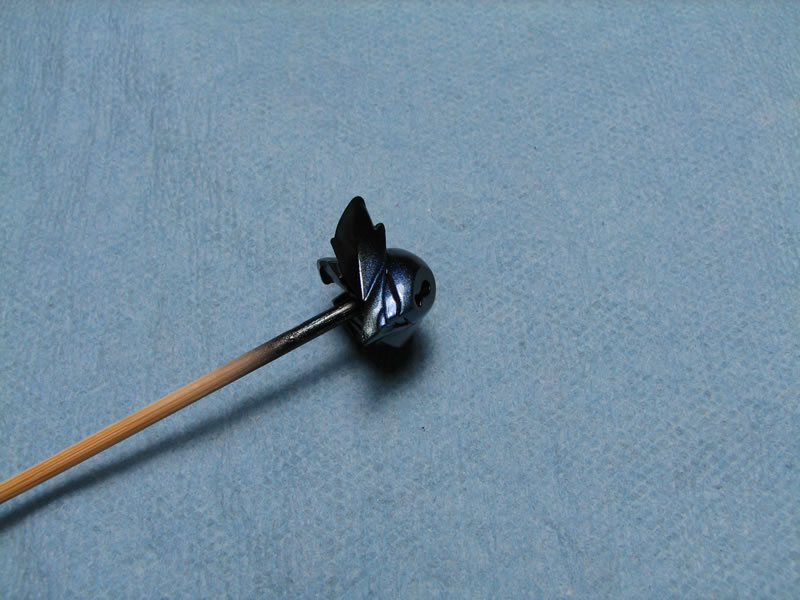
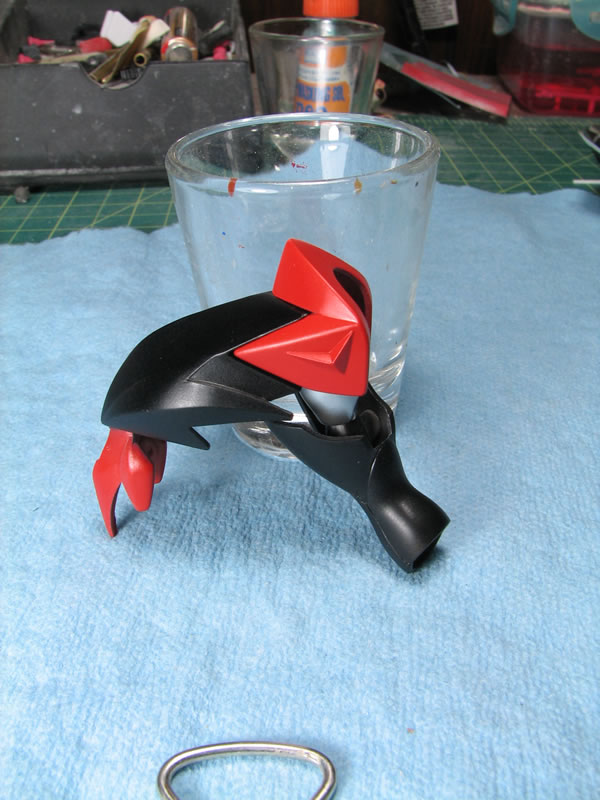
Below are pictures of the some of the parts after spraying semi gloss. The head fin piece was masked off and the detail area was painted using alclad prismatic colors then clear coated with a gloss.
October 23, 2008: Daily update. Tonight I spent most of the time masking the last parts of the kit for painting.
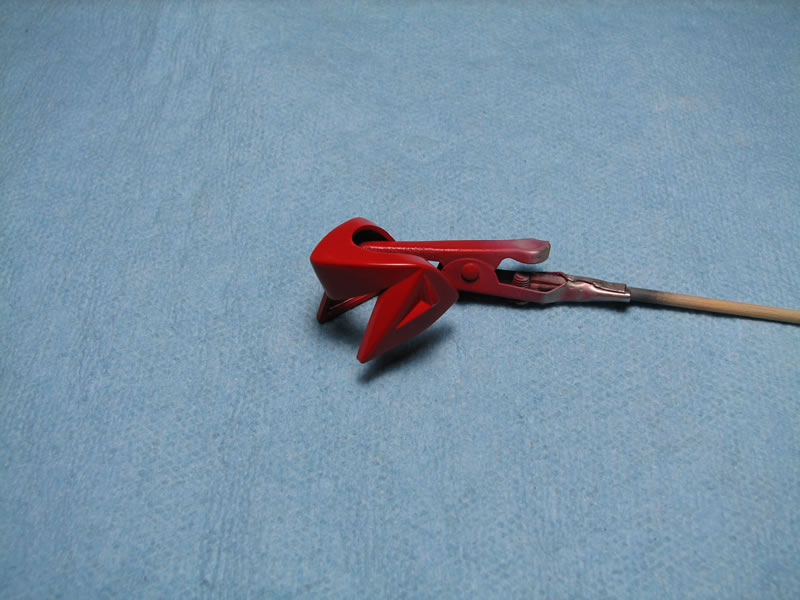
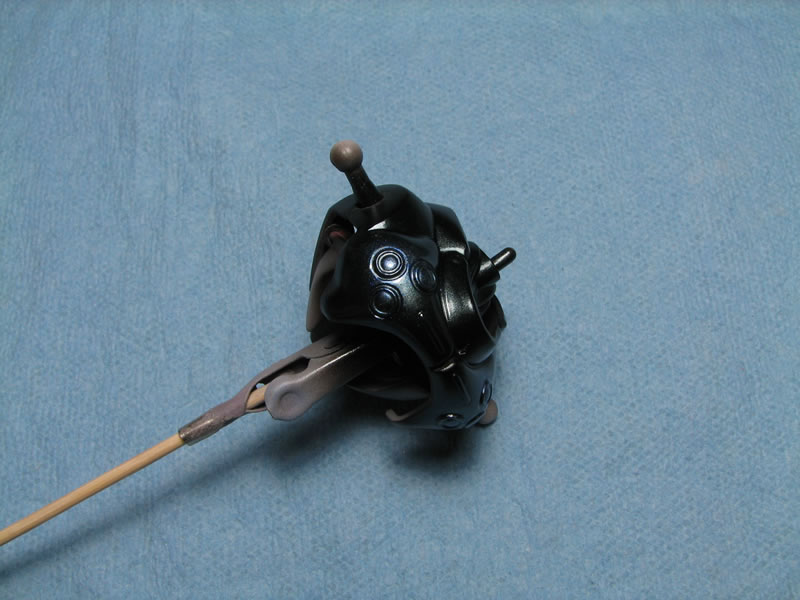
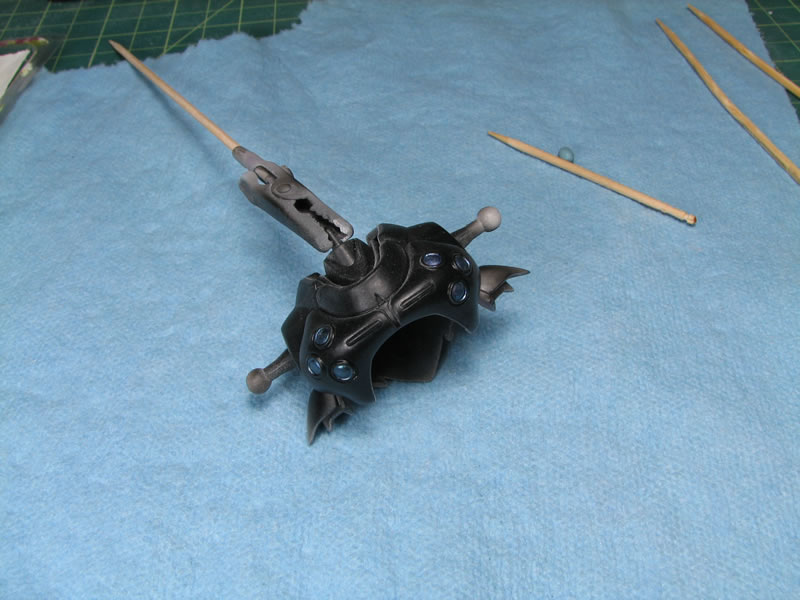
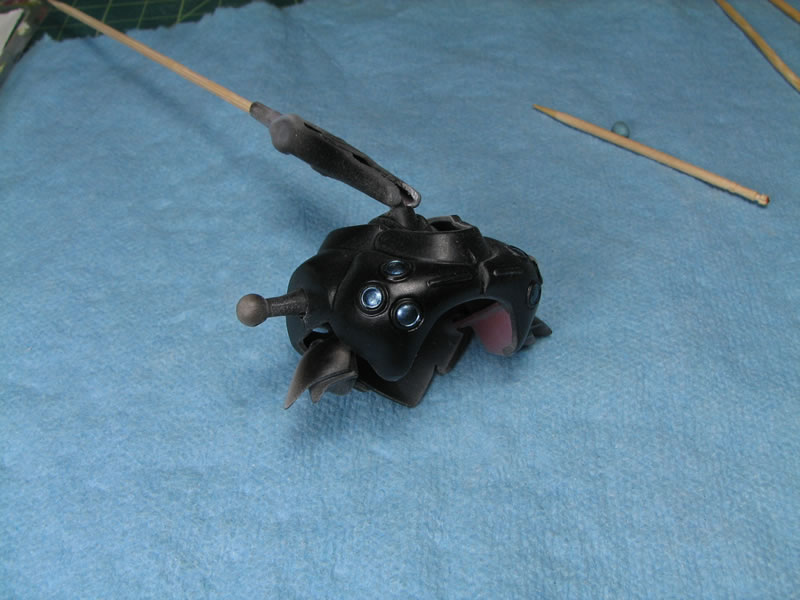
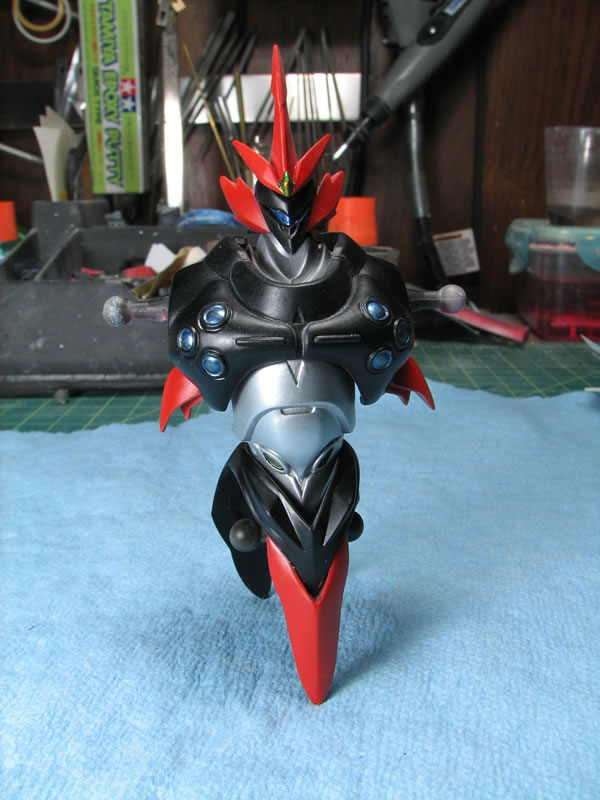
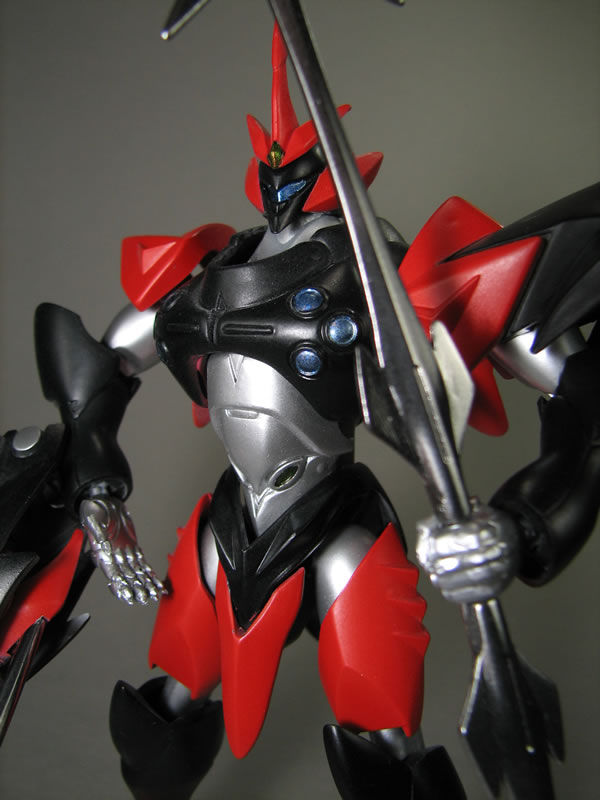
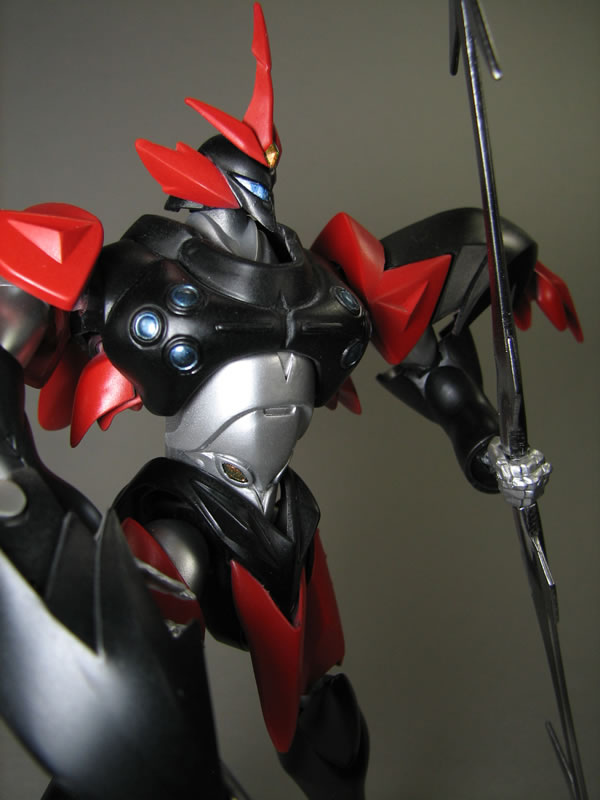
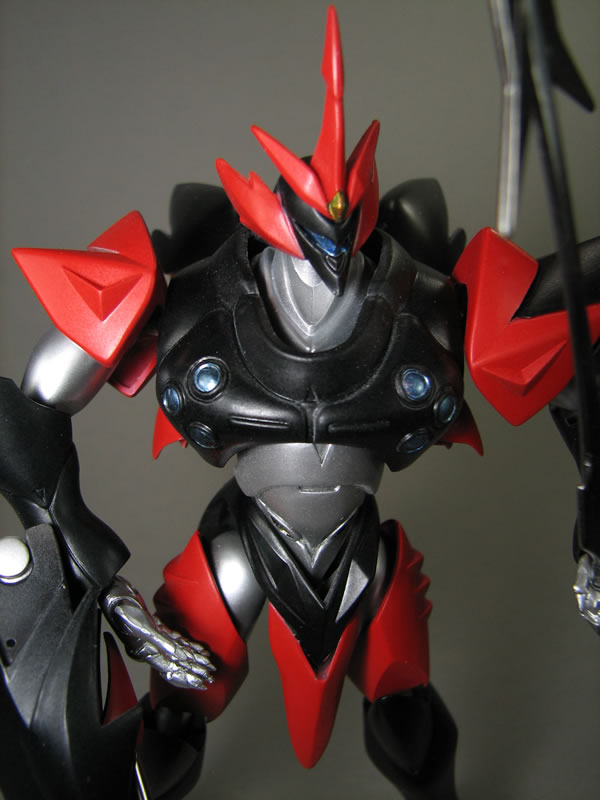
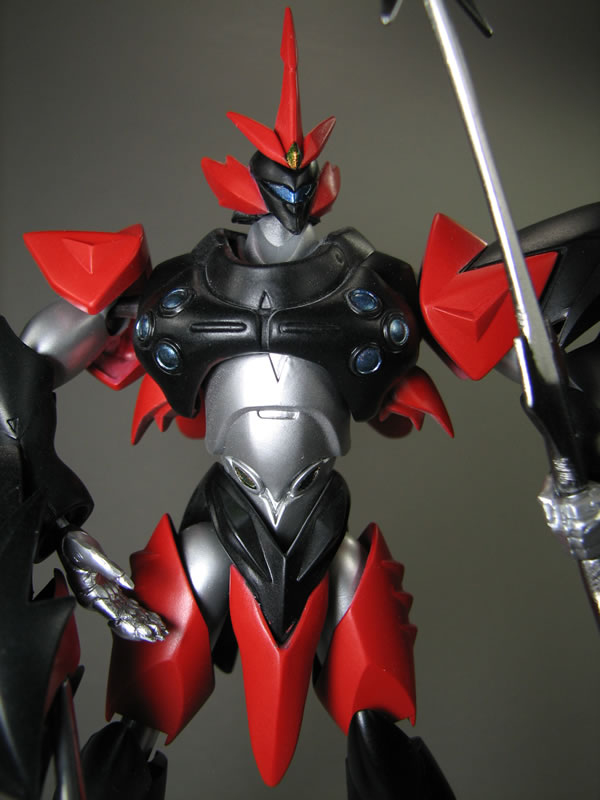
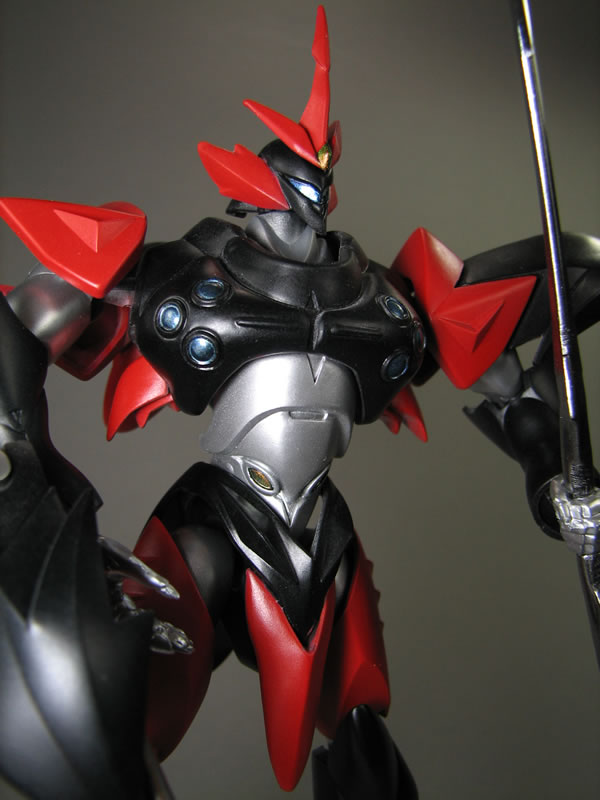
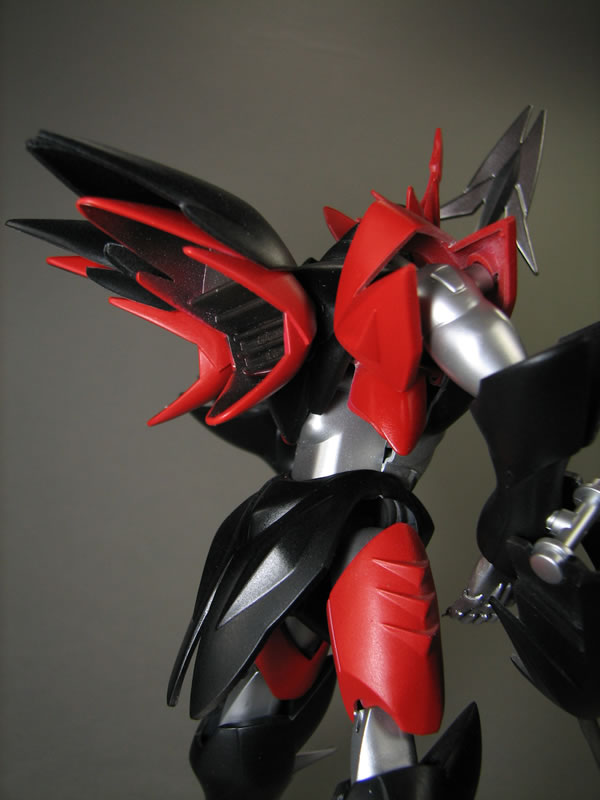
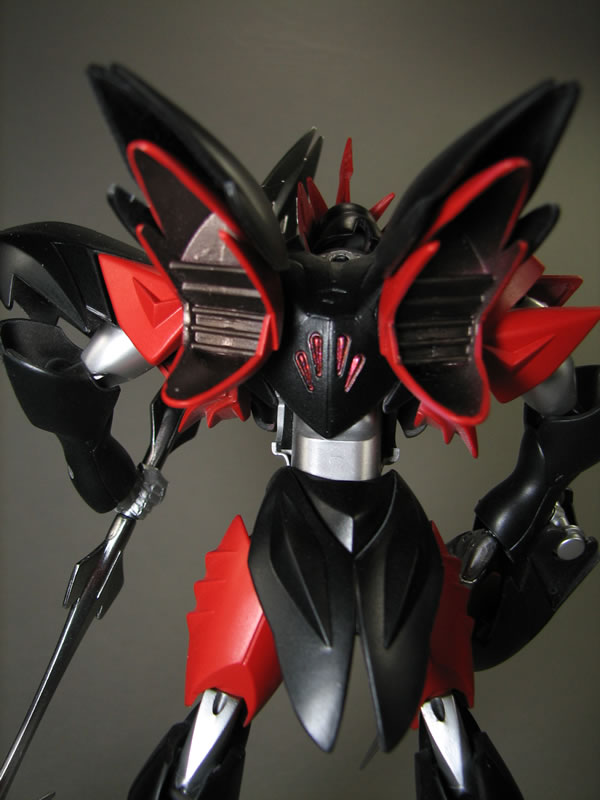
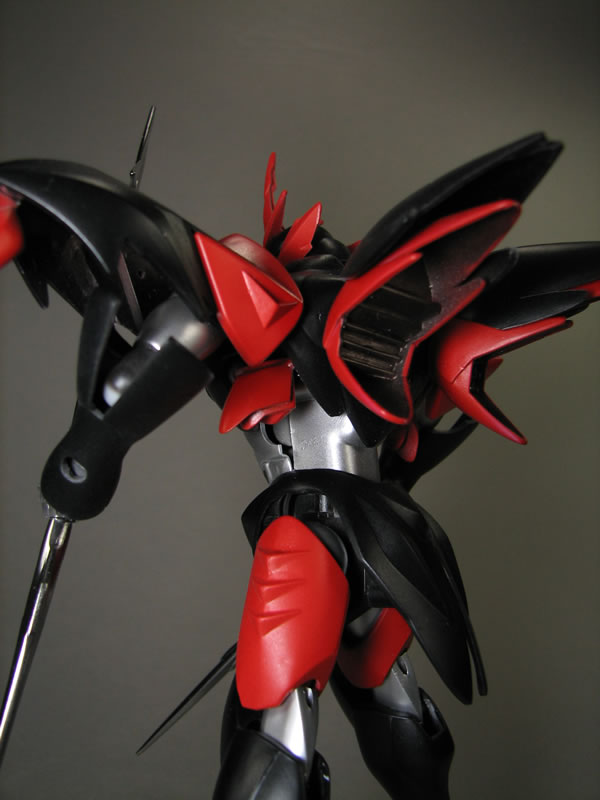
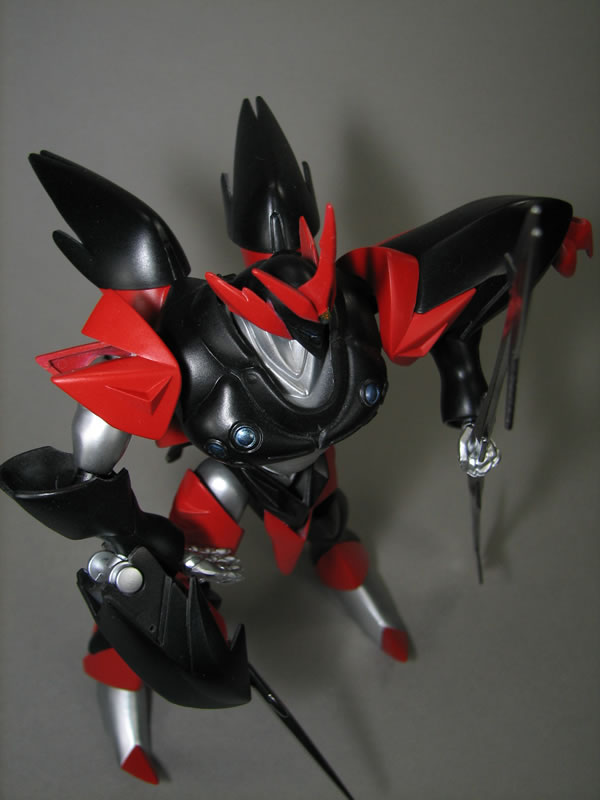
Once everything was masked off, I went and painted the final details and below are pictures of the result. I put the main body together with the head, head fin,torso and waist. Here are a few pictures.
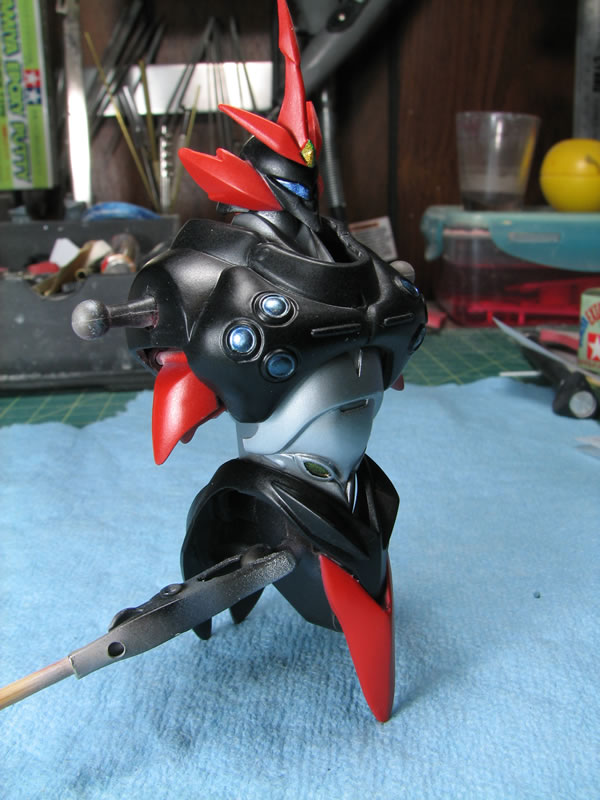
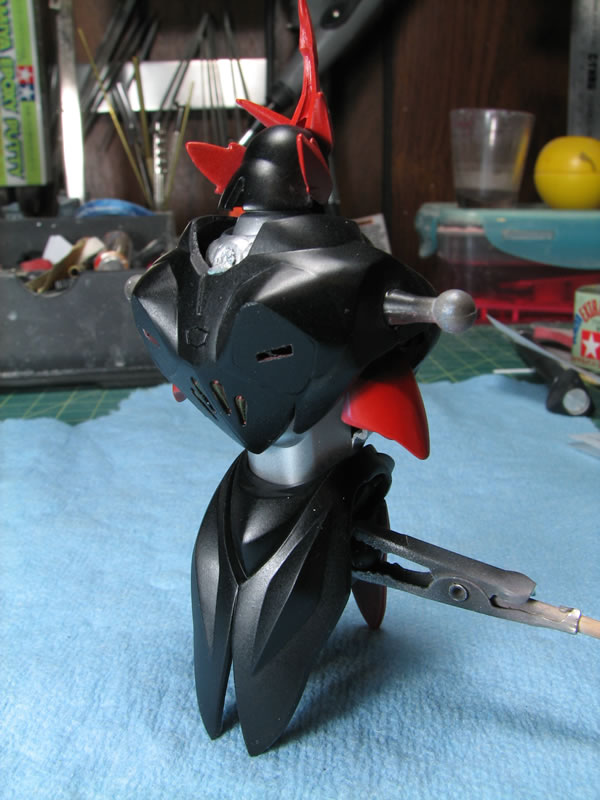
I finished a few other sub-assemblies and the parts are jsut going to sit over night to get nice a cured before I start fiddling with putting the damn thing together. I hope to take some completed pictures tomorrow night, and hopefully take a once over look to make sure I didn't miss any areas.

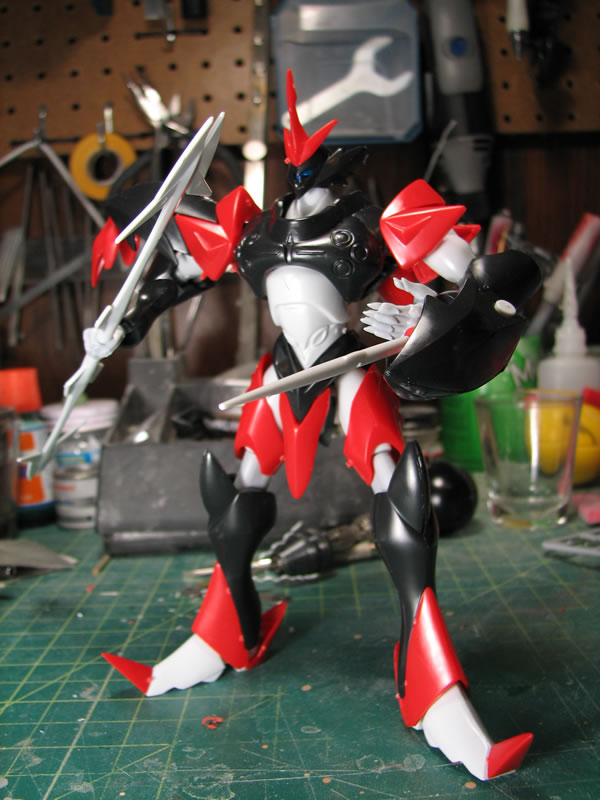
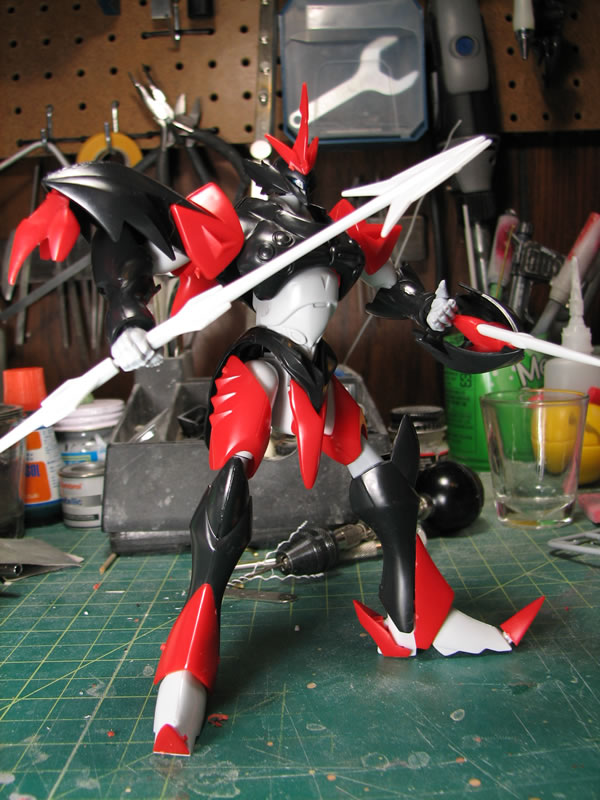
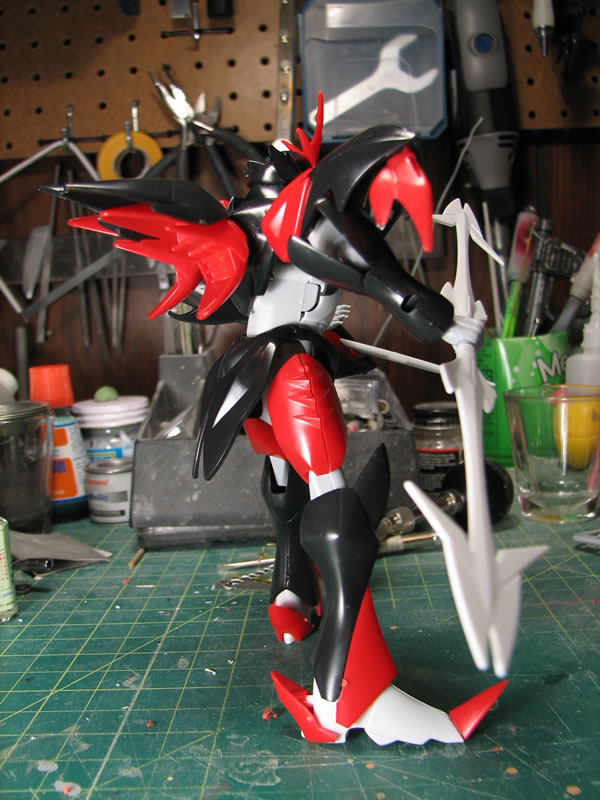
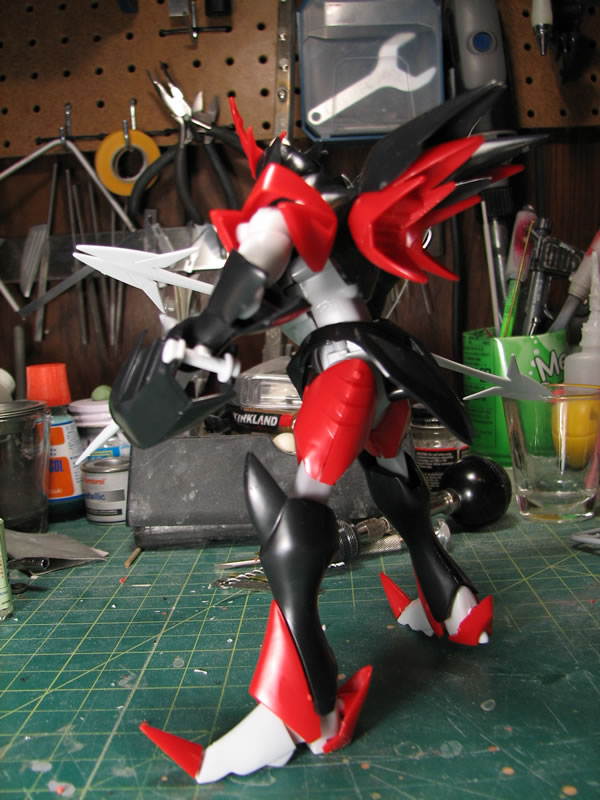
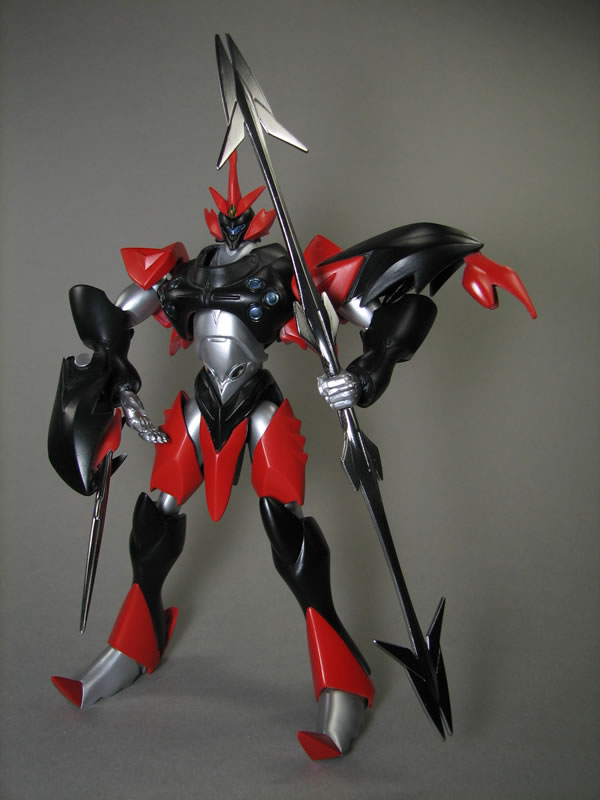
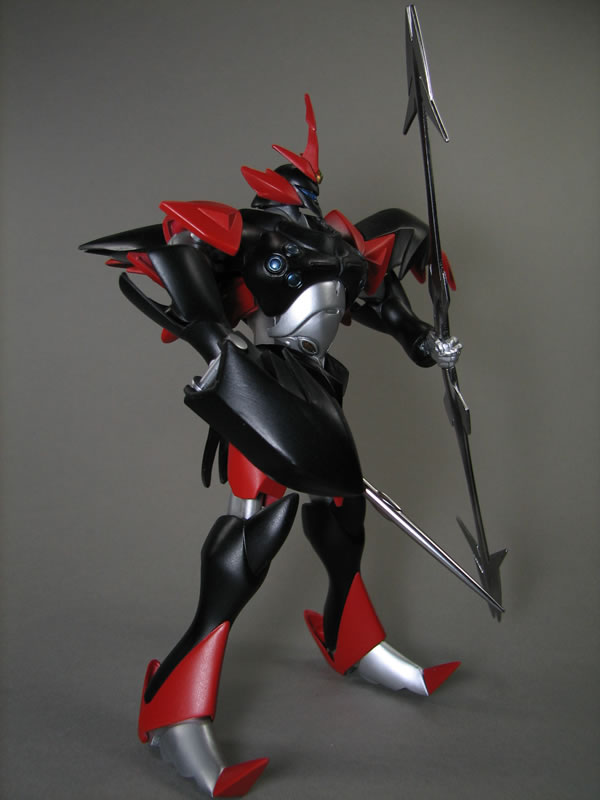
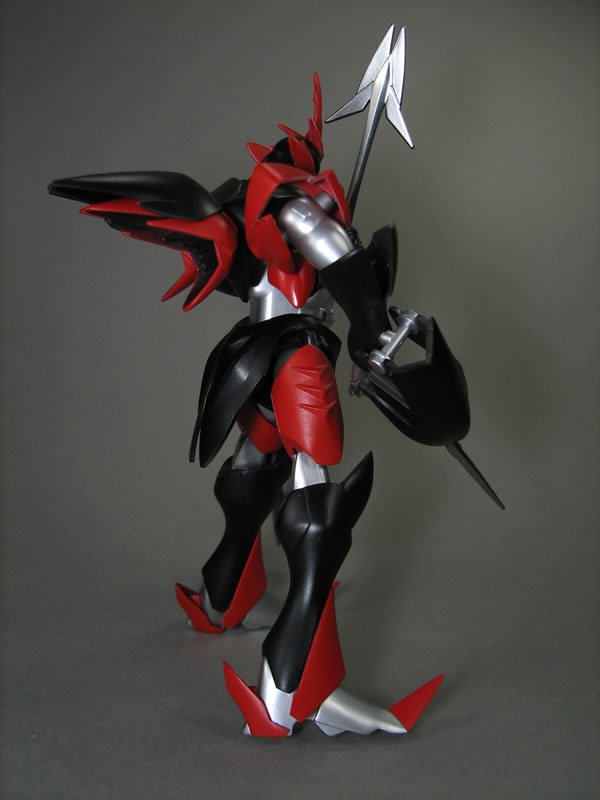
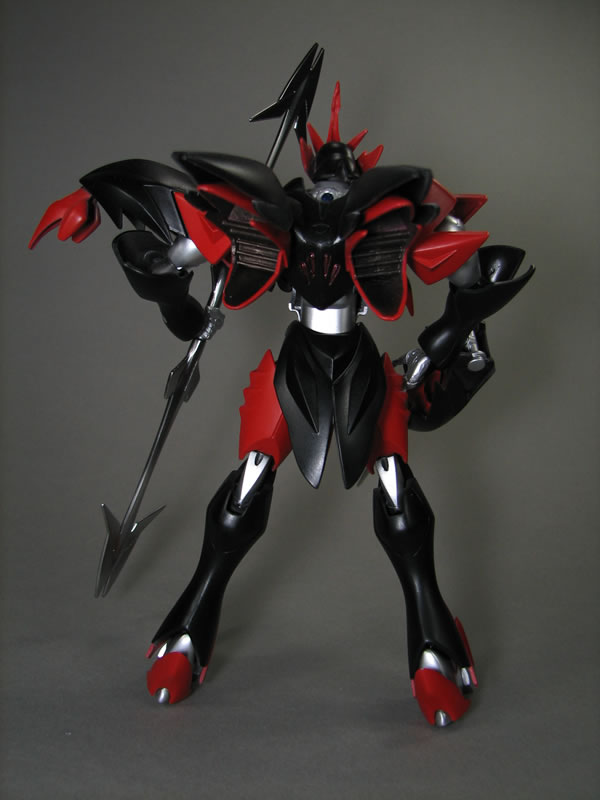
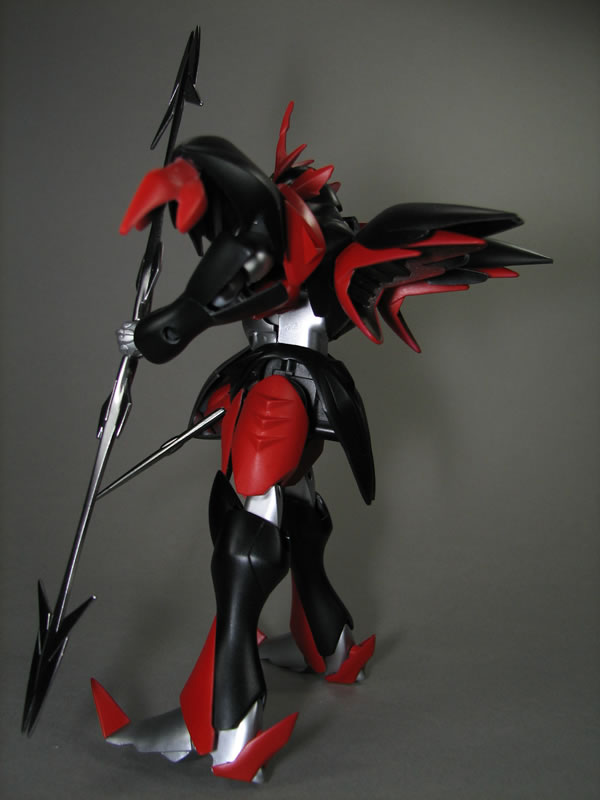
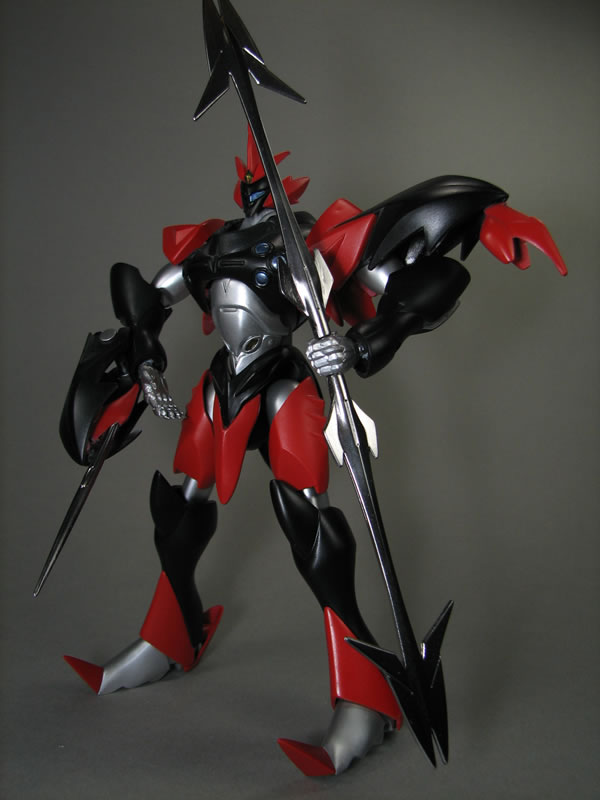
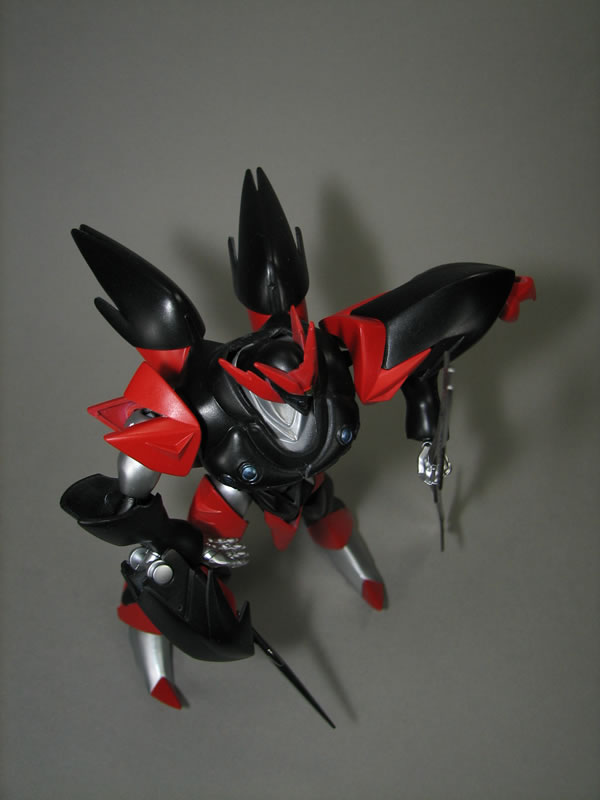
October 24, 2008: After a full days worth of curing, I snapped the sub assemblies together and took some pictures. I also experimented with the photograhy, so the pictures may be a little different from other pictures. At least the sucker is done, time to work on finishing some of my other projects.

|
|

|
|
|
|
|
|
|
|
|
|
|
|
|
|
|
|
August 19, 2008: I started working on this commission piece at the most recent build gathering.