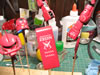
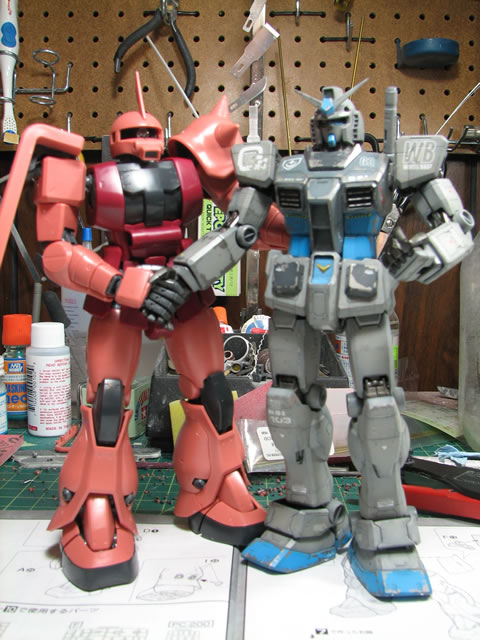
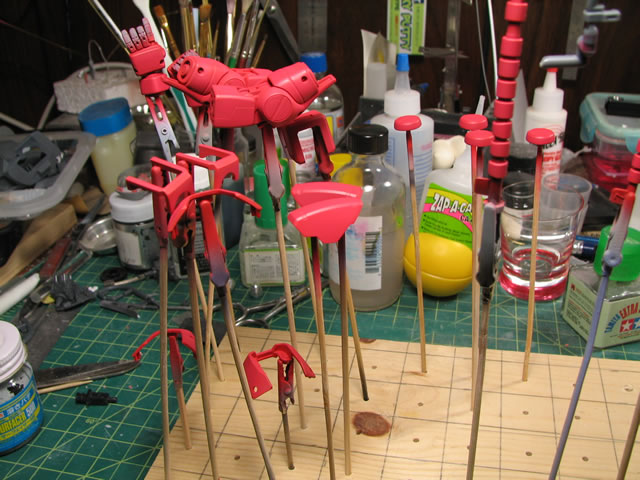
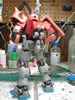
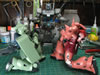
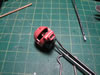
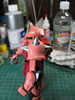
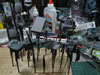
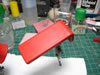
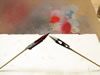
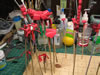
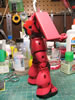
May 29, 2007. These two kits came in the mail today
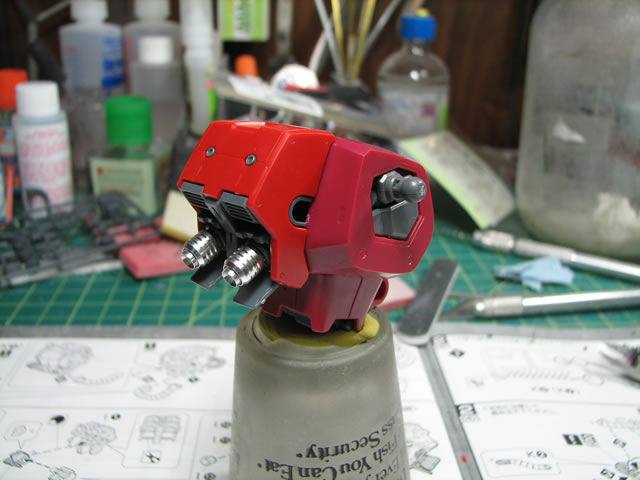
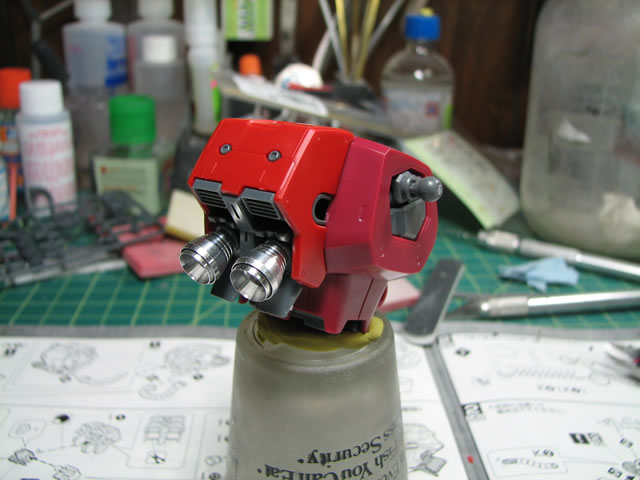
and I started snapping away at Char's tonight. Adding in aluminum thruster
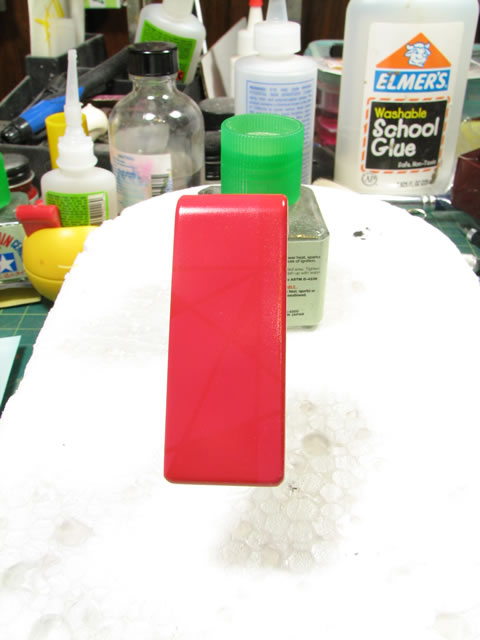
bells from AkoHobby, I'm debating on which thruster type to use. Soup
cans or non soup cans.

 <
<
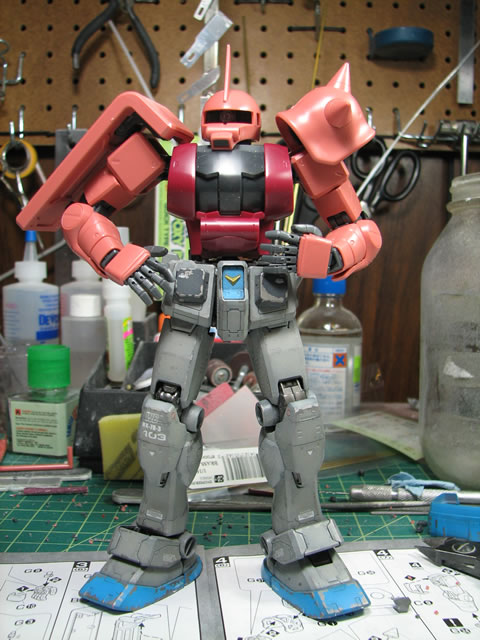
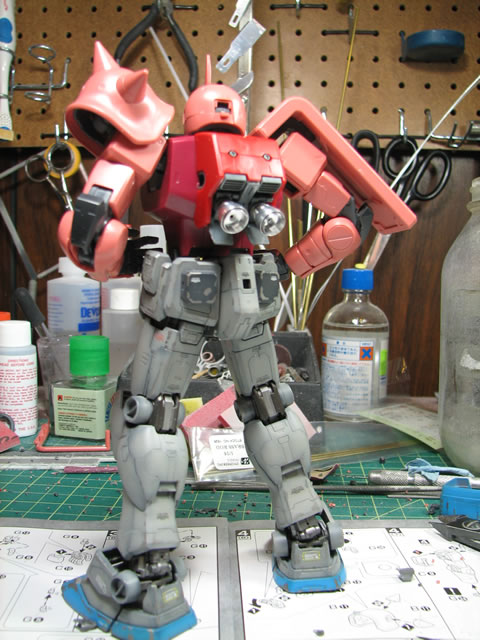
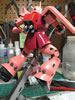
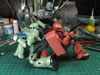
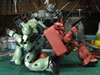
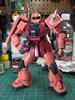
This is about as far as I got tonight. Just for shits and grins I threw
the Zak onto the G-3's waist and legs.
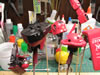
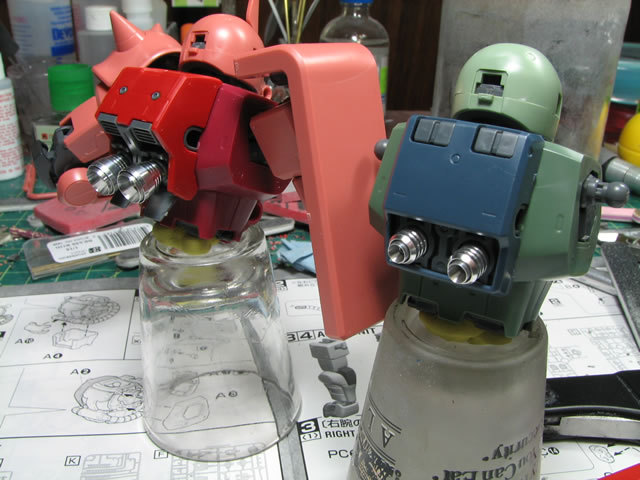
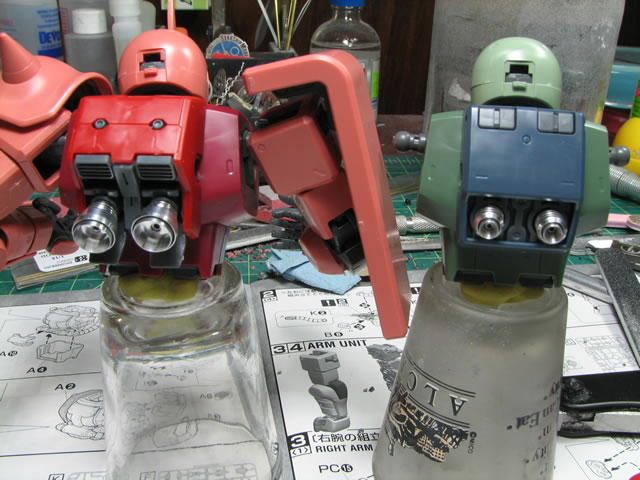
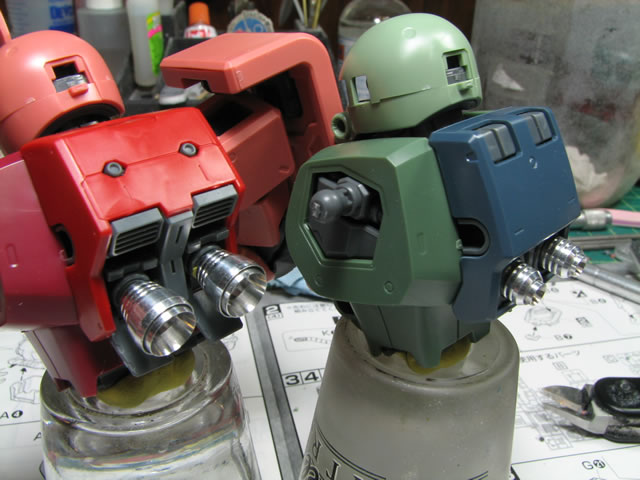
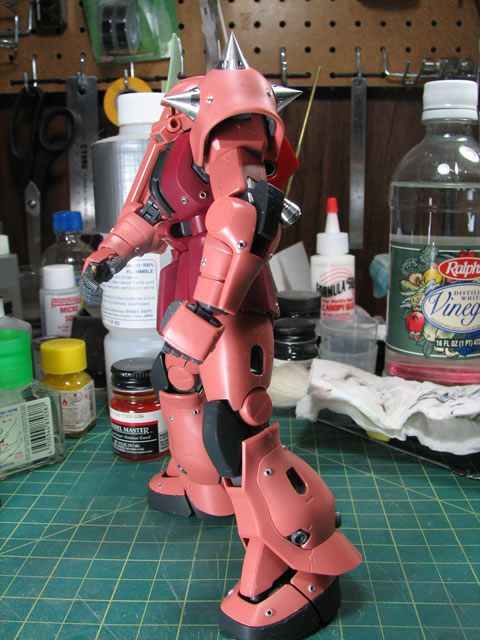
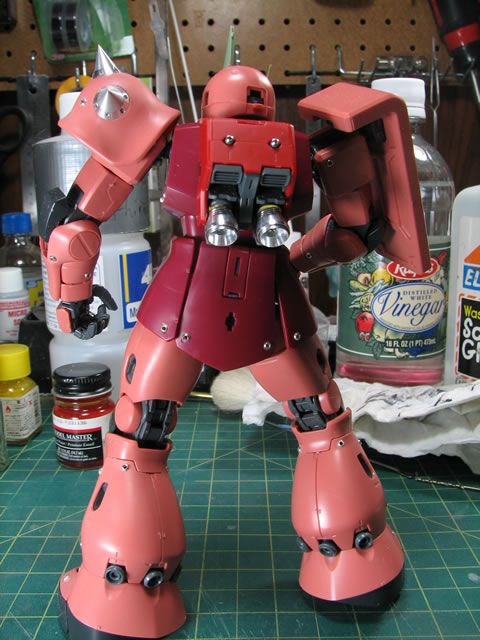
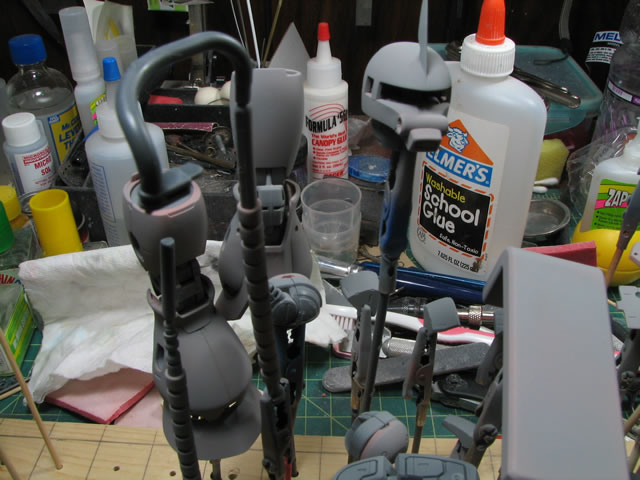
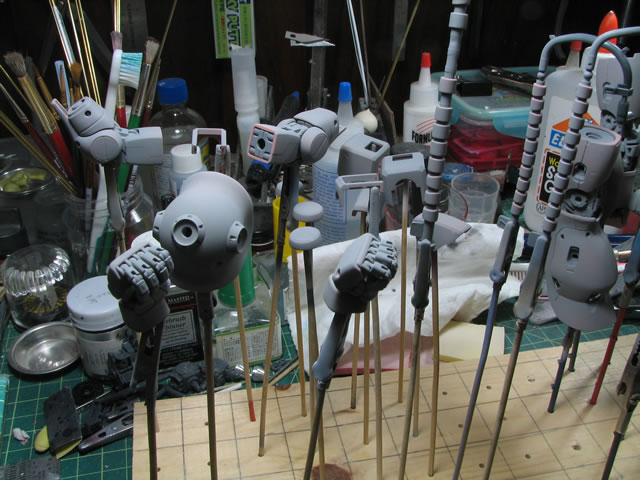
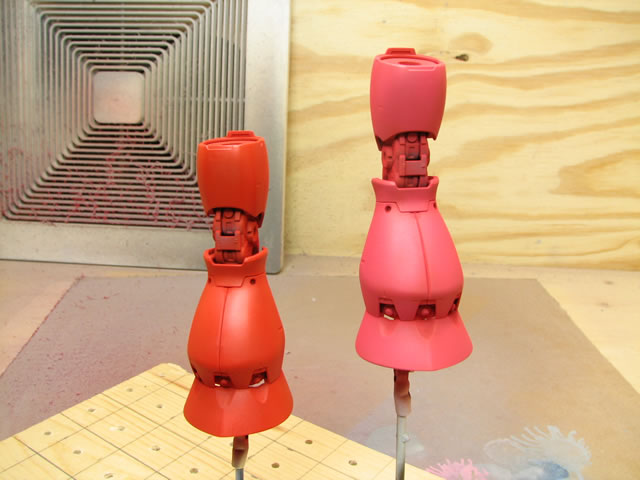
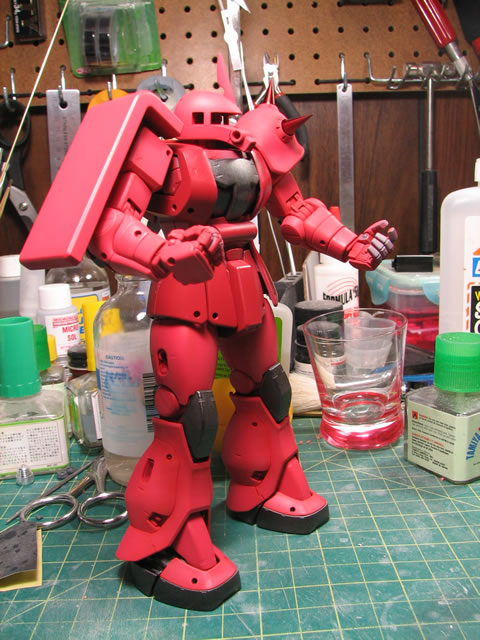
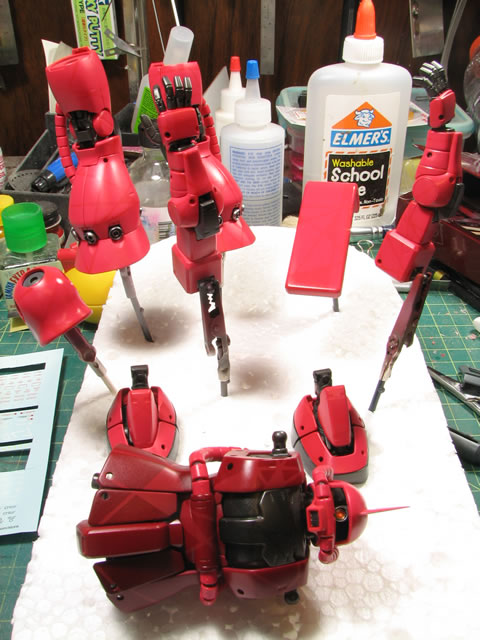
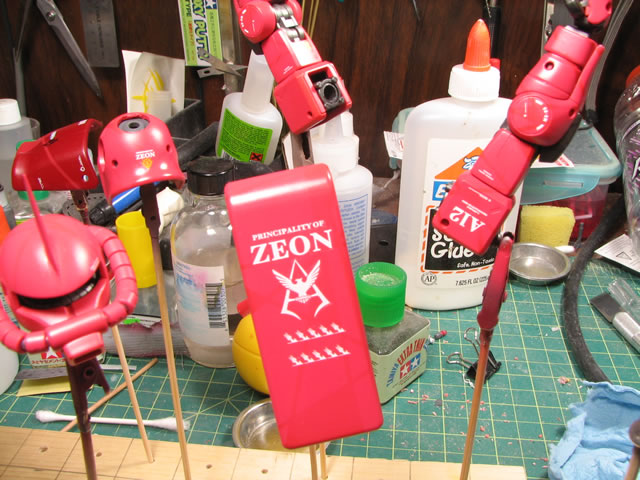
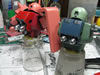
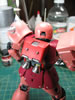
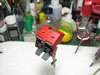
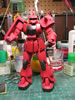
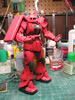
May 30, 2007: Finished snapping together Char's Zak. I left out the cables
since the way they are now are perfect for the sanding and painting process.
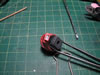
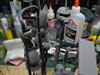
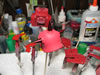
It's a huge improvement over the design of the old Zakus. I also took
a quick picture of the different thrusters on the completed suit. I'm
going to stick with the non soup can thrusters for this kit.


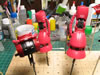
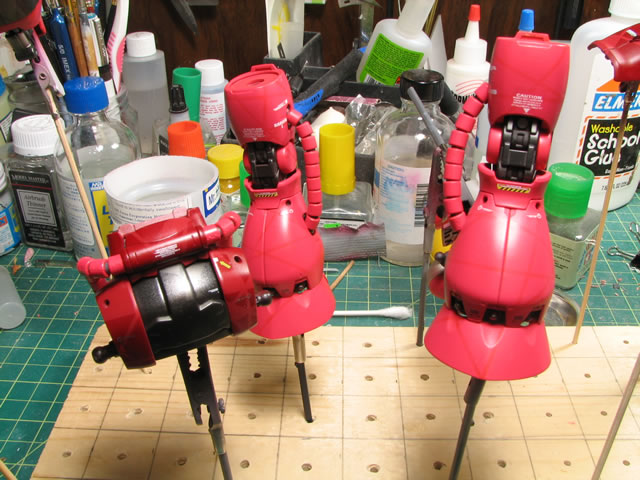
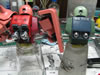
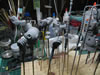
Started snapping the Zaku J. Since the backpack is different for the
kit and it utilizes smaller thrusters, the soup can thrusters work well
here. The non soup can thrusters don't fit very well for the J's backpack.

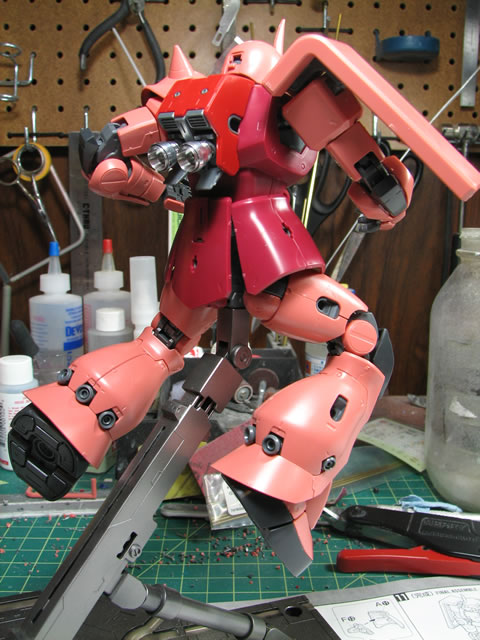
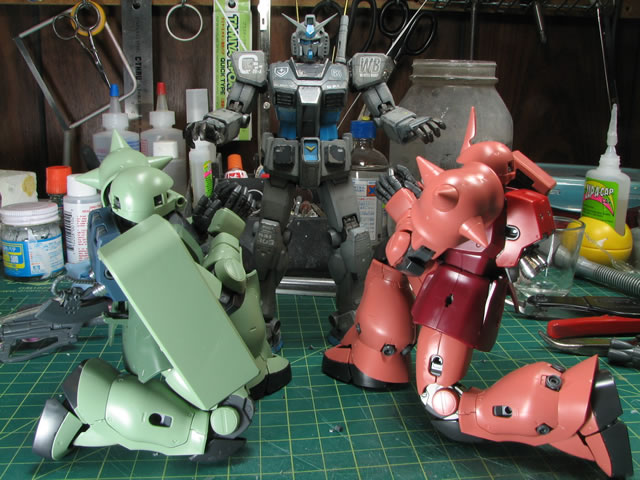
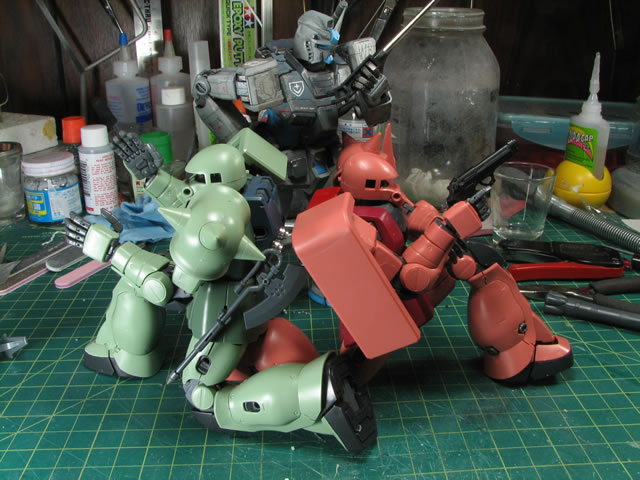
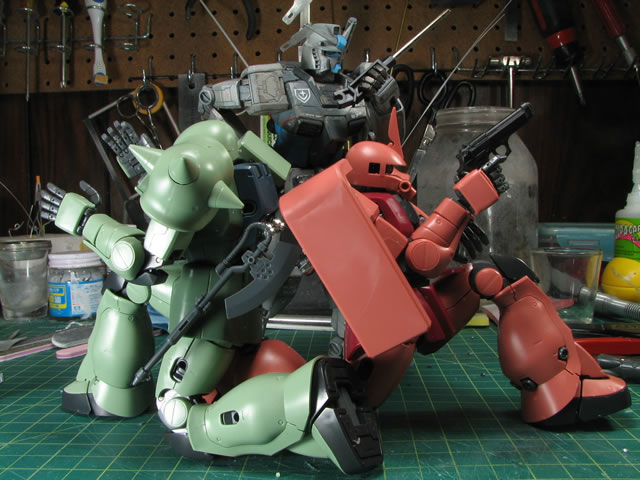
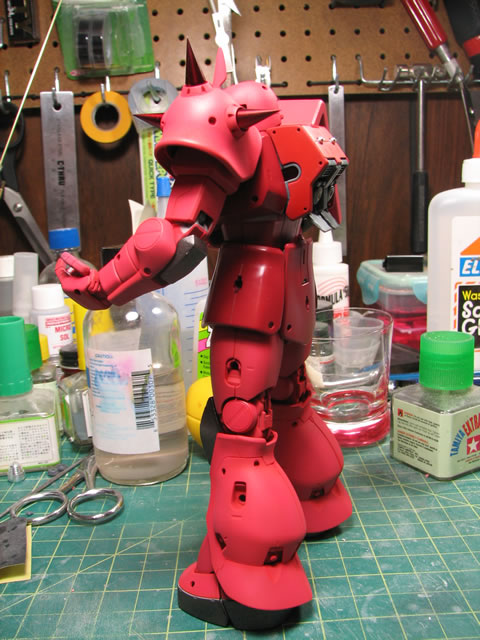
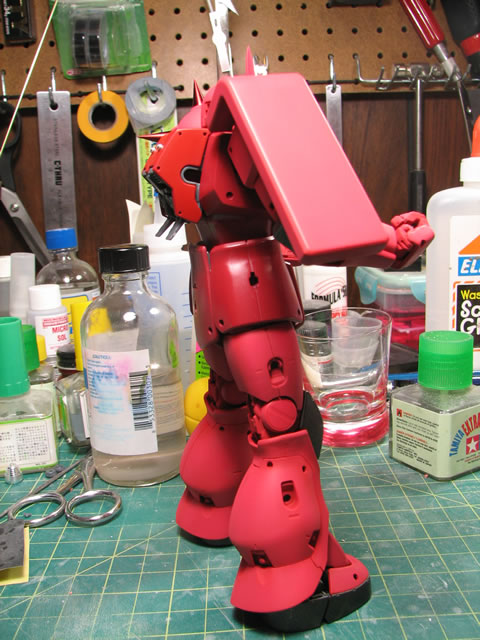
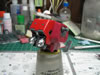
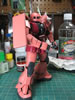
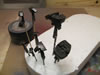
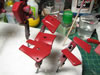
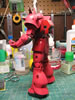
May 31, 2007. Finished snapping the Zaku J together and decided to have
a little fun with the mobility of the kits.
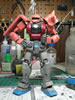
November 12, 2007: Since the Zaku J eventually became this kit: Zaku
II Ver. No Paint; this build page will now focus on the Char's Zaku.
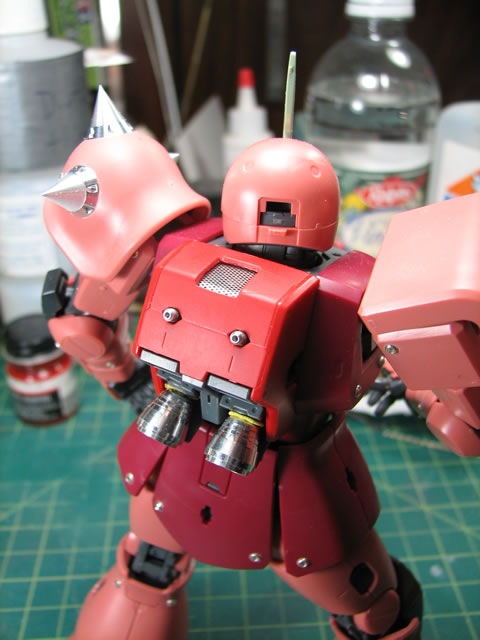
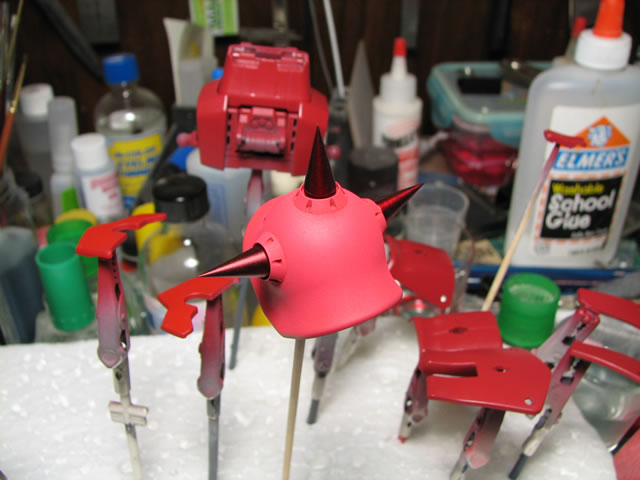
The build gathering this past weekend saw a good amount of work for the
pink Zeek. Prior to the build gathering, I recieved some aftermarket parts
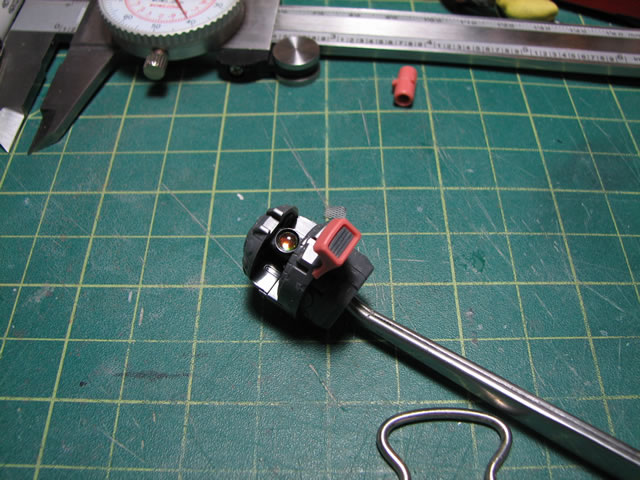
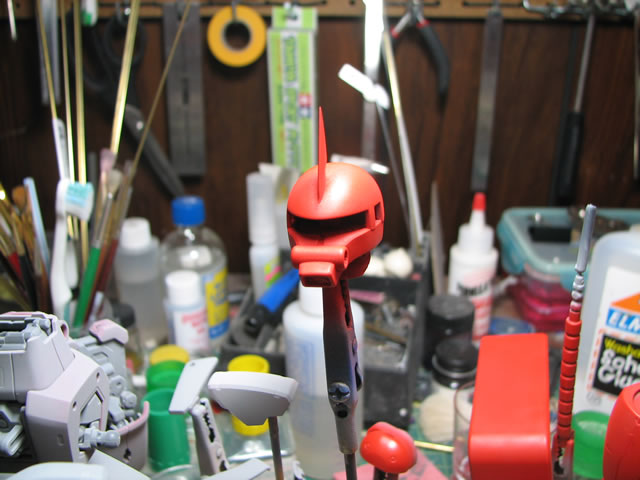
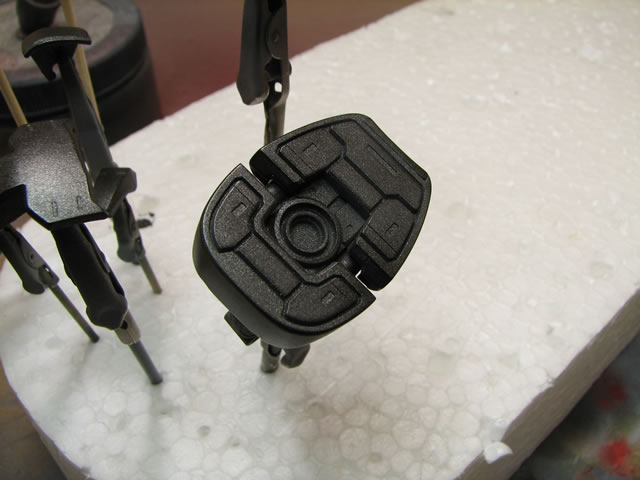
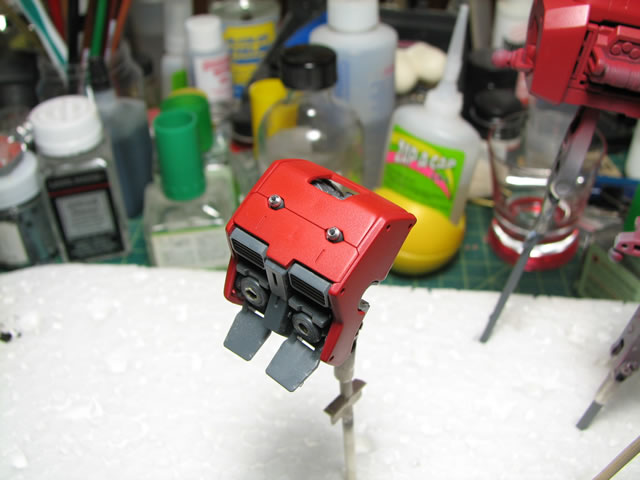
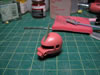
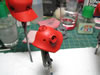
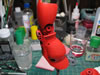
which I just couldn't help but break them out and add them. First was
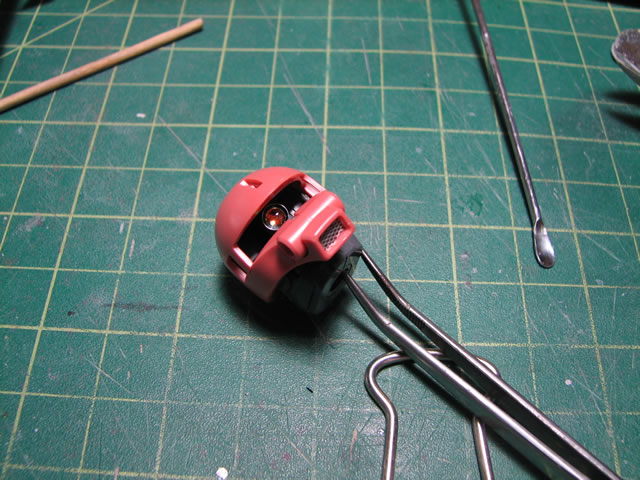
the mono eye mod I quickly threw together for
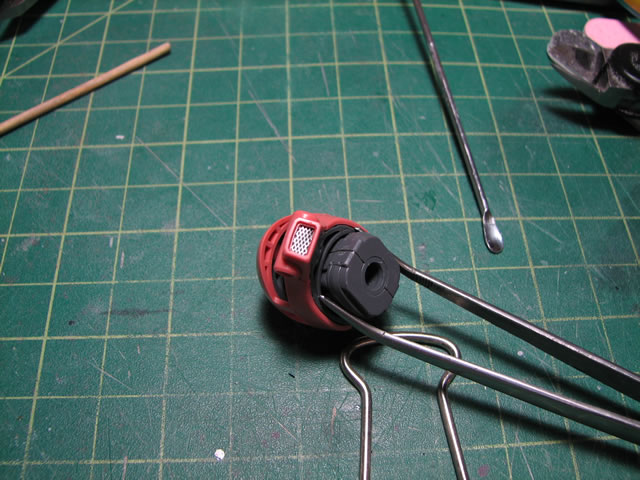
a small tutorial. Next was the modification to the "mouth" of the zak's
head. I sanded off the detail and replace it with a mesh screen.
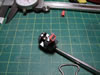
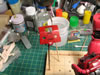
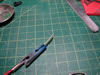
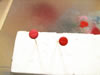
At the build gathering, I spent most of the time drill small holes for
bead accents. The holes were drilled at selected detail spots on the kit
so not much work in measureing was needed. I used a pin vise to do the
drill work as anything else such as a dremel or power drill would be overkill
for such delicate work. The beads will be taken out for the sanding process
and will be glued into place once the kit has been completely painted.


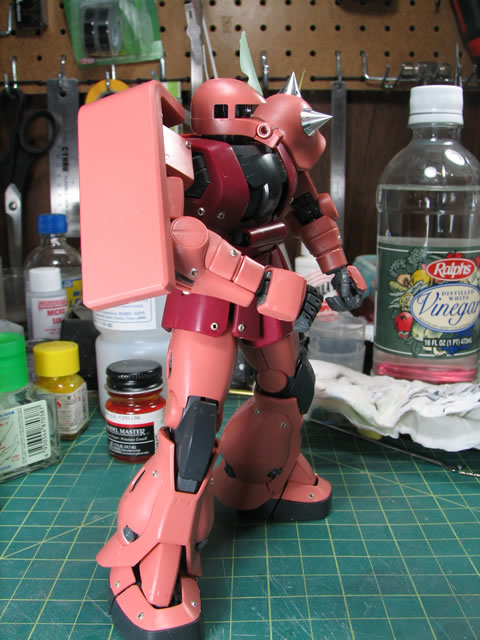
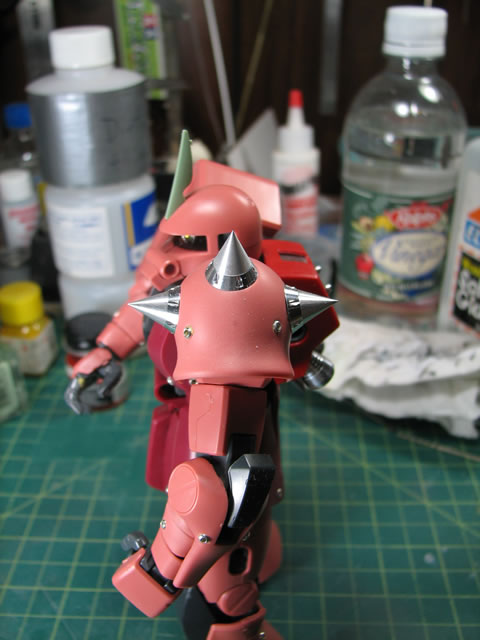
The last few bits of detail were the backpack and the zak's left shoulder.
- I replaced the stock spikes with metal spikes from Adler's Nest. The
aftermarket spikes fit into place with no modification. I just need
to glue them into place. I am still debating if I want to paint the
spikes, tint them some other metallic tone, or just leave them alone.
I'm leaning more towards to just painting the damn things.
- For the backpack, I added Adler's Nest small metal collars on top
of the existing small boosters aboe the big thrusters. The original
small thrusters were just not doing anything for me, so extending them
out efer so slightly with the collars seem to do the trick.
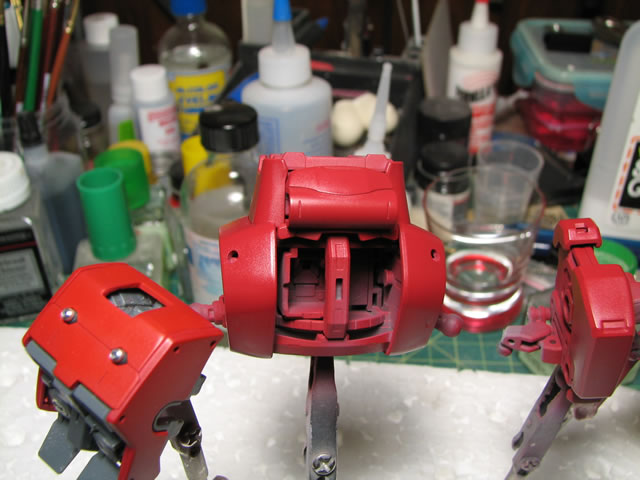
- The last bit of detail was cutting out a the small square detail in
the top middle section of the backpack and replacing that with some
metal mesh; this way I can add some wiring and paint the internal section
of the backpack and for someone with a flashlight, they would be able
to see into the backpack.
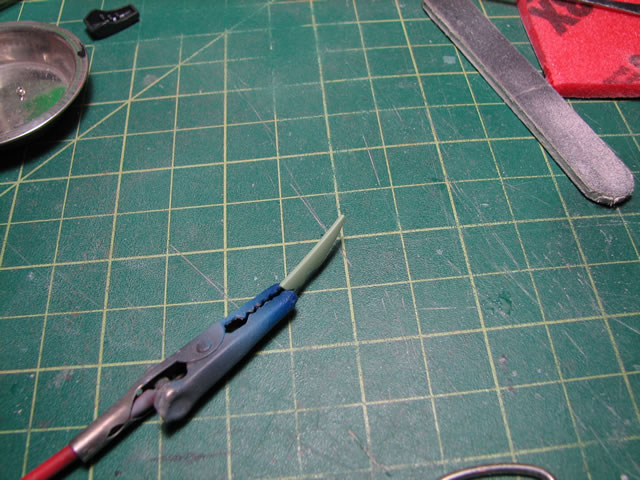
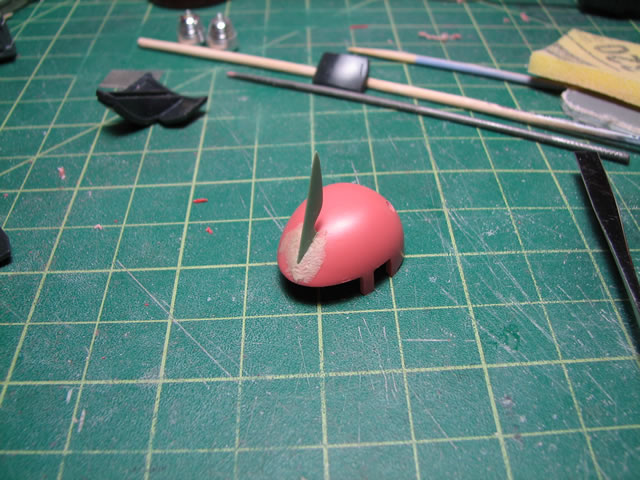
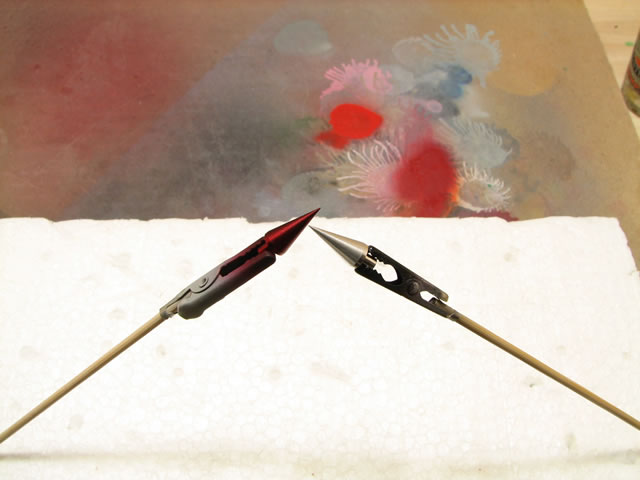
November 28, 2007: Got back into the groove of working on the kit this
week since I'm waiting for some paint for the Habaneros. I sanded down
the antenna and then added a little tutorial for it here: Antenna
Tutorial Below are the results.

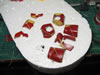
Next I finished sanding the exterior armor and primed all the parts.
Once all the parts were primed, I wet sanded the surface to get the smoothest
surface for the painting session.
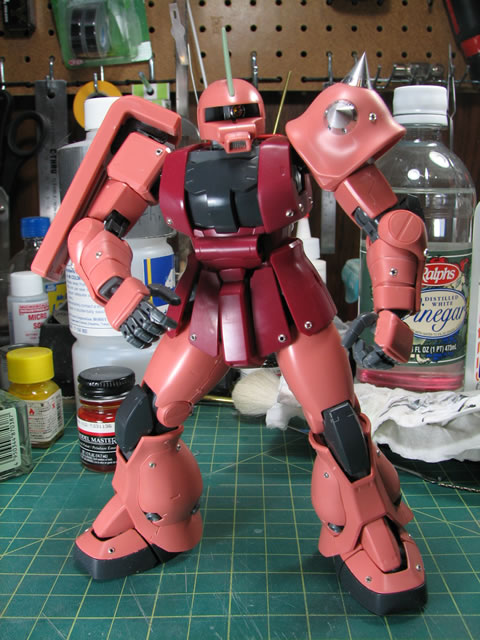
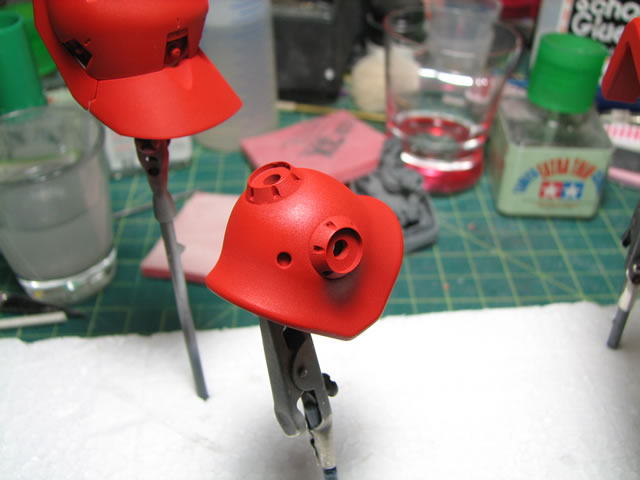
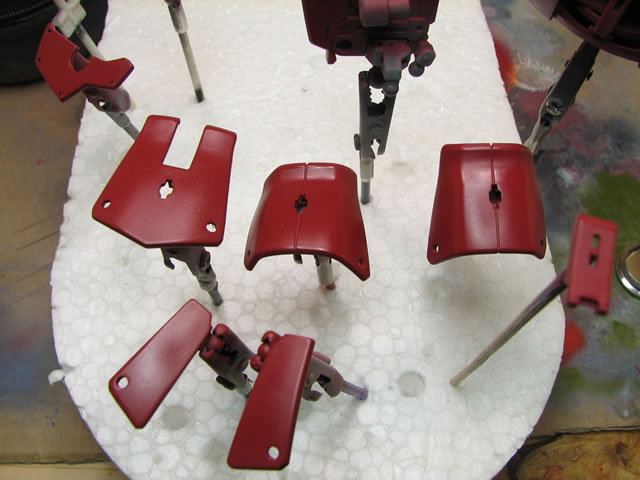
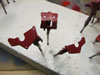
Sticking with the Char theme, I based coated most of the exterior armor
pieces in an orange red color.


The feet and gray parts were painted with Mr Color Metal Black. The dark
red parts were then painted with Mr Color Russet. I decided to keep the
metallic property of the spikes so I painted them using clear red.


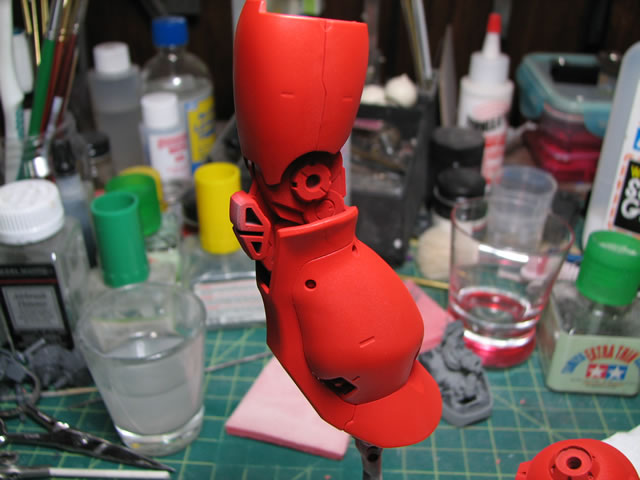
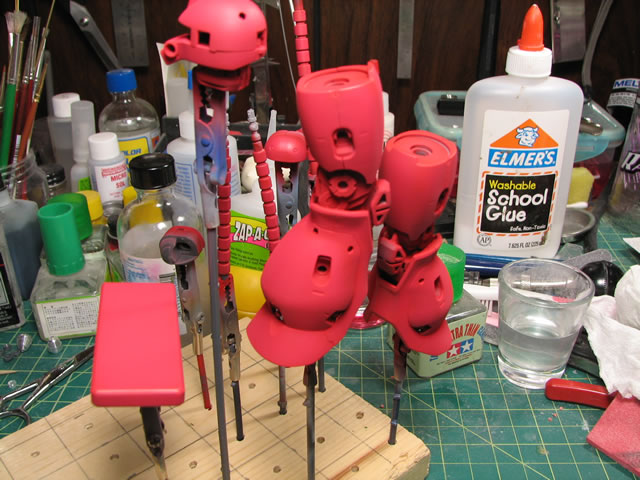
I made a custom mix of finisher's paints for the rather pinkish salamon
Char color which I then lightly preshaded.

The backpack was preshaded with bright red and at this point the exterior
armor pieces are almost done.


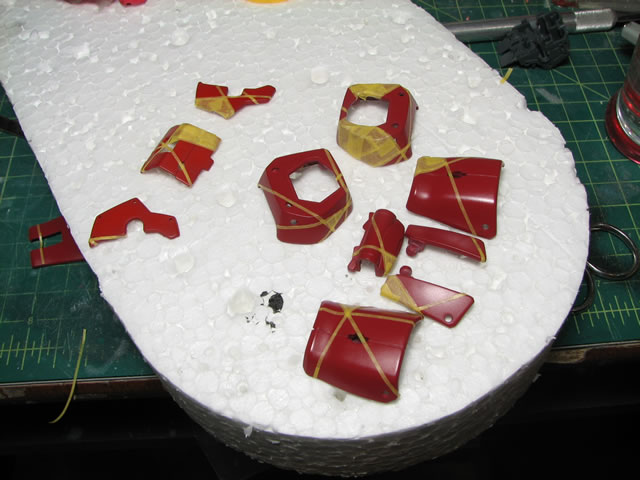
December 1, 2007: After getting the intial shading colors onto the kit,
I was able to move on to masking. However, when testing the paint adhesion,
I realized that there were several spots all just about all the pieces
where paint chipped off with the masking tape. The problem is most likely
due to the fact that this kit was snapped back in May, and from that time
until I started working on the kit, it had been handled by severl people
including myself. The forethought to wash the kit after I sanded the kit
was completely lost to me, so my initial priming session was for not.
This past Thursday night was spent stripping all the paint and primer,
effectively undoing all the work from the previous two nights.
After stripping all the paint and repainting, I was able to get back
to the masking process that I would have been doing Thursday night. About
6 or so hours of masking, I got all the parts masked and ready for the
second color tones.
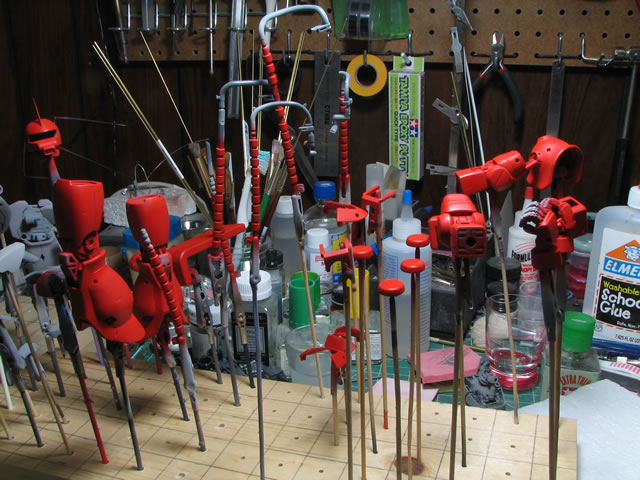
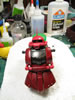
The first clear coat was sprayed onto the part around 12 AM Friday night,
effectively missing the MMC deadline. Below is the current status for
the kit. I only need to apply the decals, apply another clear coat, a
panel line wash, and the final clear coat to complete the kit.

December 4, 2007: Mini update; decals are done. I did use some of the
dry transfers as the waterslides I had didn't quite have all the Char
markings I wanted to use. They've improved since I last used them 3 or
so years ago. I still don't care too much for them as I feel that they're
overly delicate and once you place them, it is a one shot deal. With waterslides,
at the very least you can still repositioning it while it is still wet.
I'll let the decal setting solution cure overnight then hopefully I can
get up early enough to spray on a clear gloss. Which will put me in good
position to do the panel lines and final flat coat tomorrow night.