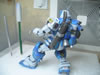
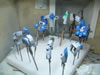
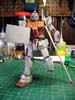
August 7, 2005: This weekend I started a new diorama
project. The basis for this kit will be a battle scene with one down GM
and a GM Sniper in the midst of firing while hopping back away from the
line of fire that took down the GM in front of him.
August 13, 2005 Going with a different style of updating
this page. Since the kit is seperated into 3 stages, the two GMs and the
Base, I'll make the updates as such in the pertinant sections below. Today
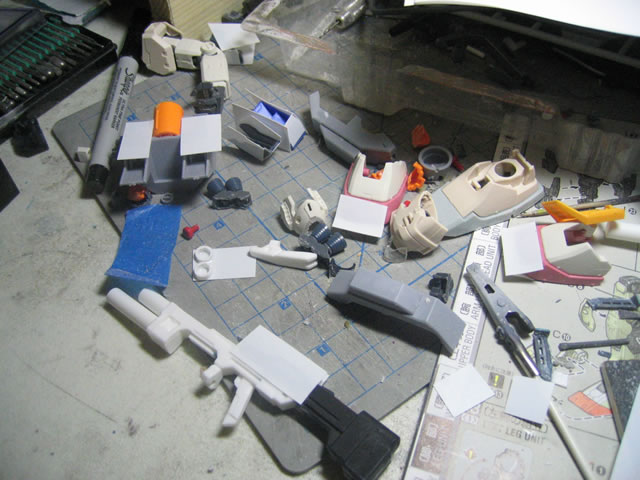
I did some sanding work and additional puttying. Building up parts slowly
and reshaping things. I'm making slower progress of late because I've
been busy with other things. But this weekend should be a productive one.
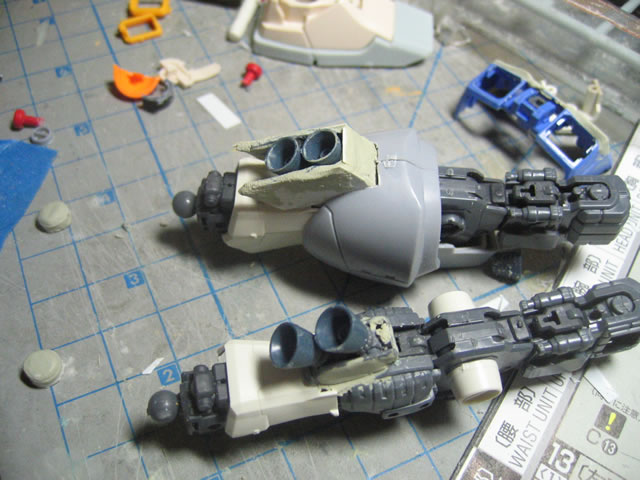
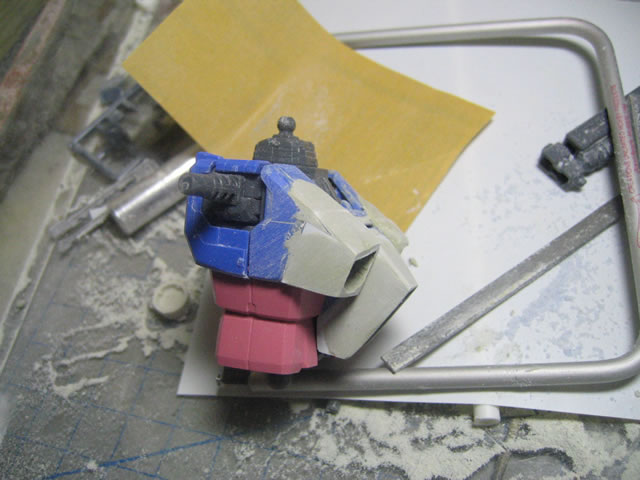
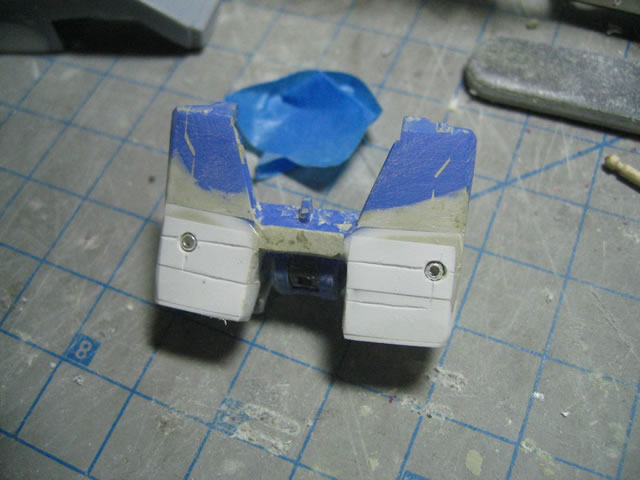
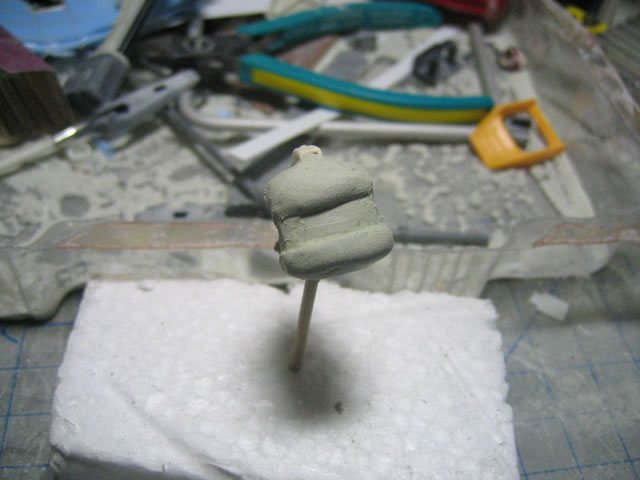
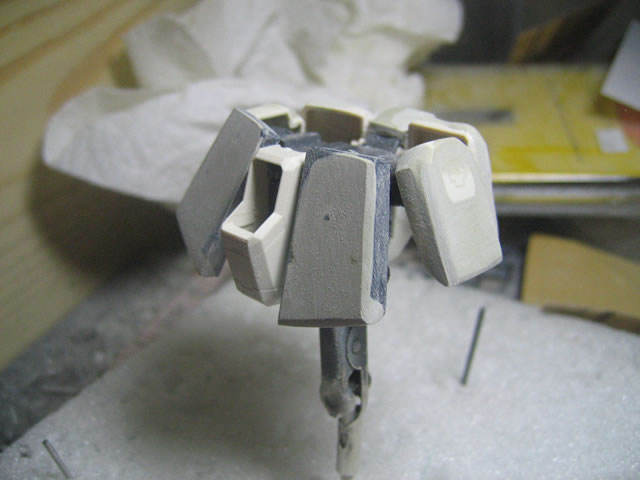
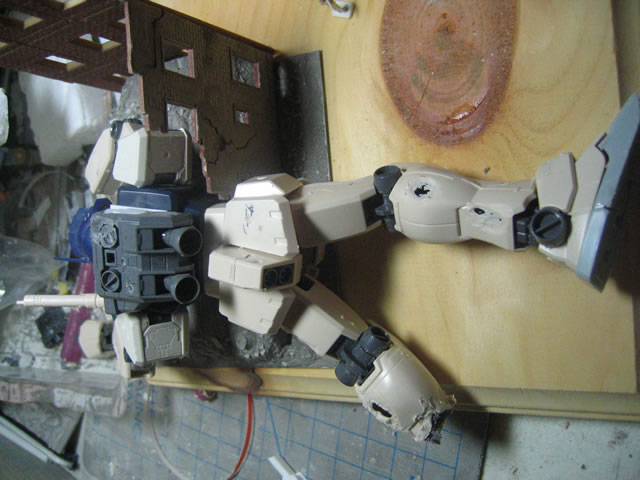
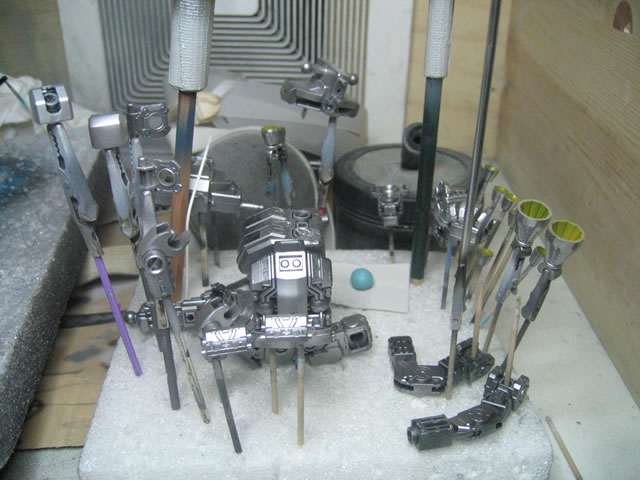
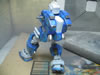
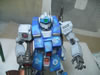
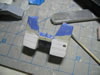
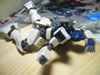
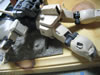
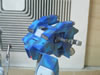
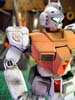
August 16, 2005: Did some more sanding and detailing
work. I added detailed slabs of styrene to the skirt armors and drill
out holes to add little metal beads. I also got a little futher on the
GM's head, still have tons of work, but it's starting to take shape. I
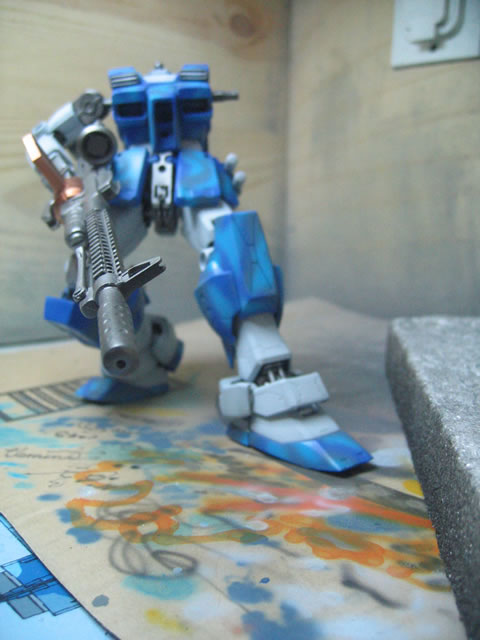
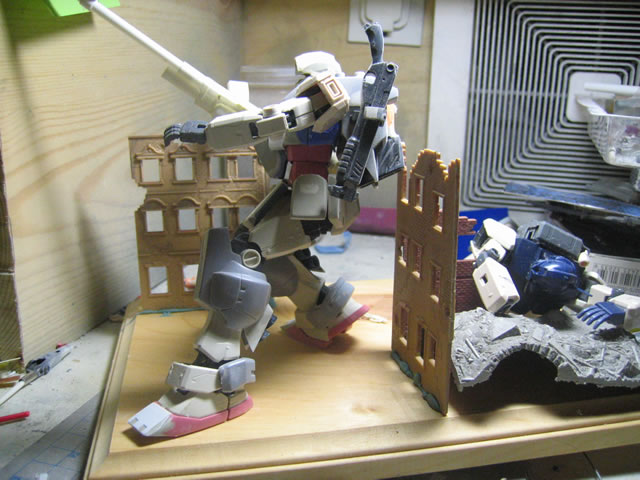
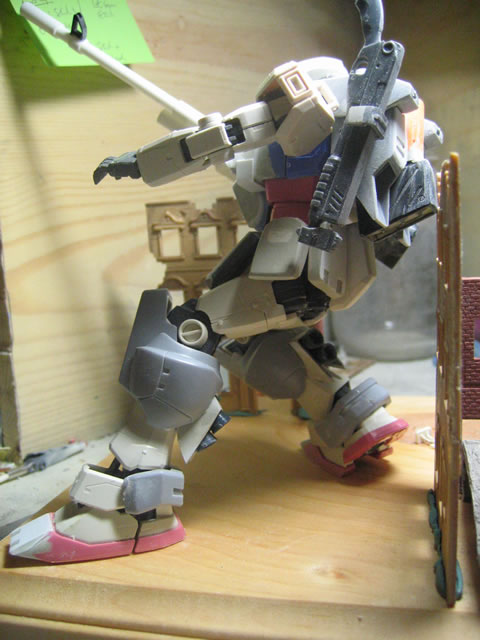
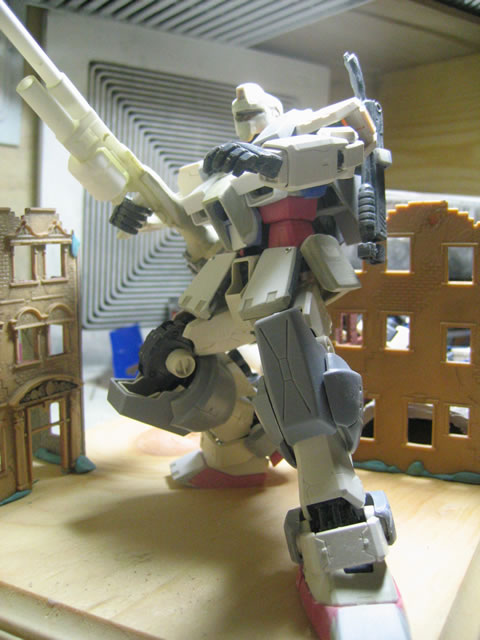
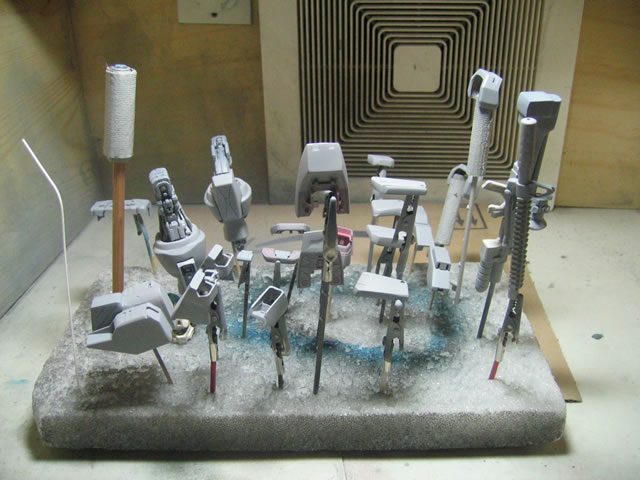
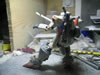
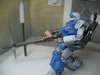
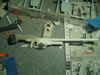
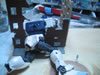
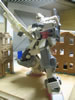
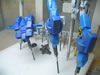
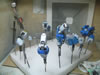
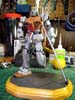
also took some pictures of the kit on the diorama base. I'm still deciding
on the final pose. I like the pose I have in these new pictures.
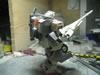
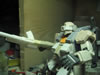
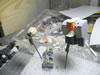
August 27, 2005: Finally got to get some work done on
the kit. Recent distractions include the Japanese Version of Gundam True
Odyssey and Otakon. But back on the horse.
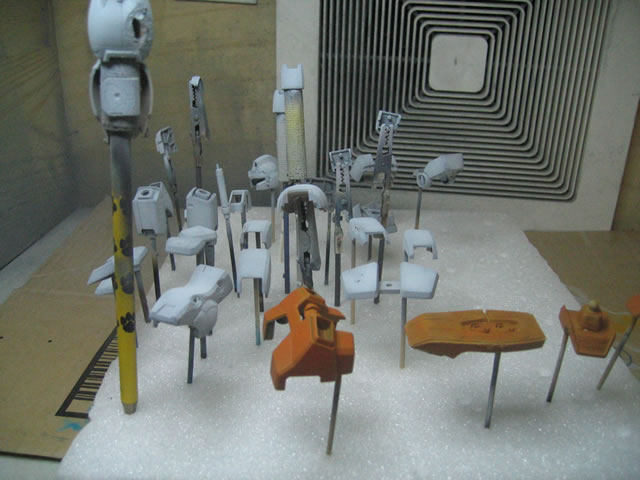
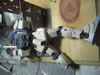
September 5, 2005. Saber has been getting in the way
of this project. I've primed some of the parts and finished sanding all
the parts for the PGM, however the "dead" GM still needs to
be sanded.
September 19, 2005: Tthe "dead" GM has been
sanded and primed. I will be painting this along with the other GM. I
finally finished up Saber and I can now focus 100% on this project. Will
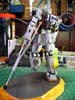
it be finished in time for Orangecon? I have no idea. I'll try. Right
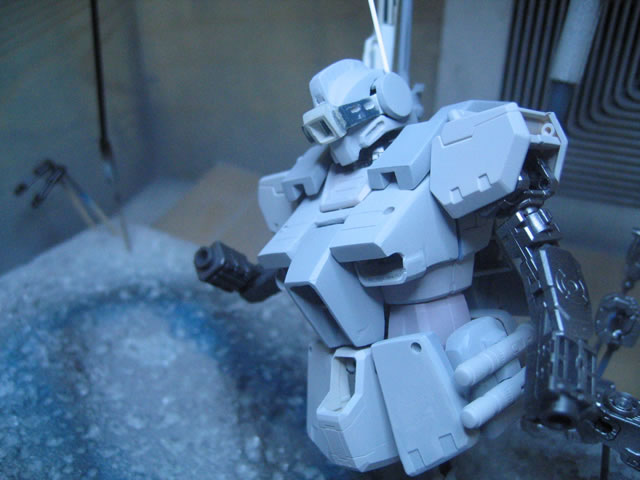
now, I have the main body of the Sniper GM primed and semi assembled for
a little sneak peak. Hopefully I'll get the painting of the GMs done this
week and can start work on the diorama base.
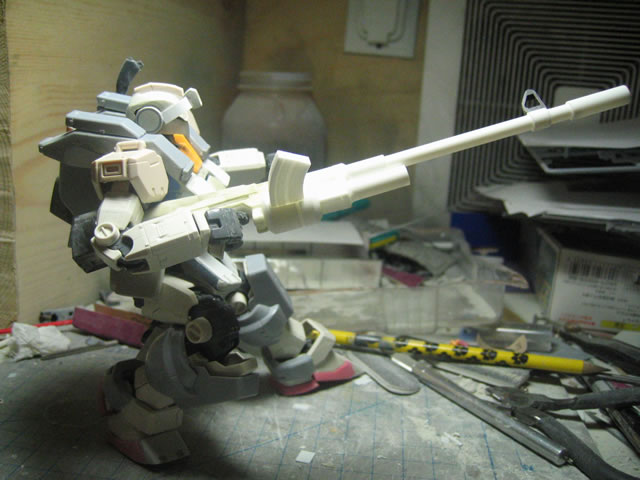
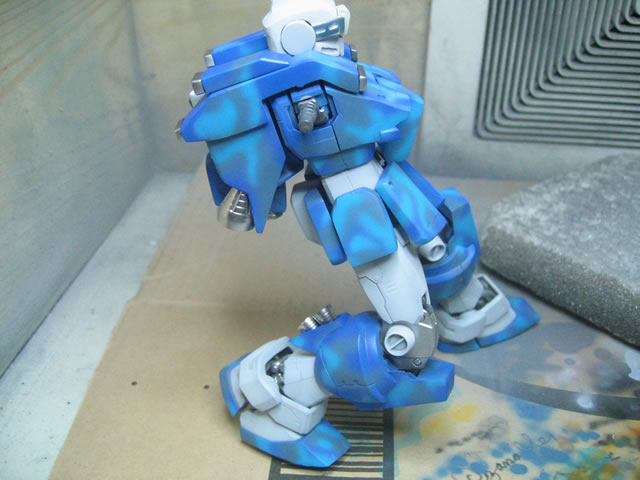
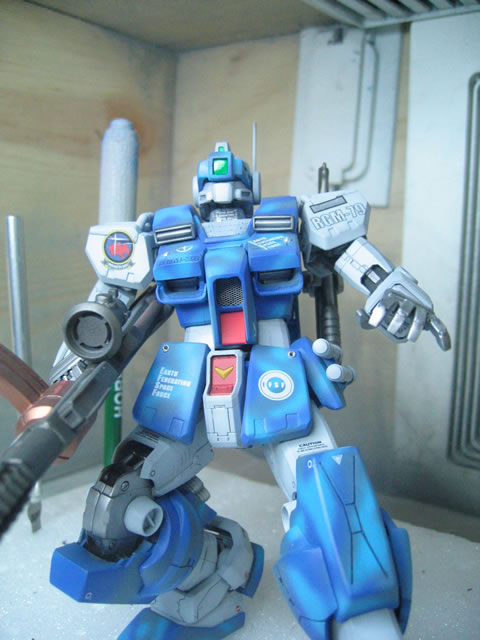
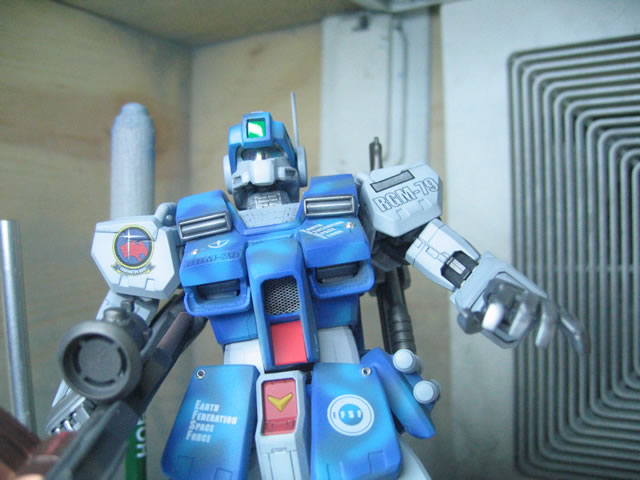
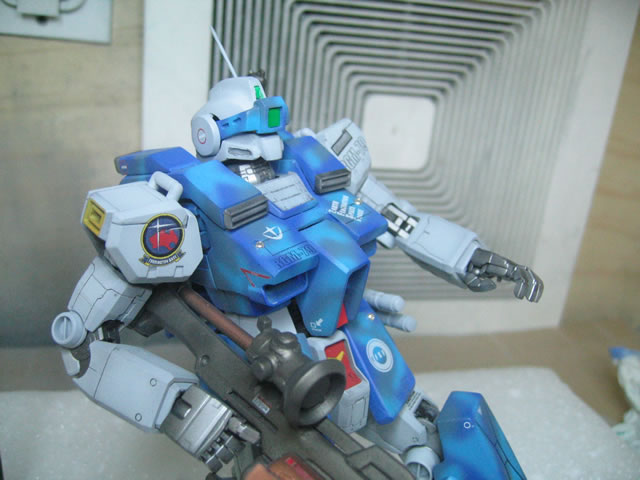
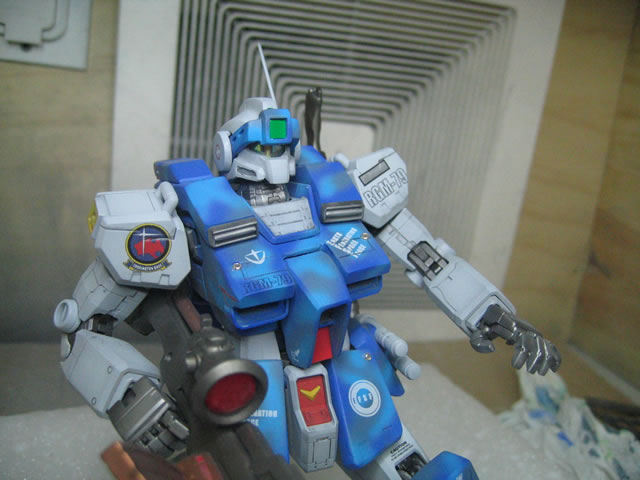
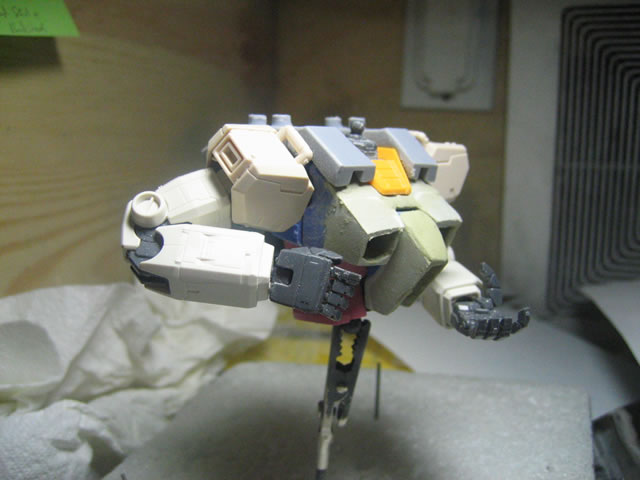
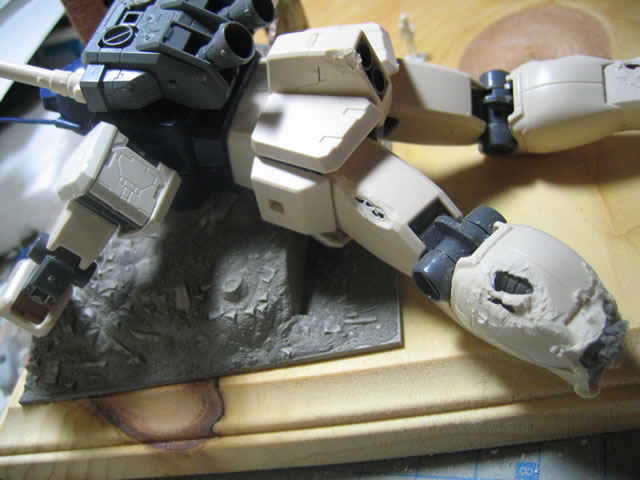
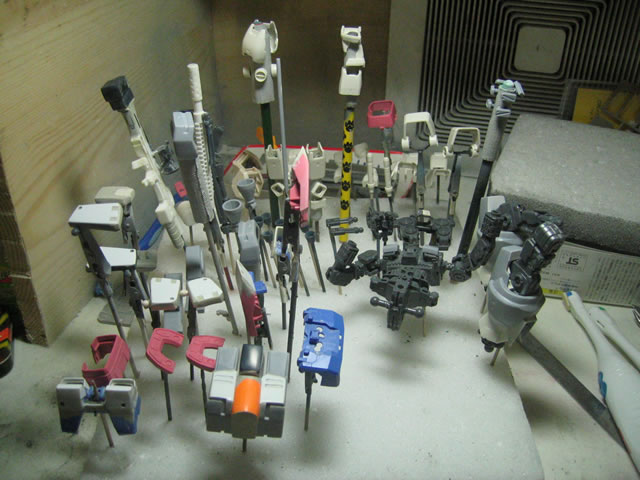
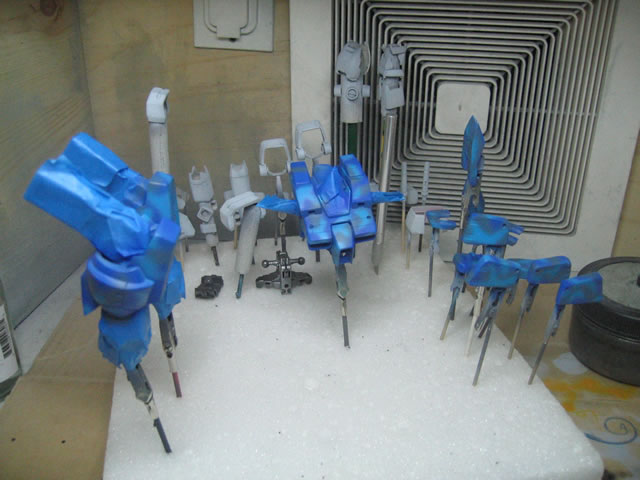
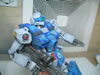
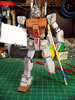
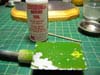
September 23, 2005: Finished a good deal of painting.
The majority of the parts for the two GM's have been painted. There's
still the head for the PGM that needs to be painted. But this week was
fairly productive.
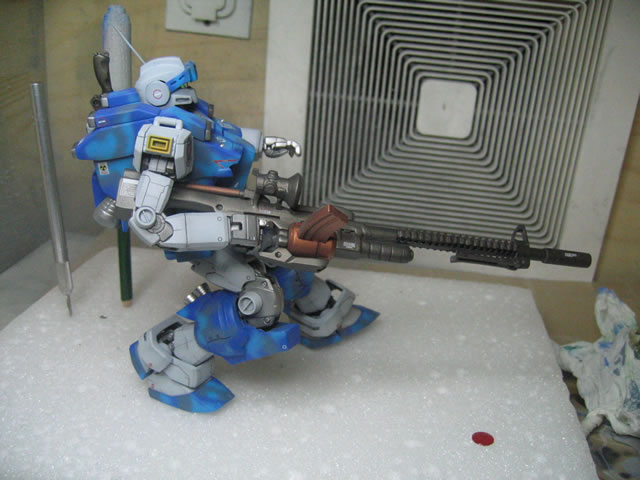
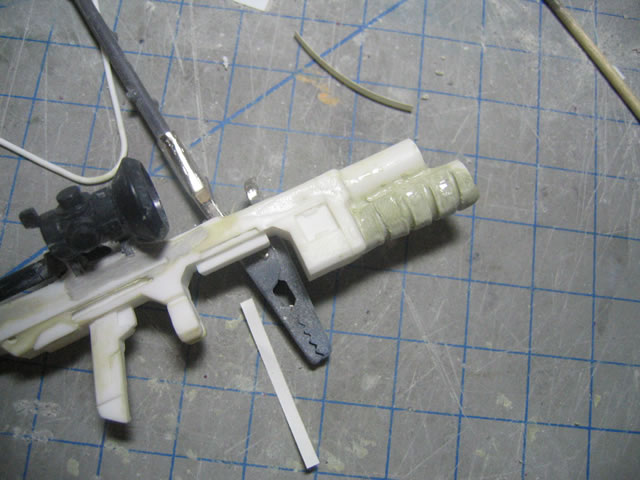
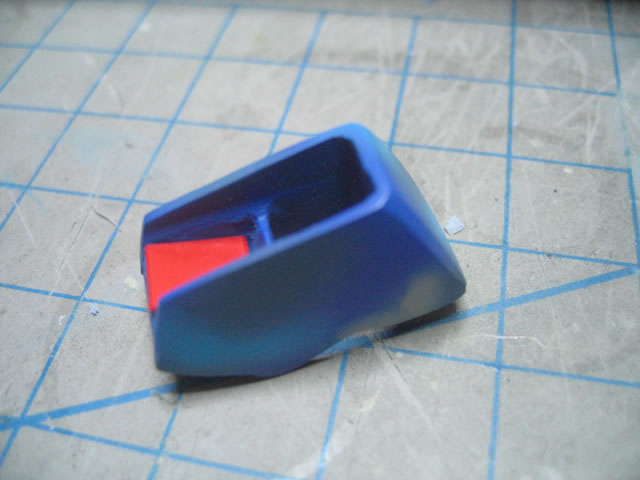
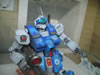
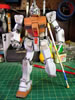
September 25, 2005: Almost done with the PGM custom sniper.
I applied the initial future, decals, another layer of future, panel lines,
and dull coat of future. I now have to weather the kit, add another layer
of future and permanently fix the metal beads.
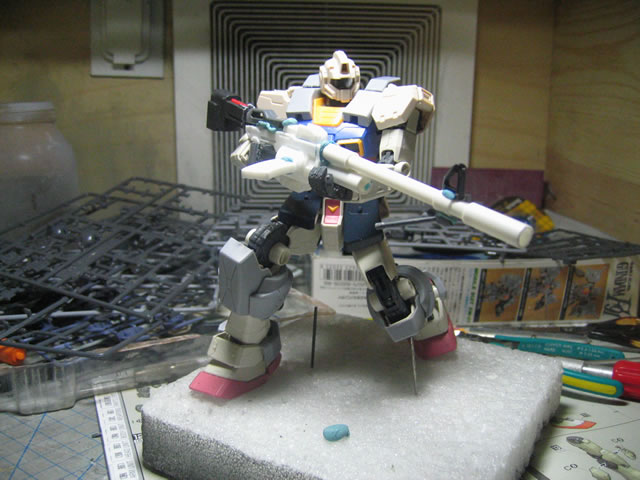
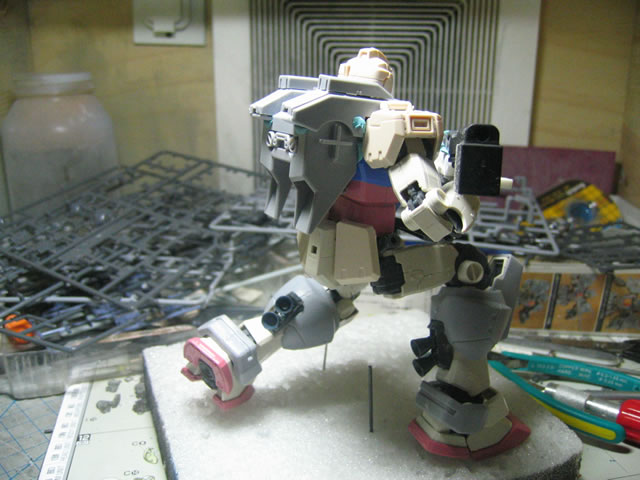
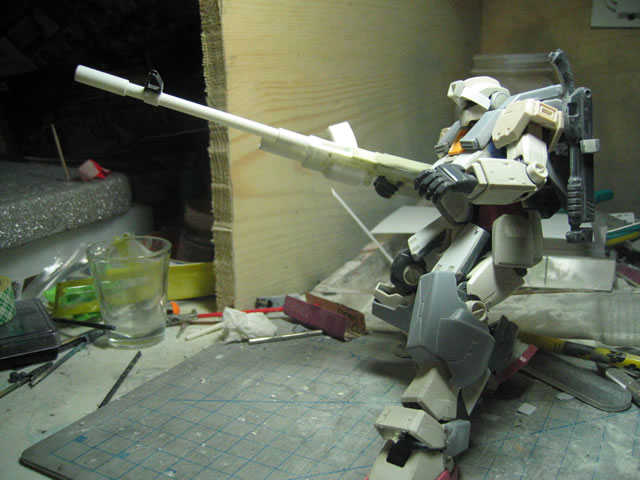
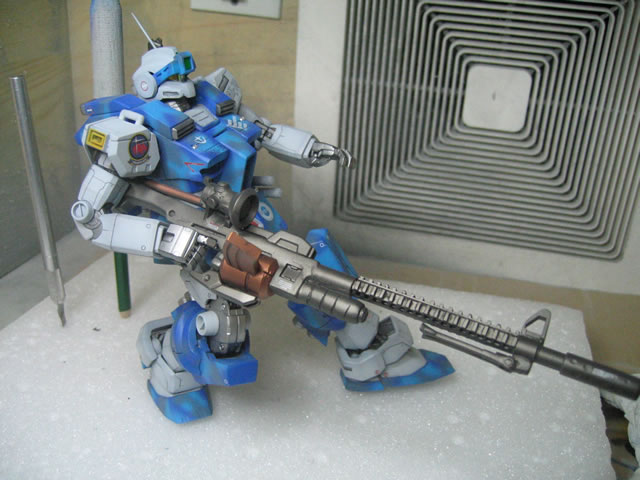
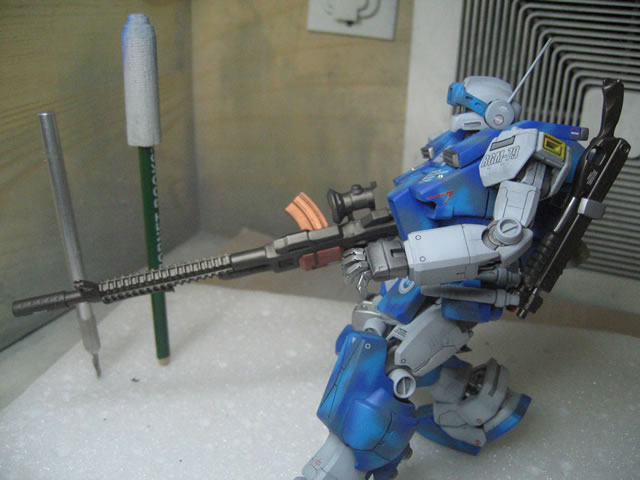
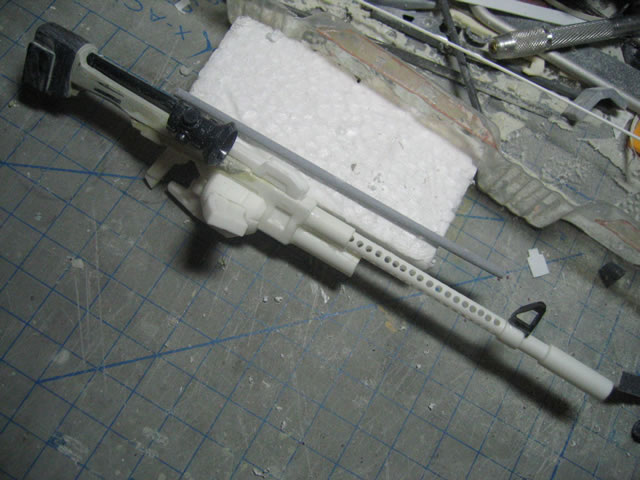
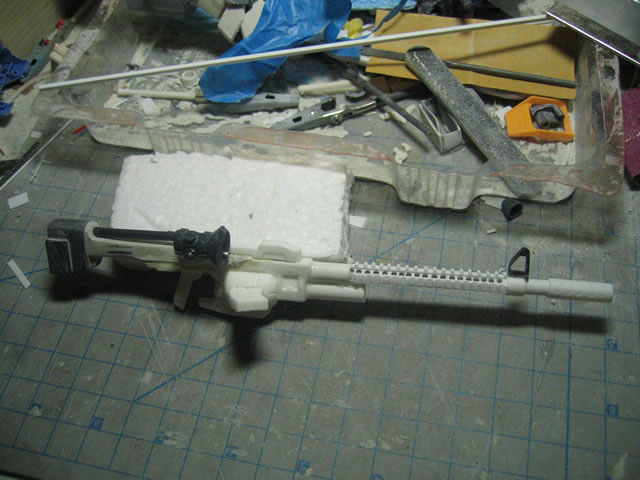
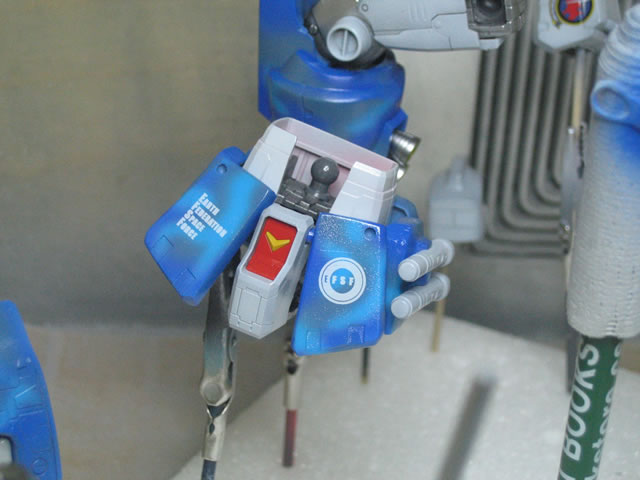
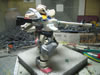
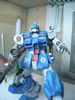
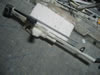
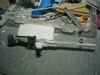
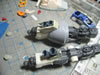
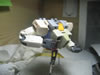
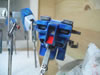
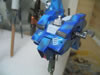
The PGM-79SPC Custom Sniper
For this project, I'm creating a sort of Franken-GM Sniper.
The base kit for this is the Gundam ver OYW. I wanted to use this kit
as the base simply because of the posability of this kit. AkoCreation's
PGM kit will be used, but only the backpack, the knees/calf wrap, and
the ankle covers. The head is from the RGM-79C. Other parts from the RGM-79C
include the rear skirt armor and the shoulder armor. I don't care much
for the Gundam OYW's shoulders.

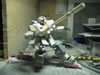
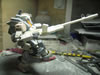


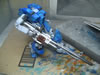
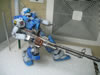

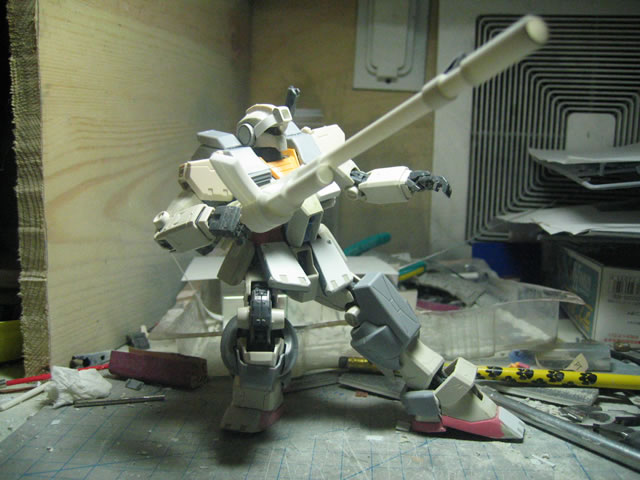
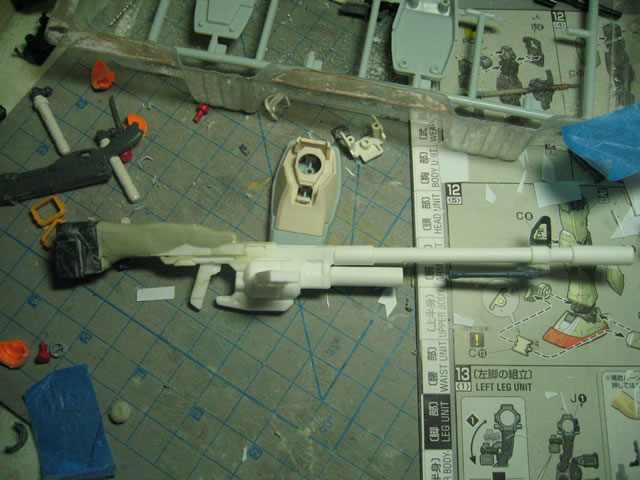
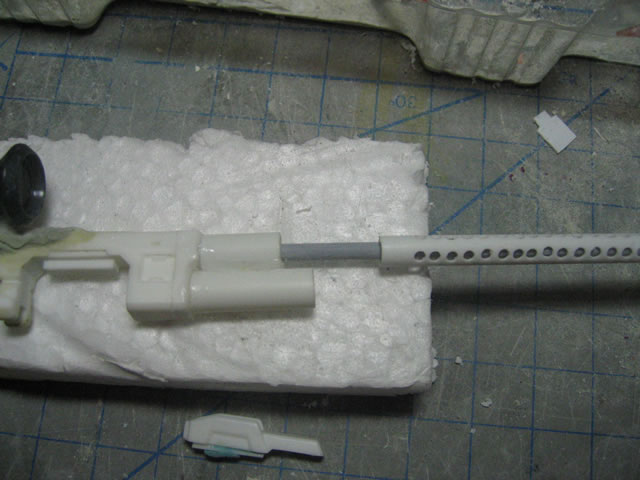
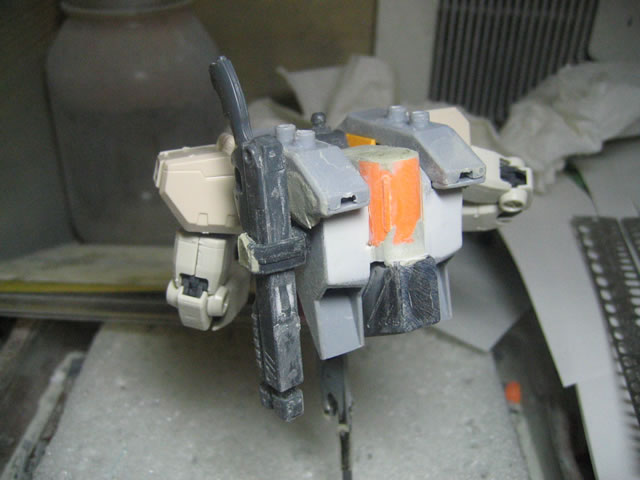
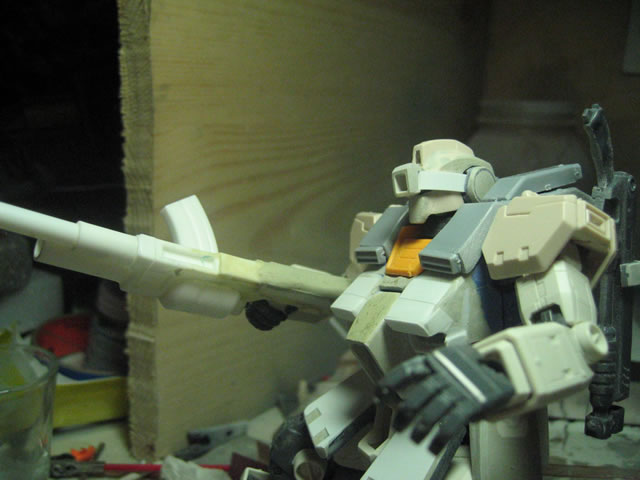
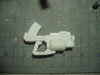
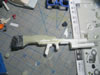
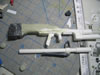
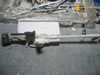
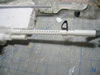
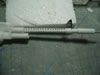
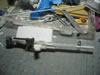
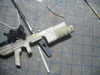
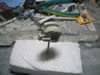
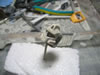
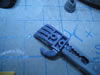
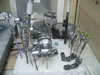
The main gun uses AkoCreation's Ore Gun as the base.
With some repositioning of the bottom piece below the drum, the ammo clip
has been moved to attach to the drum. Some styrene tubing was used to
add lenght to the barrer as well as a forgrip. The end of the barrel is
a silencer of sorts. A front sight and bipod are also added near the end
of the extended barrel. Parts from the Sazabi's gun are used for the stock.
All this will be puttied and hopefully look ok in the end.
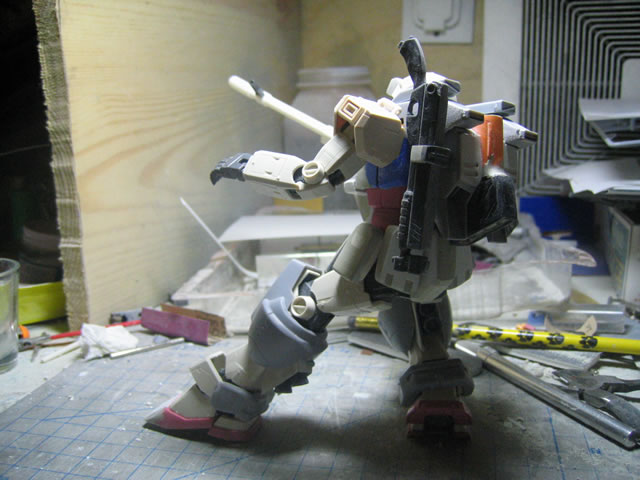
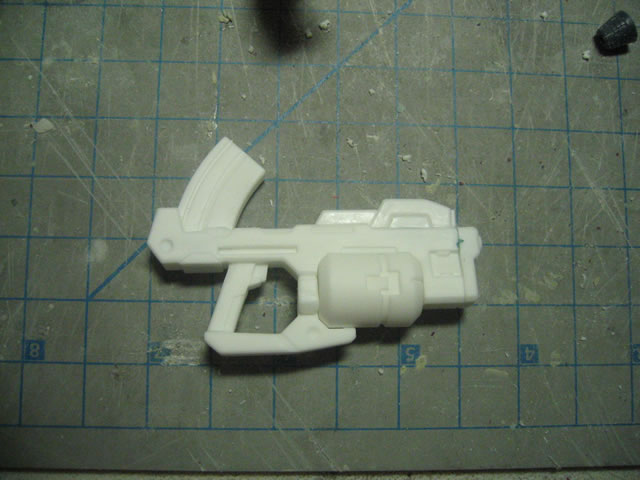
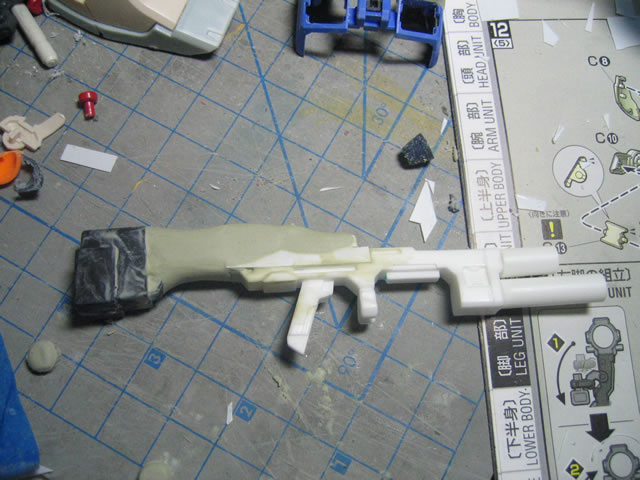
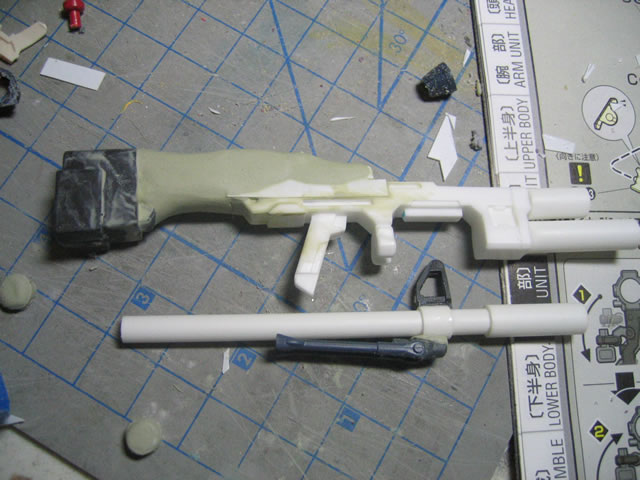
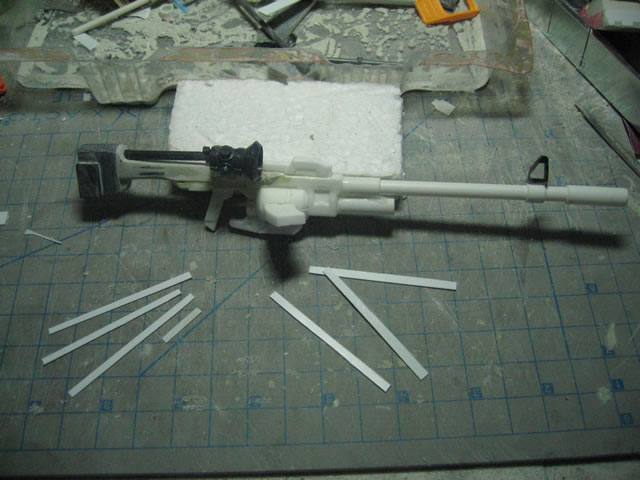
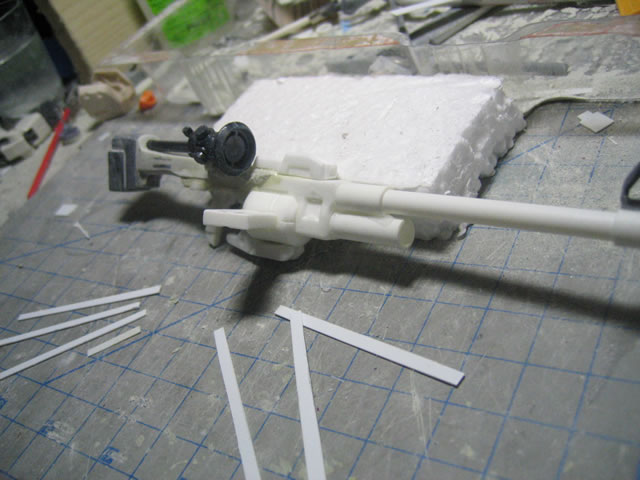
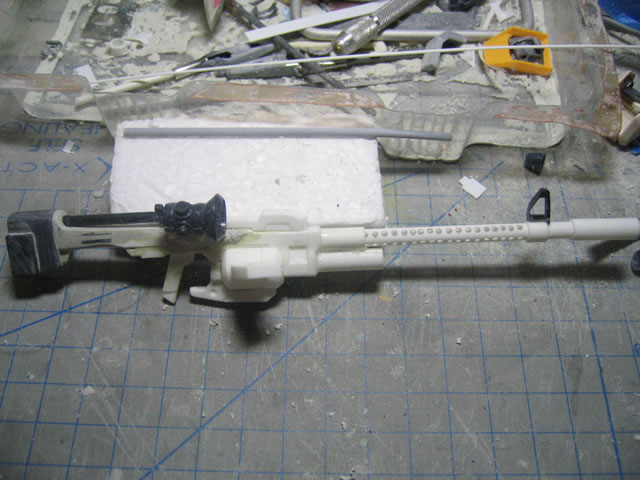
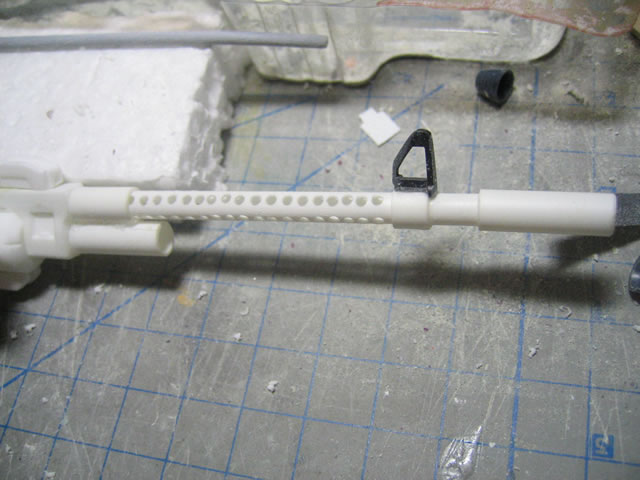
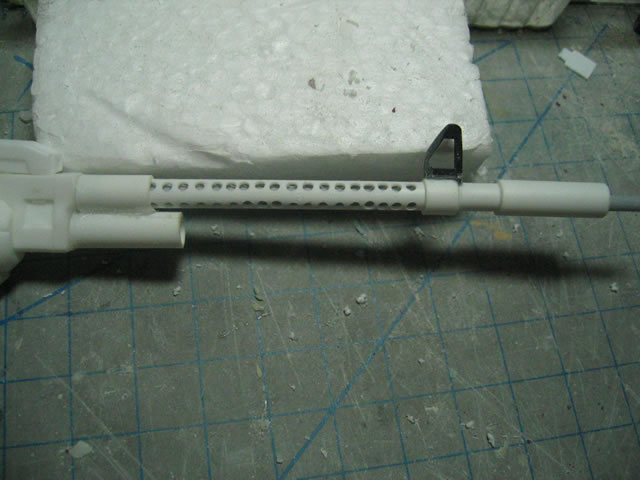
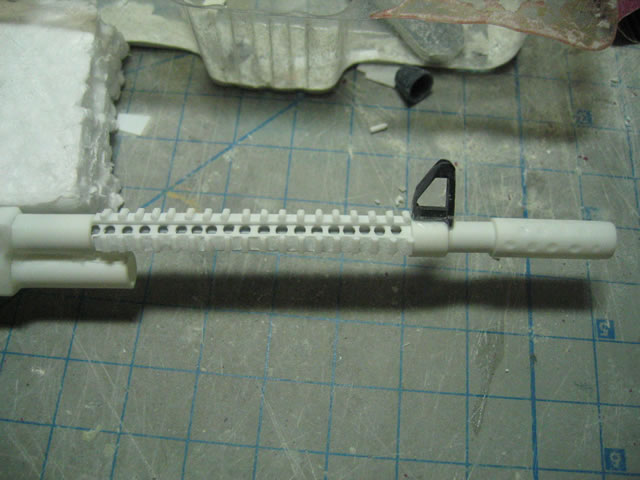
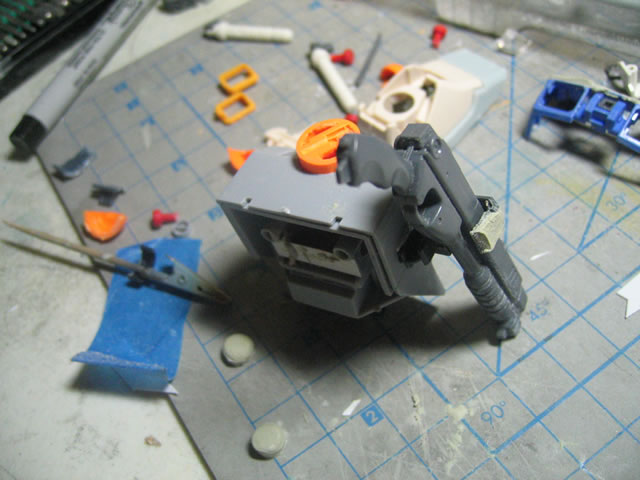
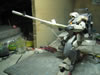
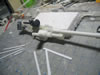
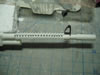
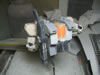
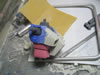
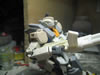
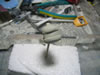
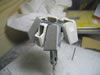
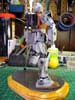
August 27, 2005: This update focuses mostly on the gun.
I'm adding a picture of what the original base gun looks like for comparison
purposes. I got some shaping done on the rear stock sections. I added
a little bar from the rear stock along the top of the gun. I also added
a sensor pod of sorts on the side of the gun. Most of the work done was
the barrel. I went with the armalite style of RIS and outer barrel ala
SR-25 style. I drilled vent holes down the sides of the barrel. Then using
strips of styrene, I built a RIS system for the top and sides of the outer
barrel. I also added an inner barrel. I made some dents into the silencer
for a "SOCOM" style silencer. I still have tons of work on the
gun, but it's progressing nicely.


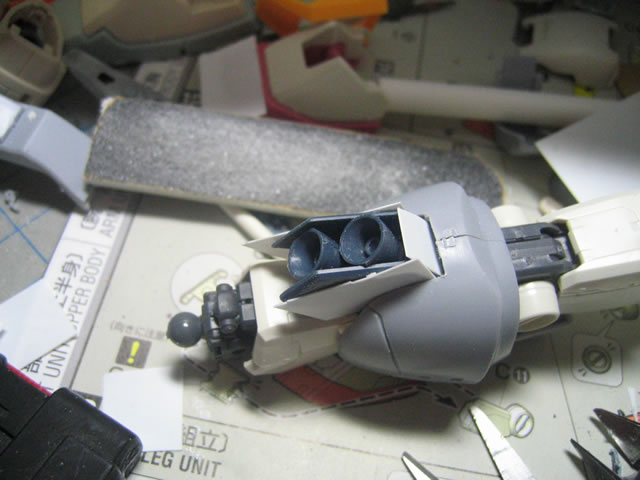
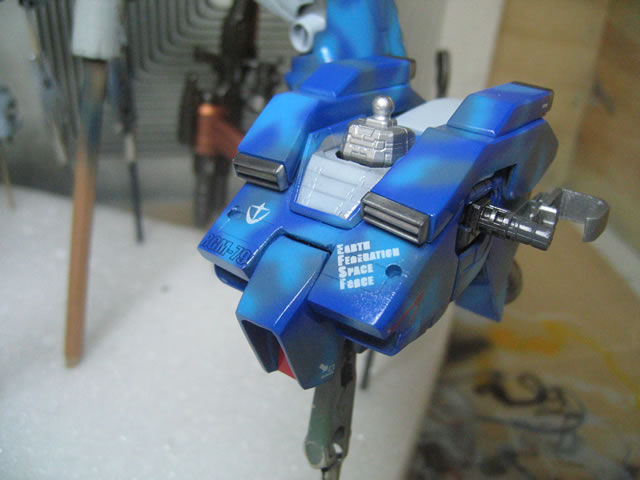
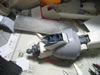
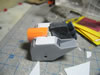
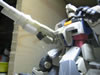
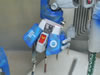
I am also adding thrusters to the back of the calves.
These parts are the backpack thruster parts from the RGM-79C. I will also
fabricate a sort of thruster housing for the area.
August 13, 2005: Did some more work on the rear leg thrusters.
Just some rough sanding and more fine tuning for the fit and such.

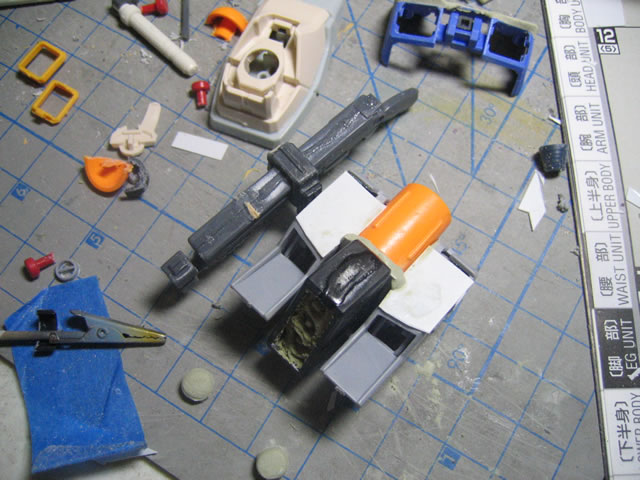
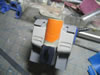
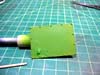
The PGM backpack is modified with cutting away the middle
section of the backpack. This section was a bit plain and I added a part
from the HGUC Hygogg breakaway thruster. To the bottom of this added cylinder
I added the stock end of the RX-93 Nu Gundam's bazooka. I also added three
backpack thrusters from the RGM-79C. I will not be using the cones to
the sides of the PGM's backpack. In place, on the left side, I added a
sort of holster for a shotgun that comes from the MS-18E Kampfer. (every
sniper needs some sort of short range defensive weapon)
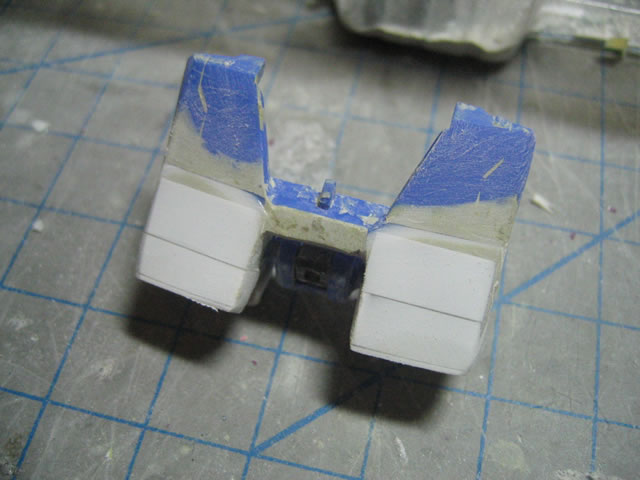
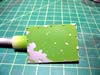
August 13, 2005: Did some updates to the backpack as well.
Some some putty and rough sanding. I still need to add details to the
plain areas.
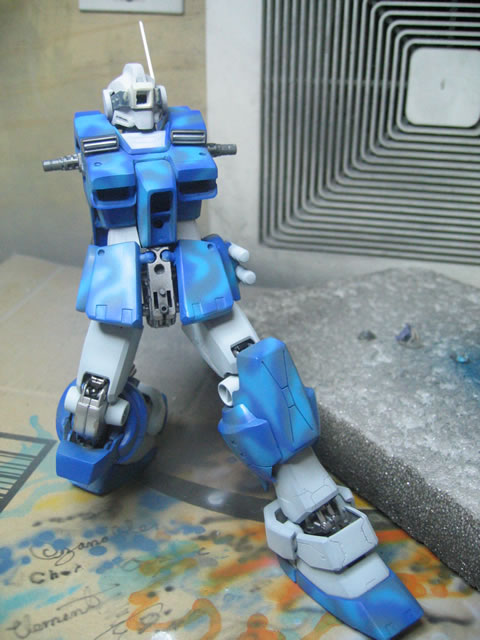
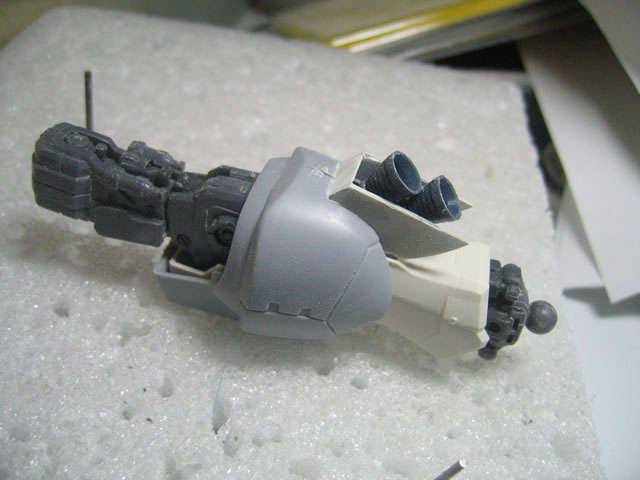
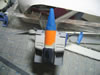
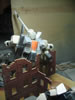
August 16,2005: Added a picture of the backpack mocked up
onto the kit. I added some surface detail to the plain sides of the backpack.
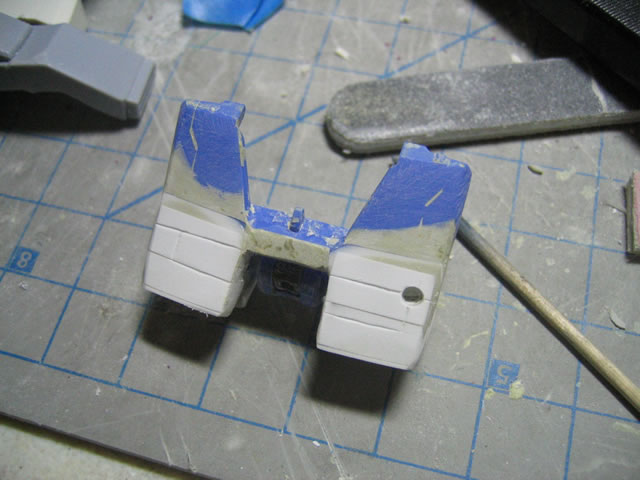
September 5, 2005: I did some scribbing for the backpack
and then cleaned it up for priming.


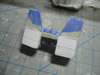
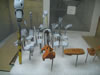
Below are pictures of the chest through the various stages
of build up modifications.
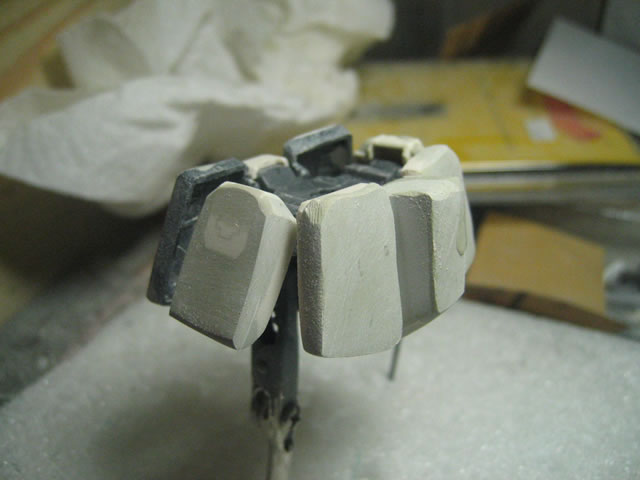
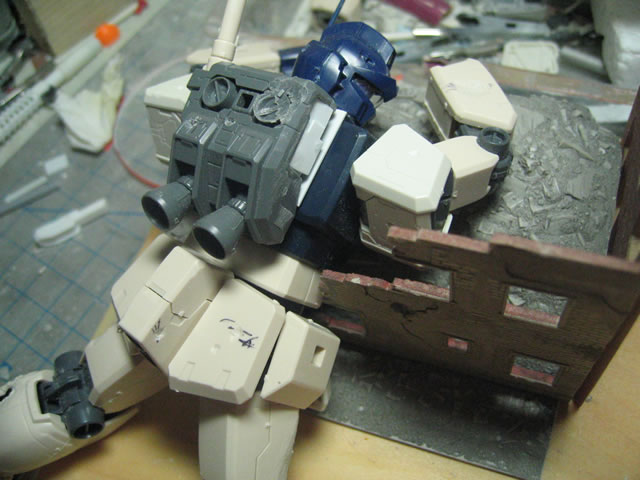
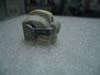
August 16,2005: Added pictures of the chest mocked up onto
the kit. I have some panel line scribbing to do and a few other small
detailing and I should be fairly close to done with the chest section.
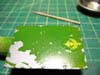
September 5, 2005 Did some scribing for the chest and drilled
some holes for the metal beads. Sanded down and primed to check for errors.
The symmetry was off on some of the scribbing and the alignment of the
holes so I also added putty and will be re-working that area.
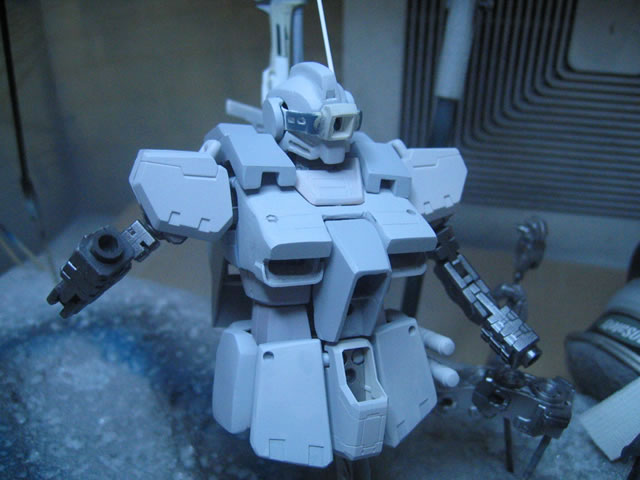
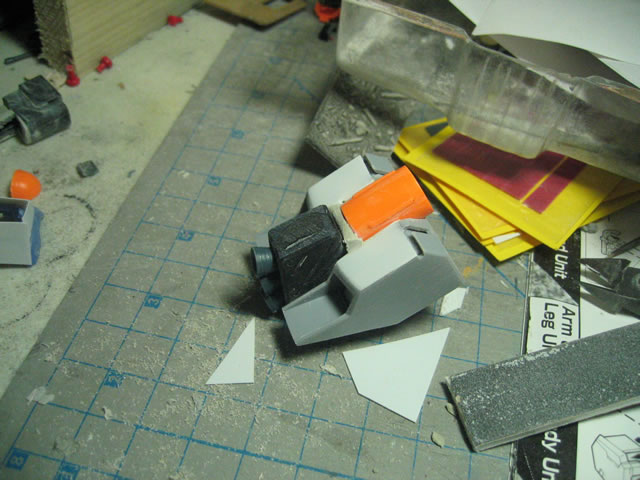
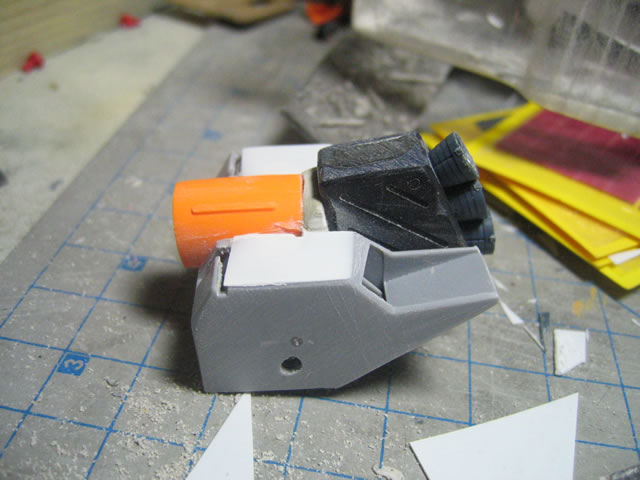
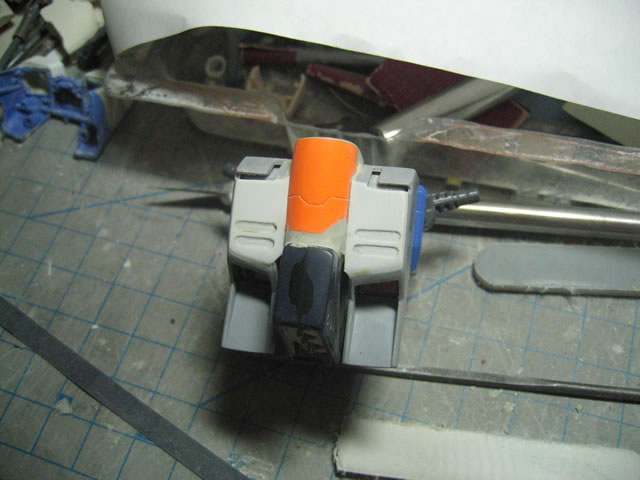
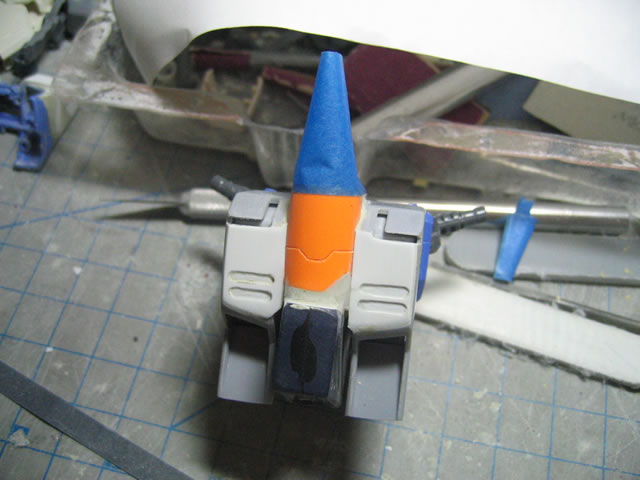
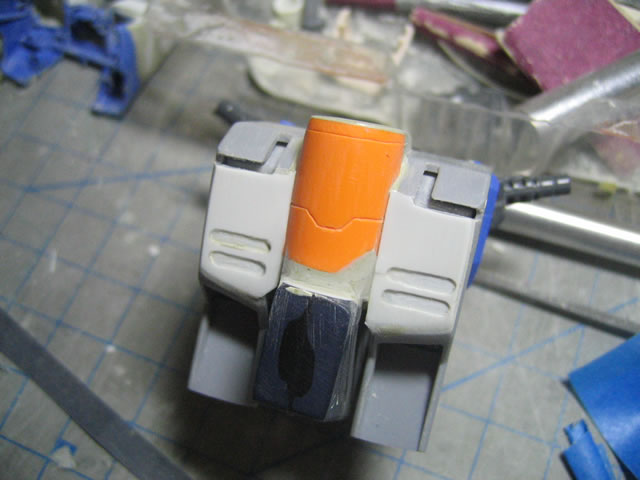
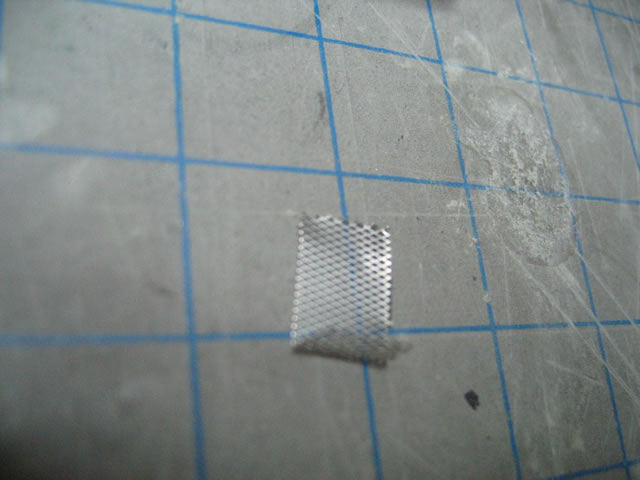
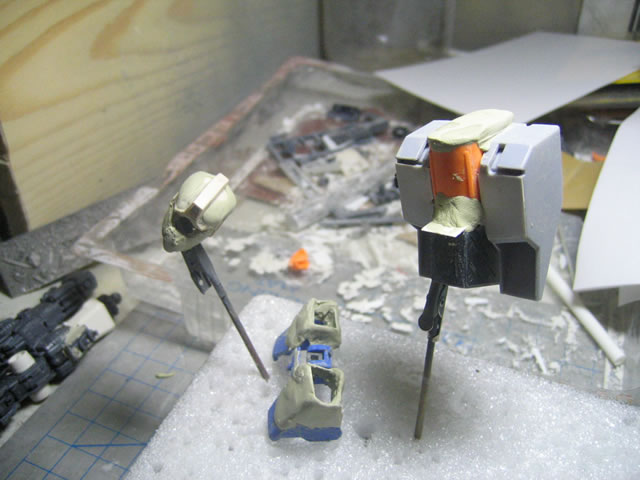
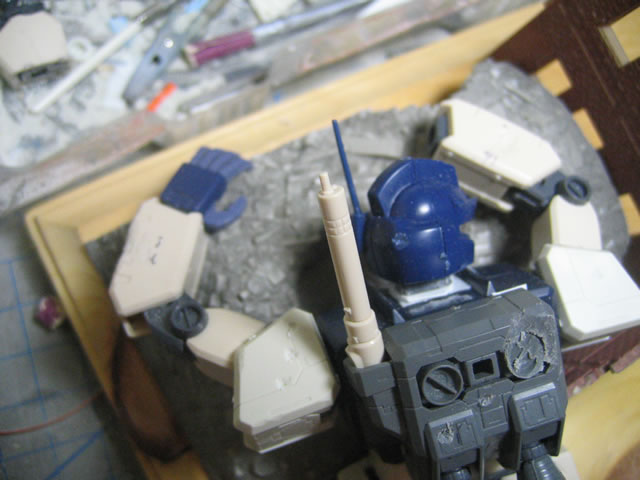
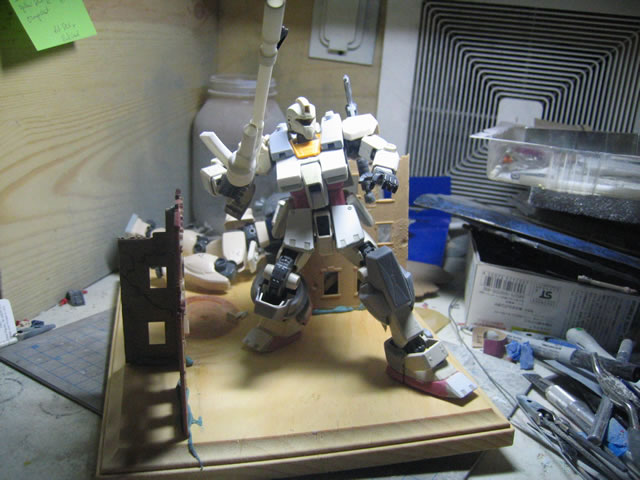
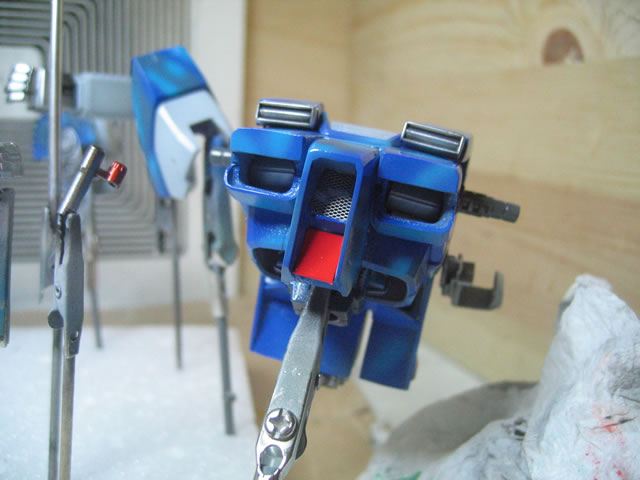
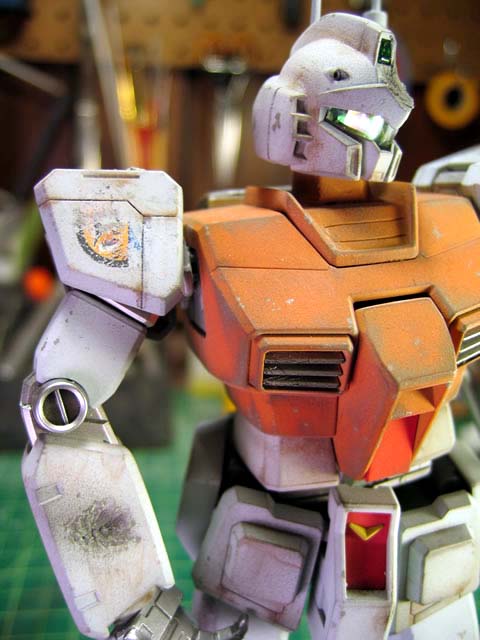
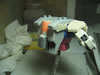
September 25, 2005: Added some extra details to the cockpit
hatch by adding wire mesh to the top section of the hatch.


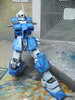
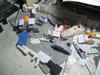
August 13, 2005: A few updates on the above pieces that
have been roughly sanded. Detail pieces still need to be done, but just
a little bit of progress. Things include reshaping the head, making "breast
augmentations", the feet, and skirt armor pieces.
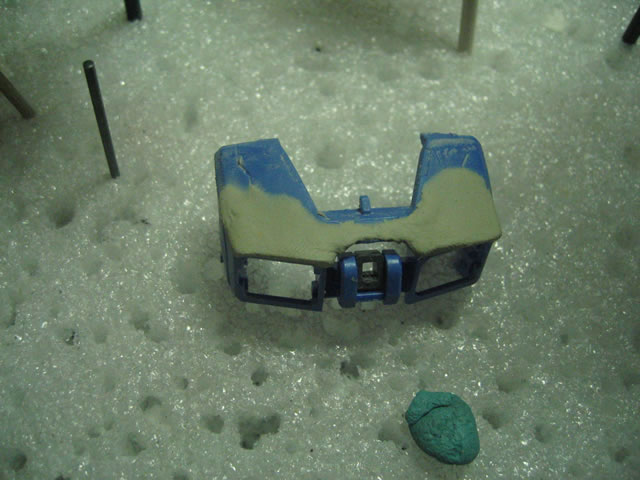
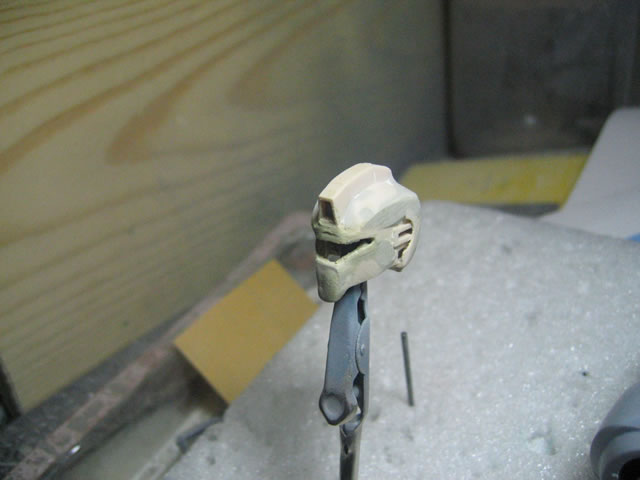
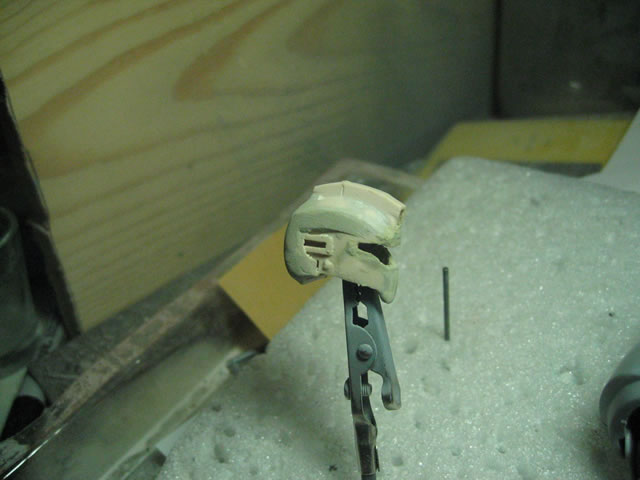
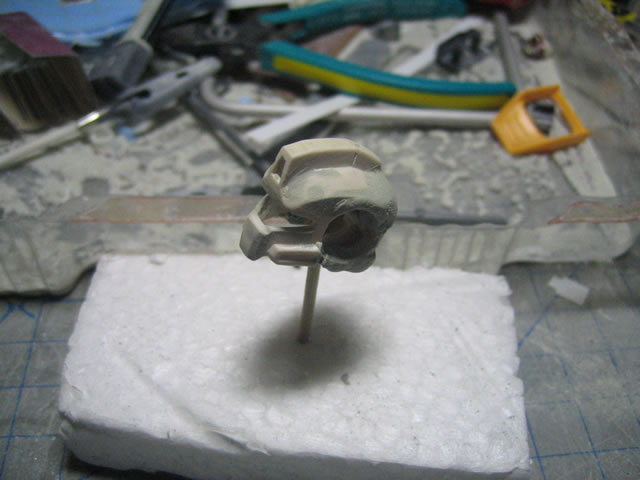
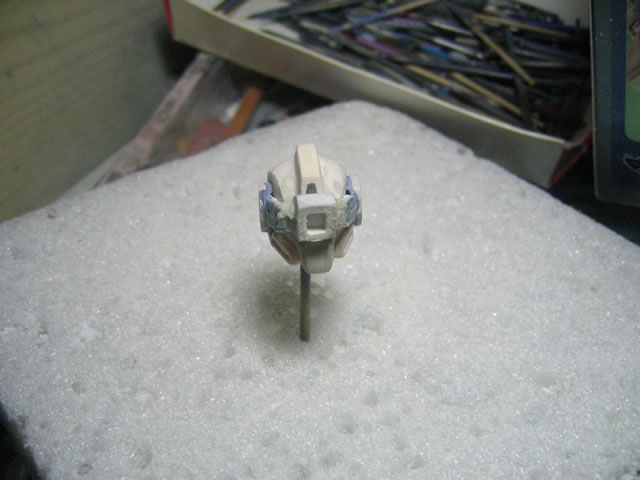
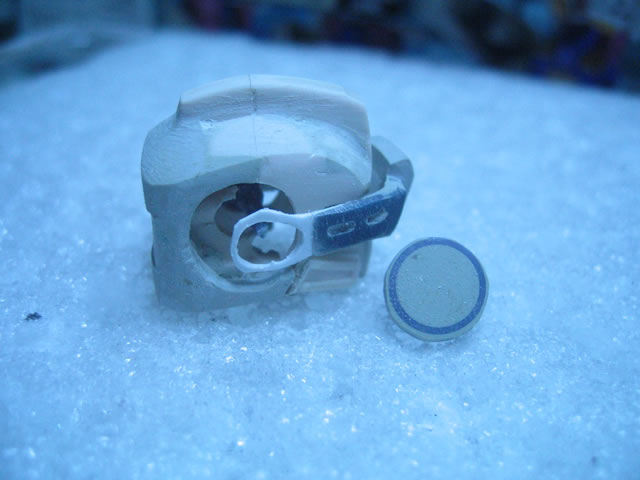
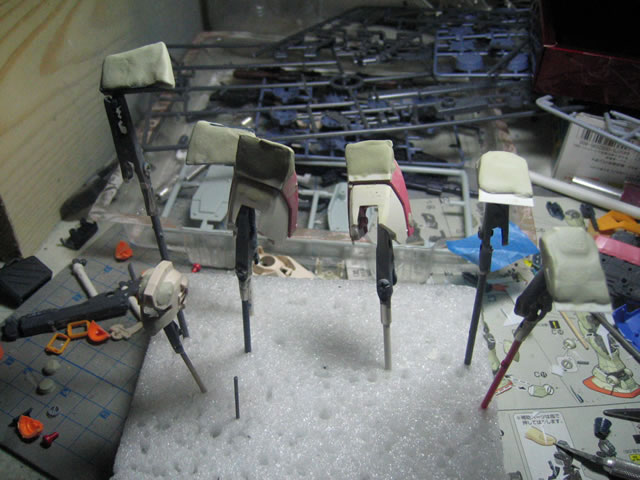
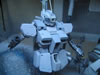
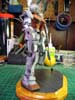
August 16, 2005: Added pictures of the head after further
sanding and shaping. I still have a lot of work on the head before I can
call it finished.
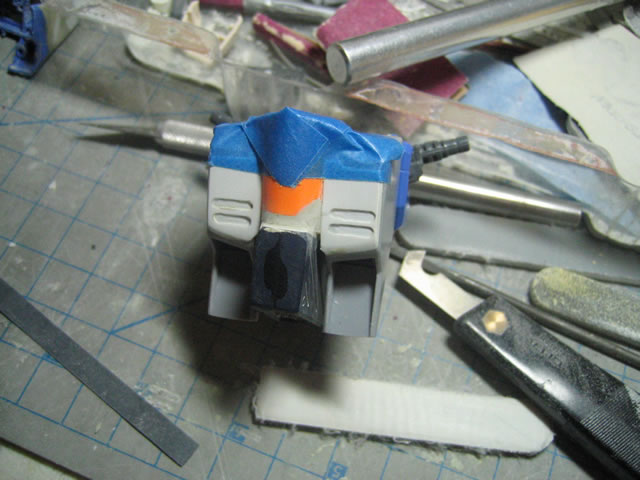
August 27, 2005: Continued to add some bulk to the head
as well as added the face vents. More reshaping ahead once the putty cures.
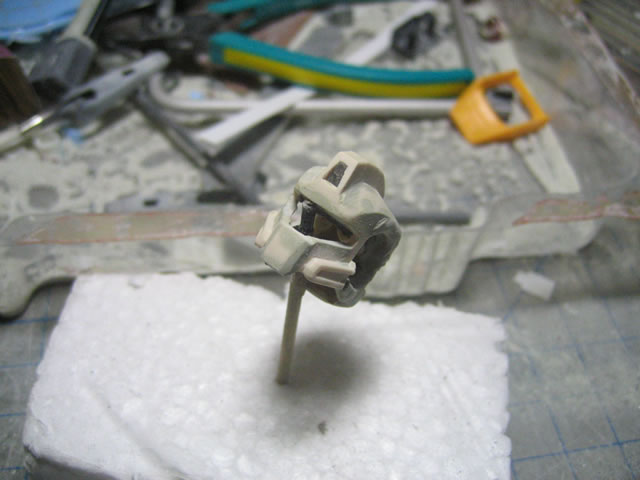
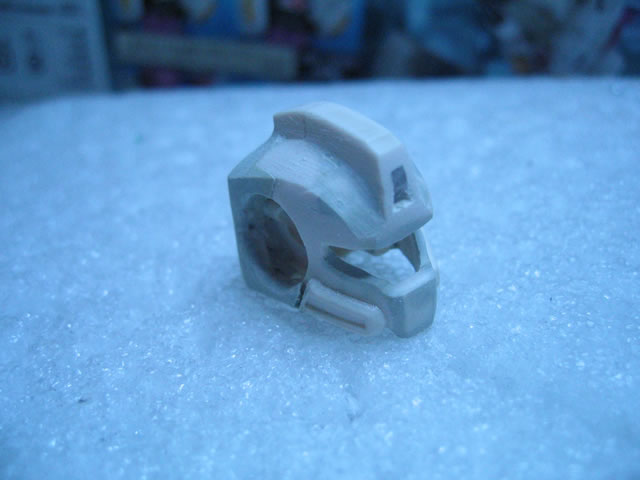
September 5, 2005: Did some more work on the head and visor.
Still lots left to do. This is the one area of the kit that's been lagging
behind. I've gotten and idea on how to make the visor functional to move
up and down. More updates as I let Saber dry and continue to work on this
GM.
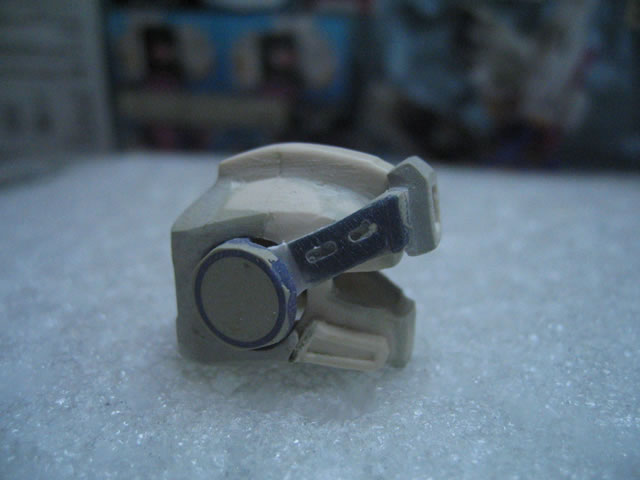
September 19, 2005: More work on the head has been done.
The visor is about 95% complete. Some minor sanding and a little detail
up work needs to be done and it'll be ready for primer then on to the
painting process.


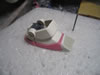

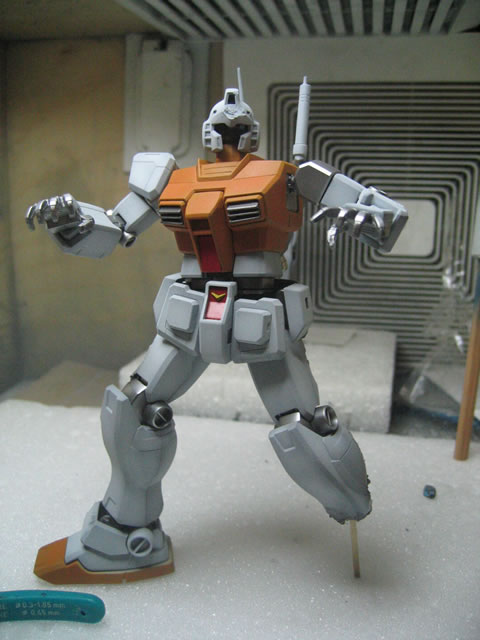
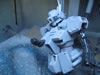
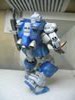
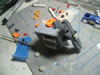
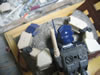
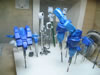
Dead RGM-79
The "dead" GM is based off an RGM-79C. Replacement parts for
the pieces taken for use on the Powered GM sniper include the shoulder.
front skirts, and backpack are from the Gundam OYW. The head and hand
are from the GM Quel left over from the Hazel conversion. The Ka style
feet are from AkoHobby. For this kit, I will be cutting parts of the left
leg off as well as the right arm. It will have considerable damage applied
to the armor pieces. For now I just have the kit snapped. I have marked
off a couple of areas where I will be applying damage. This kit shouldn't
take too long, I'll work on it during down times from the Sniper.
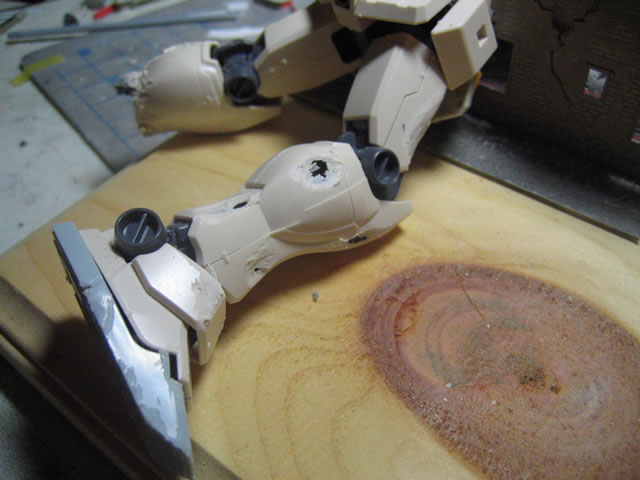
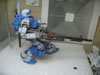
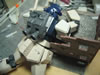
August 28, 2005: Started to work on damaging the other GM.
Using a dremel and a sanding bit, I did most of the major pieces of damage.
The bullet holes are done with a hobby knife. I have a few places to putty
and then next up will be the sanding portion.
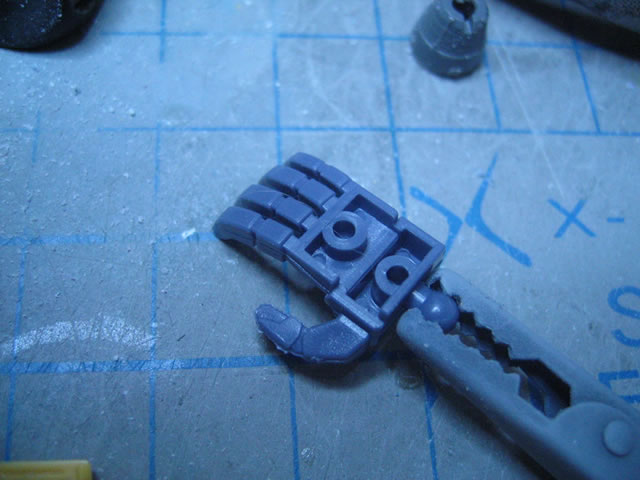
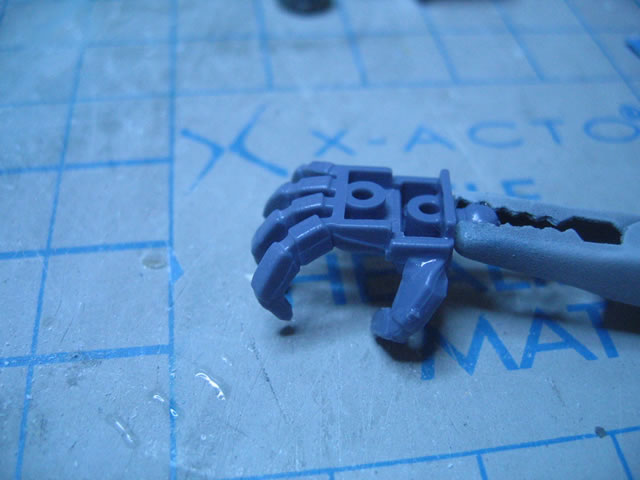
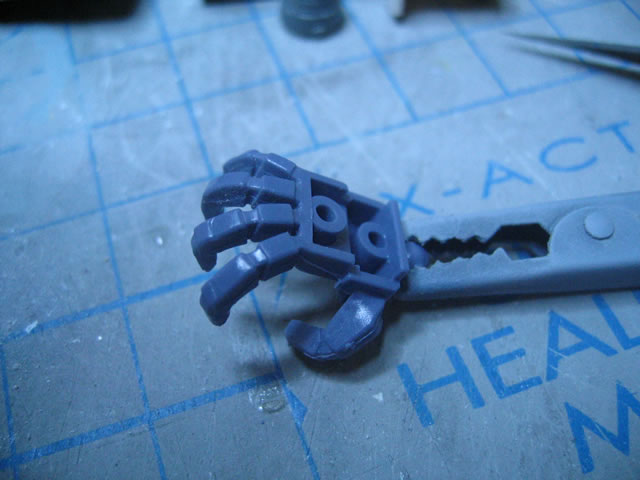
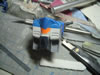
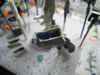
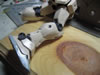
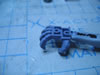
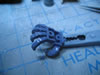
September 29, 2005: I did some work on the hands for this
GM. The hand are vinyl hands that came with the GM Quel. What sucks about
these hands are that they are vinyl and a knife needs to be put to use
to cut flash and mold lines off. The stuff doesn't take well to sanding.
However, what's nice is that a dip in some very hot water, the fingers
become very mallable and you can make some fairly realistic poses with
the fingers.

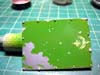
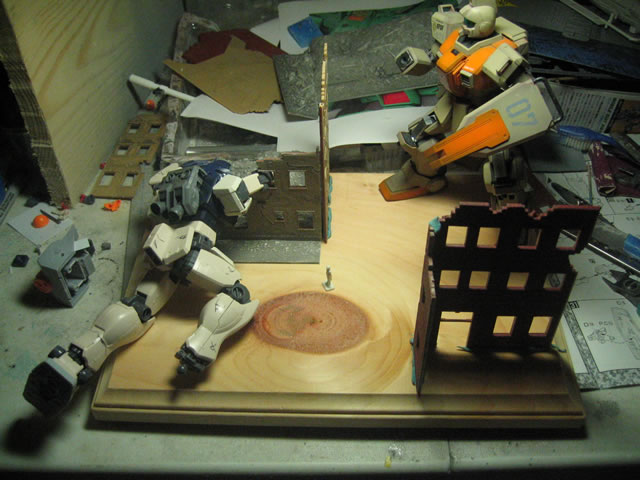
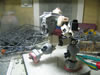
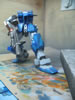
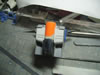
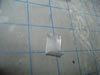
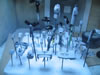
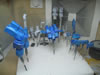
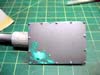
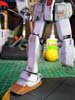
Diorama base
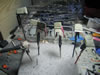
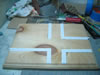
August 13, 2005: Took a quick snap of the basic layout for
the base. The girlfriend says the overall base is a bit too small, but
I don't want to build such a big dio. I'll consider it though as I look
at the set up longer and thing about how everythign falls into place.
The RGM-79[G] is just my general purpose stand-in.
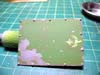
August 16, 2005: Added pictures of the kit standing in the
diorama base.
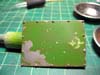
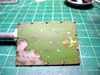
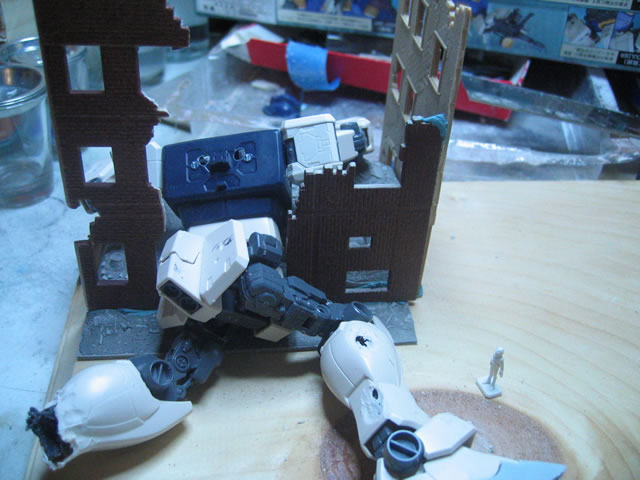
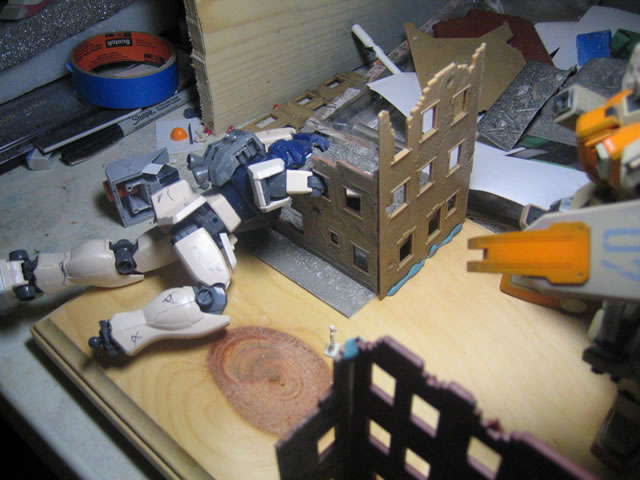
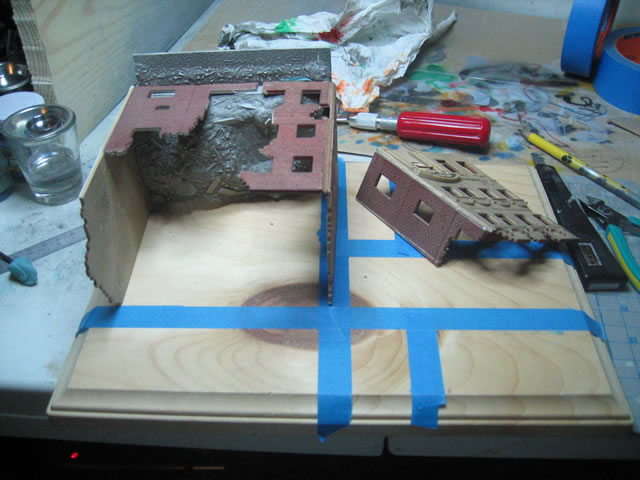
September 25, 2005: Started working on the diorama base.
I have the basic format of the sidewalks laid down and the building pieces
have been glued.


Paiting progress
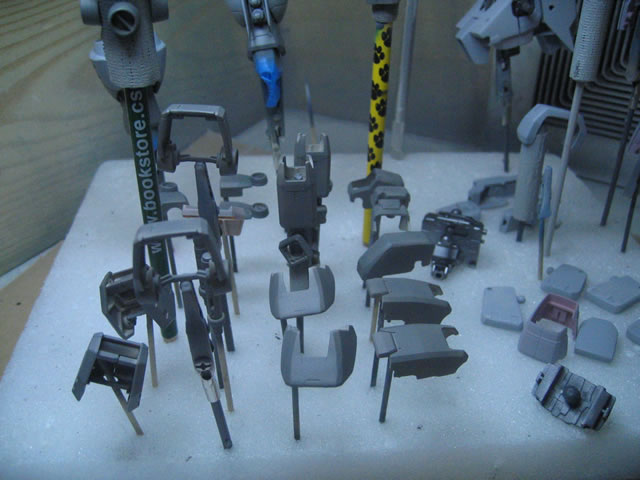
September 5,2005: The 99% of the parts for the PGM have
been sanded and ready for painting. Some of the parts have been primed,
and a little bit of sanding and rework needs to be done. Primer is great
for finding issues that are difficult to see during the building process.
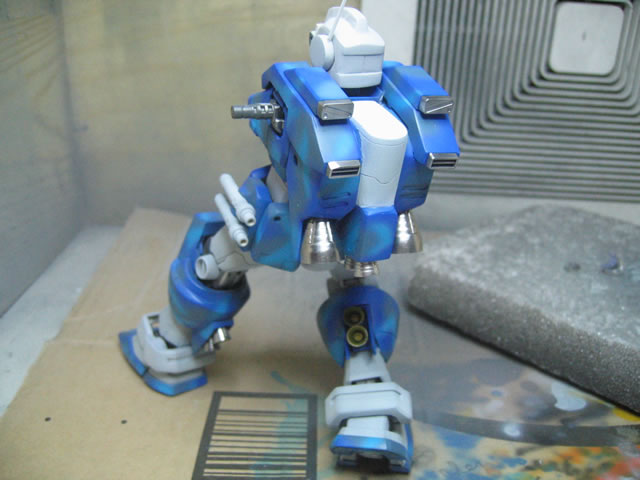
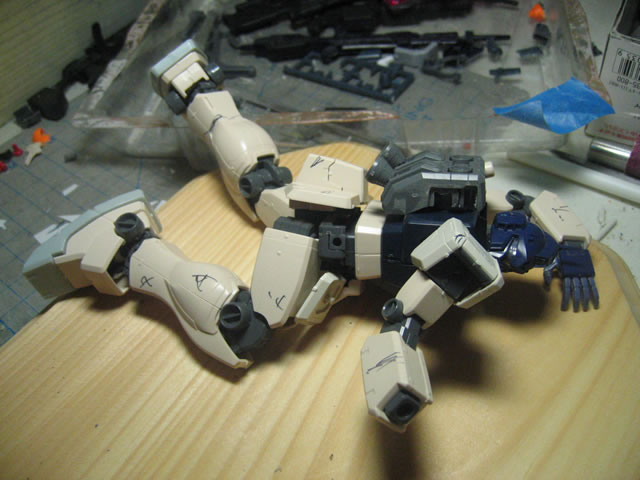
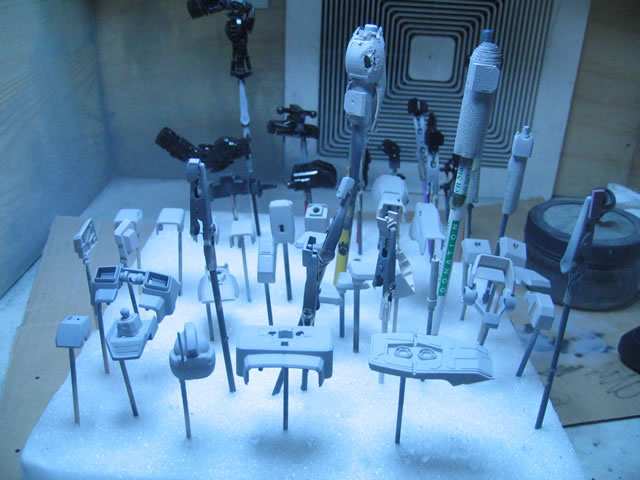
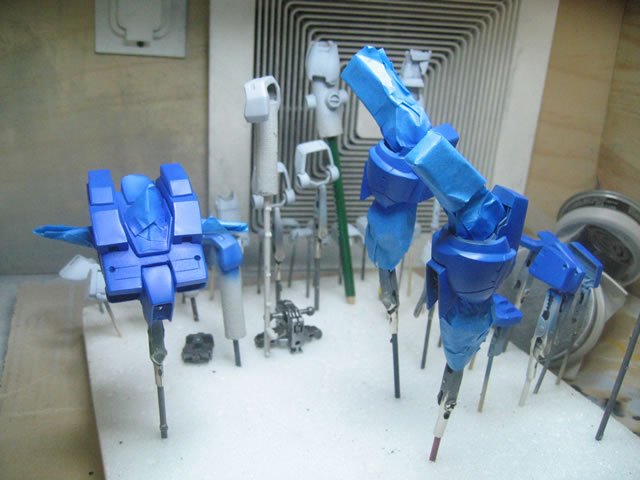
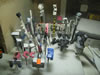
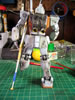
September 19,2005: Finally started some actual painting.
I'm painting both GM at the same time. The internal frames have been painted.
The thrusters have been painted. The preshade base color of neutral gray
has been painted on to parts of the Sniper GM.
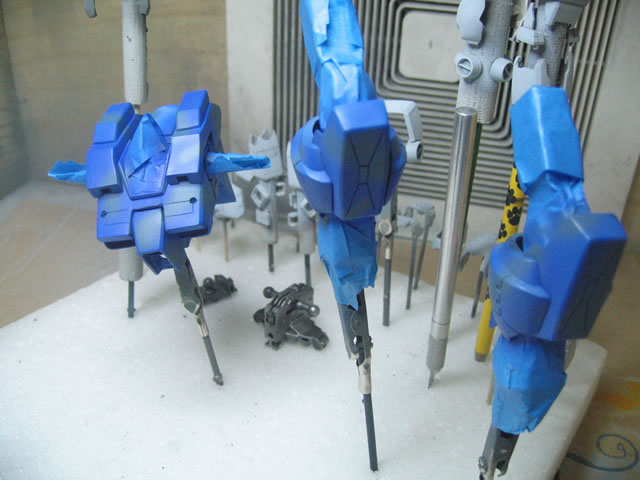
September 23, 2005: I'm almost done with the PGM, and I
finished painting the parts for the other GM. Next up are the future,
decals, future, wash, dull future. I still haven't painted the head for
the PGM yet. I should have all this done by the end of the weekend. I
can then start on the diorama base.
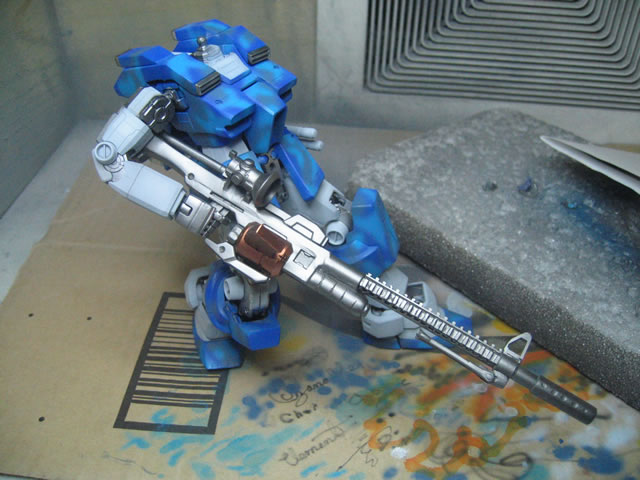
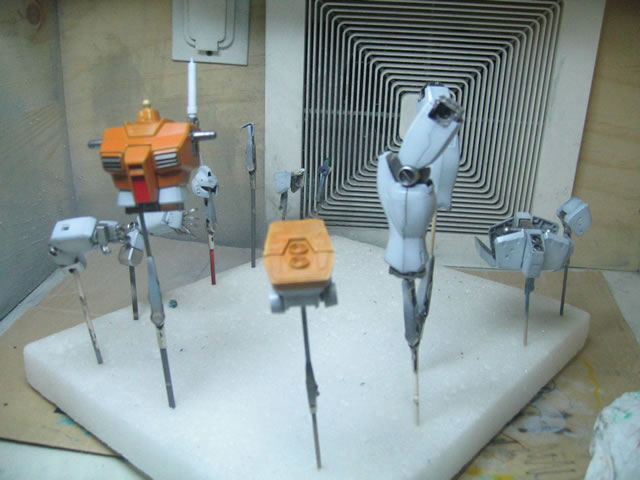
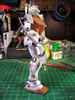
September 25, 2005: Finished painting the two kits. I still
need to apply decals, another coat of future, panel lines, flat future,
and serious weathering to the "Dead" GM. The PGM is just about
done.


June 25, 2006: Strange update time. I had pretty much selved
this project. However, now that I have a model building workshop to present
at AX 2006; I was preparing a couple of pieces for each build process
and I opened up a box with the parts of the Franken GM cannon fodder kit
that was last coated with future. While taking pictures of the battle
damage progression, an idea to finish the cannon fodder GM came to mind....
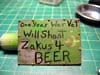
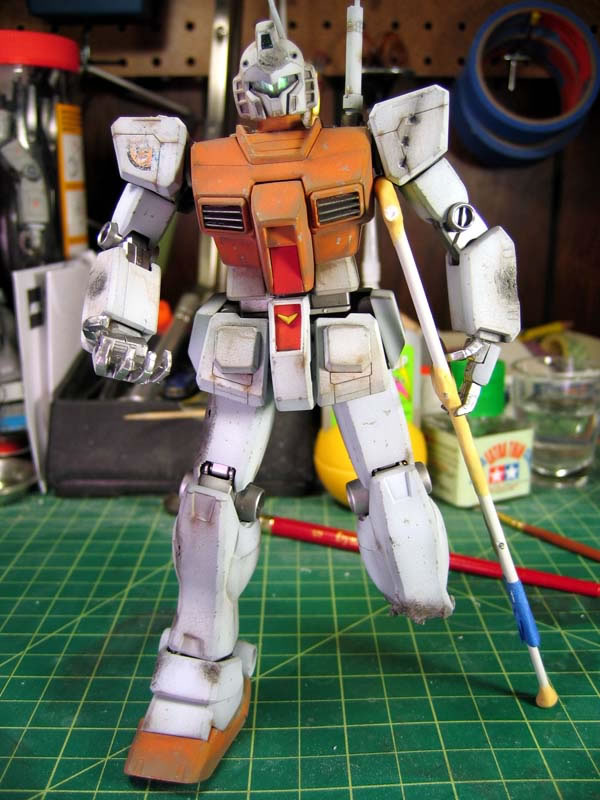
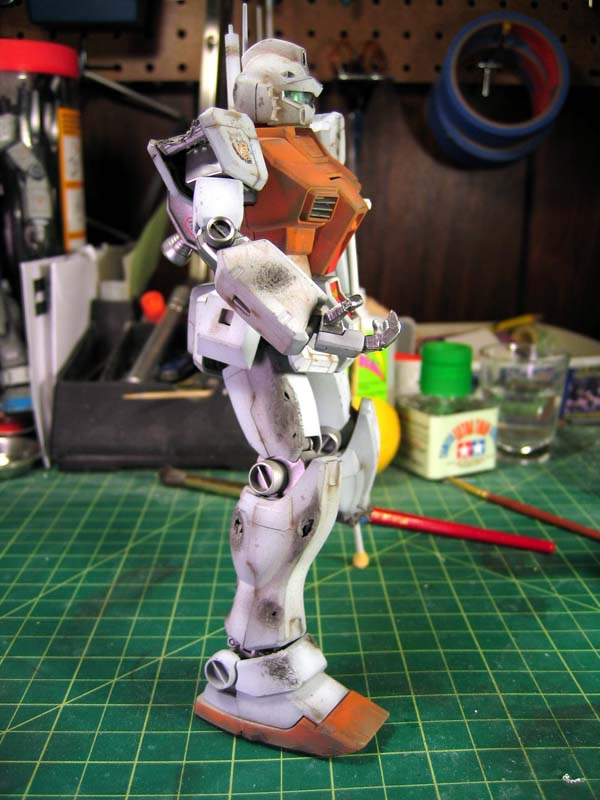
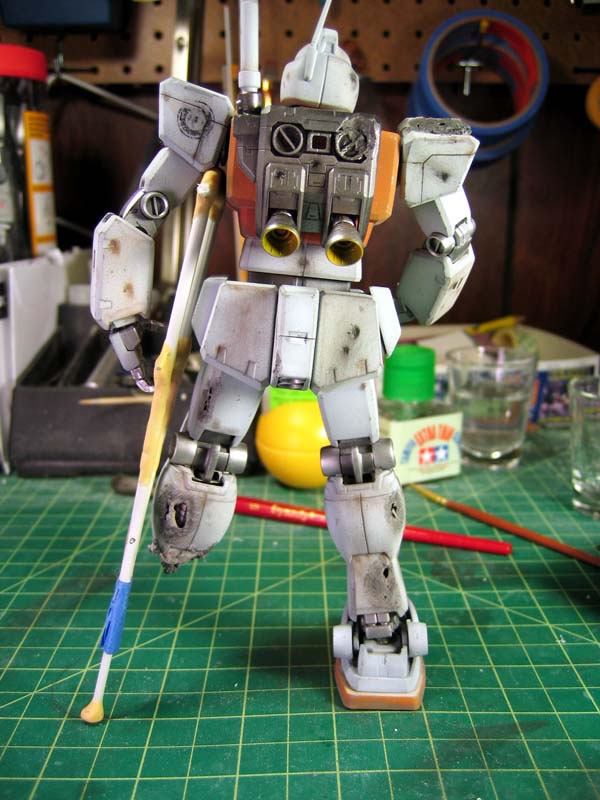
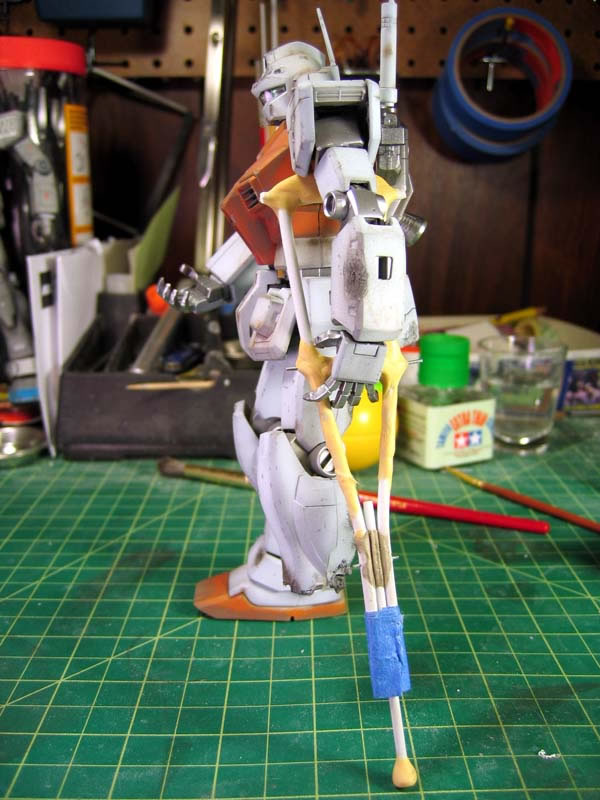
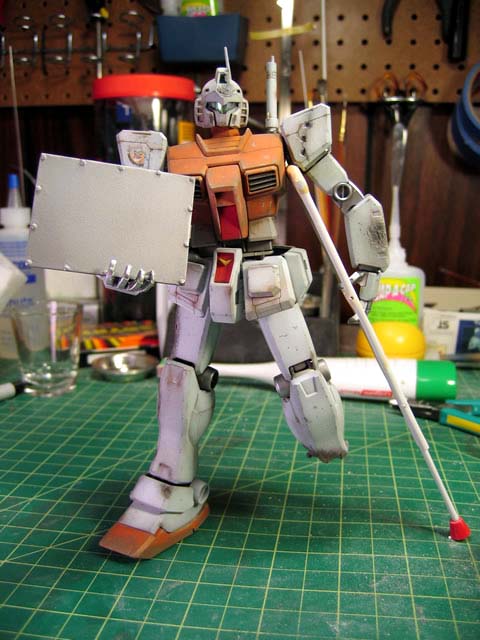
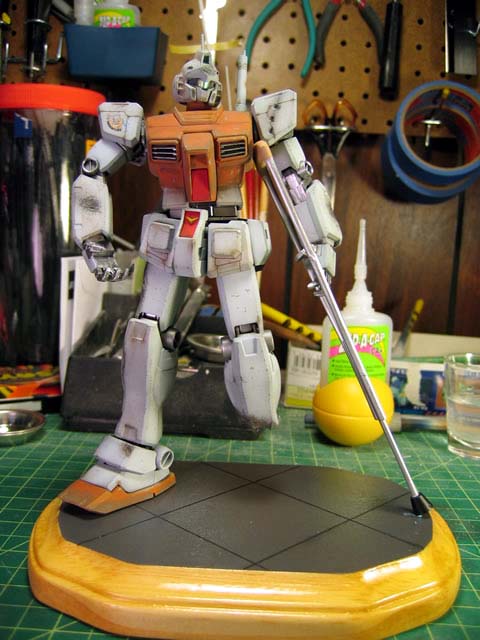
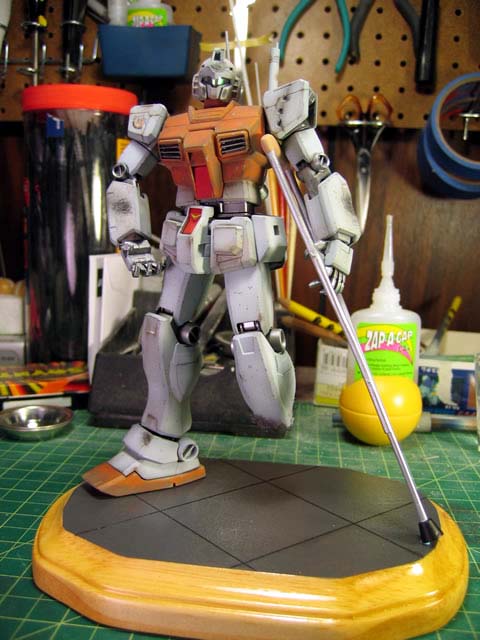
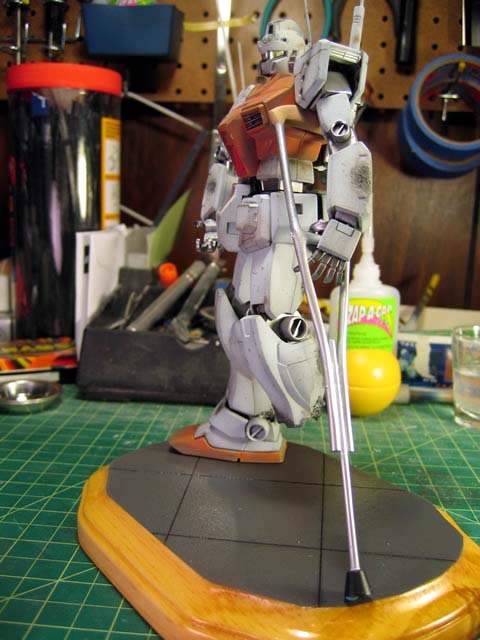
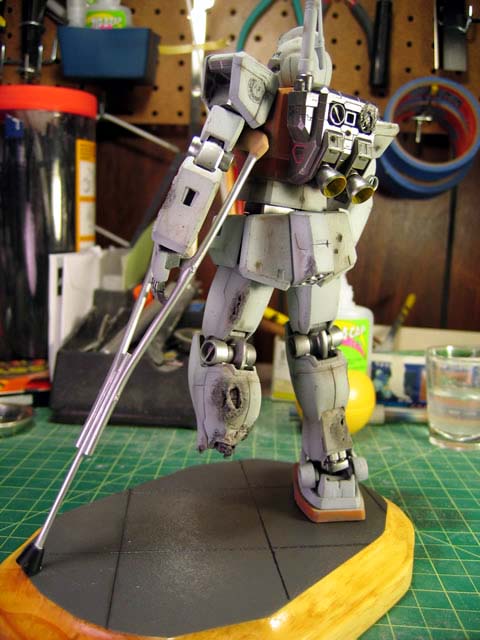
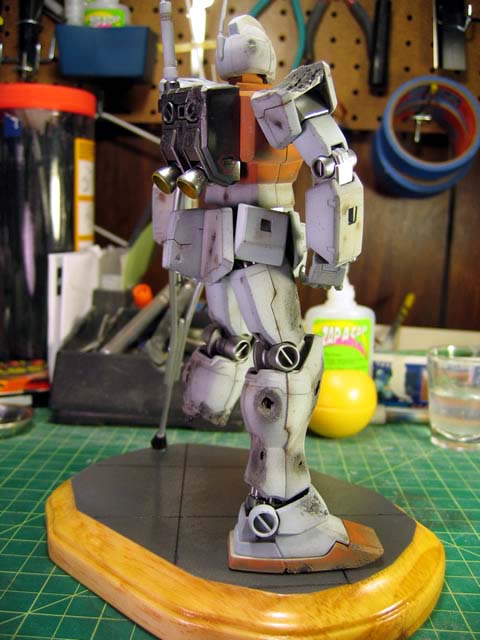
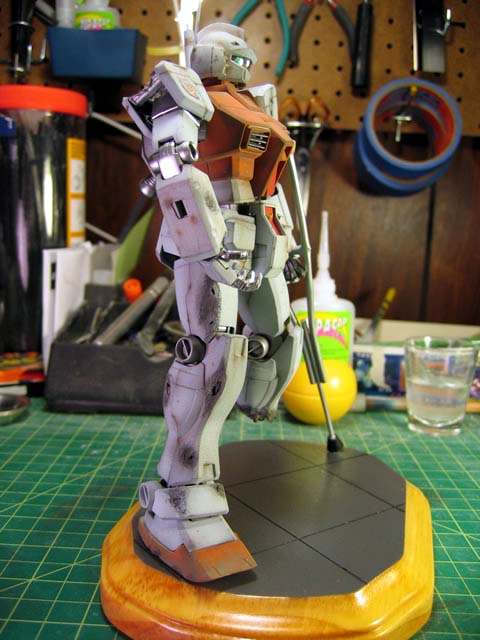
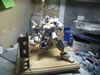
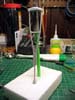
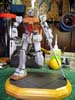
I give you... The Vet:

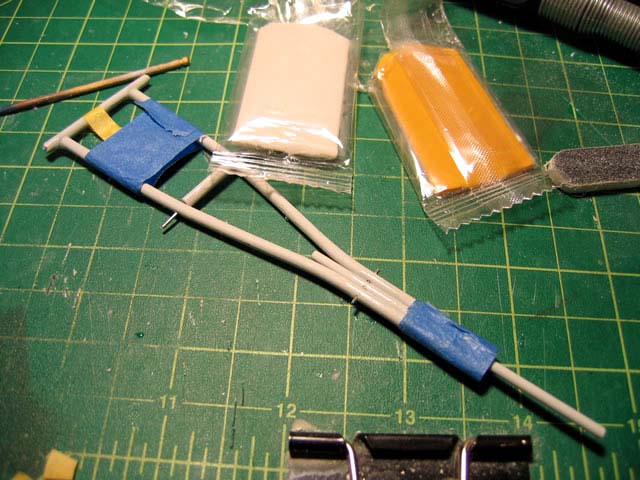
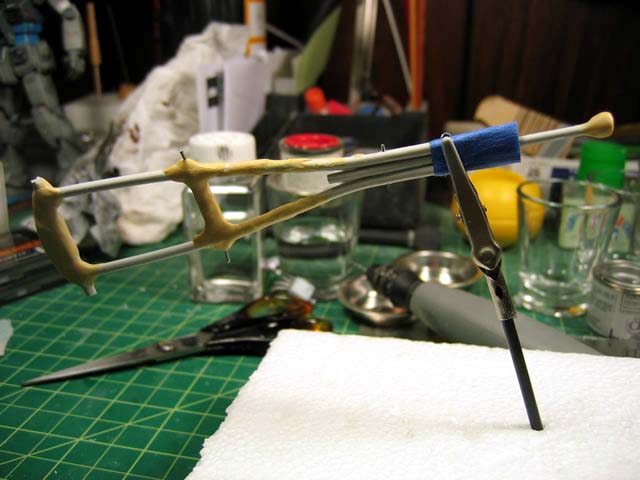
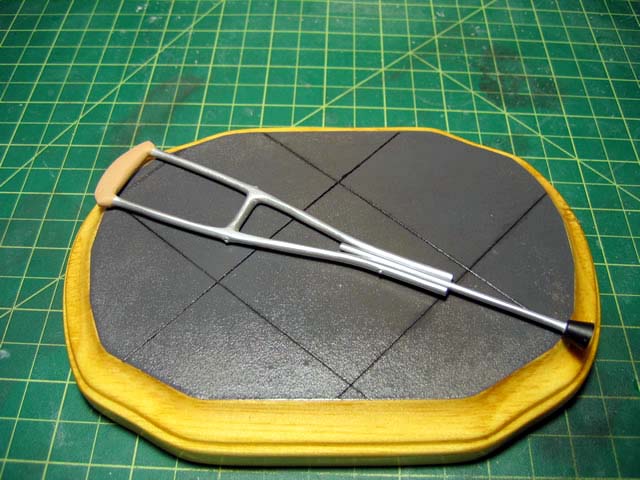
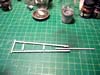
June 25, 2006: After sleeping, got some more work on the
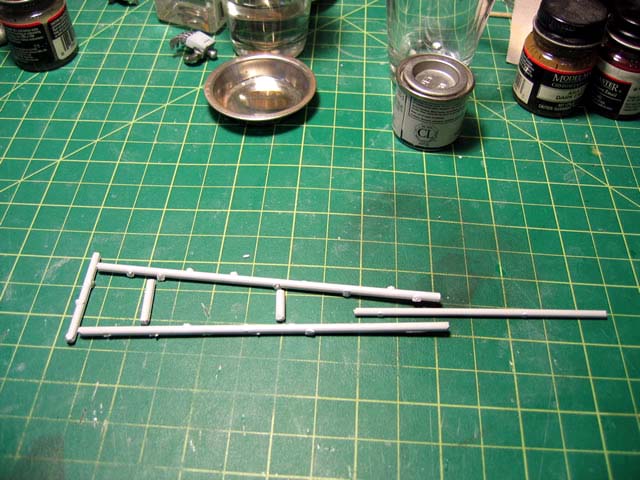
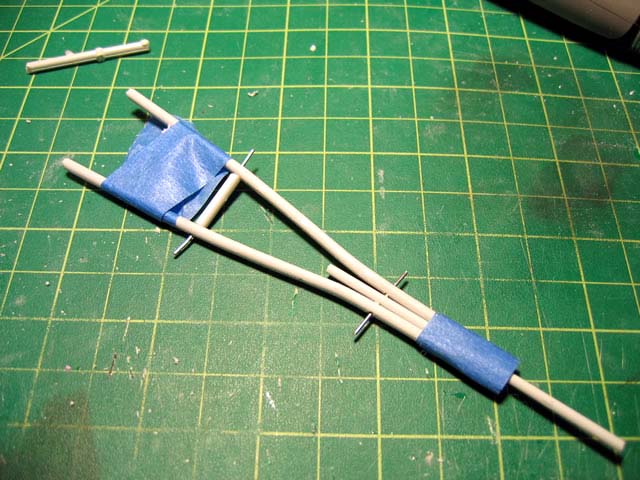
kit. Finishing the base right now, and the sign. I also added in pictures
for the crutch build progression from spare plastic tree parts to a primed
crutch.
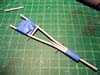

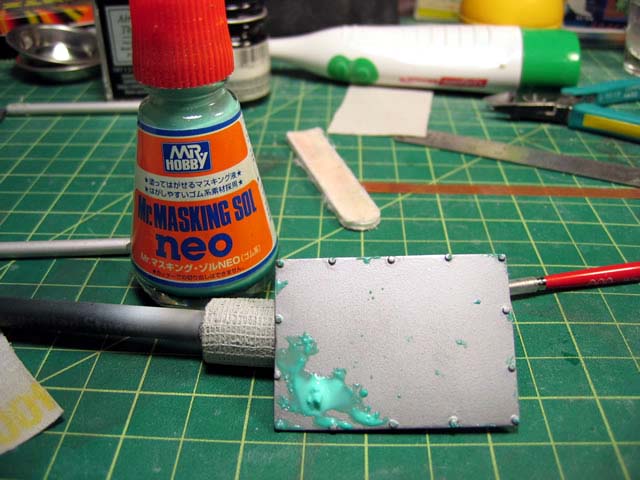
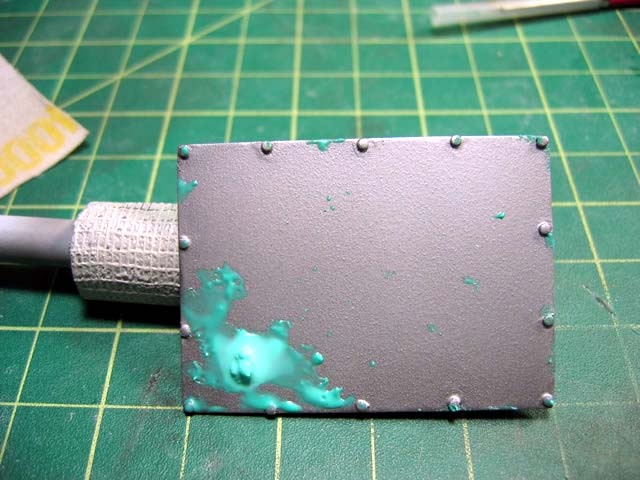
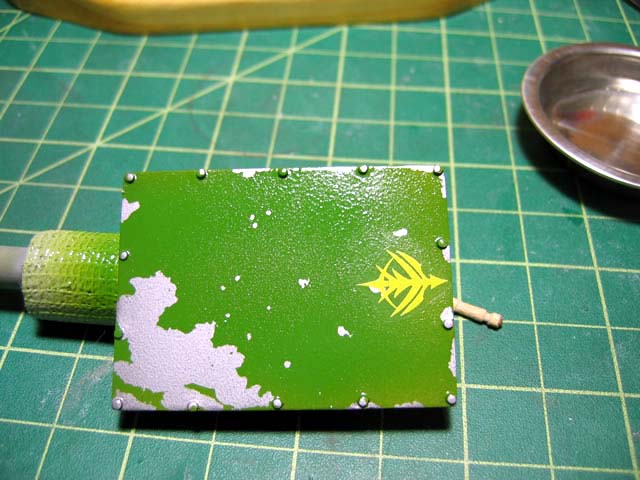
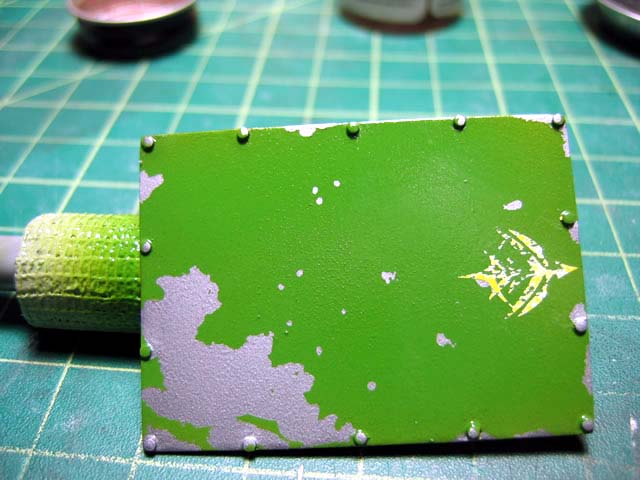
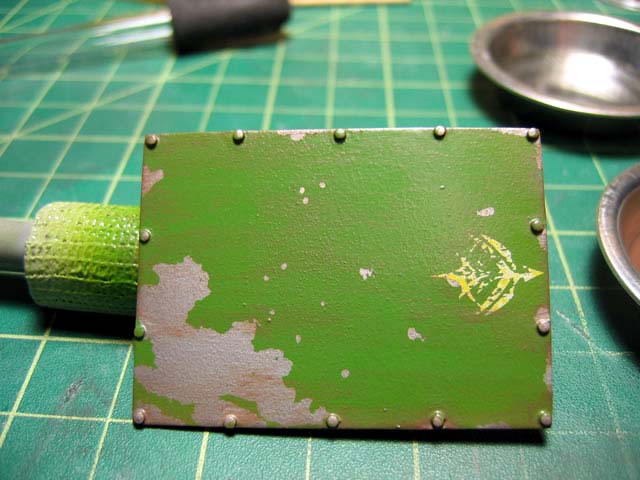
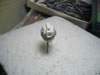
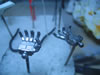
Junet 26, 2006: Worked on his "sign", and finished
up the crutch. With the sign, I first painted on alclad Dull Aluminum;
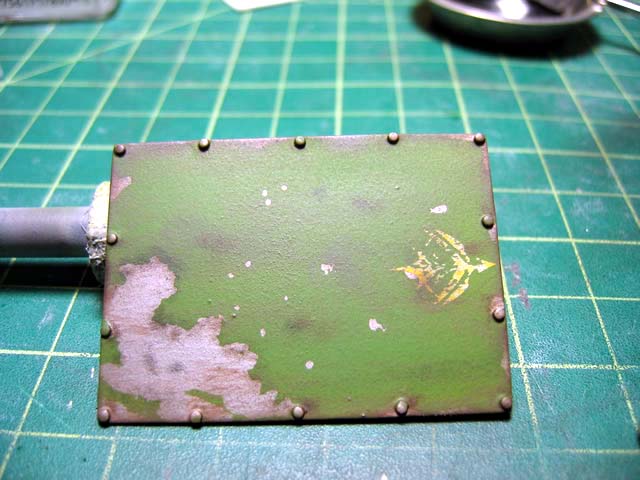
then using masking sol, I dabbed some "paint chipping" into
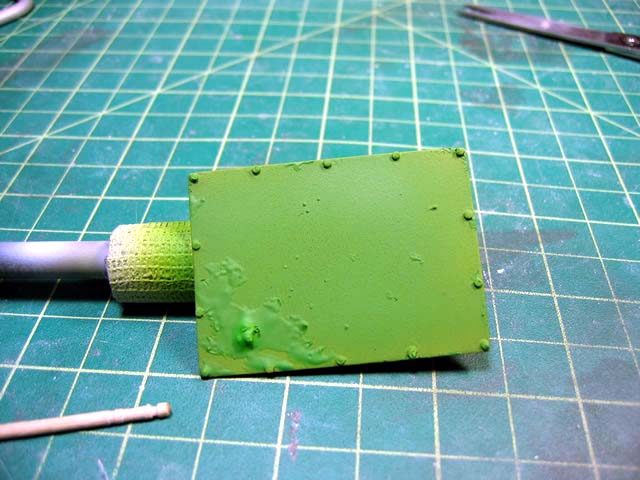
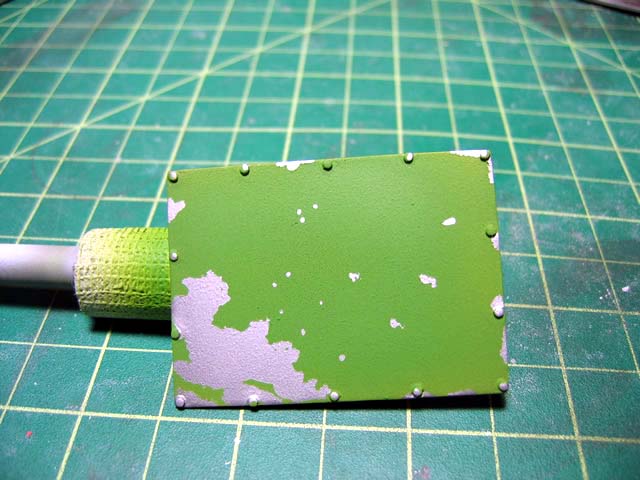
the metal sheet. I got the idea today to paint up a plate from some Zeon
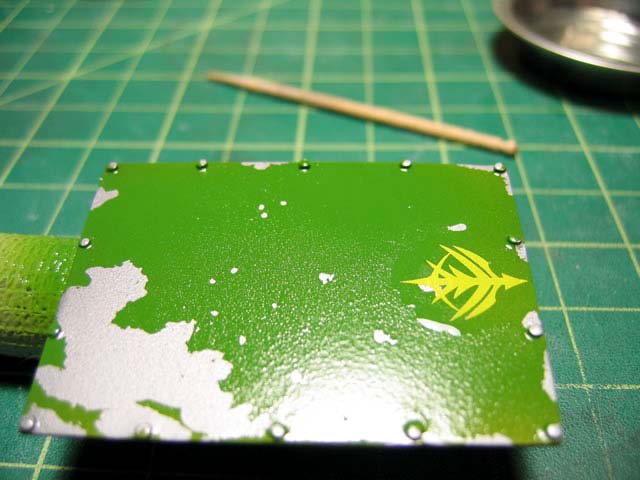
capital ship for the vet's "homeless help plea sign". So after
the masking sol dried, I painted on a green to match something similar
to Musai's green. Next, I sprayed on a clear gloss over the plate and
then added a Zeon emblem. Tomorrow I will finish up the plate with weathering,
and the witten message.


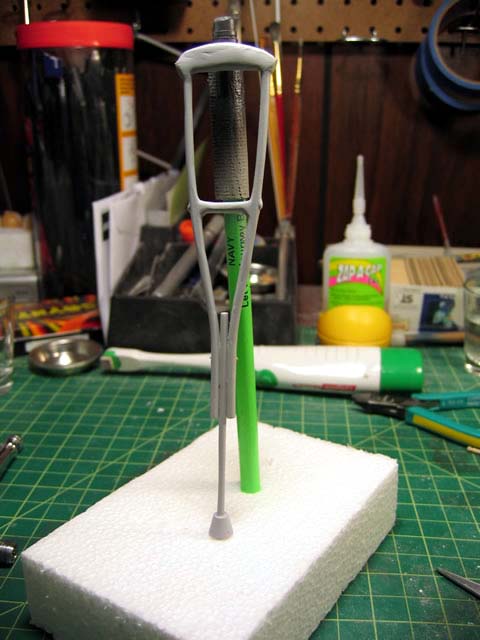
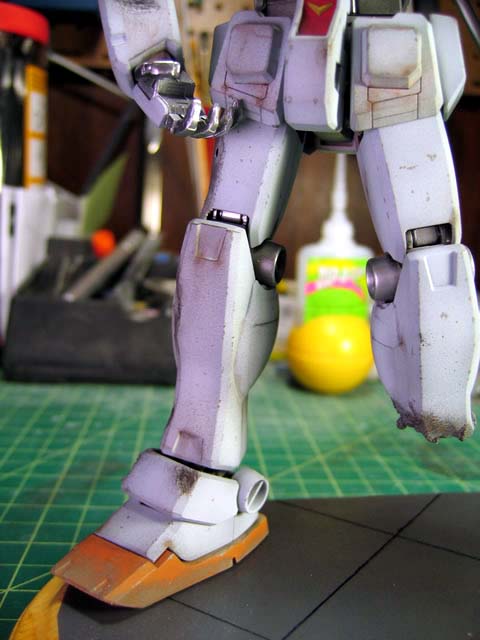
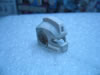
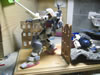
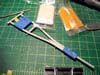
I wet sanded the primed crutch to clean it up for paint.
The metallic parts of the crutch were painted in alclad White Aluminum
without a black base. After allowing the paint to dry, I masked and painted
the rubber stop and under arm cushion (yeah, I know the irony of a cushion
for a mech - but then again, what mech would be using a crutch?) I then
took a few snaps of the finished base, crutch, and the Vet. Getting even
closer now. Not sure if I should weather the base or not; or just leave
it shiny and wet looking. I think it's a nice contrast to the dirty dry
looking Vet...

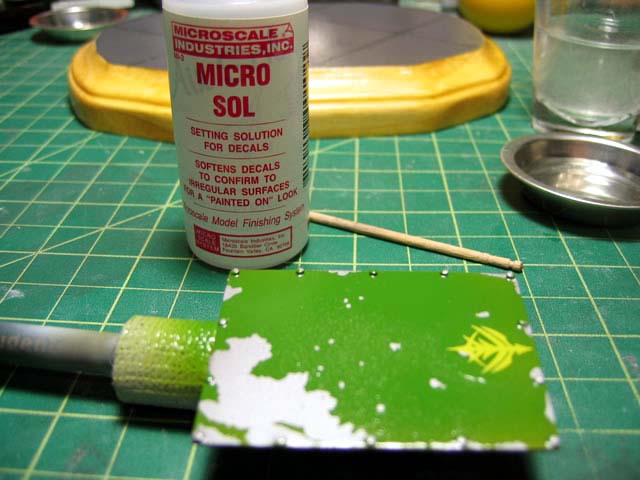
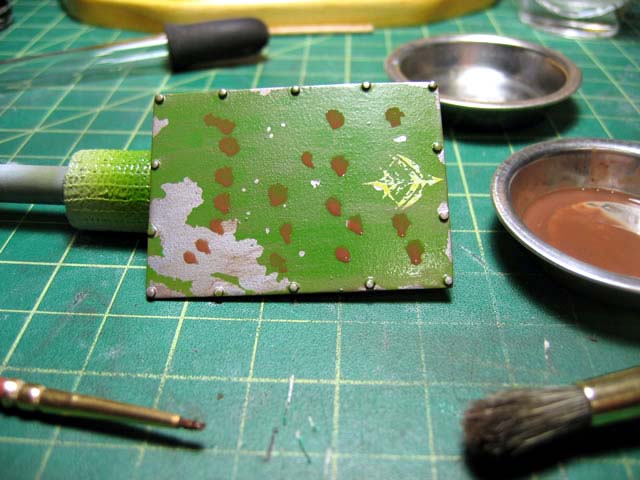
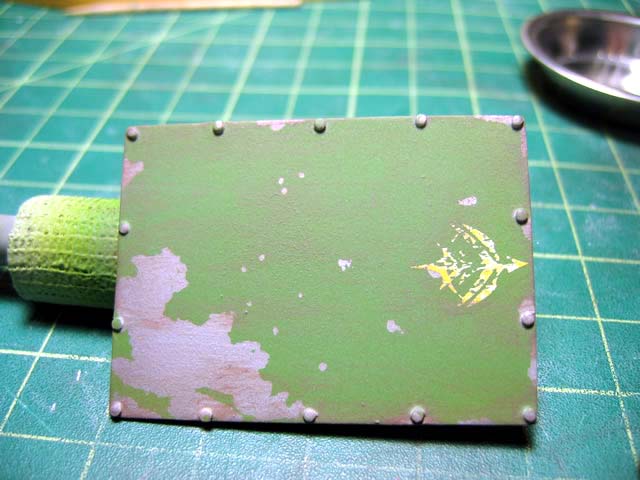
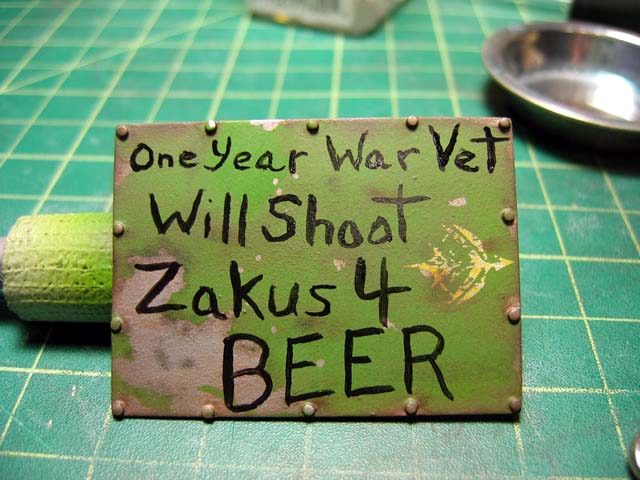
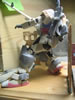
June 27, 2006: Finished up the sign with the following.
Weathered the decal by dragging the edge of a blade across it. The next
picture is the beginning of applying a filter, which is followed by dry
brushing to blend the filter in. Next, I sprayed a flat coat, and then
applied the pastel weathering.