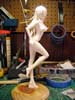
July 16, 2006: I started this kit sometime this
past week. An additional note is that this kit is an original kit from
kurushima. I've just been running a little slow because the inspiration
to build is only just returning. I've been switching between working on
her and the Akuyaku - for which I have
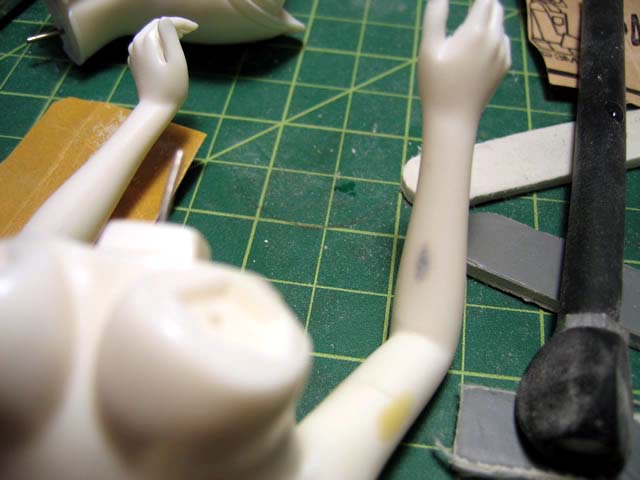
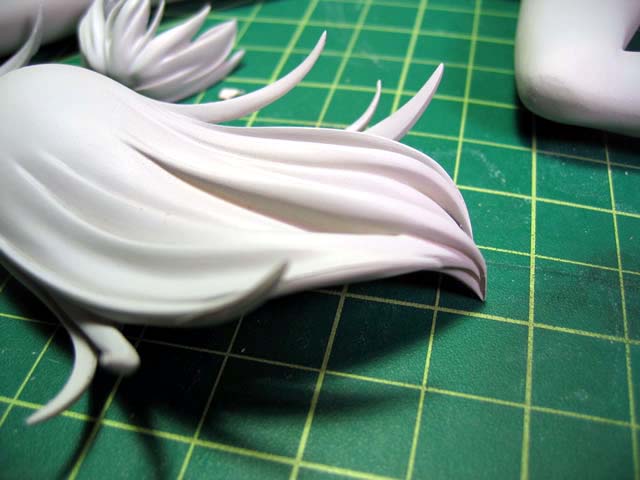
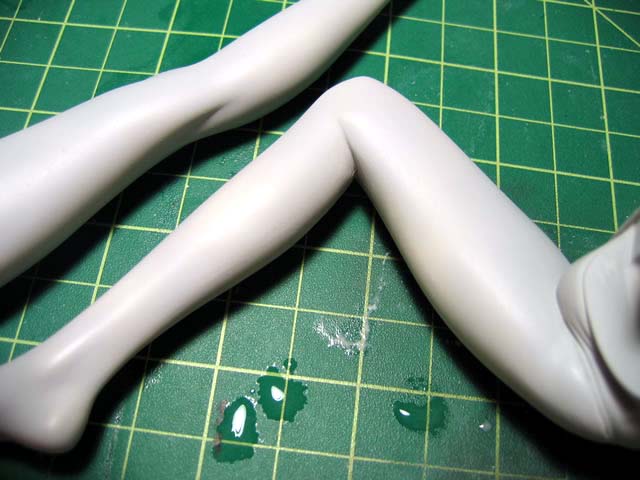
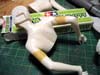
also updated. So far, I've pinned, bathed, and cleaned up 80% of the parts.
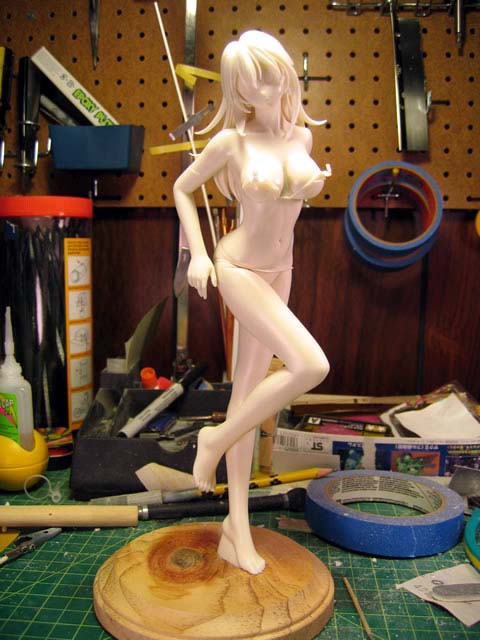
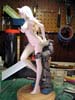
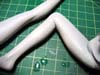
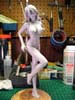
Initial pinning session, very little work done on mold lines,
gaps, etc.


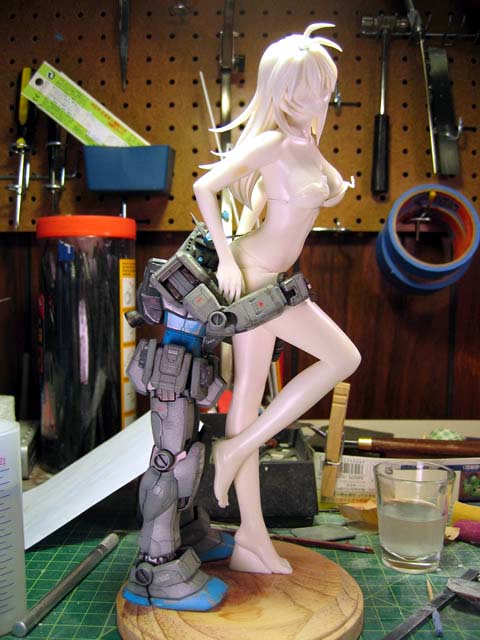
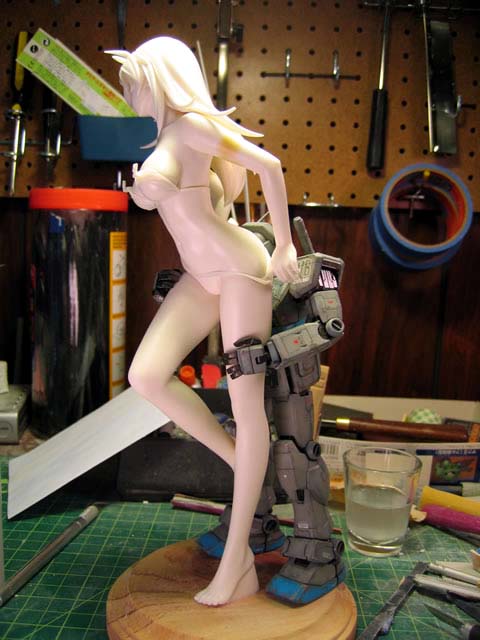
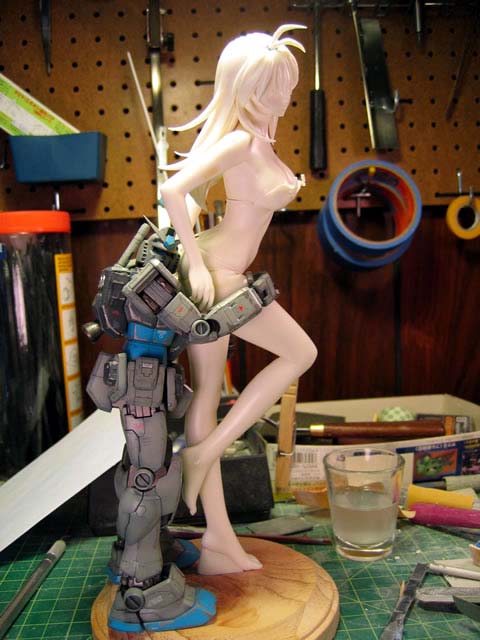
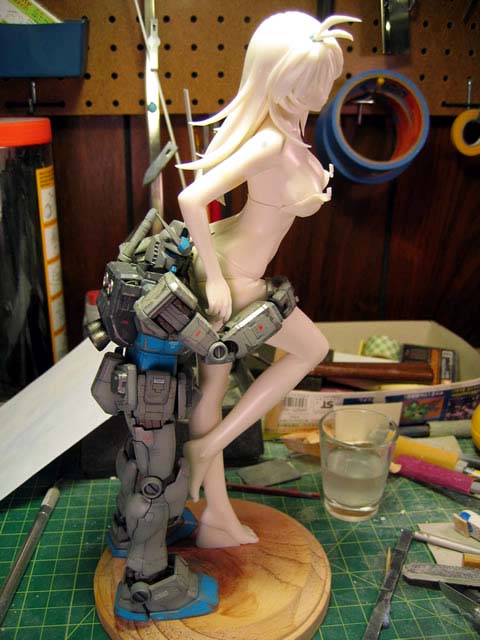
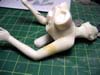
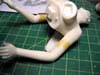
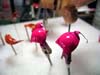
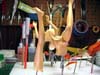
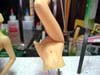
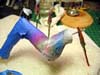
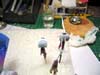
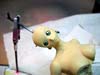
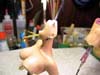
As always, Mr G-3 Gundam size comparison pictures; he looks
a little too comfortable.

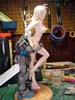

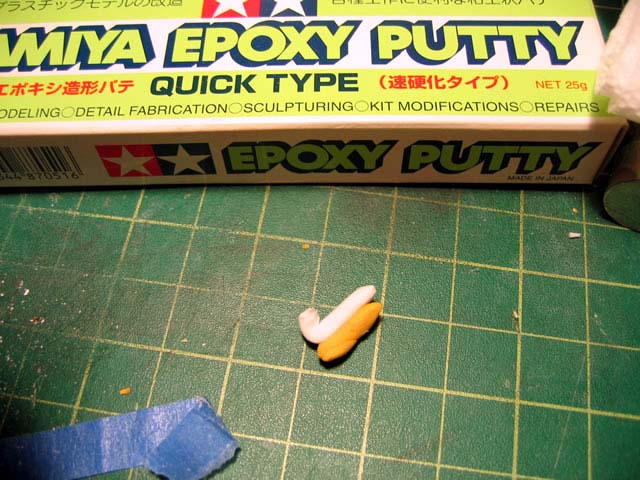
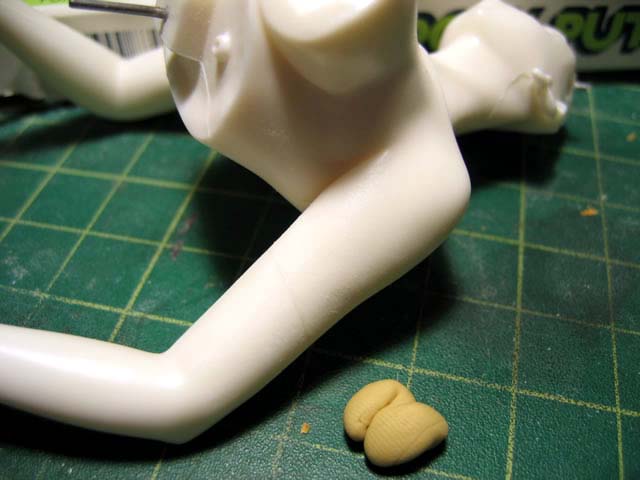
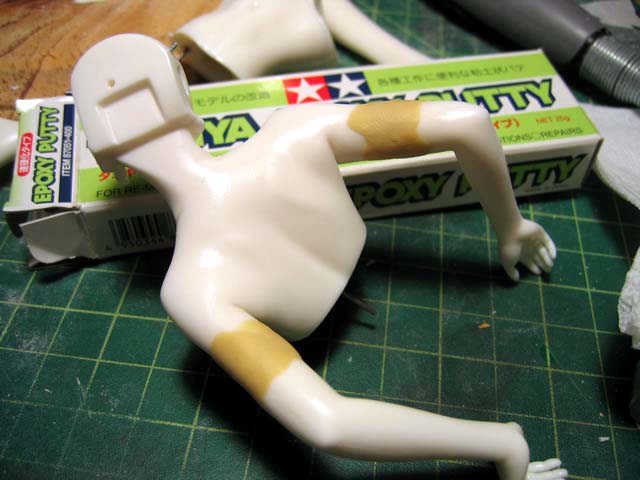
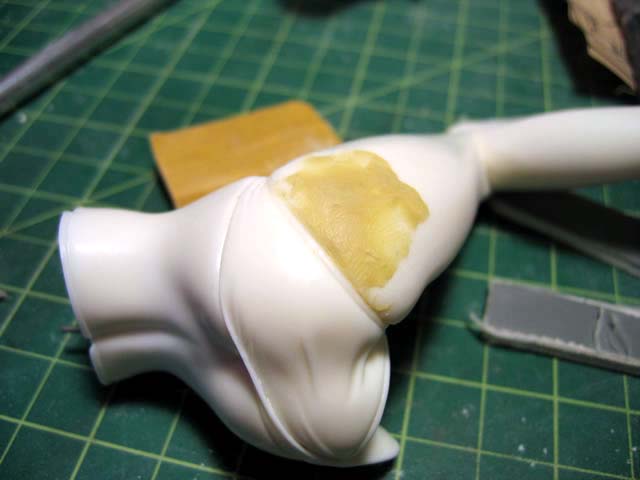
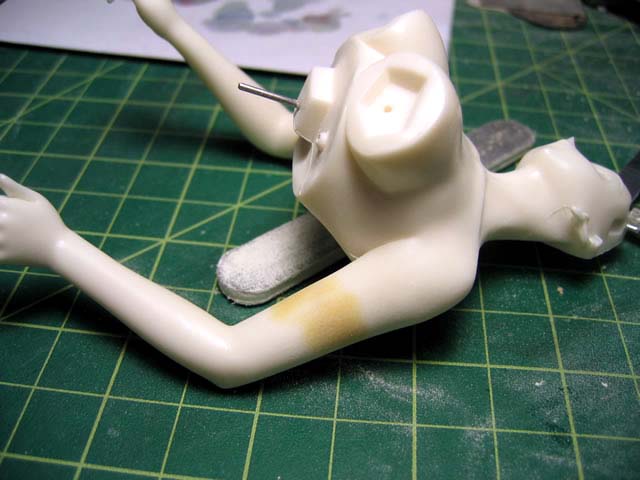
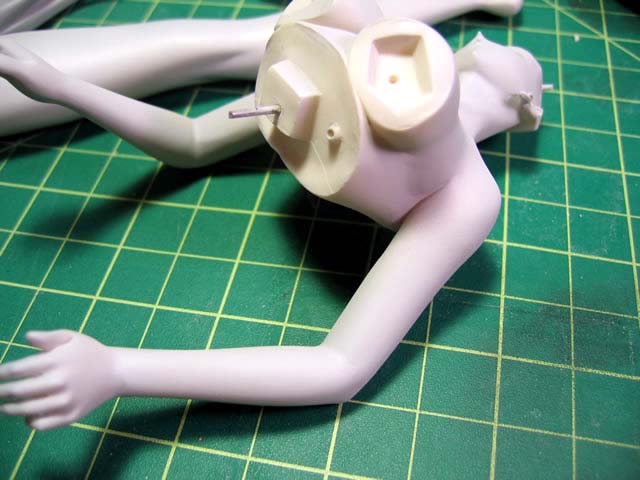
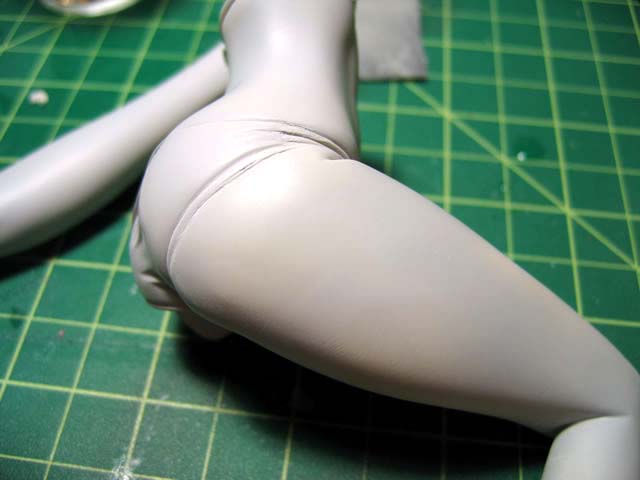
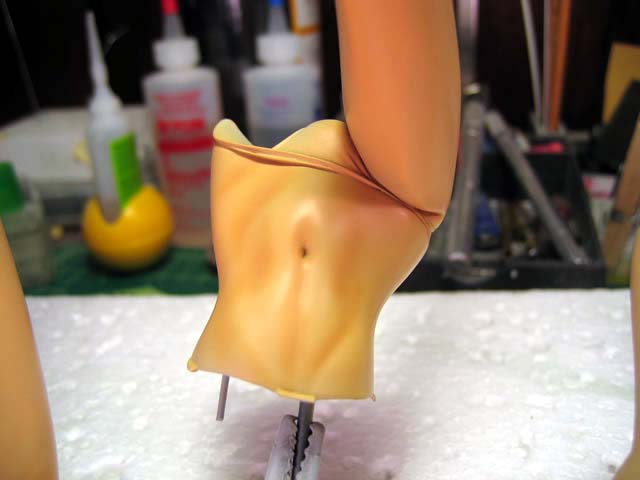
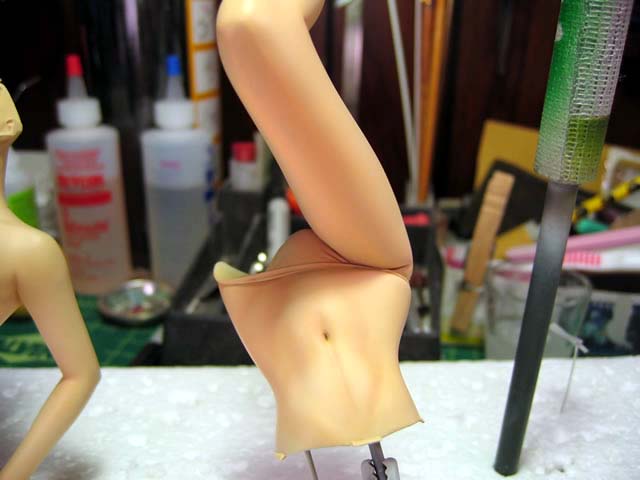
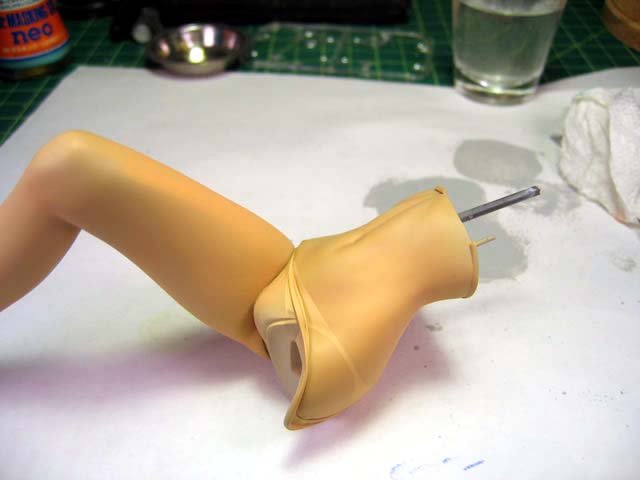
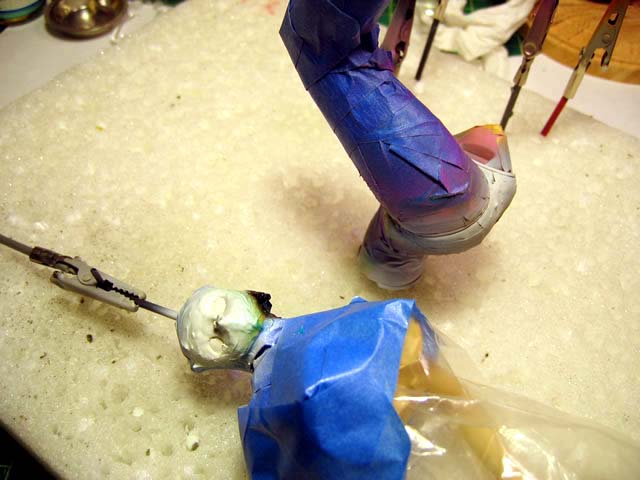
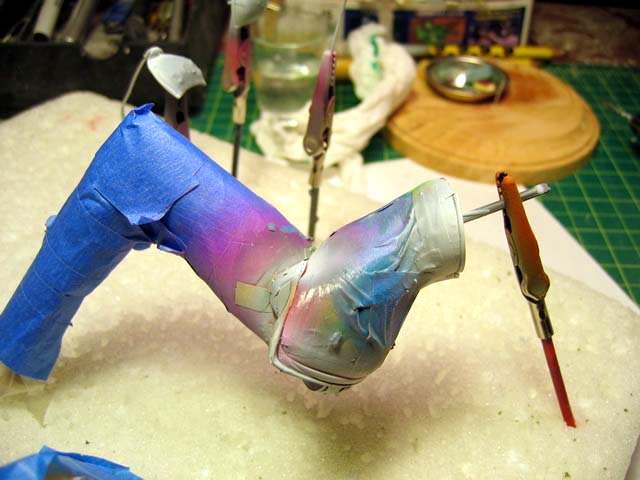
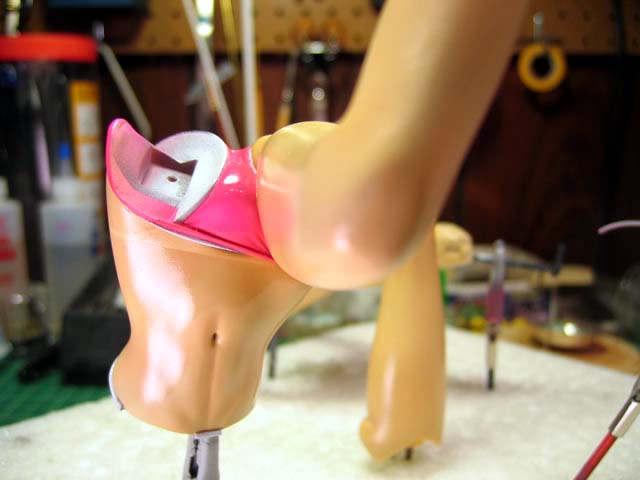
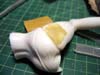
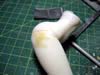
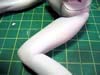
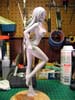
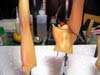
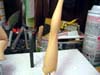
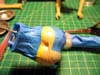
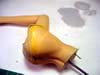
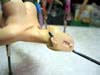
There are a couple of places that needed some rather big
gap filling solutions. The arms were glued and to make sure there were
no gaps or holes, I used epoxy putty and layed over the connecting arm
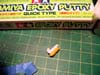
areas and the right leg attachment to the body. Take the two parts of
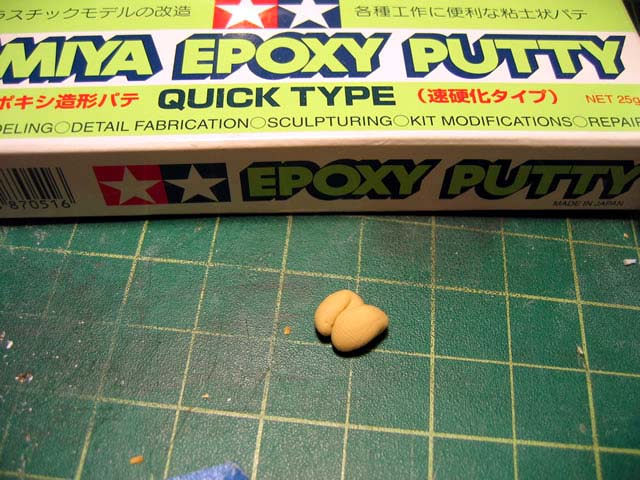
tamyia epoxy putty, mix as you would with two colors of clay, and then
apply to gaps.


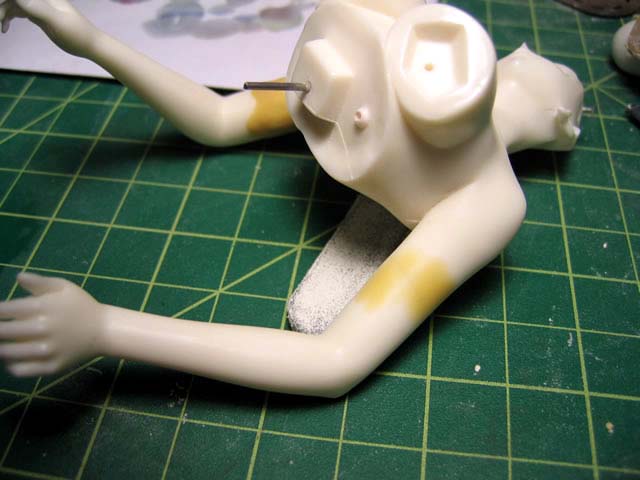
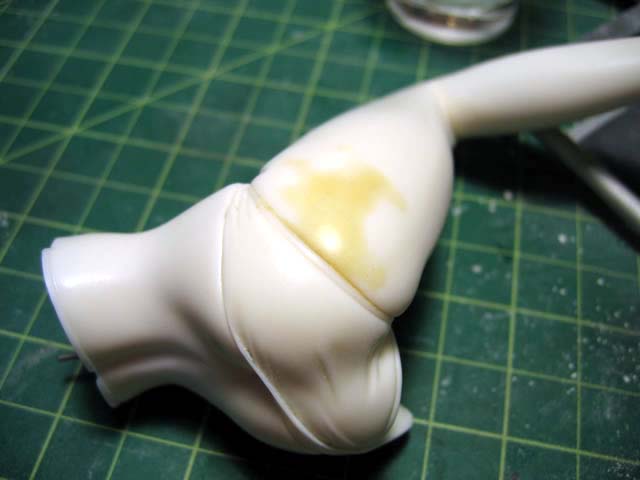
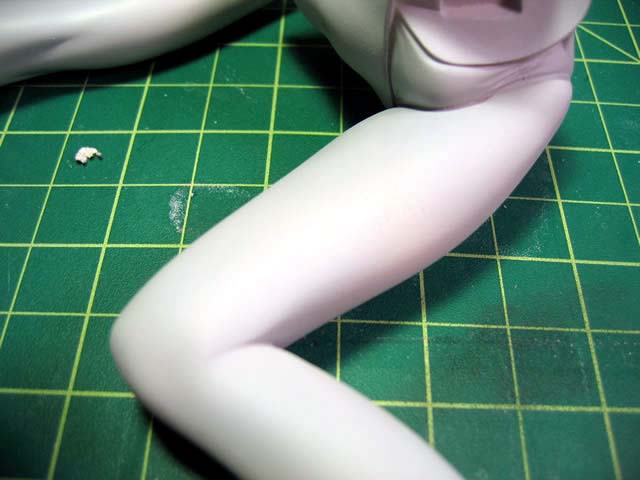
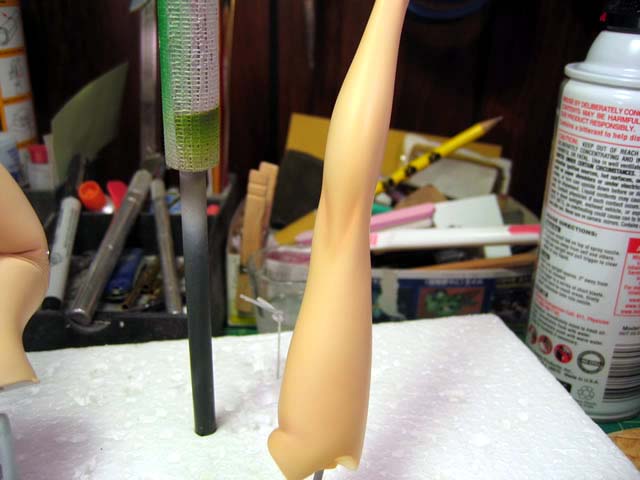
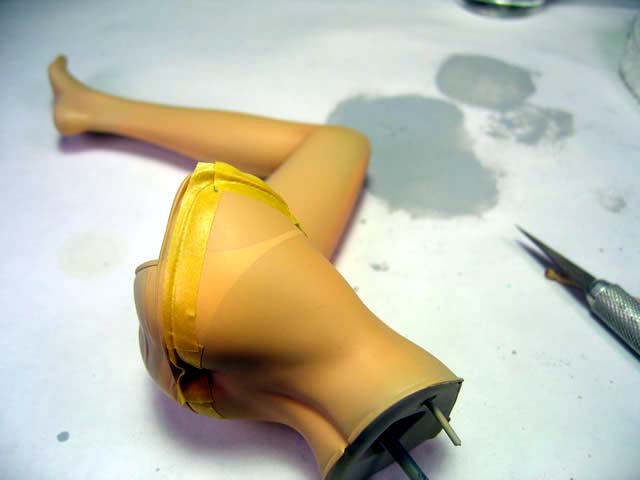
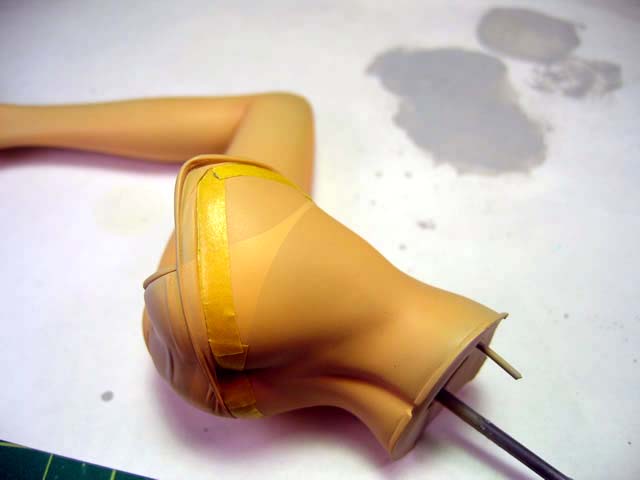
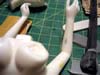
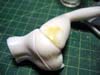
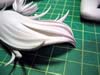
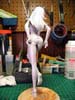
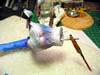
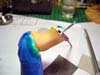
Some of the smaller areas do not require such extreme measures
as epoxy putty for filling, so I used Mr Surfacer 500 right from the bottle.
Placed in small dents or pinholes discovered in the sanding process, allow
to dry/cure over night, and then sand smooth. The epoxy putty was allowed
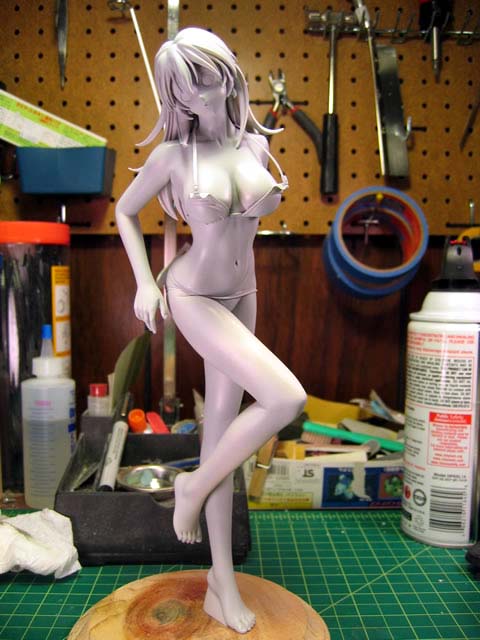
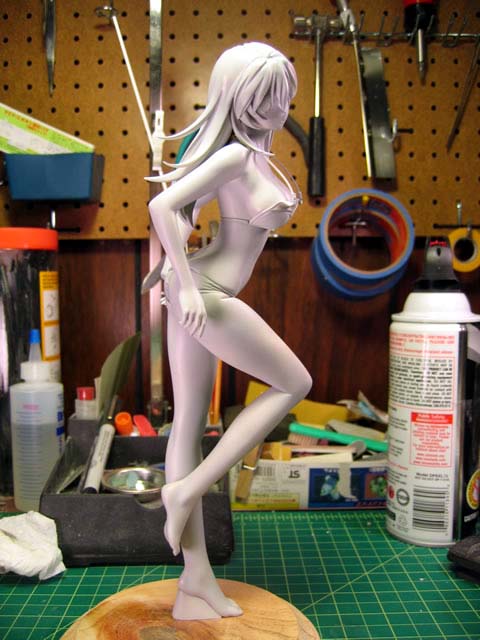
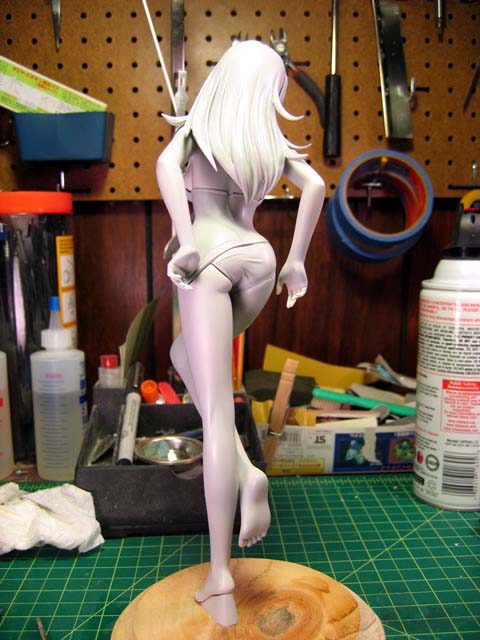
24 hours to dry/cure/setup. Then I went in a sanded everything smooth.
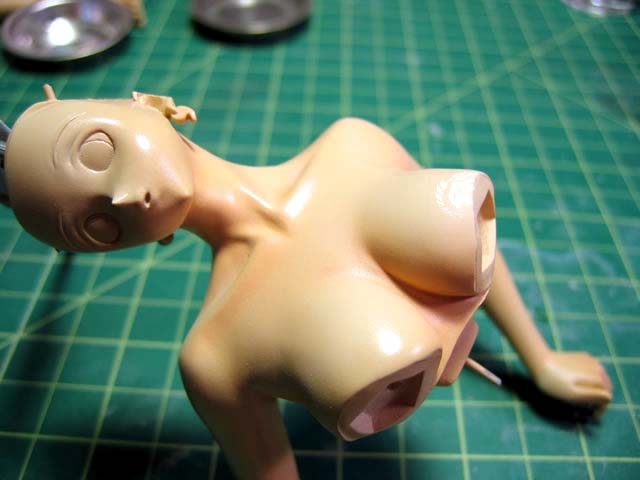
These parts are now ready for some primer.
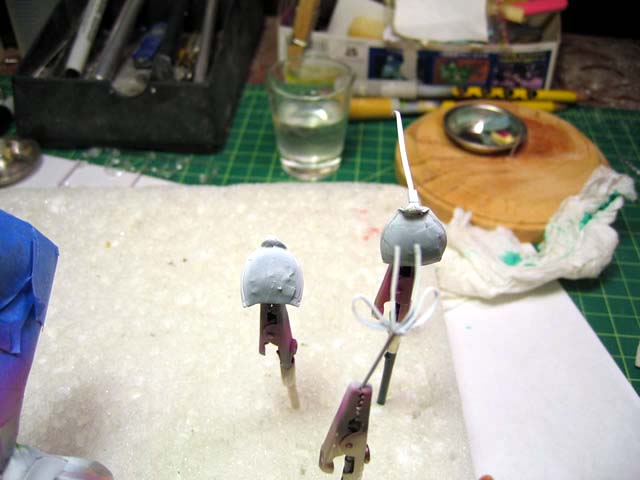
July 18, 2006: A little update from the work done over the
past few days. I've decided to take more pictures of what I may think
of as insignificant processes, because after doing the model building
presentation, and fielding questions about so many different processes;
I see the need for as much description of the processes as possible.
Priming serves several purposes. Mistake finder, uniform
color surface to apply paint, allows paint to stick better to the parts
surface, and fills the small little scratches from the sanding process.
After priming, the surface is a little rough, and a little bit of wet
sanding with a high grit sand paper smooths out everything.
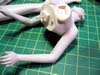
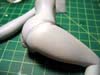
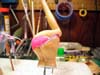
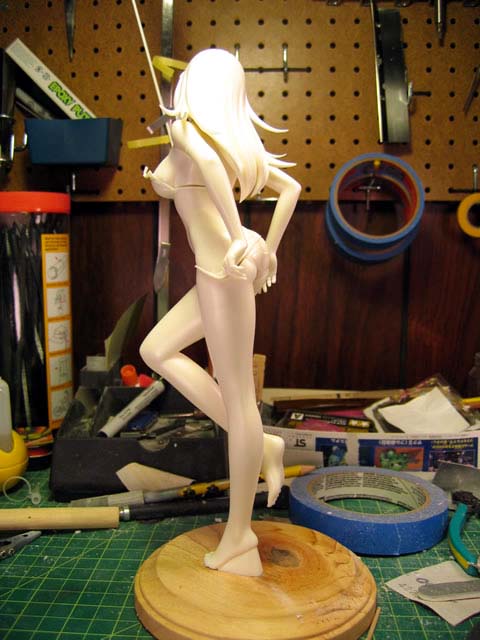
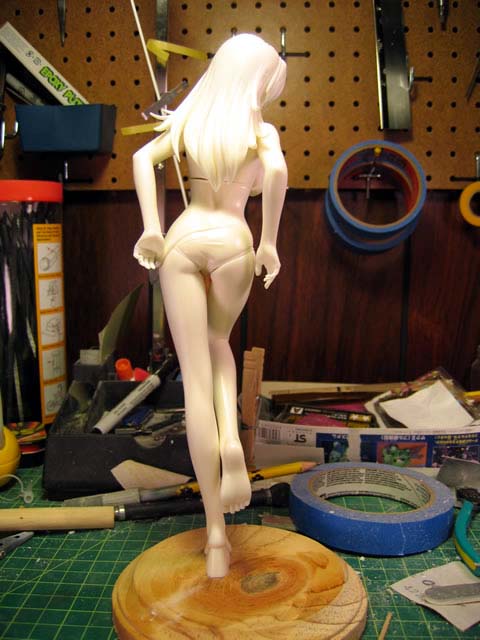
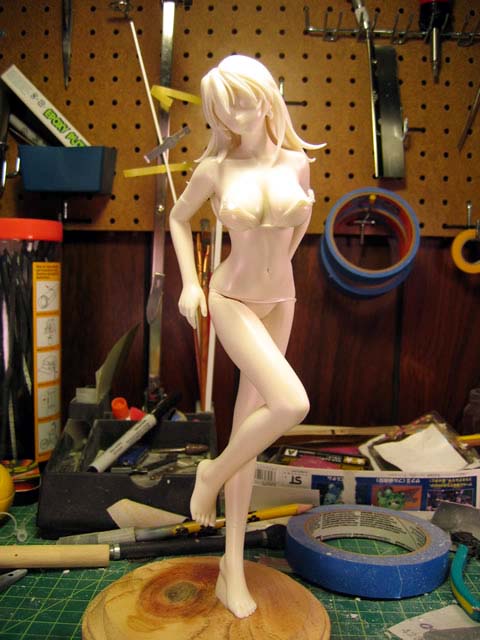
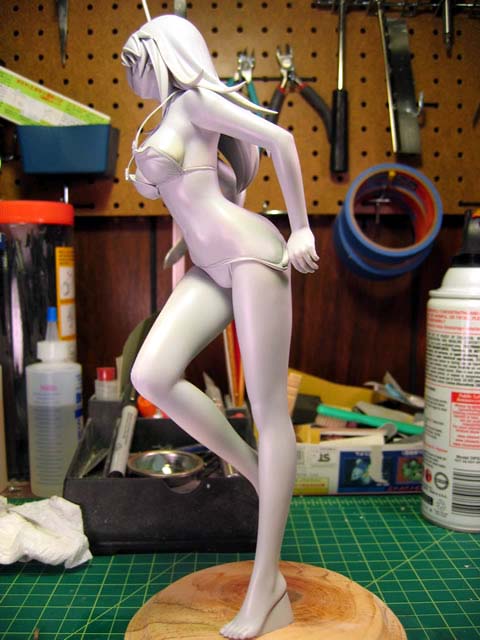
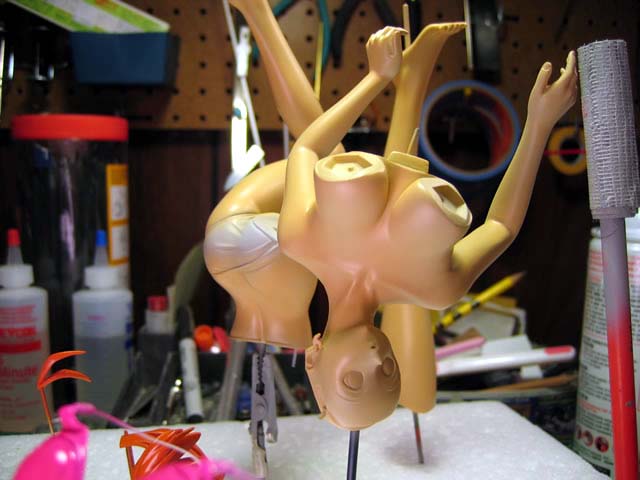
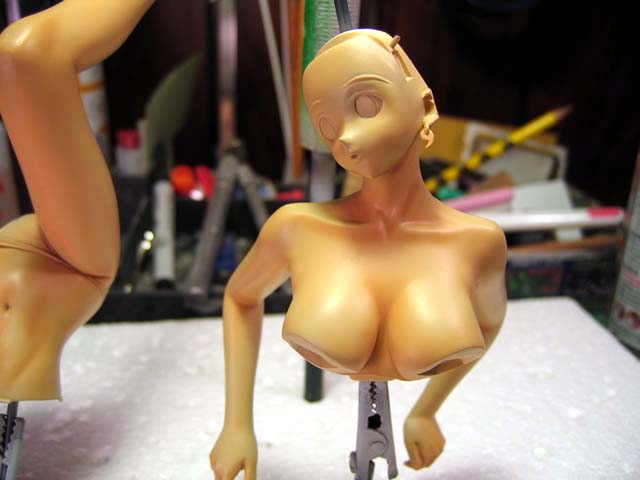
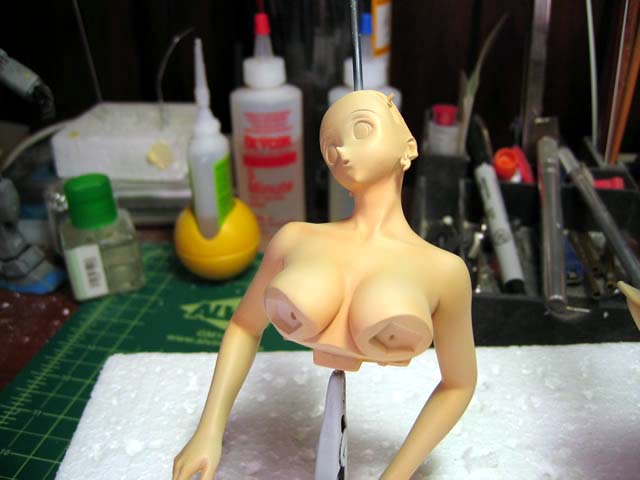
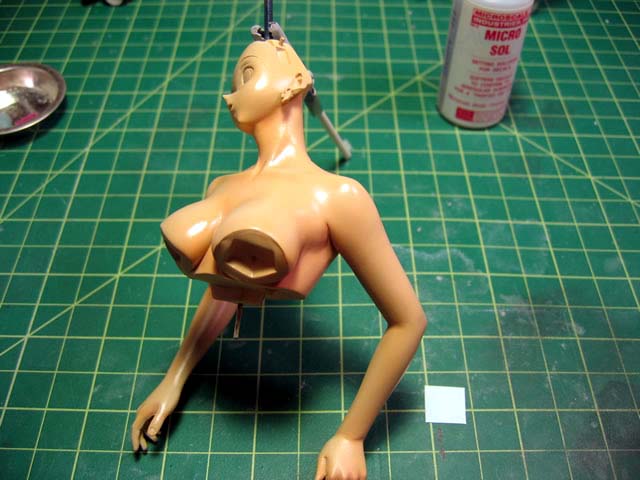
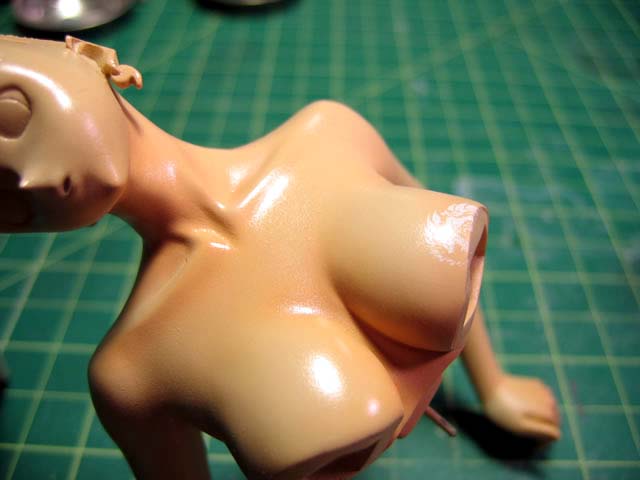
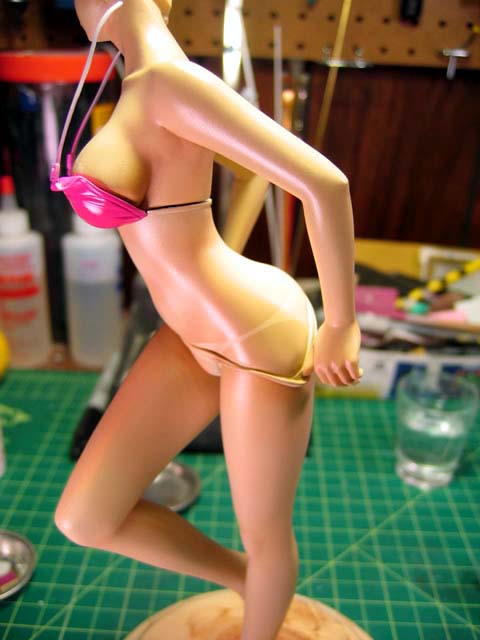
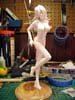
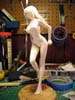
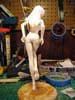
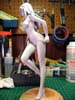
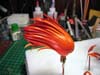
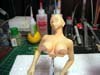
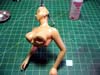
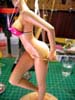
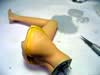
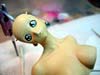
Finished wet sanding and did a quick assembly for pictures.
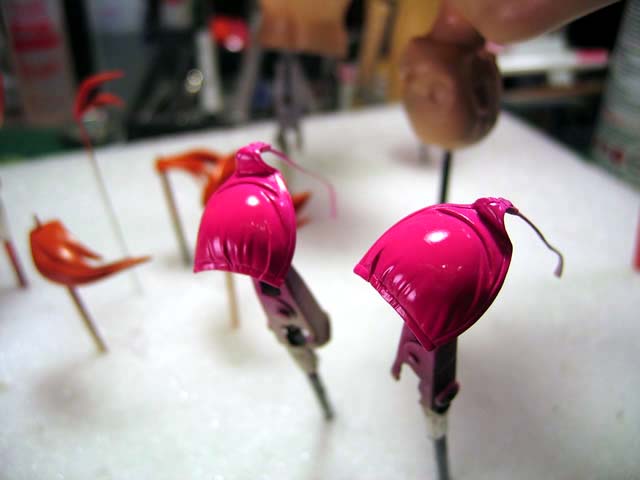
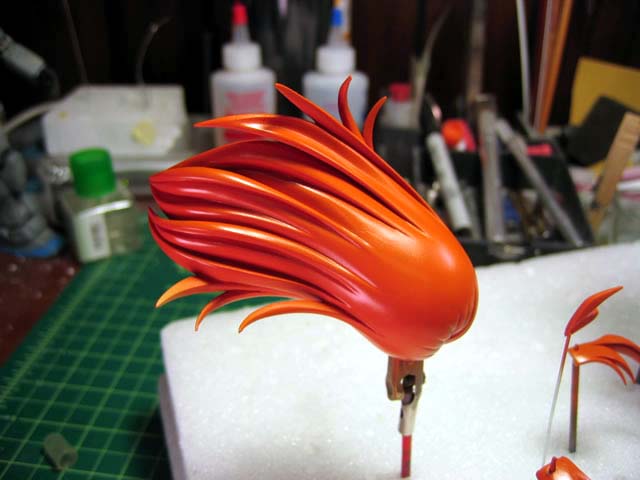
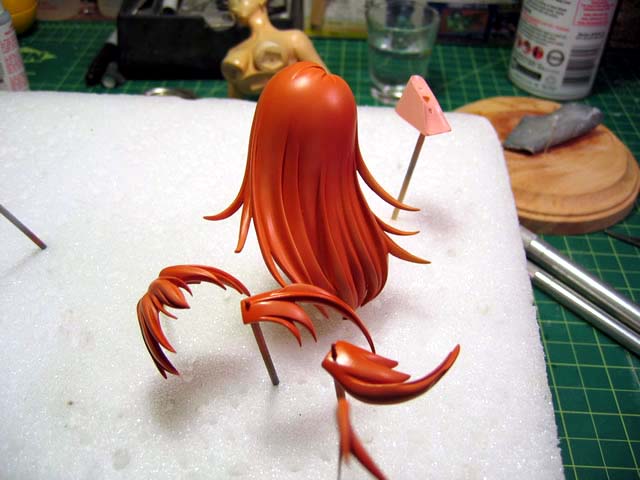
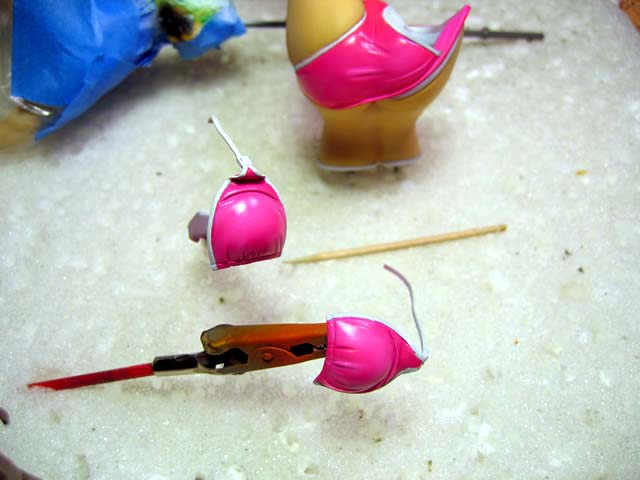
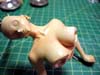
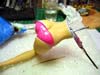
The ever fun painting process
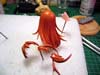
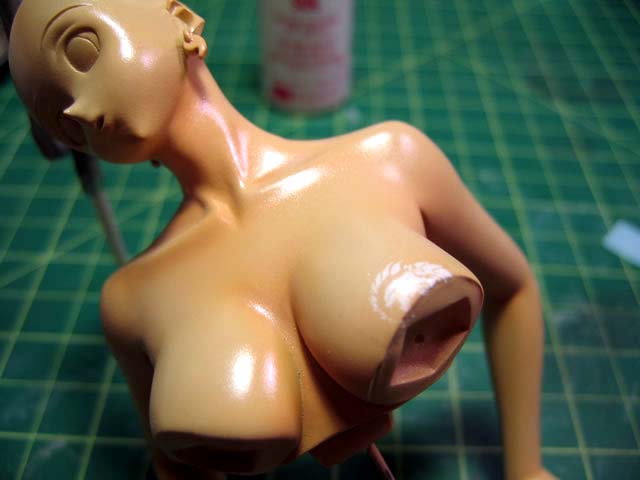
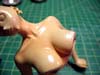
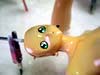
First layer of skin tone:
Shading areas using a darker shade of skin tone:

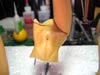
Final layer of light skin tone to highlight and blend everything
together.
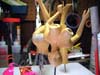
Gloss clear coat to seal in the previous layers of paint.
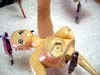
Then on the personalizing another figure with yet another "Gamera"
tattoo... After the decal set, a light misting of the top layer of skin
tone to blend in the tattoo.

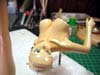
And taken from a picture a fellow modeler posted of a completed
version of this kit... tan lines....
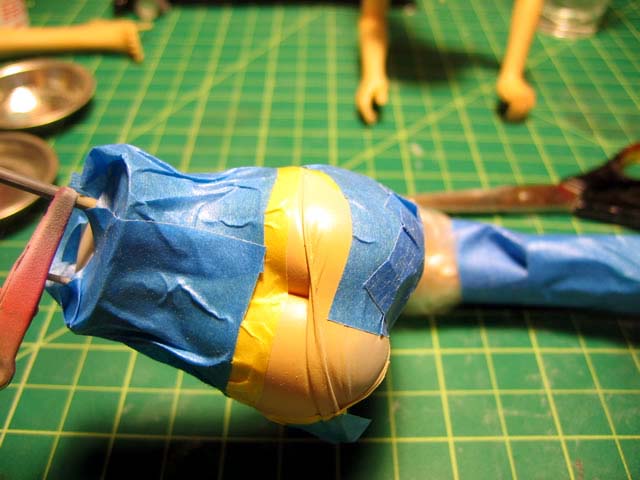
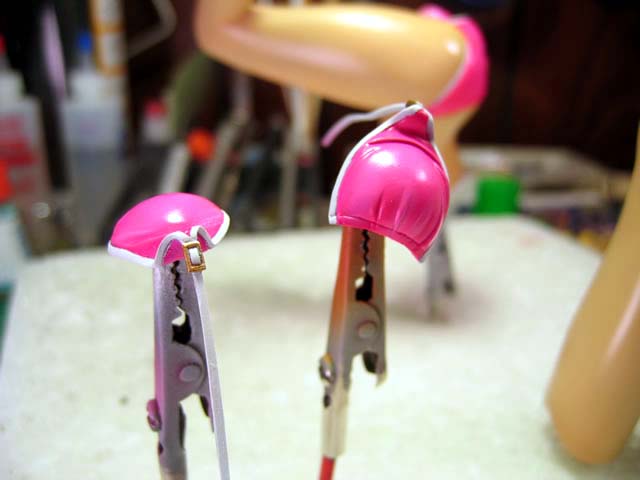
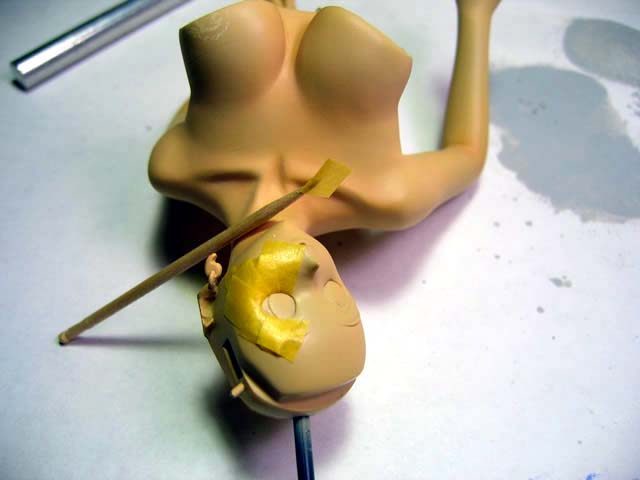
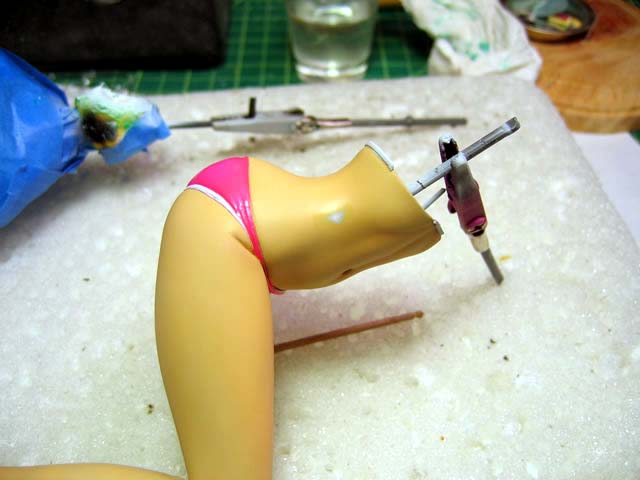
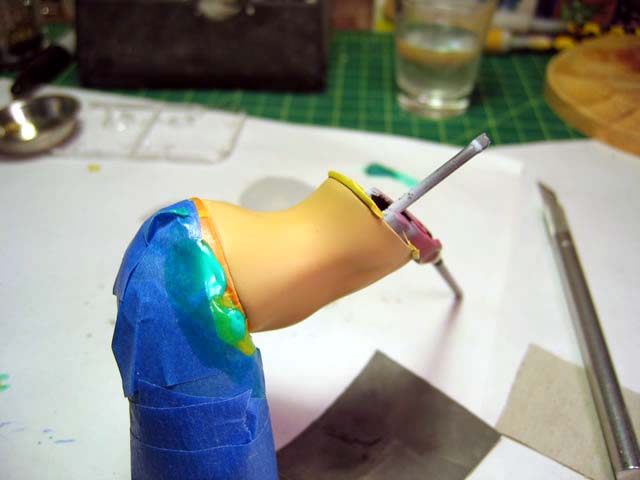
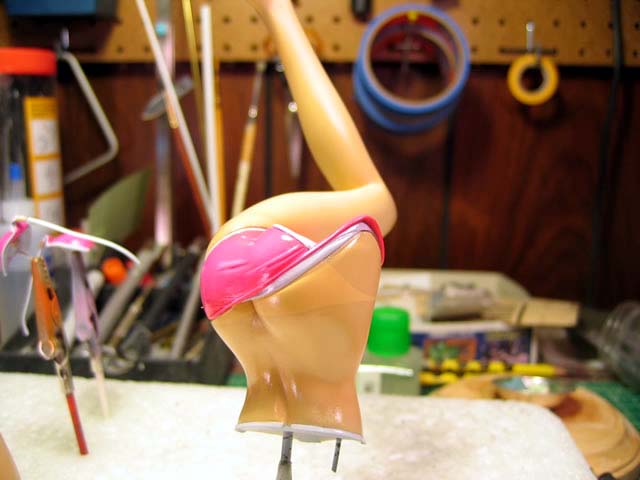
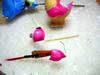
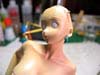
July 22, 2006: More masking fun. Took pictures of the masking process.
Mask, cut, mask, repeat..

Paint, mask, paint, repeat...
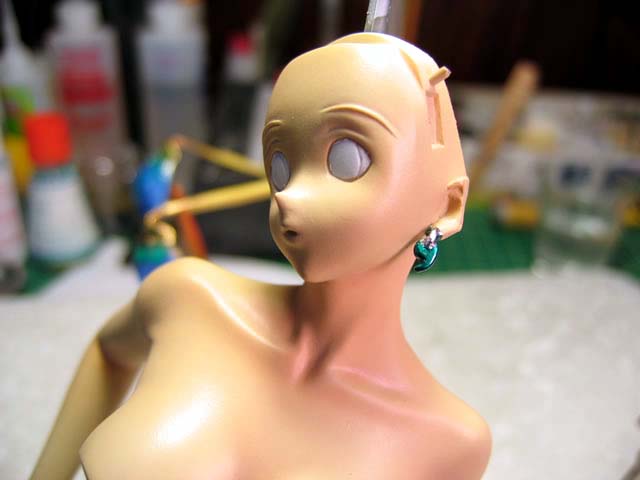
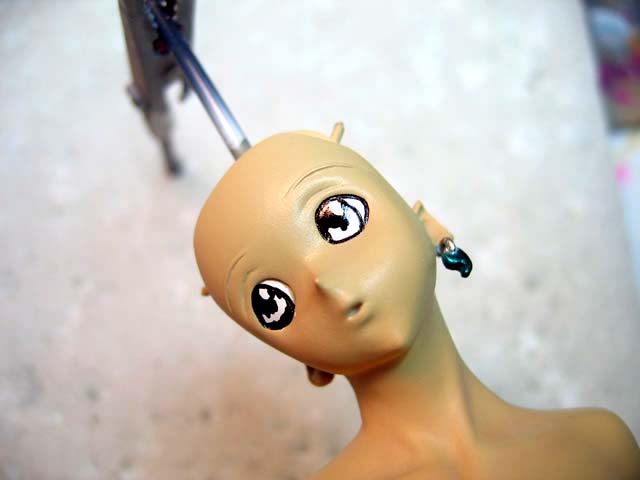
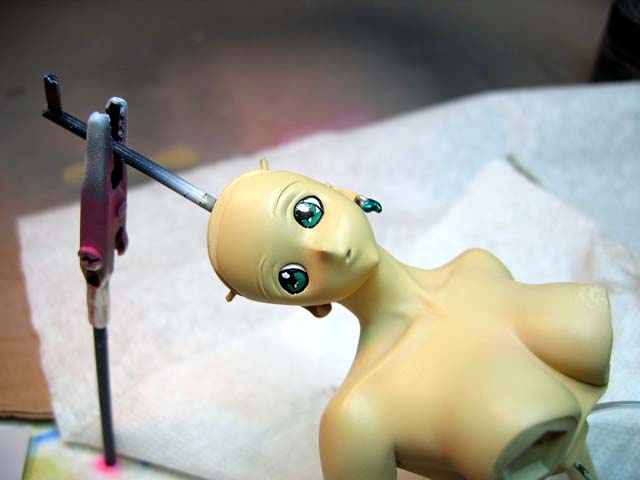
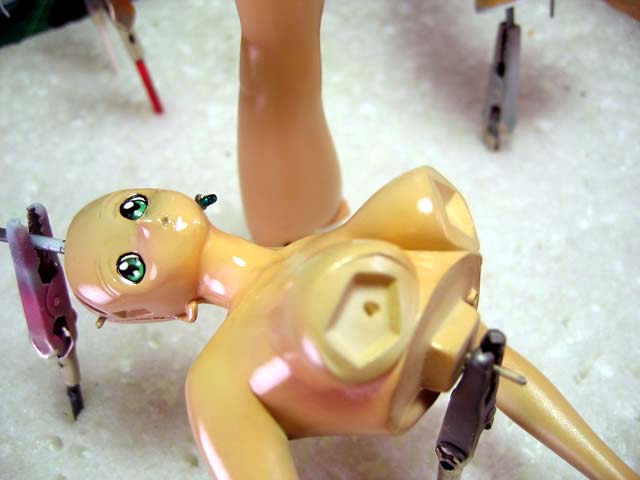
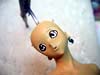
Eye painting. Mask, paint white, spray on clear, unmask,
paint the black areas, paint the iris color, paint the white dot reflection
thing.... gloss clear coat with future.
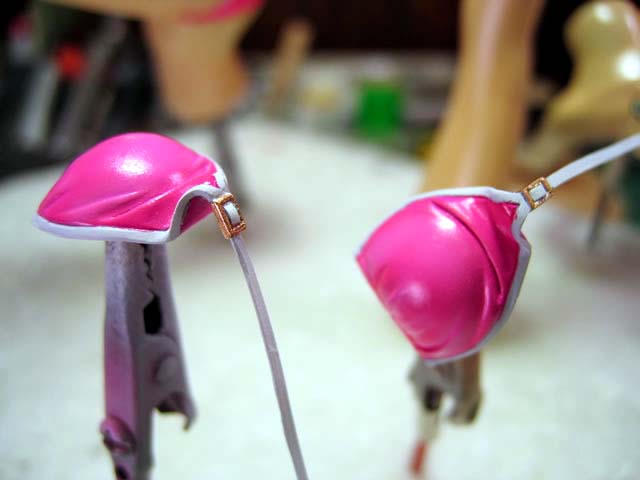
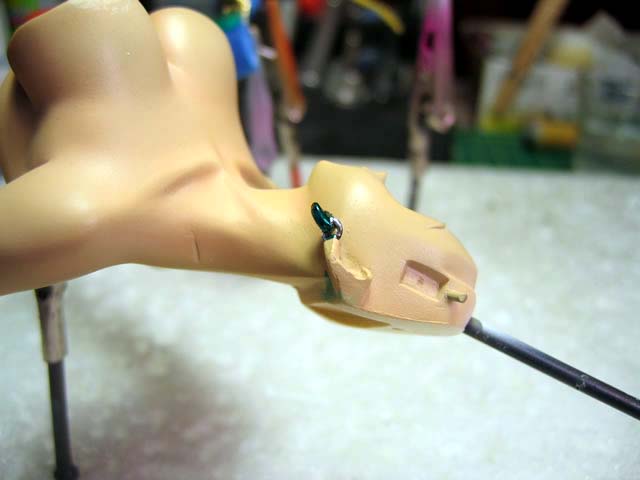
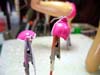
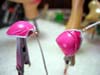
The earring.
As usual, mistakes will happen.... so sand down the mistake,
remask, and then repaint...

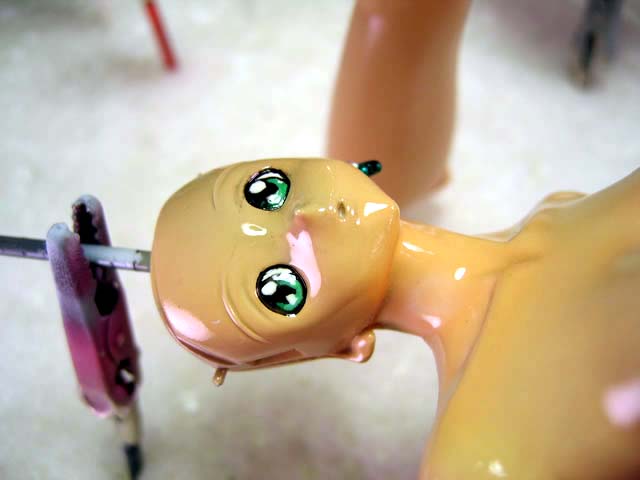
Last step of the week. Future coat everything. Since future
is an acrylic based product.... I now need to leave the model alone and
not touch it for hmm.. 1 week. Next update will include the final steps
to finishing the kit. Assembly, enamel wash, flat coat, pastel, sealing
flat coat, and the base.