December 4, 2005: I received this kit last week
and for the past few days, it was soaking in the industial purple goo
to rid any mold release still present on the kit. Today I took the pieces
out of the purple liquid bath and using dish soap, warm water, and an
old toothbrush; I scrubbed down and rinsed the pieces.
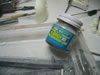
The kit came from a resin shop in Hong Kong - Evolution Hobby - that
has a brick and mortar shop but no online shopping. AkoCreation
offered to sell the kit by proxy such that those of us outside of Hong
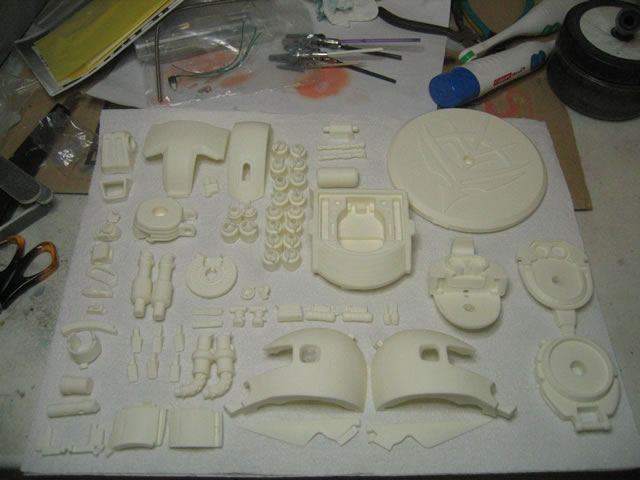
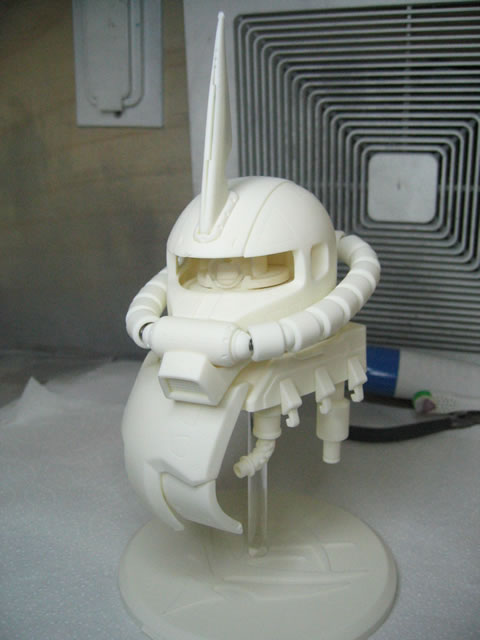
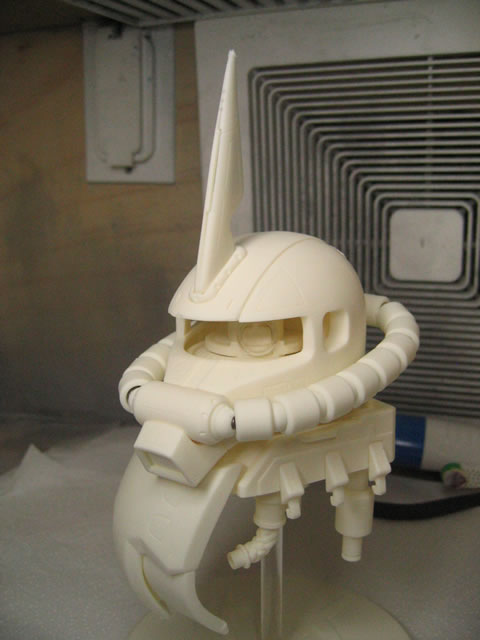
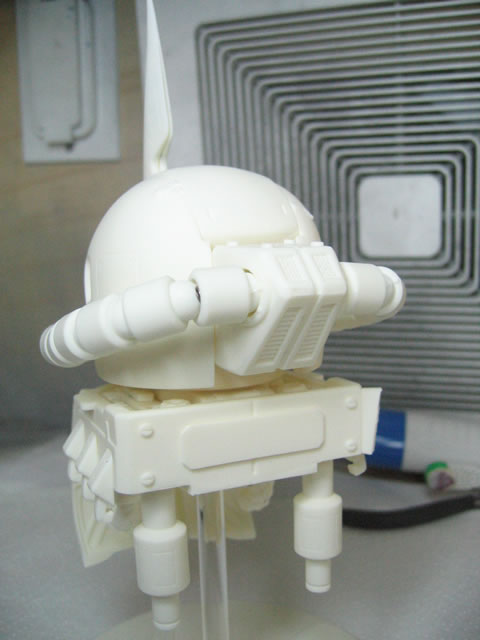
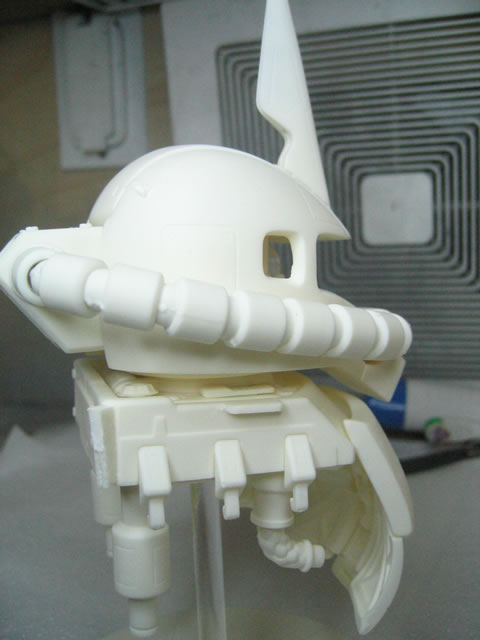
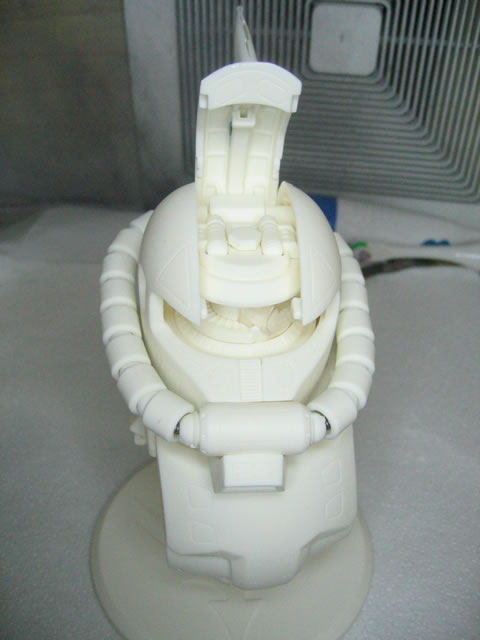
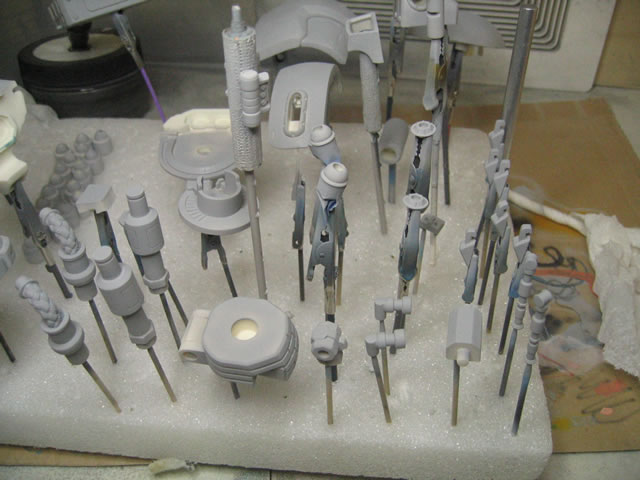
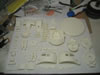
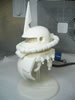
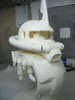
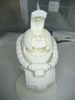
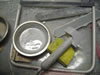
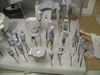
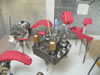
Kong can have access to such an excellent kit. Below, you can see that
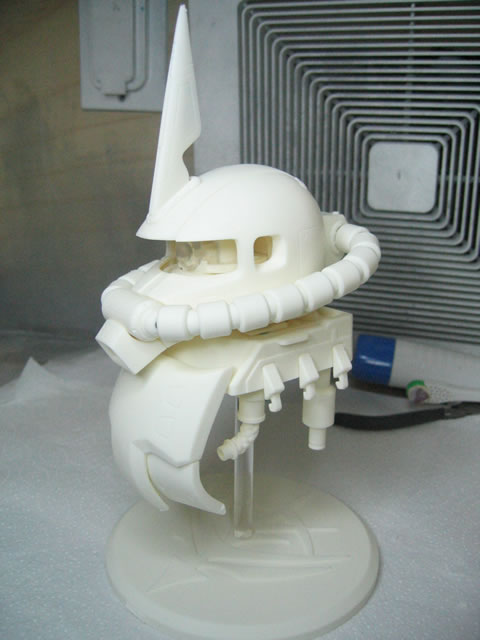
this kit is fairly parts intensive for such a simple head. Using some
sticky tac, I just quickly put the sucker together for a test fit. Very
nice fitting. So far, there are no missalignments or anything. It will
be wonderful if Ako will be willing to carry more of this shop's products
in the future.
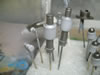
There are several movable areas. The head itself swivels ontop of the
bust section. There is a little knob to move the mono eye. There is a
hinge in the neck that can move the head up slighly. There another hinge
in the head to move the top of the head hatch up for access to the top
of the Zaku's head and access to the mono eye knob for repositioning.
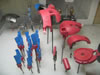
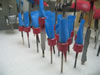
Excellent engineering. The kit also comes with wiring, switch, and LED
for lighting up the mono eye as well as three small areas in the top of
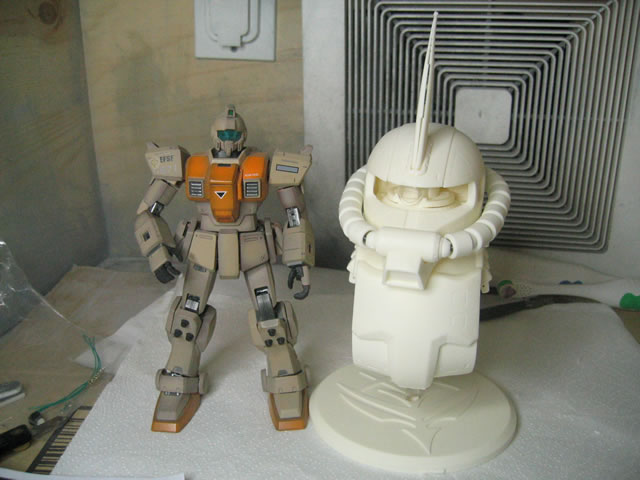
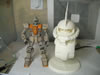
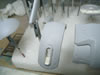
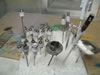
the commander's antenna via clear tubing. Below are the pictures of the
kit as well as a size comparison picture using Mr. Ground GM.

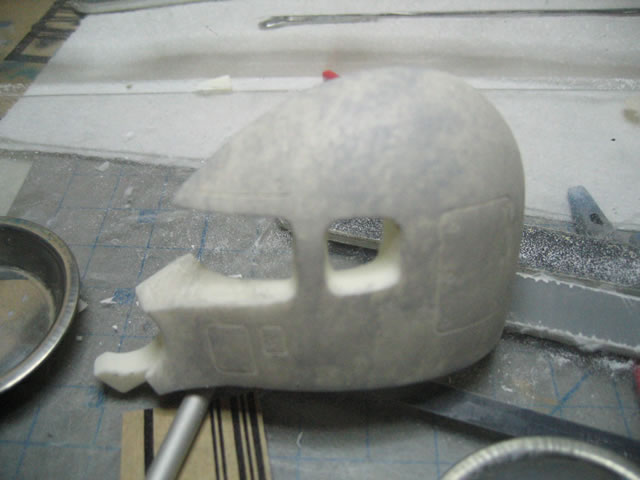
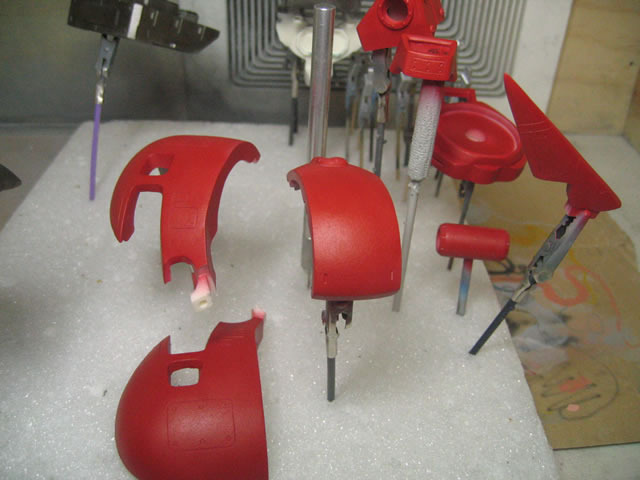
December 6, 2005: Yesterday evening and tonight I worked
on sanding and a little bit of priming. The only seam to take care of
was the one from the antenna's two pieces. A few areas needed some epoxy
putty for filling in bubbles and a few damaged areas from when I was removing
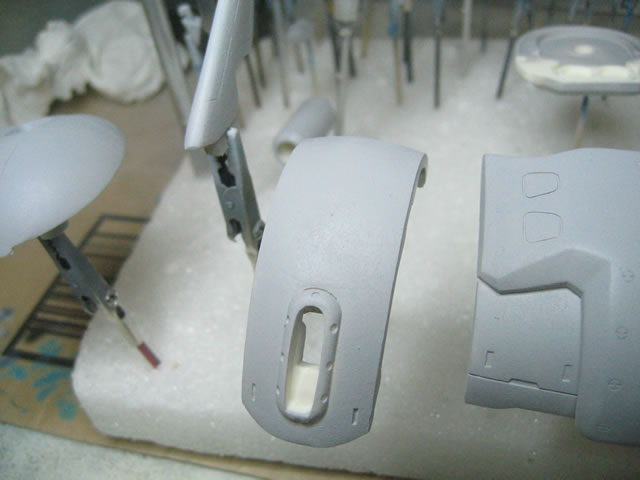
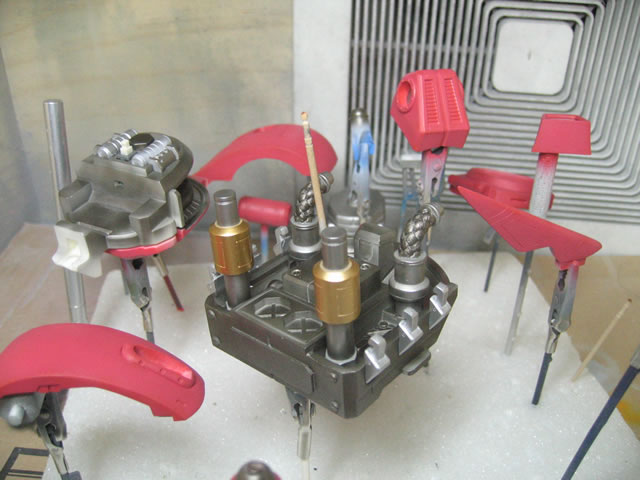
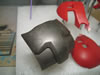
the excess resin tabs. I've decided to do a cast iron effect for the exterior
armor. The internals will be painted with Alclad metallics and those pieces
will be kept smooth.
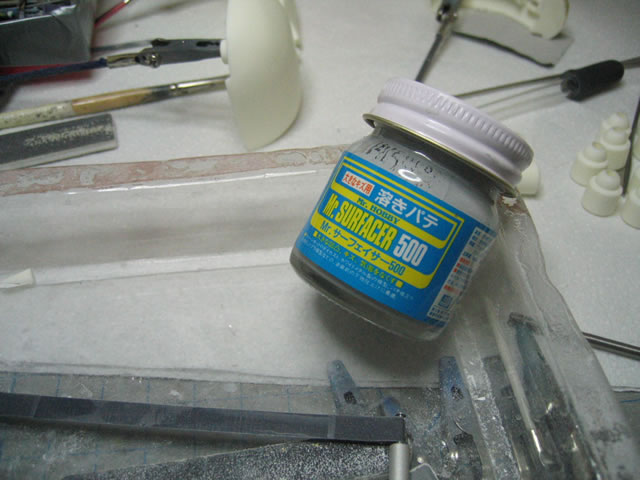
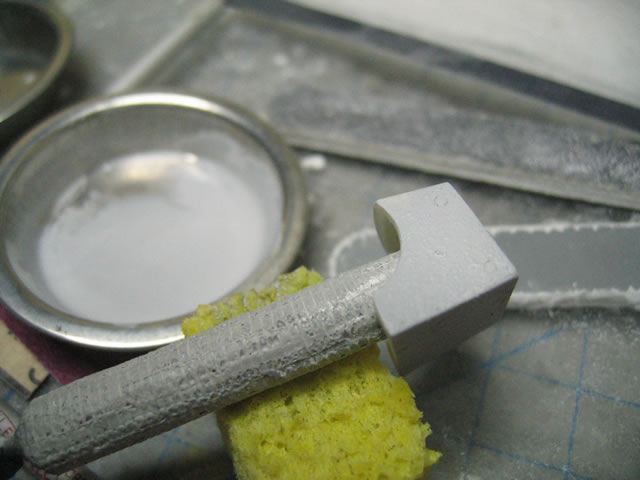
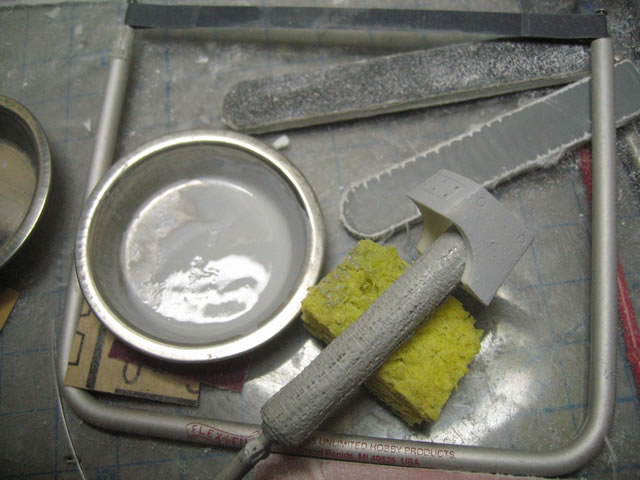
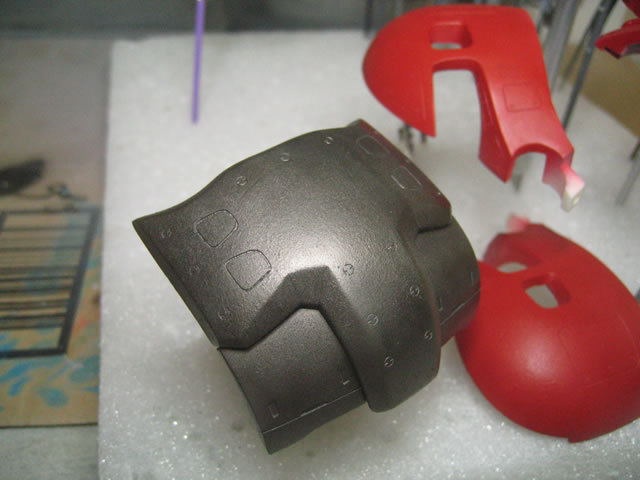
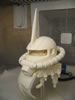
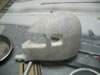
For the cast iron effect, I used some Mr Surfacer 500, lacquer
thinner, and a sponge. I applied the thinned Mr Surfacer to the resin
surface with a sponge. Stippling the sponge on top of the piece created
some nice rough texture to simulate the cast iron effect. See the pictures
below.

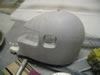
I primed the internal piece (non cast iron effected) with
Mr Surfacer 1200, and then added another layer of Mr Surfacer 1000 to
the cast iron pieces; and that rounded off the work for tonight. All the
pieces are primed and ready for painting.


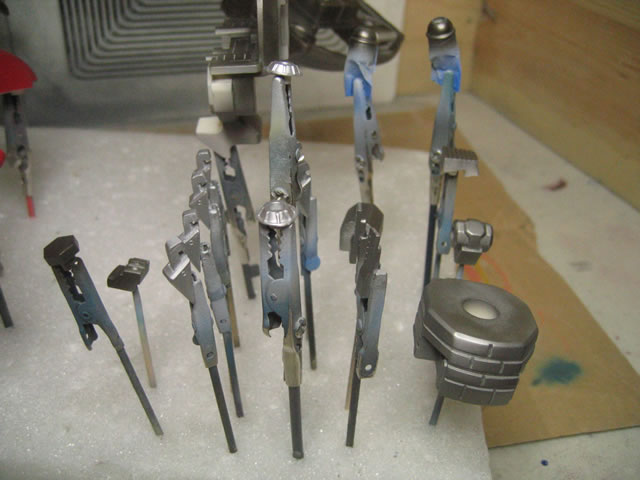
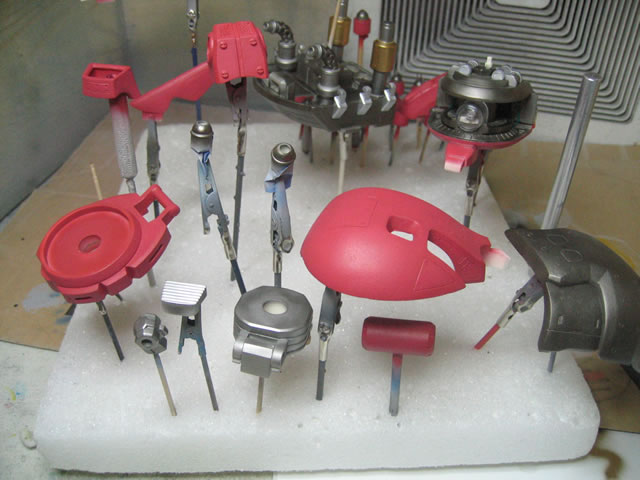
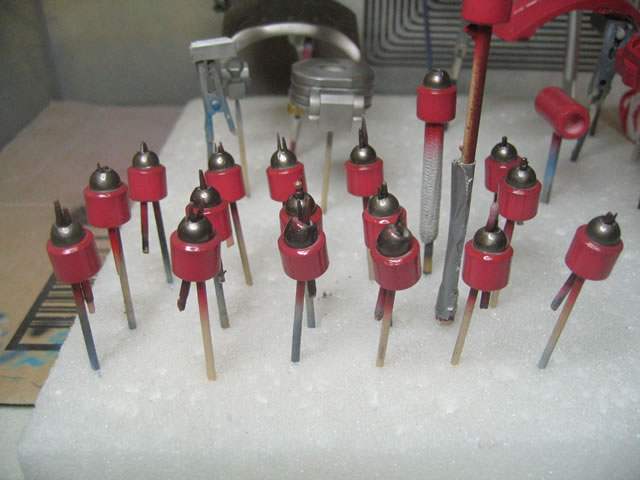
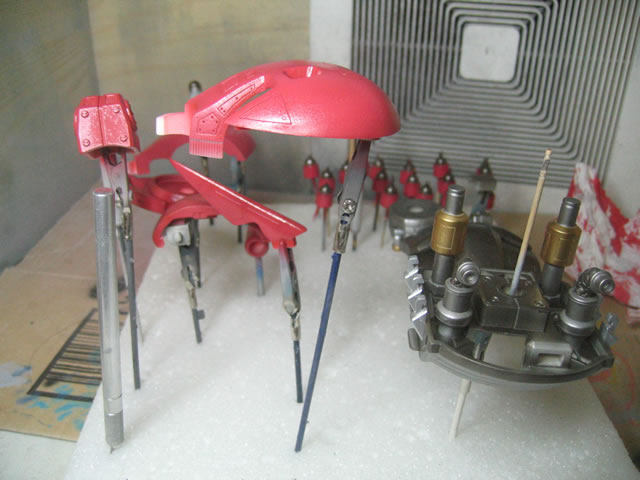
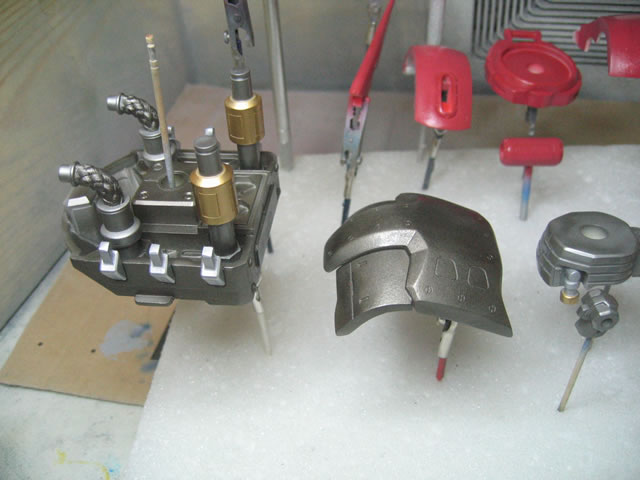
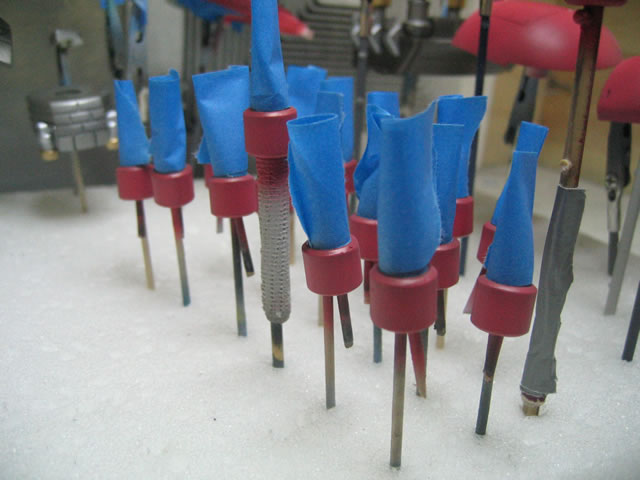
December 7, 2005: Painted most of the internals pieces.
A few of the internals need to be masked off for the other metallic colors
to be painted on. The first shade of red has been laid down to the main
exterior pieces. The next update will hopefully see all the internals
painted as well as the second layer of paint.


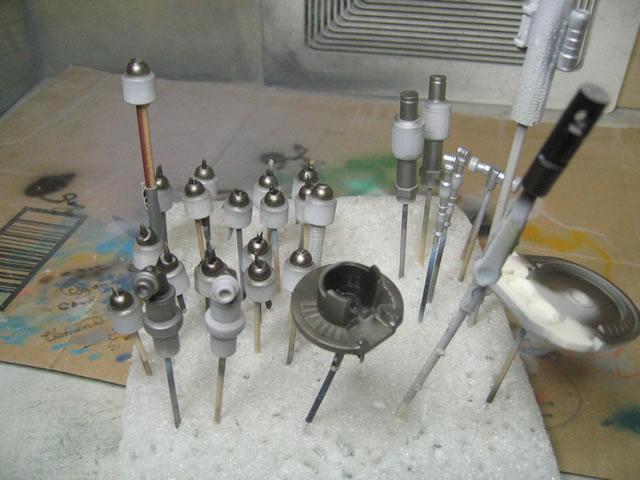
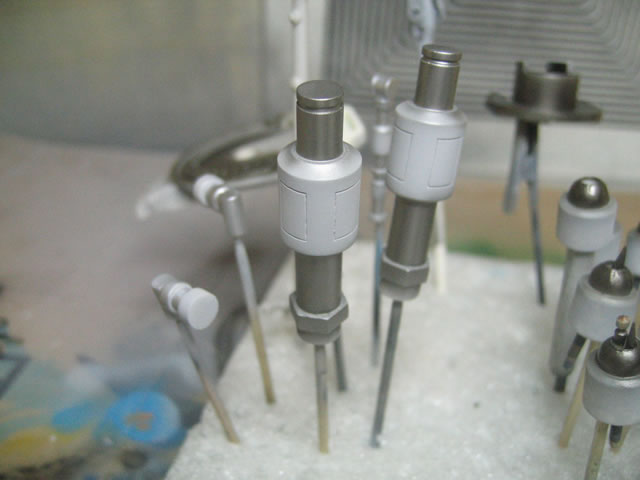
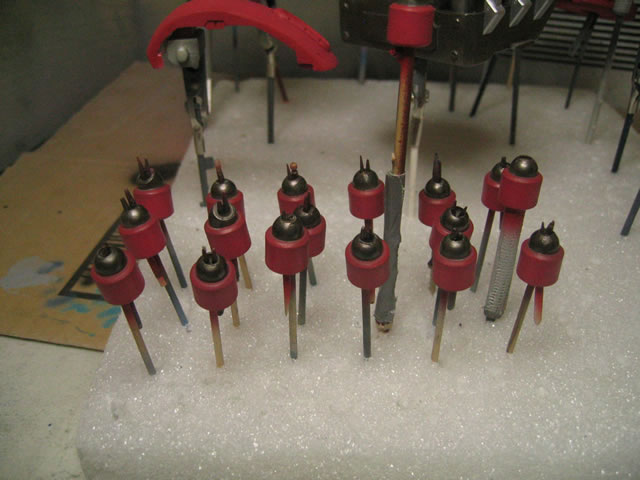
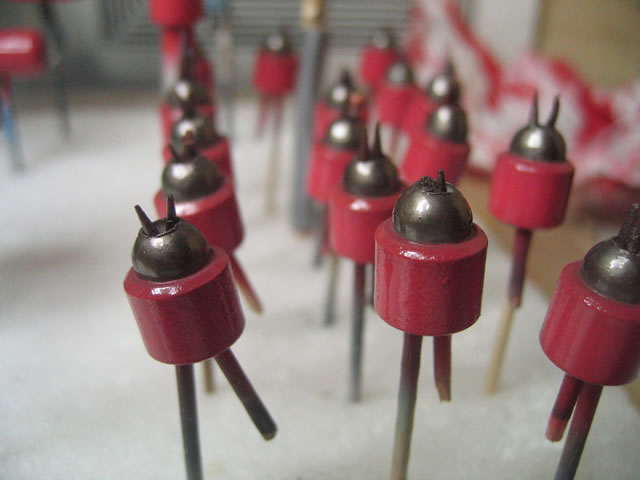
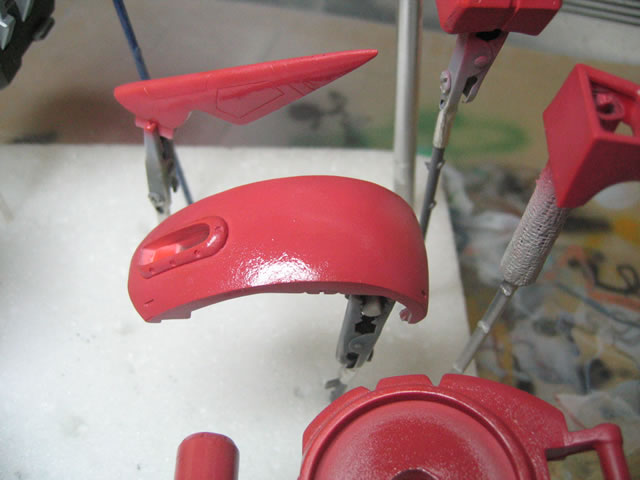
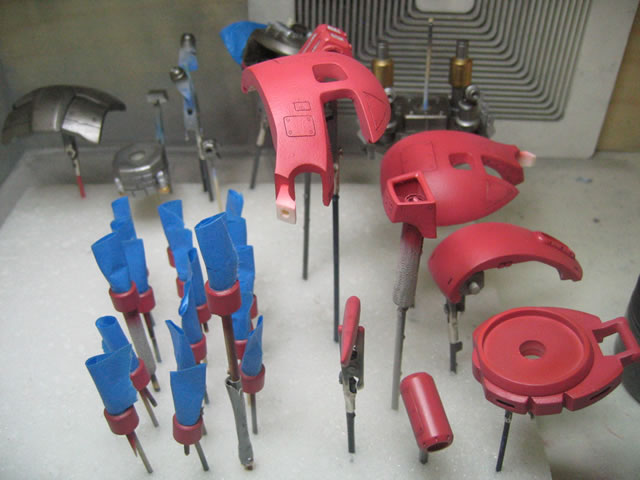
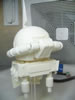
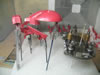
December 10, 2005: It's 2AM and I just finished tonight's
painting session. I finished about 95% of the painting. Custom mixed a
lighter red to represent Char's Zaku II. Below are the finish painting
so far. I still have a little bit of masking and painting, but that won't
happen for another week or at least several days.


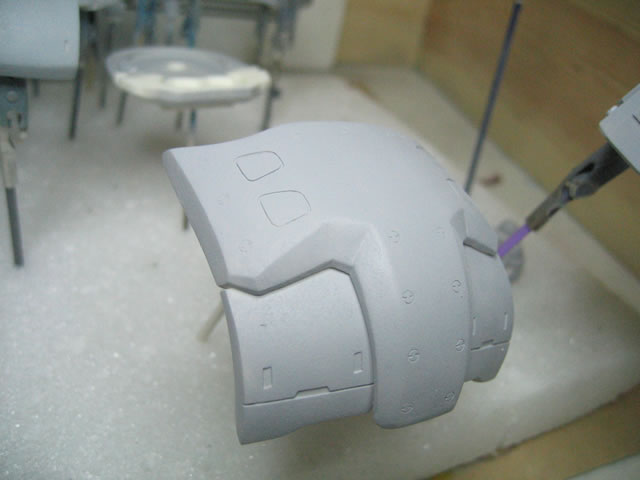
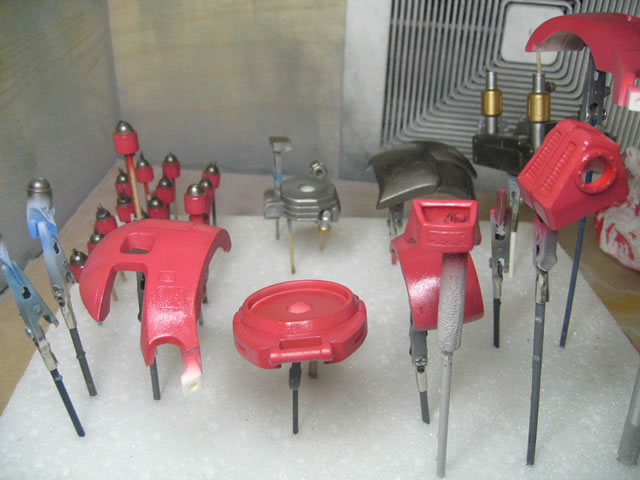
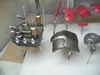
After the above painting process. I went on to spray future
over all the parts; with the exception of the internal head pieces. Since
I worked out the electronics and sodered all the wiring together, I don't
want to be spraying anymore paint or future on those pieces. I still need
to find the small batteries to fit into the kit. Below are pictures of
the parts after future was applied. Now while I wait for this to cure,
I can return to Ryofu, since the parts I left to cure last week should
be completely cured now. I can go and mask and finish up painting her.


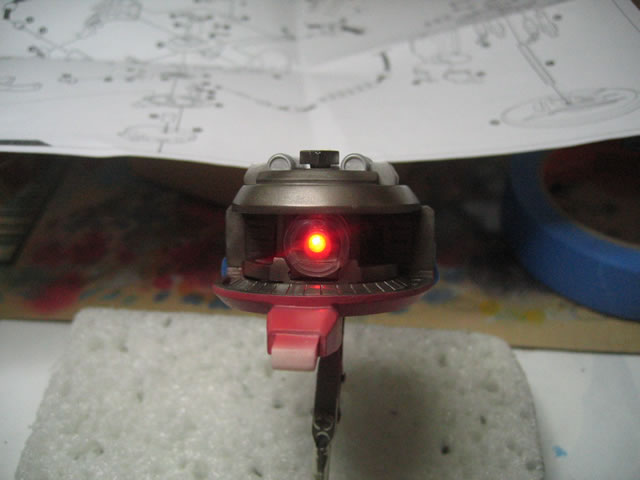
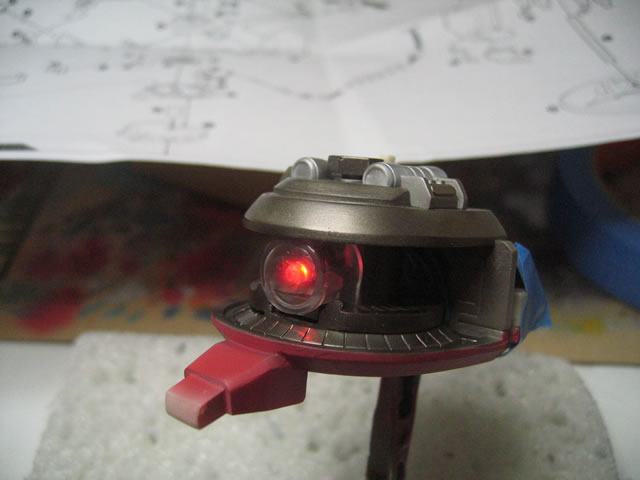
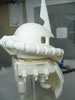
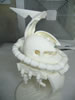
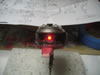
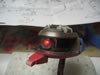
December 11, 2005: Ok I lied. Since I picked up a couple
of batteries for the LED setup, I had to put them in and then take a few
quick shots of the lit up mono eye.
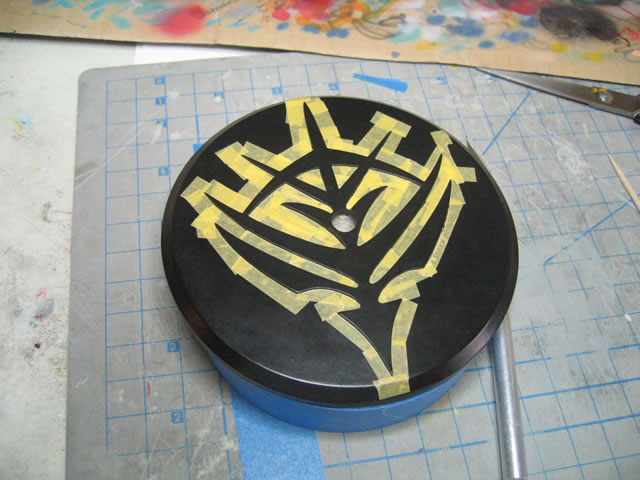
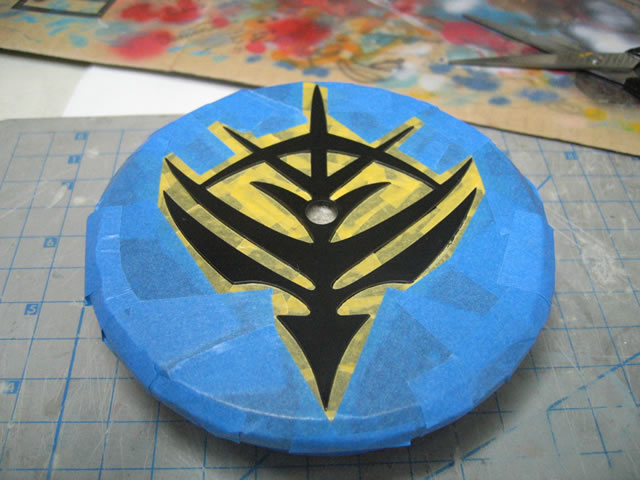
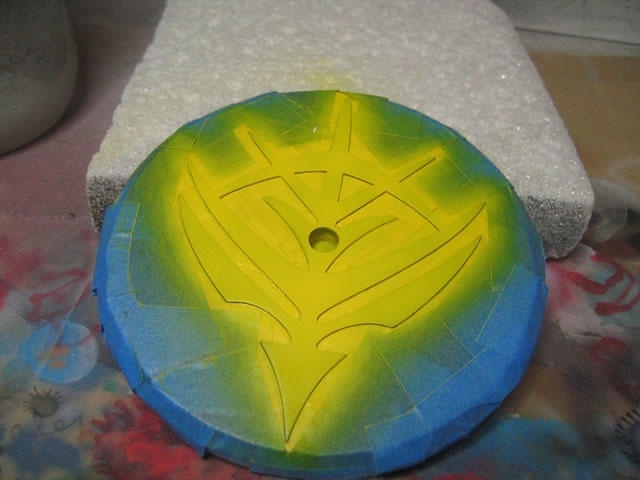
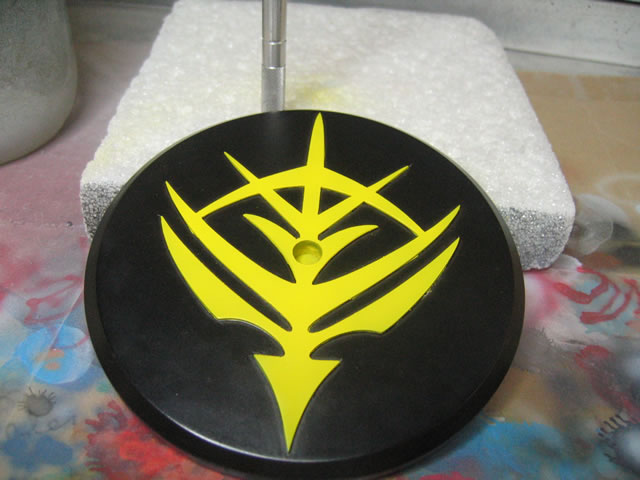
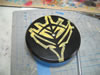
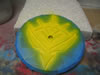
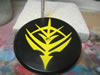
Base work: The base was spray painted with a Tamiya semi
gloss black. A knife and tamiya masking tape masked all the black areas.
Blue painters tape to complete the masking. Mr Color yellow was sprayed.
Mask removed. Finally a coat of future floor polish was sprayed onto the
base.

December 13, 2005: Below are the last three pictures taken
before the head was put together. The first shot is the wash process.
This was followed by a flat coat using Future Floor Polish and Tamiya
flat base.