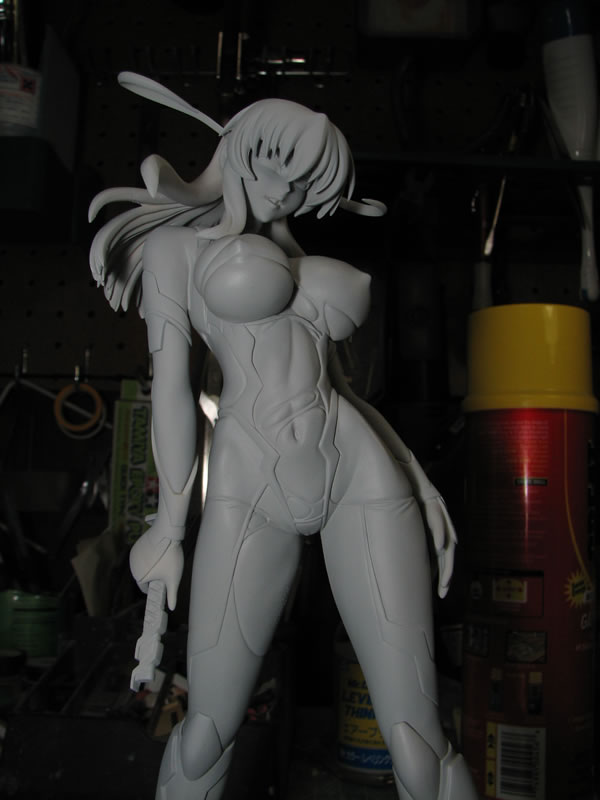
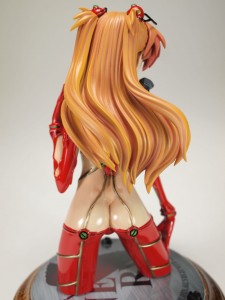
Since Kanu is now done, I’m still on a figure kick so I figured the Asagi kit would be a quick and dirty build. I got through the initial sanding session, initial primer coat, fine tune sanding and surface fixes, then final primer. Below is a picture taken after the first coat of primer was sprayed.
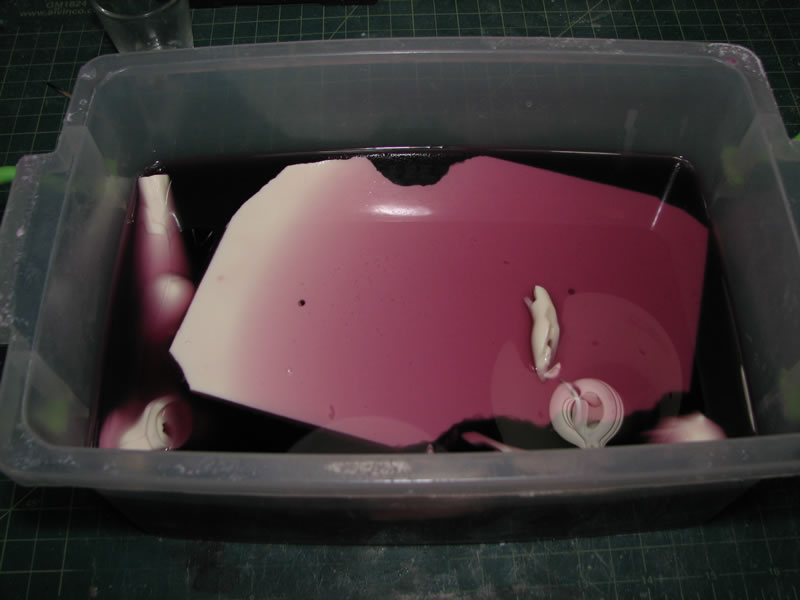
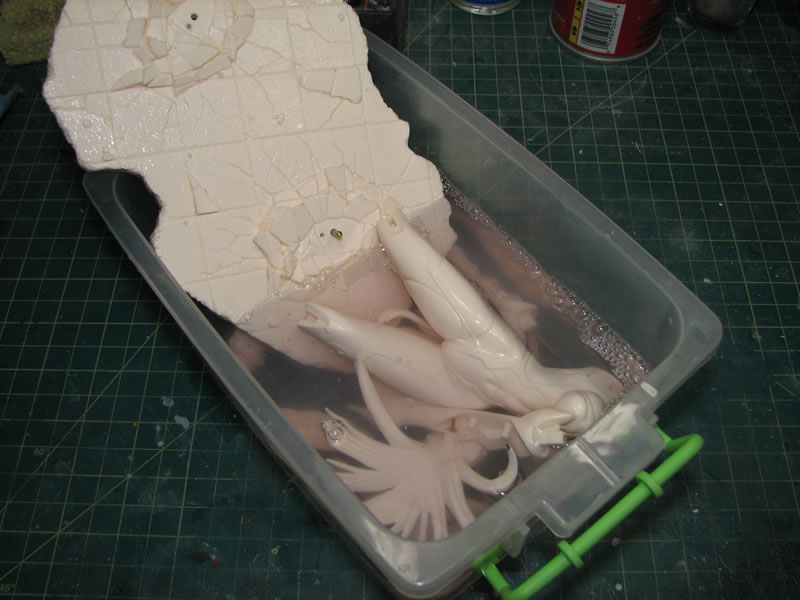
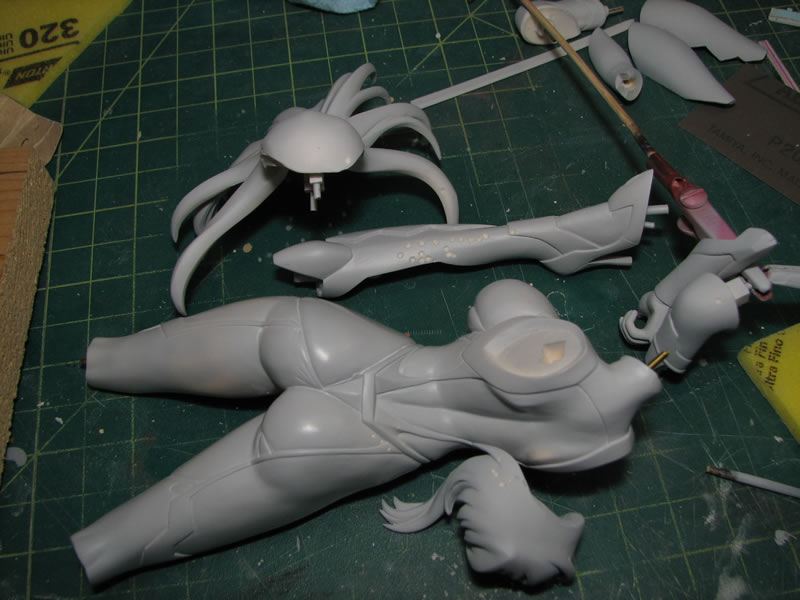
The weekend started with the initial sanding session; trying to get all the mold lines, flash tabs, surface imperfections, and identifying problem areas that need to be addressed after cleaning the kit. The kit then went into a purple power bath for a couple of hours. Fished out later and dunked into some clean water to remove most of the residual purple power; and finially thrown into the ultrasonic cleaner for a nice final scrubbing session. Then laid out to dry.

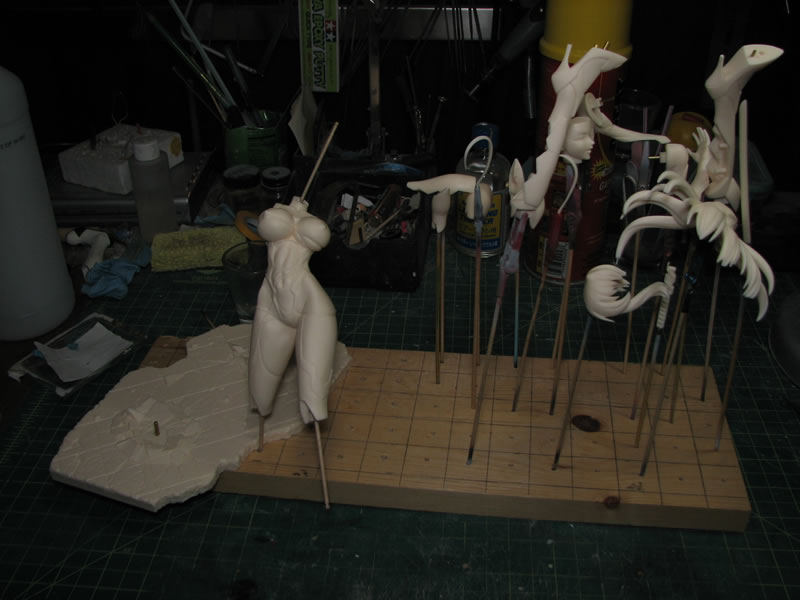
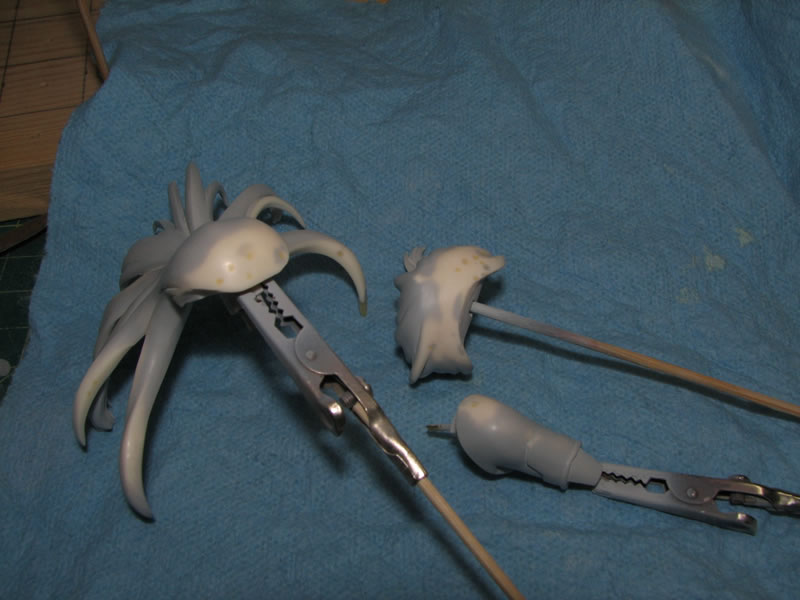
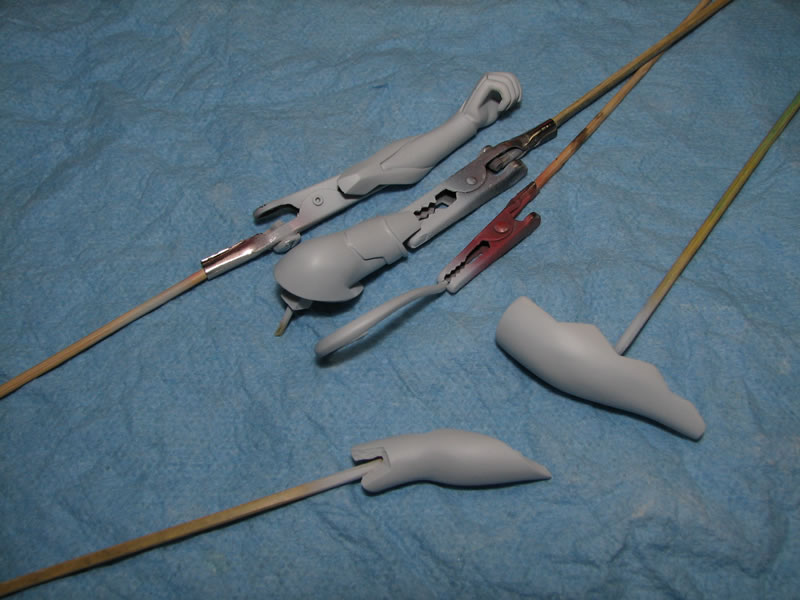
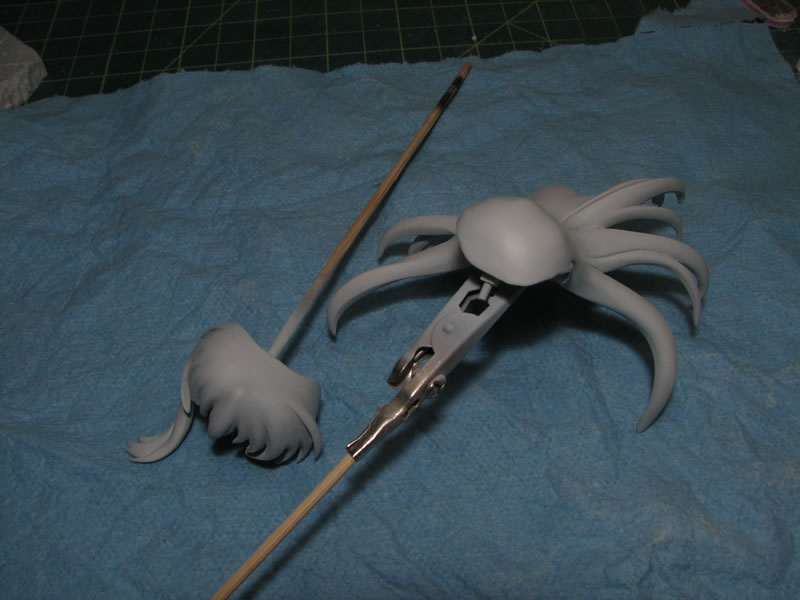
Once dry, the parts are skewered and ready for the first priming session.
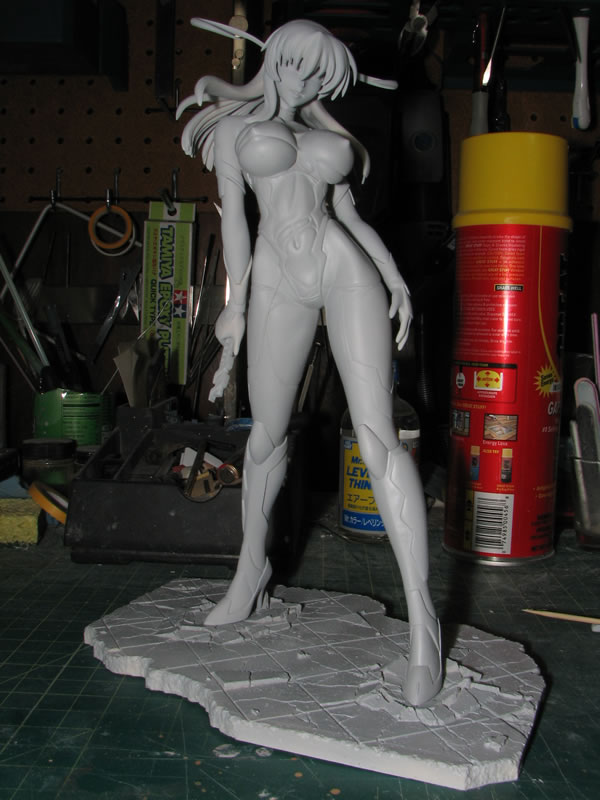
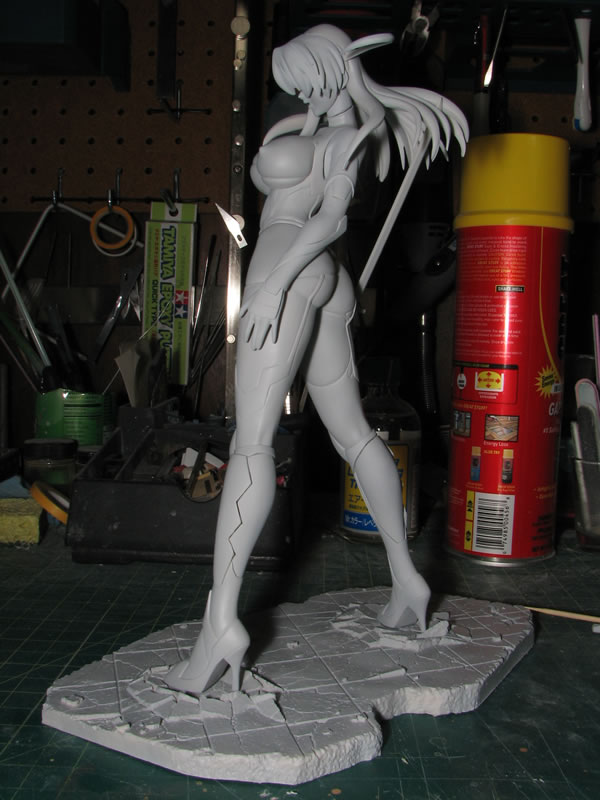
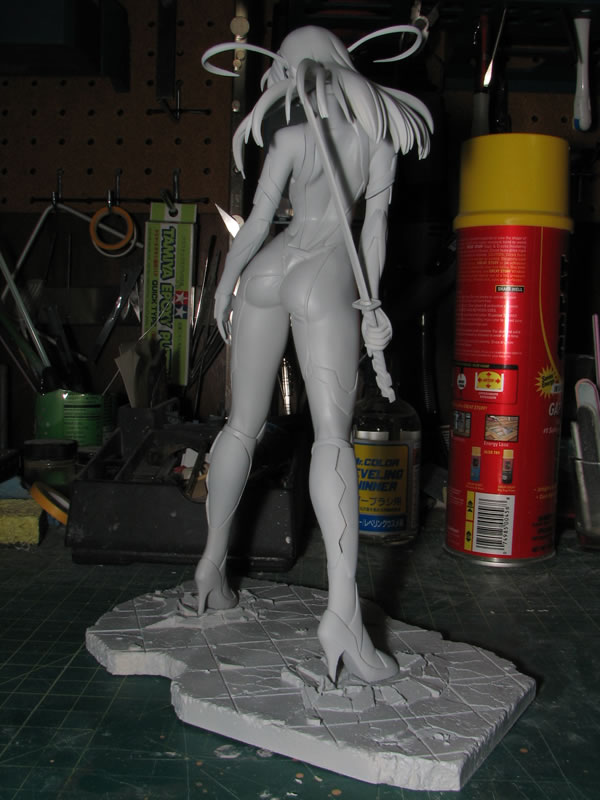
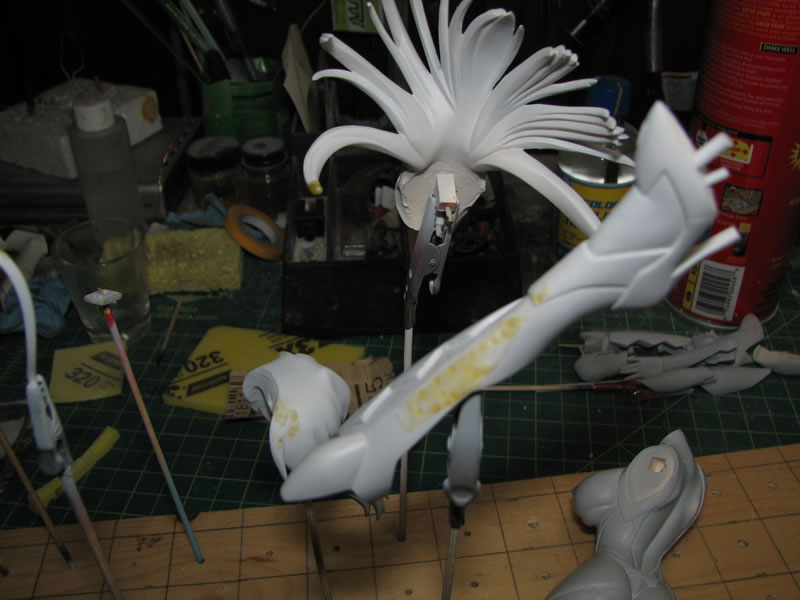
After the allowing the firsst priming session to cure for a couple of hours, I put her together to snap some pictures of her primed.
With the first layer of primer, I can now see all the problem areas; areas that need additional sanding, missed spots, rough sanding areas, and pin holes. Fine tune sanding and tamiya light curing putty are employed.
With the tamiya light curing putty cured after spending a couple of minutes under the light, fine tune sanding is done to smooth out everything. Areas with rough sanding spots and missed mold seams were also sanded smooth. The parts are now ready for the next priming session, and hopefully last priming session.
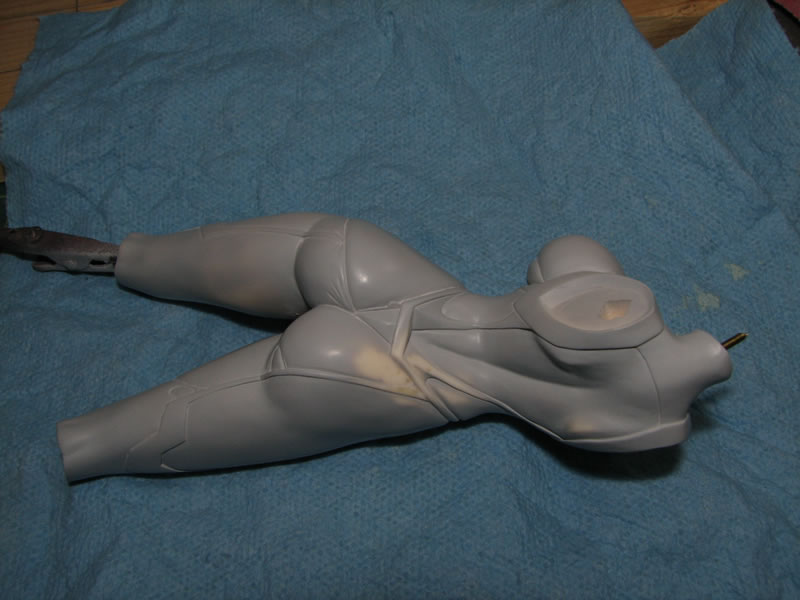
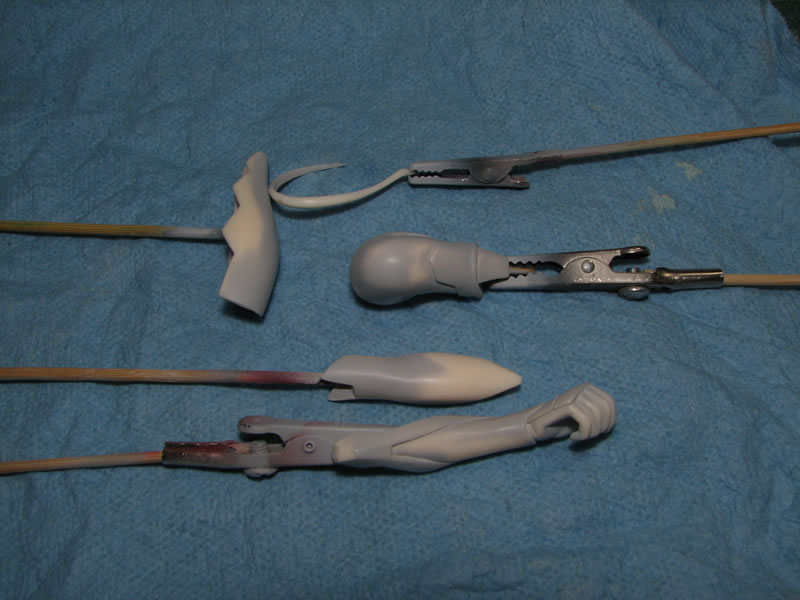
With the second coat of primer, all the previous problem areas are now gone. The spots where the putty was used to fill in holes and rough sanding spots are now completely gone. These parts are now ready for a quick wet sanding sessions before moving on to paint.

just wondering… what type/brand of primer do you use?
For resin figures I use Gunze Sangyo’s Mr Resin Primer out of the bottle through my airbrush.
How much for that figure without paint?
You can find a pirated version of the resin kit here: http://www.e2046.com/product/8287 It’s currently listed as a preorder, so I don’t know how long it will take for them to actually get stock of the kit.